


Cafetino Balance Brewer
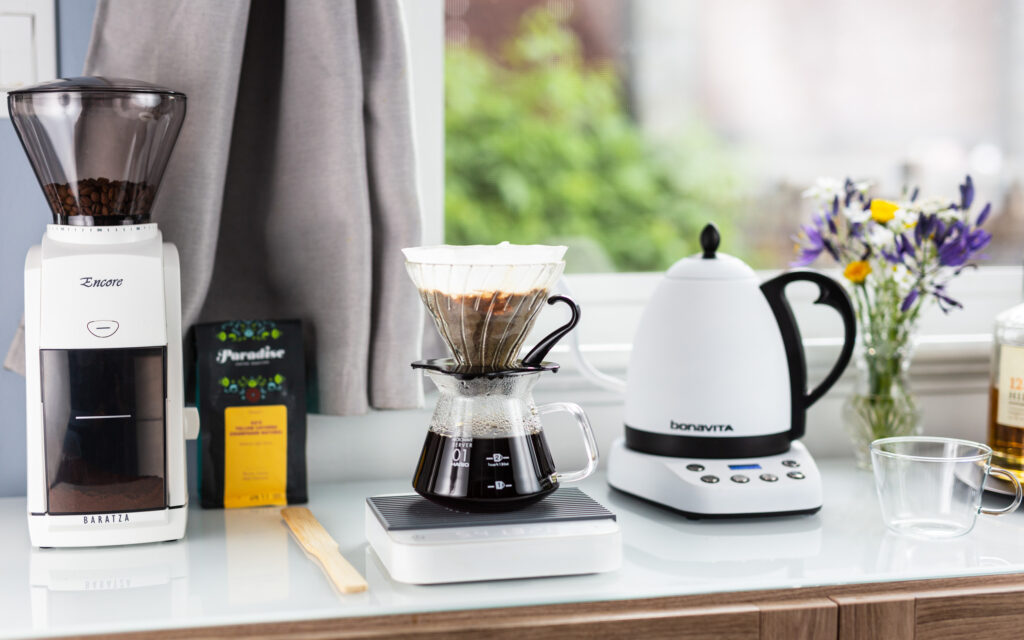
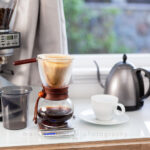
The Cafetino Balance Brewer, designed and manufactured by Patrick Van Den Noortgaete, a Belgian engineer, is one of the most strikingly beautiful coffee brewing devices I have ever seen or used. It brews coffee on the balance brewer principle, but without the use of counterweights. Instead, it uses calibrated springs to lower and raise the brewing kettle, which in turn causes a spring loaded cap to close down on the appliance’s cloth wick alcohol burner.
As far as I can tell, Van Den Noortgaete discontinued manufacturing this design in around 2010, and on the rare occasions these models do turn up on eBay, they go for well over $1,200 these days. I’m honestly surprised that the Chinese have not “knocked off” this model like they have the more traditional balance brewer.

Time Needed: 5 minutes
Necessary Supplies
Necessary Tools
Cafetino Balance Brewer Steps
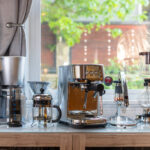
Set the Balance Brewer Up
In setting up your balance brewer, make sure all the parts are clean and ready to go. Your choice of fuel is important too. Denatured alcohol / methyl hydrate burns the cleanest, but the fumes can be a problem indoors if used in a very enclosed area (like a tent). In this how to, we’re using 99% Isopropyl alcohol which does produce soot, but not as much as 91% IPA does.

Remove Siphon Gasket
At this stage, remove the Cafetino’s siphon, which doubles as it’s seal (on traditional balance brewers, there is both a cap for pouring water, and a separate siphon connection hole; on this Cafetino, the siphon does double duty on top). Get ready to pour water in.

Add Water - Hot or Cold?
At this point, you’ll add a premeasured amount of water to the kettle, and you can choose to use heated (near boiling water), or room temperature or cold water. Keep in mind, if you add cold water, it will take the alcohol burner as much as 15 minutes or longer to heat it up to brewing temperatures. Because of this, we start with just-off-boil water.

Add Ground Coffee
Add your fresh ground coffee to the glass brewing side. Try to settle the grounds so they are even. The ratio is 8g of coffee per 100ml of brewing water used, because of the extra water remaining in the kettle during the brewing process. The grind, depending on your filter should be slightly finer than drip, but not by much.

Seal Things Up
After adding water, replace the Cafetino’s siphon with its built in gasket into the top of the kettle. I should point out the Cafetino’s gasket for the siphon tube is aged and a bit of a loose fit on top; when everything’s hot, it does seal up a bit more, but it’s not a perfect seal. As explained in the video below, I haven’t replaced it because I think the tiny amount of air it allows to leak into the kettle during the vacuum stage aids with overall brewing in this device (not by design!).

Carefully Lift Kettle, Insert Siphon Spigot
The kettle is almost literally boiling hot, so very carefully and with the aid of a cloth, glove or silicone guard, raise the kettle so you can open the alcohol burner’s flip down cap in order for the cap to be held open by the lowered kettle.

Light the Cloth Wick
At this point, light the alcohol burner’s cloth wick. As you can see, it produces a fairly wide flame that pumps out a decent amount of heat (compared to the smaller wicks you typically see on siphon brewers).

Wait for the Action
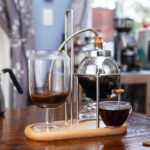
At this point, sit back and watch, and listen. You’ll soon hear the water in the kettle reaching boiling point, and the steam it produces will start forcing water up and over to the brewing glass side.

An Optional Quick Stir
When the glass brewing side looks like it has about half of the kettle’s hot water, you may want to give the grounds a quick and confident stir to fully saturate all the grounds.

Watch the Action
At this point, you can sit back again, and watch the brewing glass continue to fill up with brewing water. At some point very soon, the kettle will empty out enough (and be raised on its springs high enough) to allow the alcohol burner’s spring loaded cap to shut down. In the traditional brewer how to coming up next, I show you at this stage how you can prolong the brew, but for this Cafetino how to, we’ll let the kettle work in full automation mode.

Flame Extinguished
When the kettle lifts up enough, the cap on the alcohol burner will slam shut, extinguishing the flame. Because of this, no more steam will be produced in it, but instead the steam will contract and phase change back to water, creating a vacuum inside the chamber. That vacuum will draw back the brewed coffee from the glass brewer side via the siphon.

Drawback Time
Depending on the condition of your kettle, the siphon and its gaskets, the brewed coffee can be drawn back over into the kettle portion in as little as 20 seconds, or as long as 75 to 90 seconds. This Cafetino’s gasket is a bit loose, so the drawback is longer. I like it that way, as it extends an otherwise-too-short brewing time.

Drawback Completed
Once the drawback is completed (you can tell by the grounds in the brewing glass looking dry, with lots of popped air bubbles), you can serve the coffee. Keep in mind you need to create an air flow for the coffee from the kettle. There may be some air-flow from the siphon, but most of it is buried under spent coffee.

Loosen Siphon Gasket
Very, very carefully, loosen the balance brewer’s siphon gasket to create the airflow necessary to release coffee from the brewer’s spigot.

Open Spigot, and Serve
At this point, you can serve out the coffee by opening up the dispensing spigot. Also, note the soot. If you use methyl hydrate (denatured alcohol) you will not have soot, but be careful using that in unventilated small spaces.


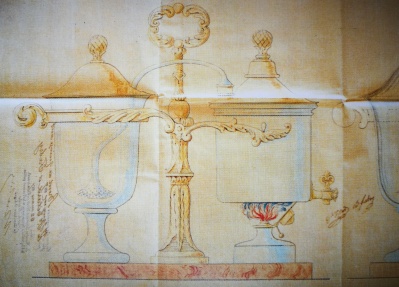
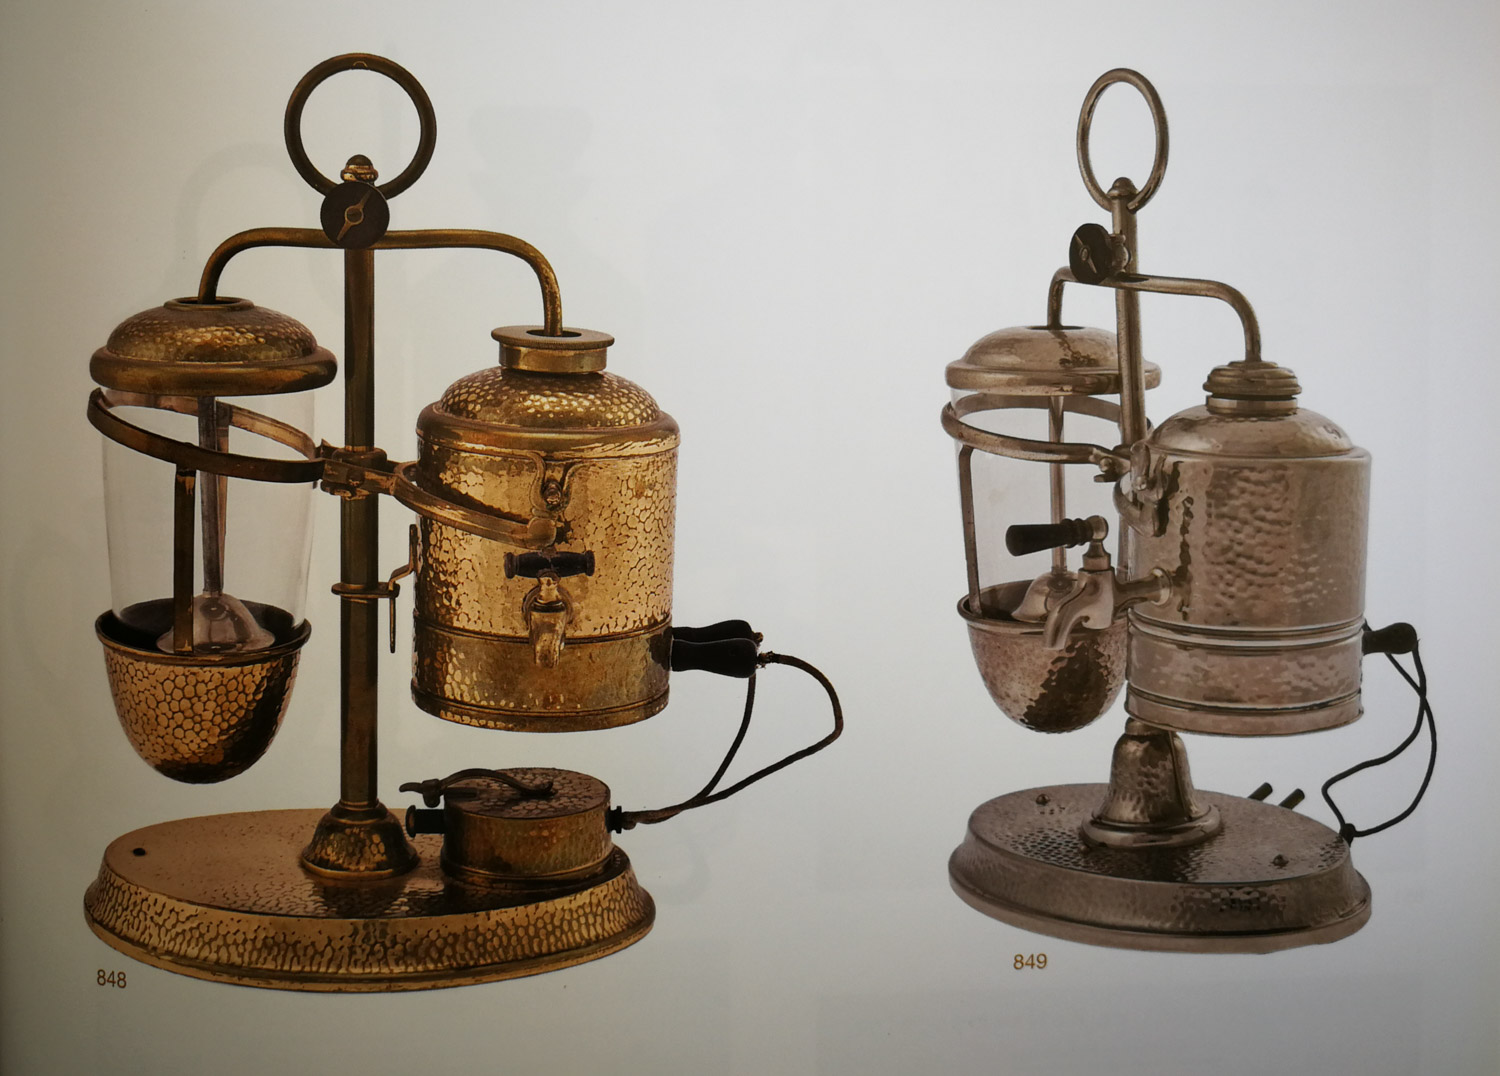
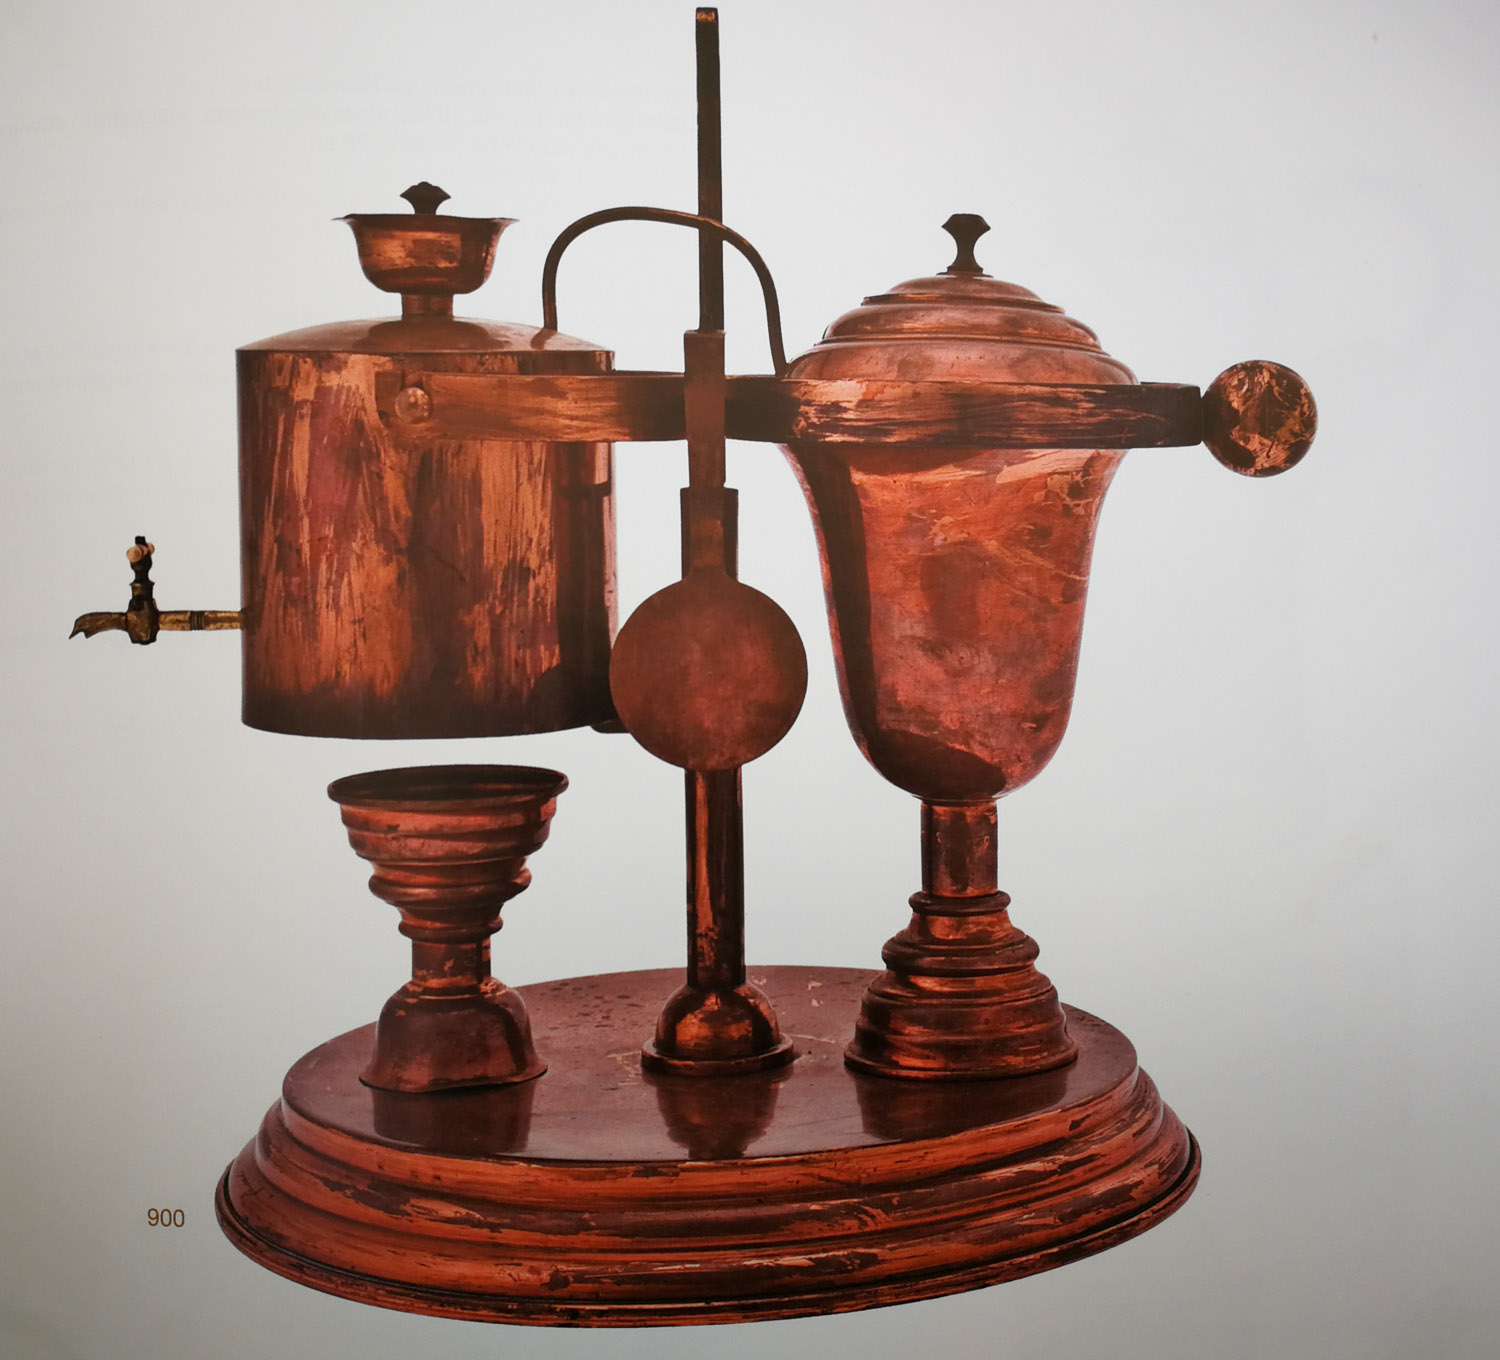
Gabet Patent
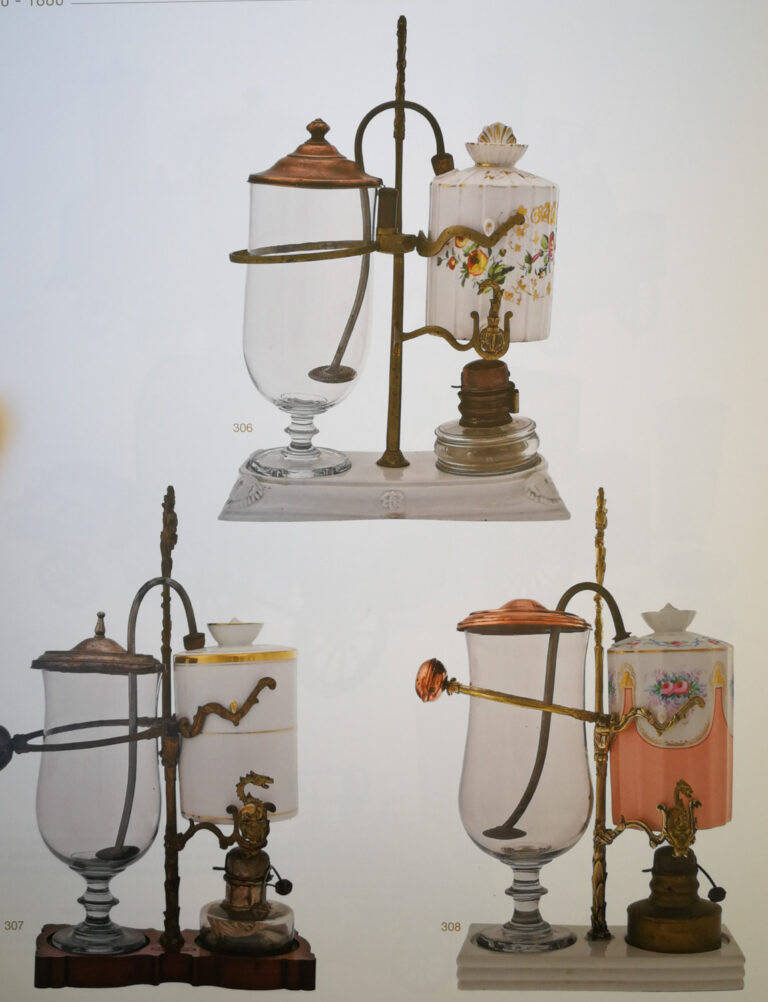
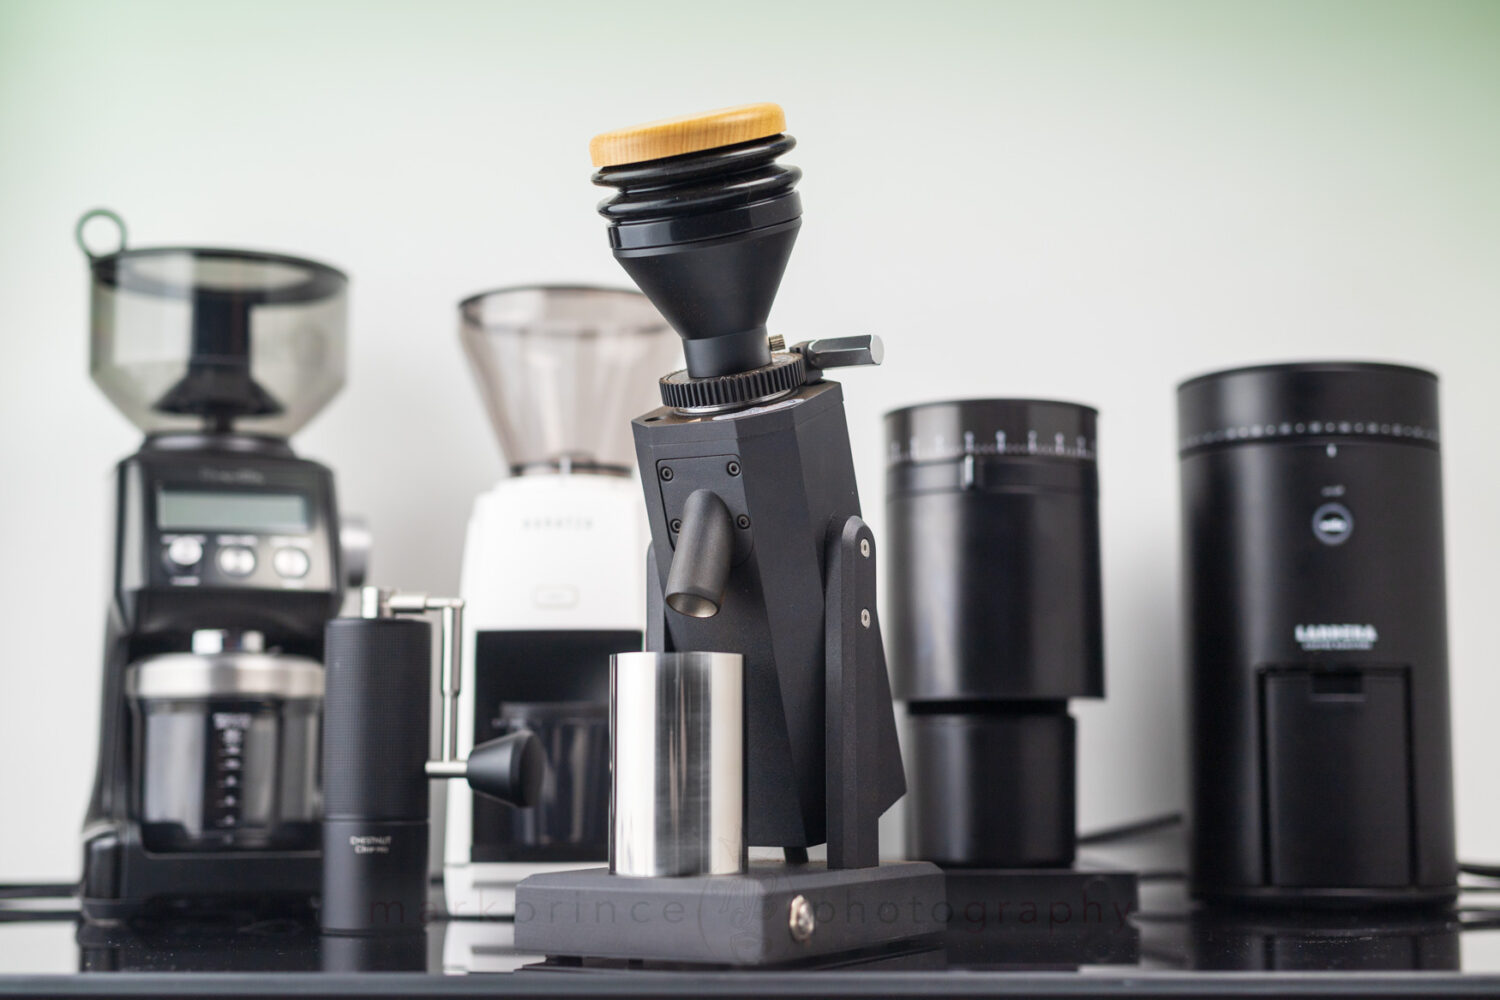
Three Examples


Support CoffeeGeek
If you enjoy and learn from this resource, please consider making a one time or recurring donation to help support our work and fund purchases for future reviews.


