


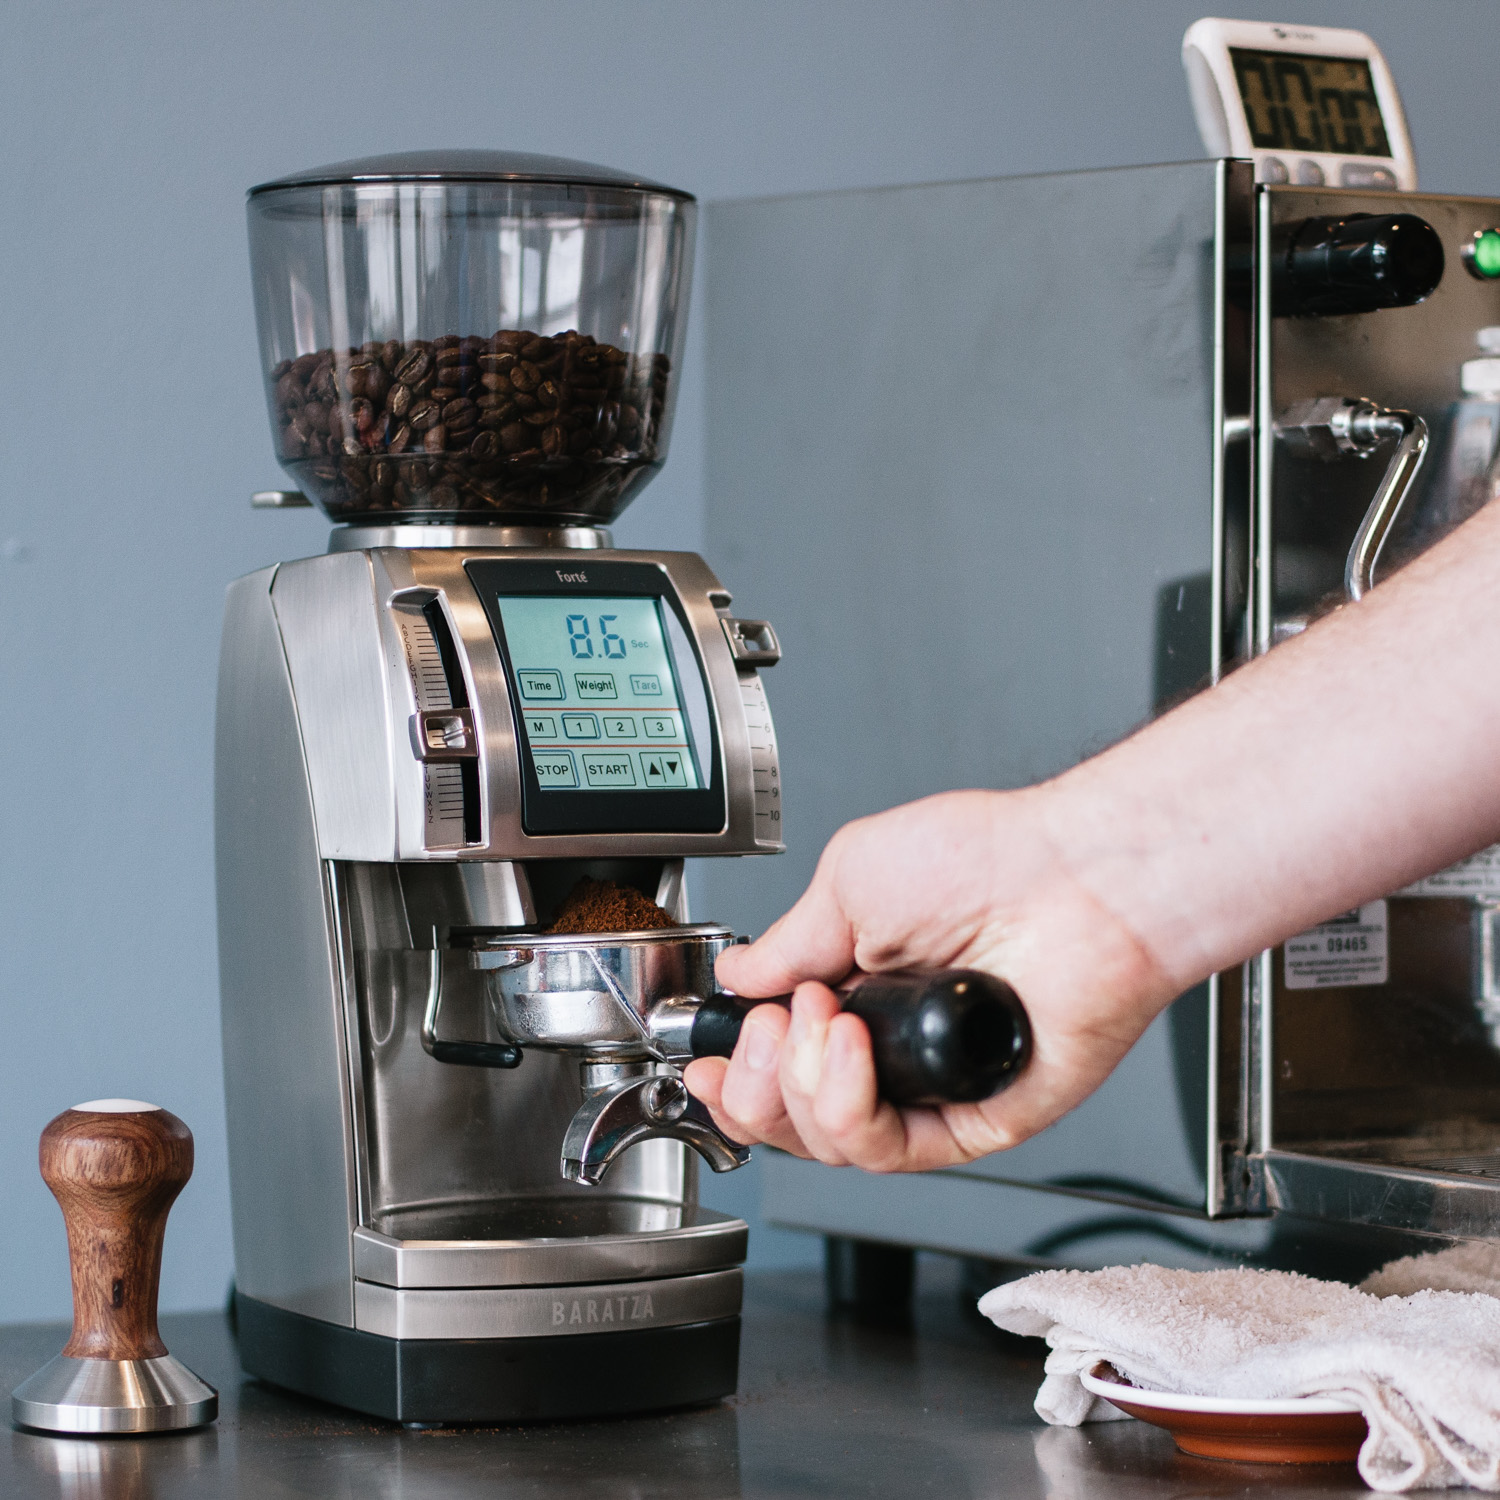
01 - Grind Coffee
A quality grinder is crucial to great espresso - grind just before brewing your coffee.
02 - Frothing the Milk
Get a nice thick head of foam when building a dry cappuccino.
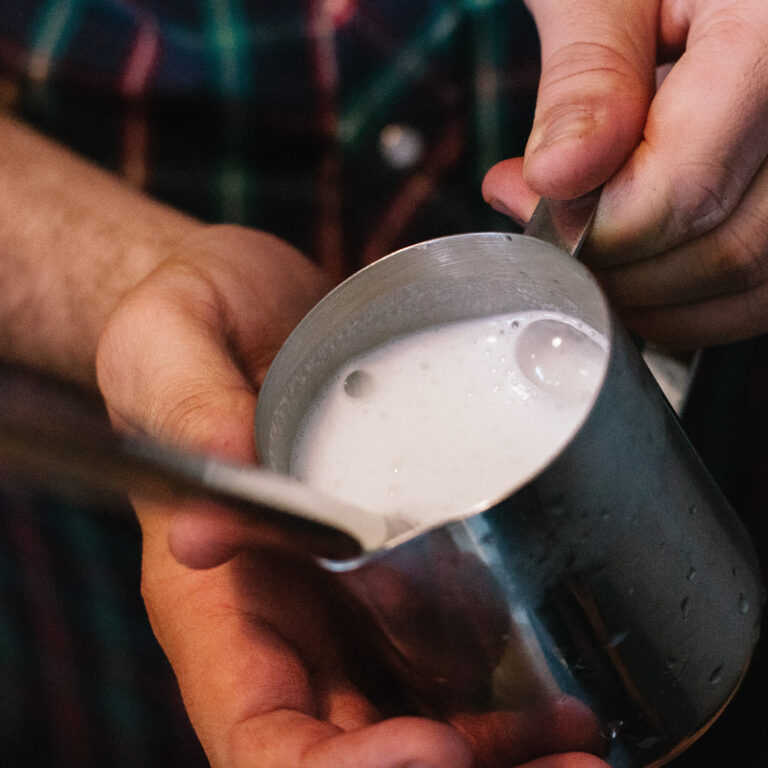
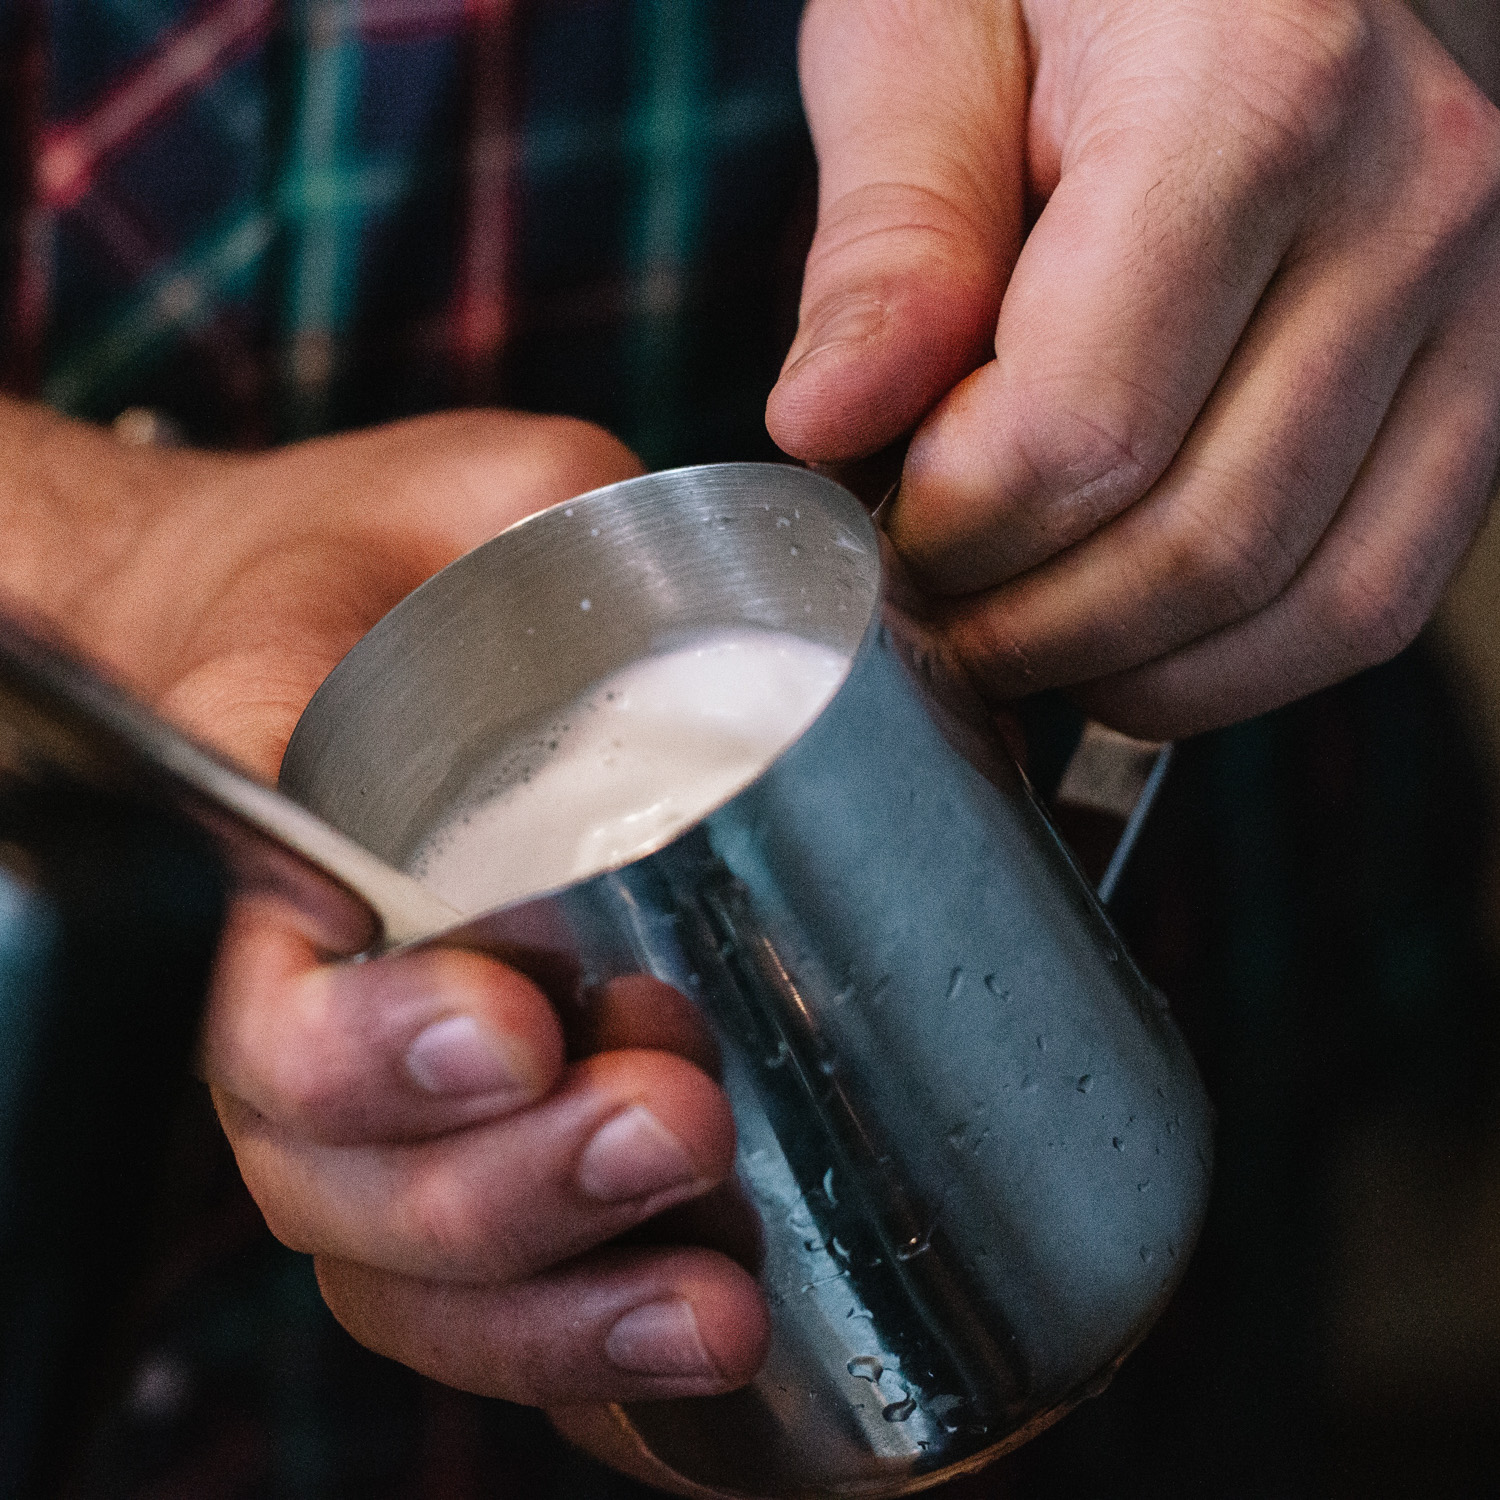
03 - Holding Back the Milk
Hold back your foam as you pour in the hot milk; you want to apply the foam on its own.

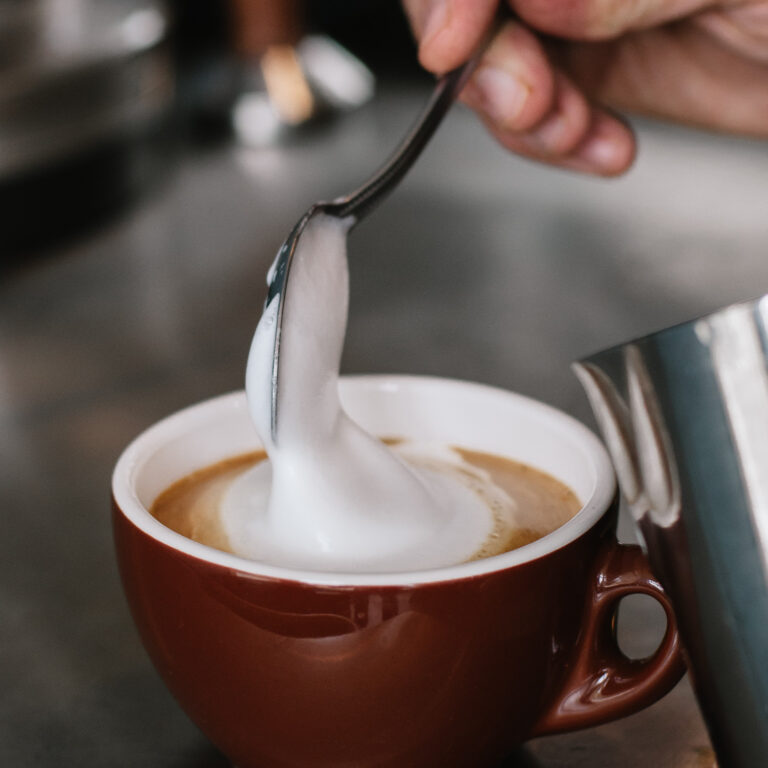
04 - Spoon it Out
Spoon out the dense, dry, thick meringue like foam.
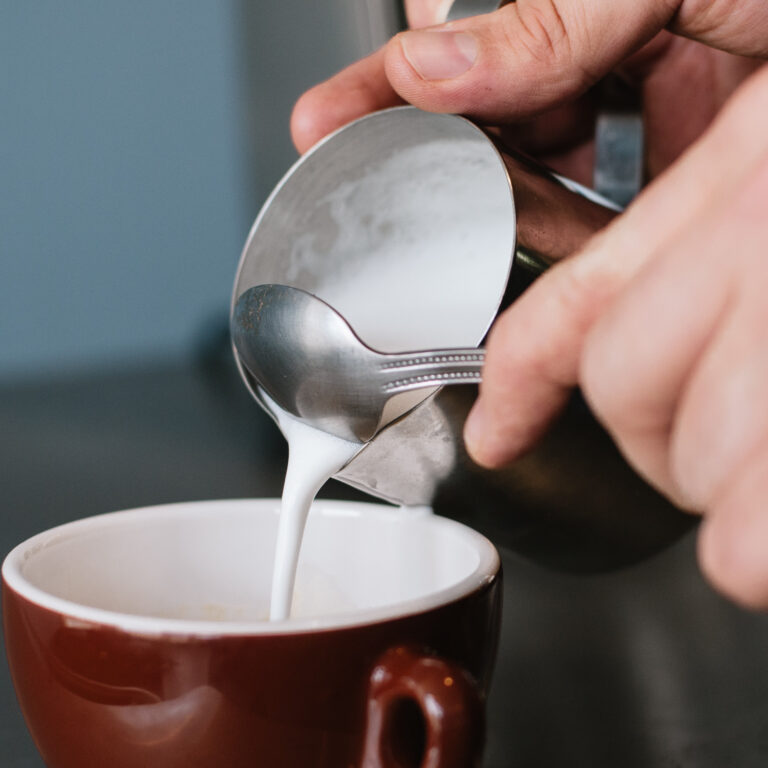
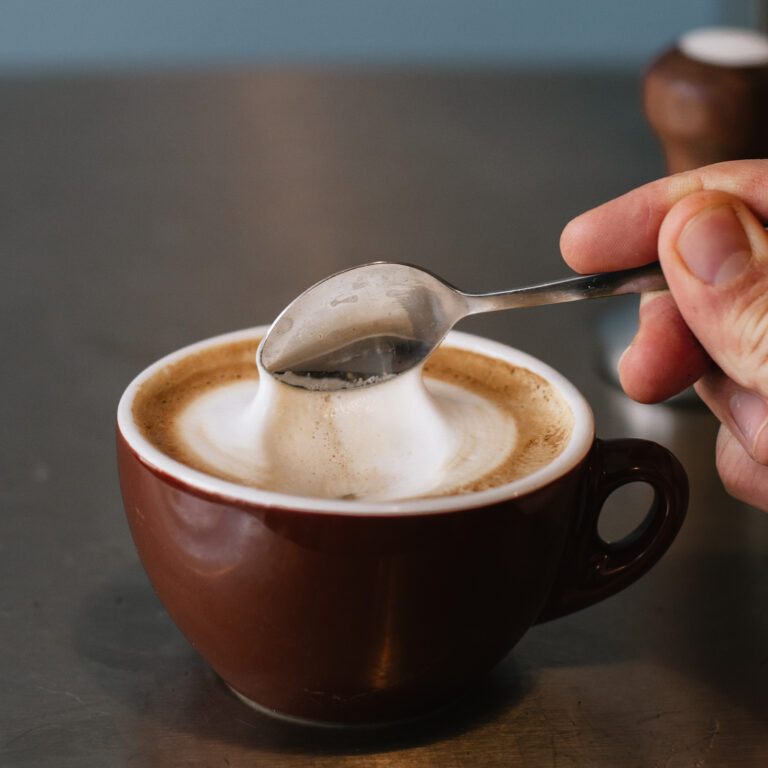
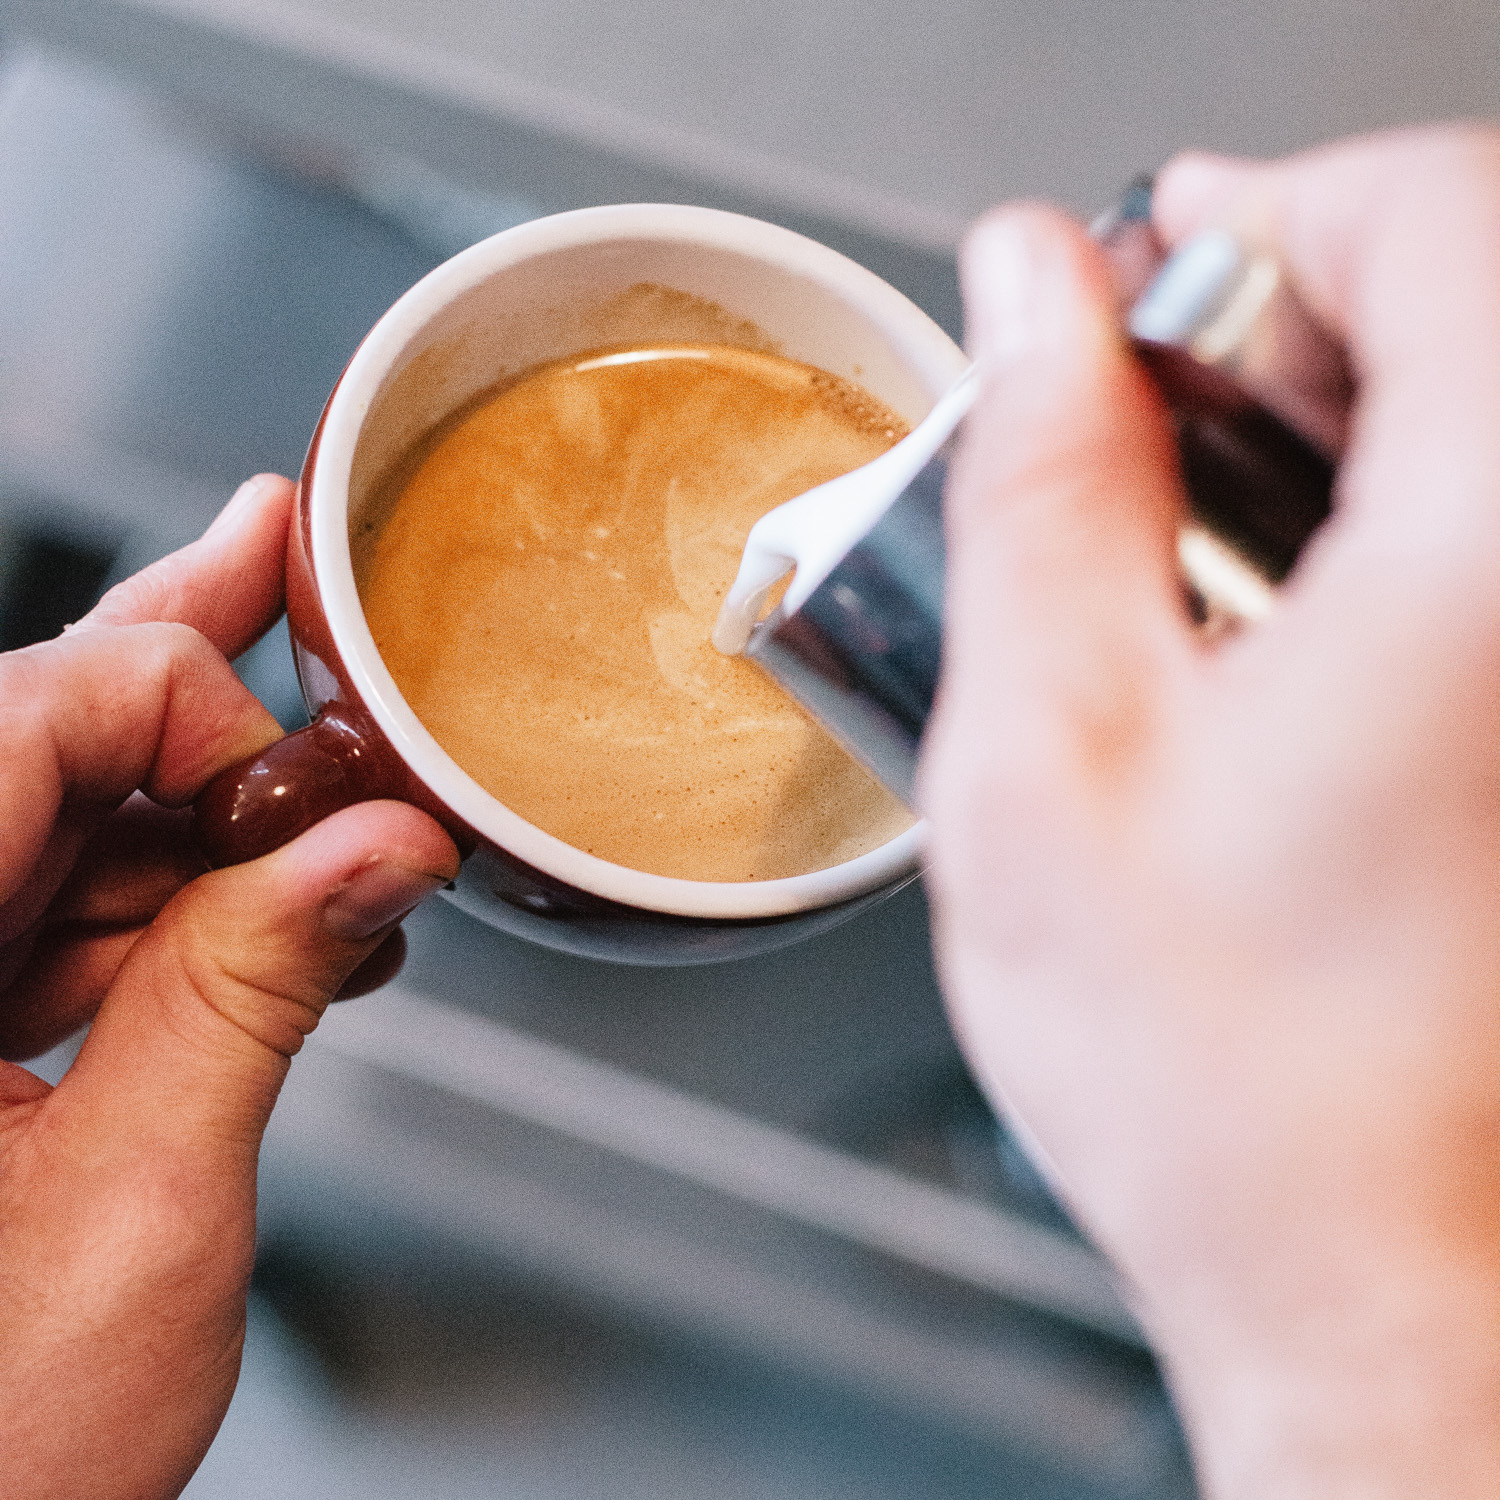
05 - Form the Cap
Build out a nice circle of foam in the middle of the cup, leaving a ring of brown crema at the cups edge.
06 - Dry Peaks
You want nice, dry foam that peaks, in a dry cappuccino.


01 - Prepare Your Shot
A great cappuccino always starts with a great shot of espresso

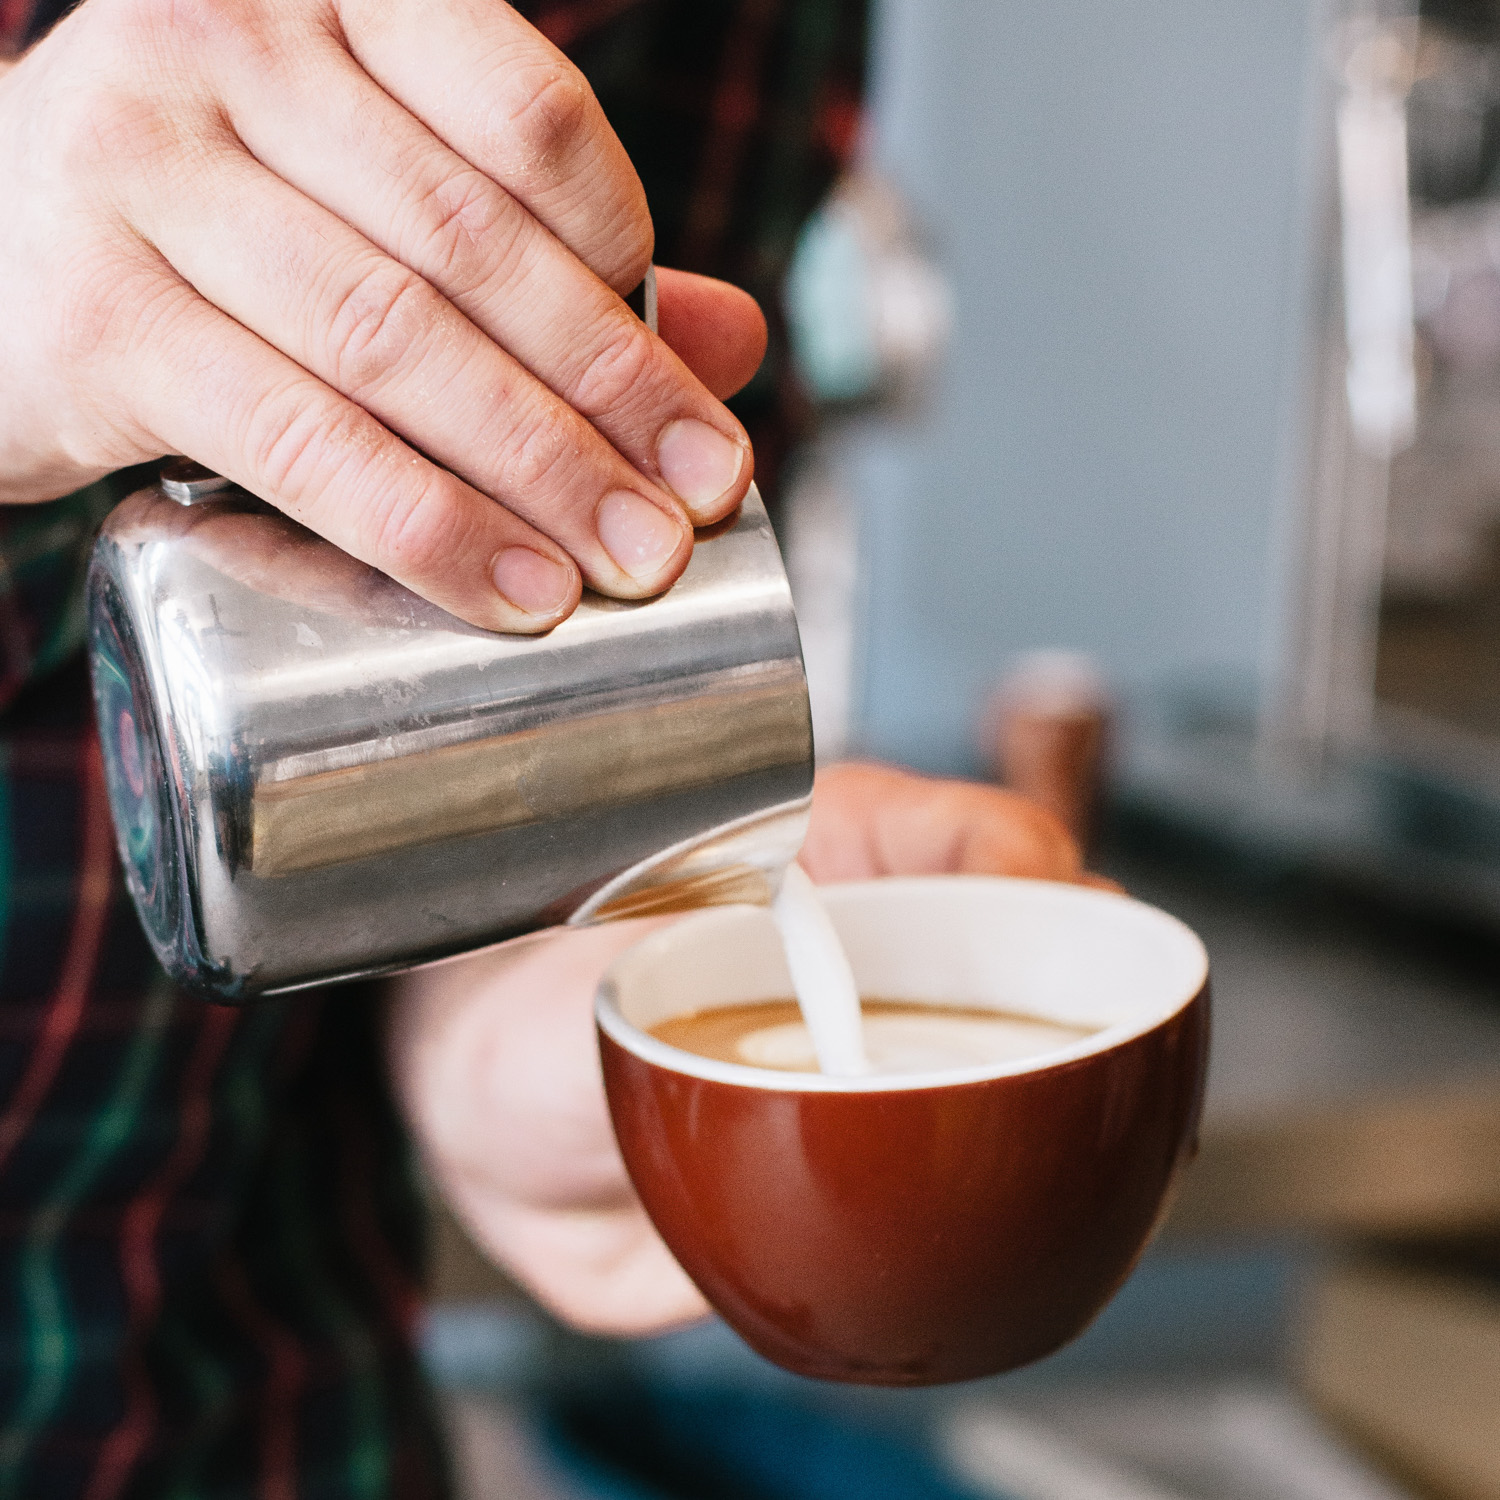
02 - Steam and Stretch the Milk
Steaming milk for the wet cappuccino is about getting good velvety texture that still "rolls".

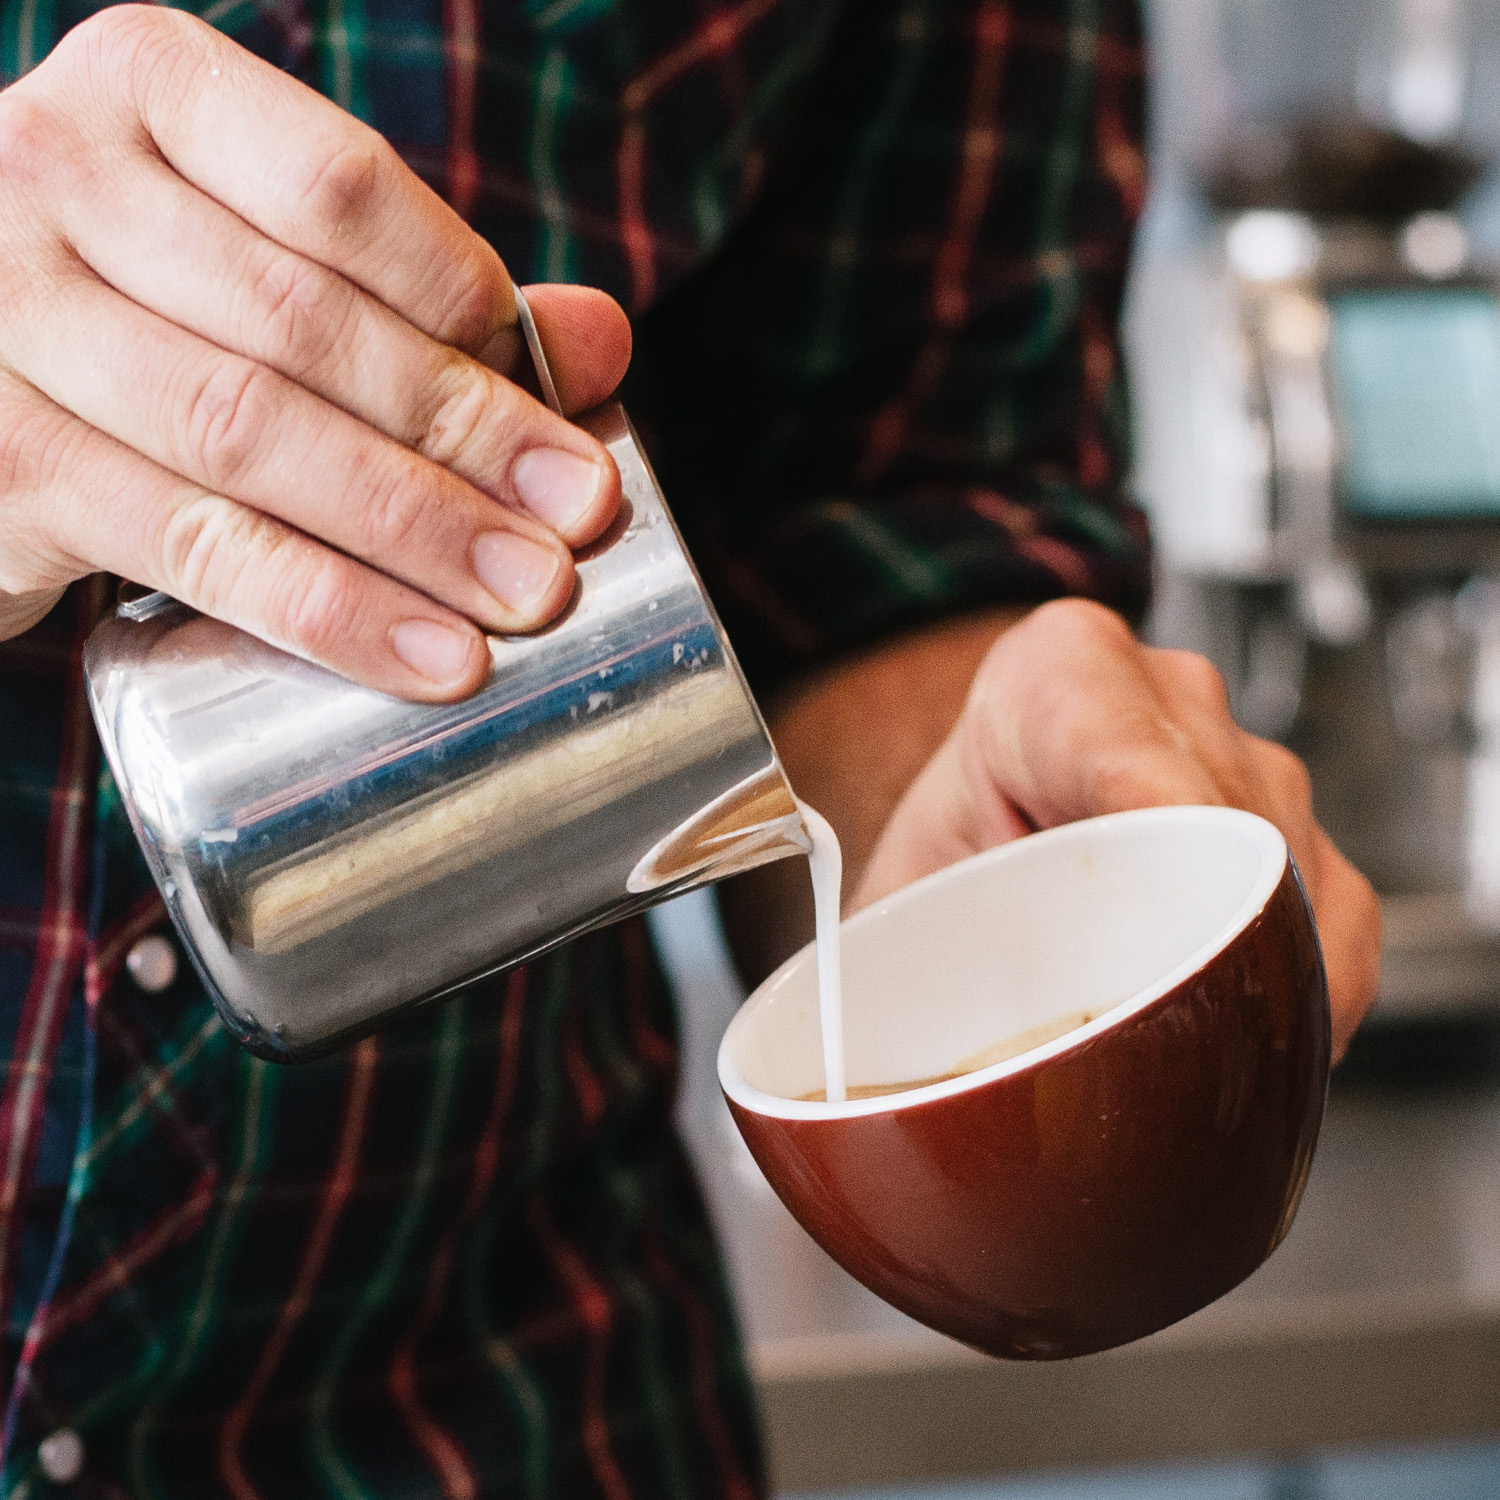
03 - Begin Gentle Pour
Introduce your milk and foam to the cup, nice and gently.

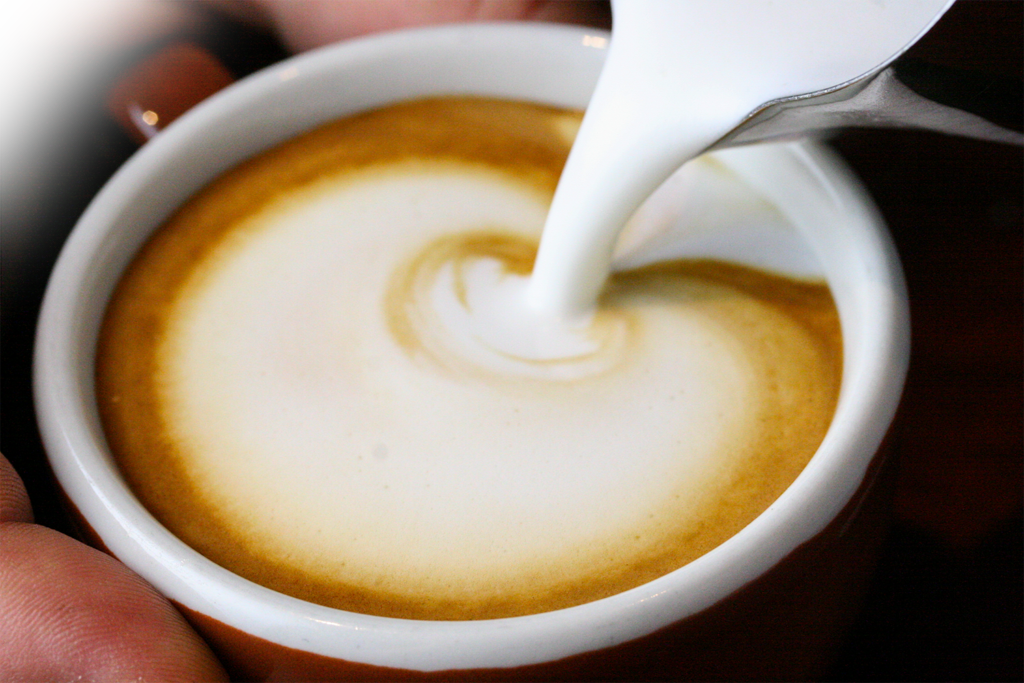
04 - Tilted Cup
With your cup tilted, you start pouring your milk into the centre of the cup.

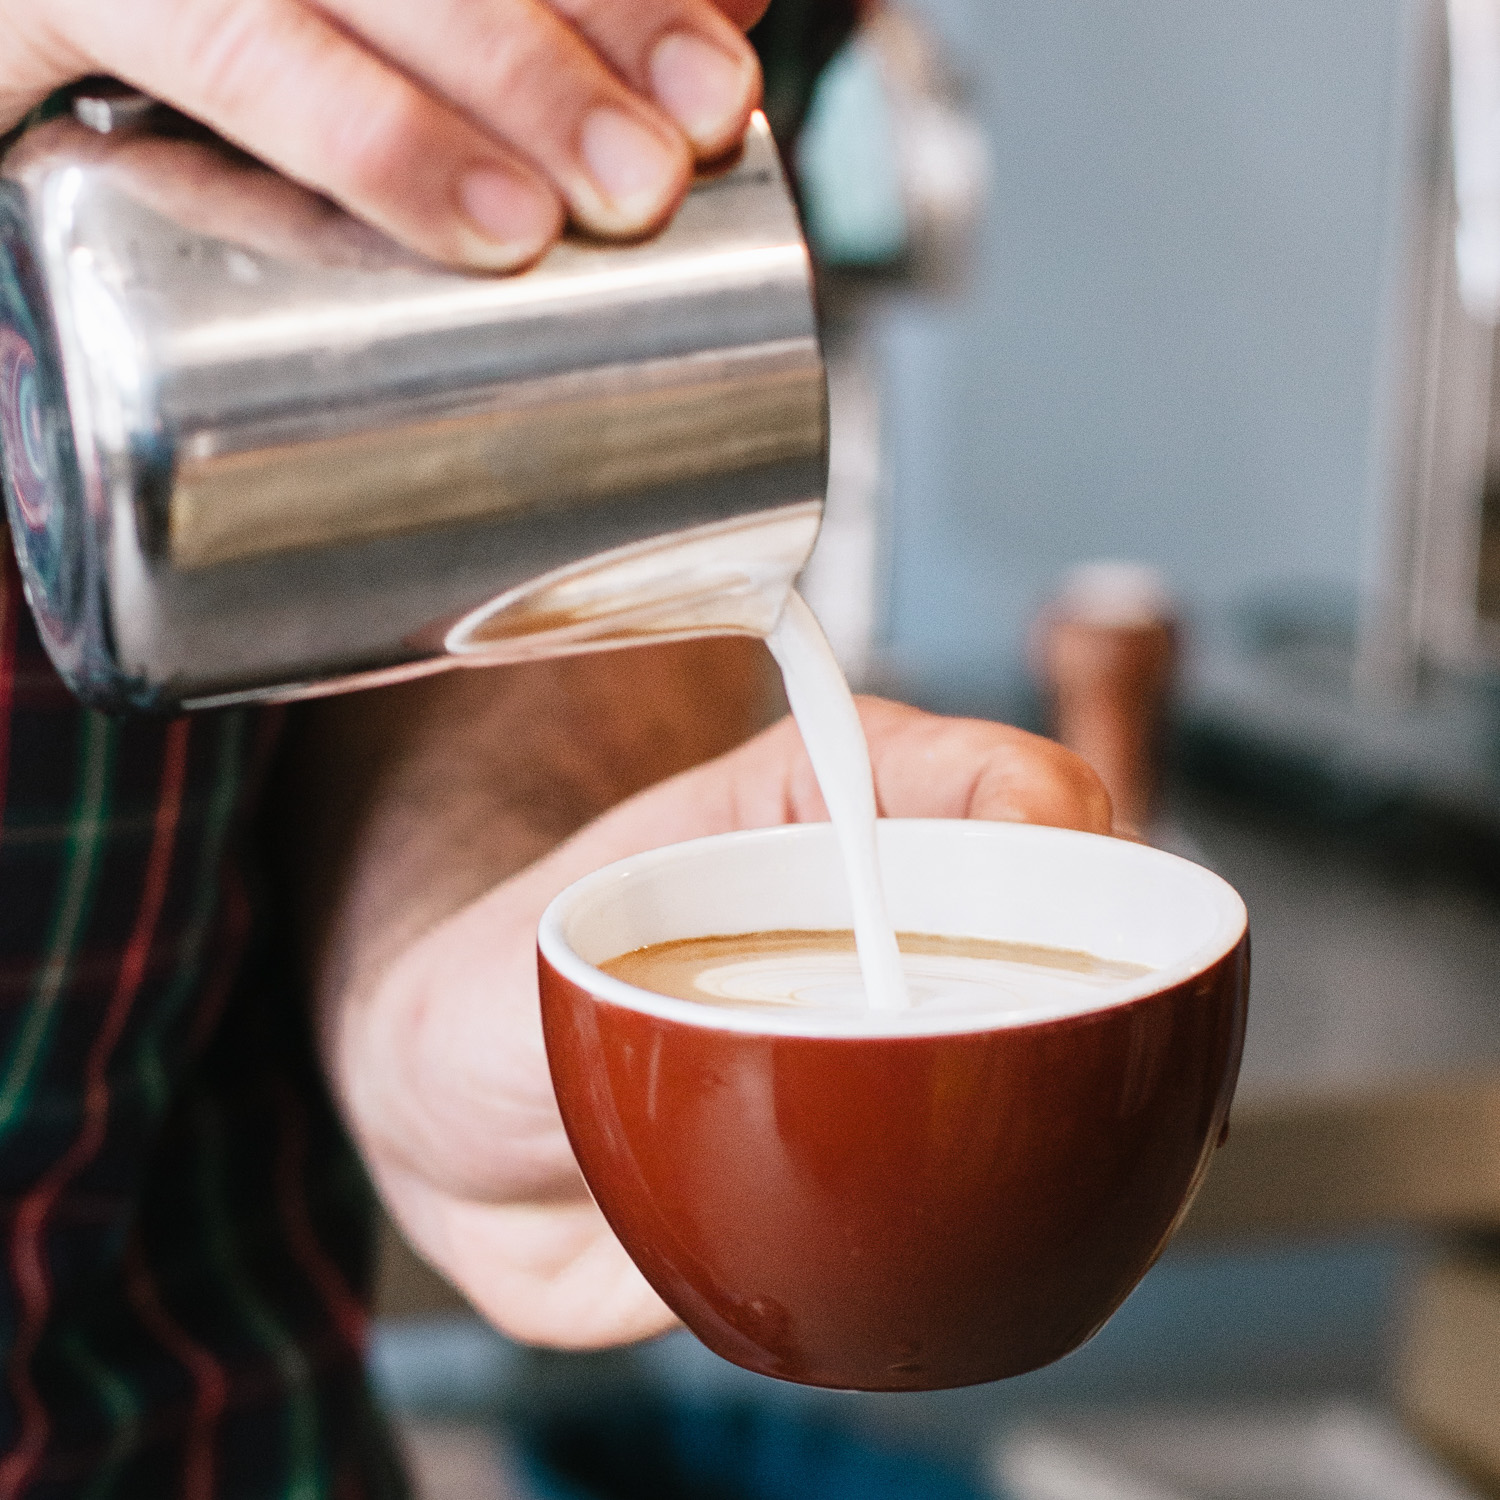
05 - Continue Free Pour
As you continue to pour, start flattening out the cup and start thinking about your "style". Here, we're going for a standard monk's head.

06 - Establishing the Monk's Cap
Continue pouring and have the cup flat, and notice how the white is spreading out like a giant dot in the cup.

07 - Wet Cappuccino, Ready to Drink
Continue pouring and have the cup flat, and notice how the white is spreading out like a giant dot in the cup.


