


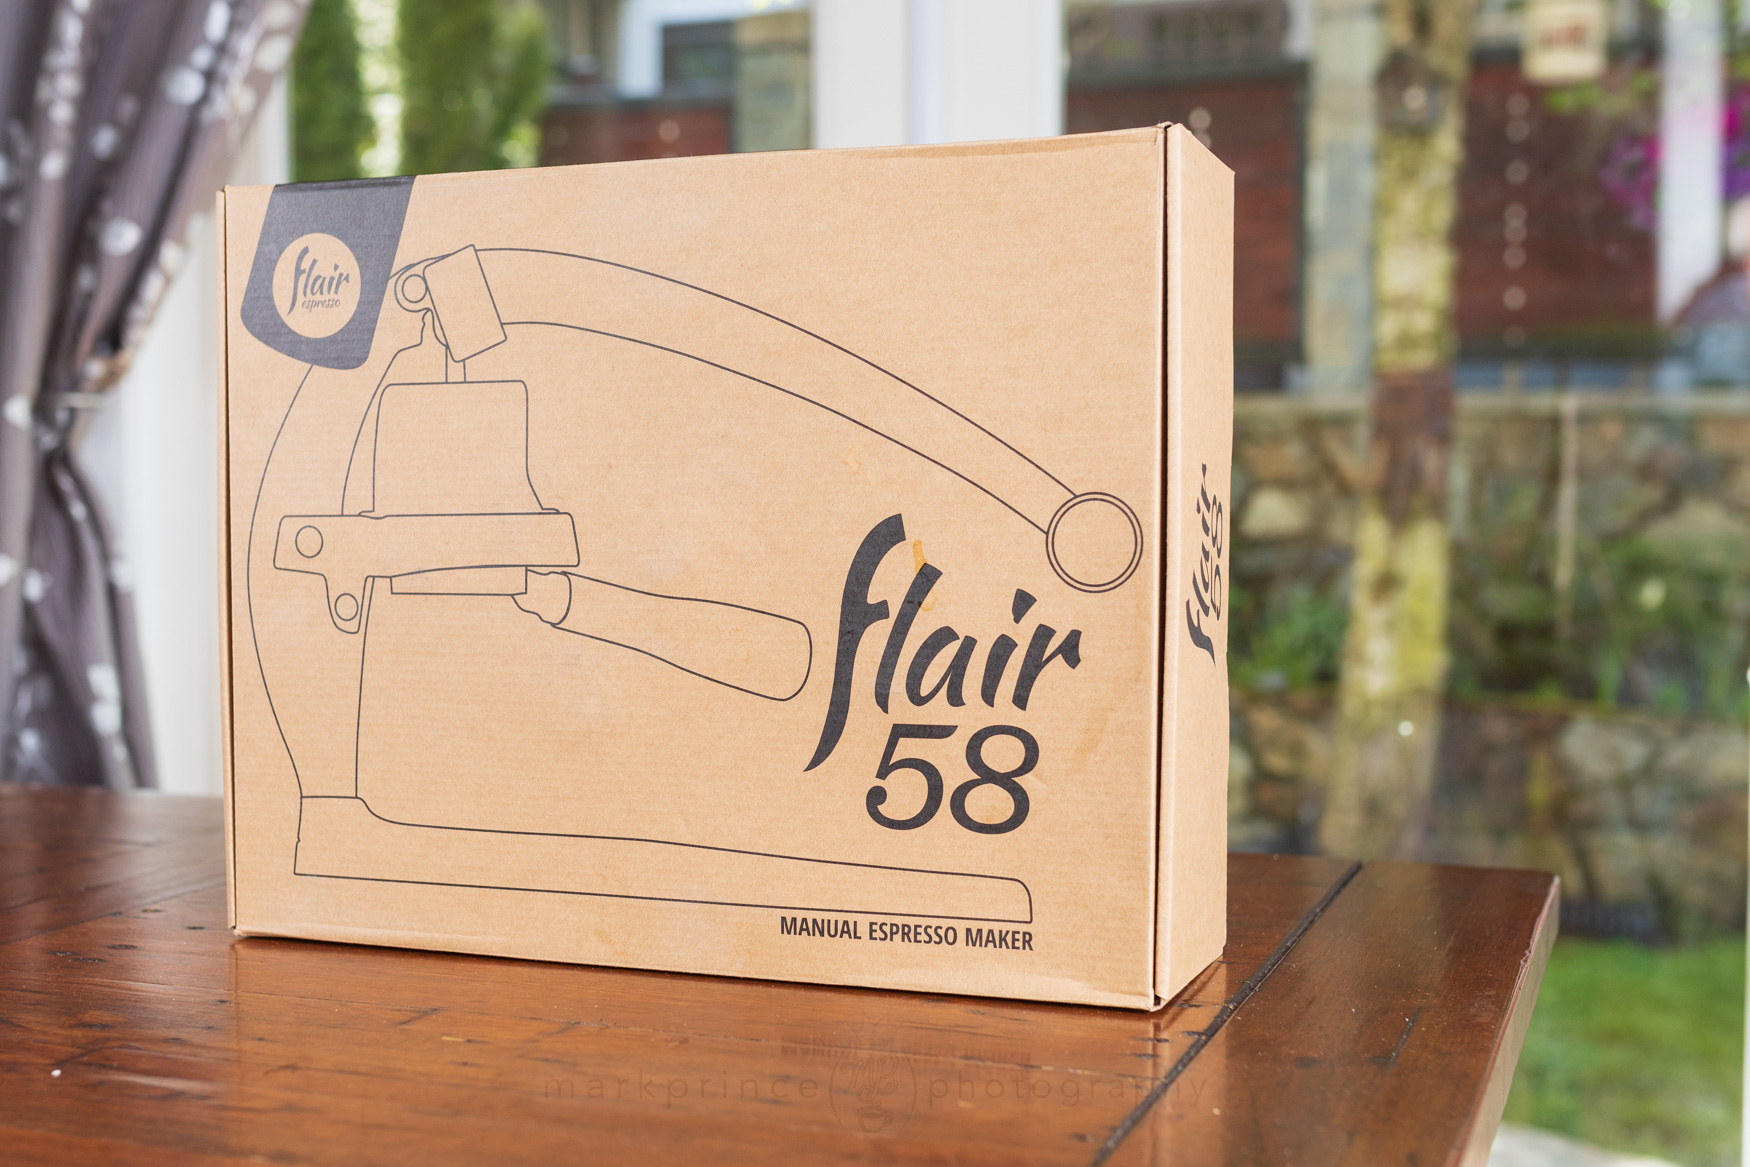
The plain cardboard box with no colour used, to ship the Flair 58. Kudos!
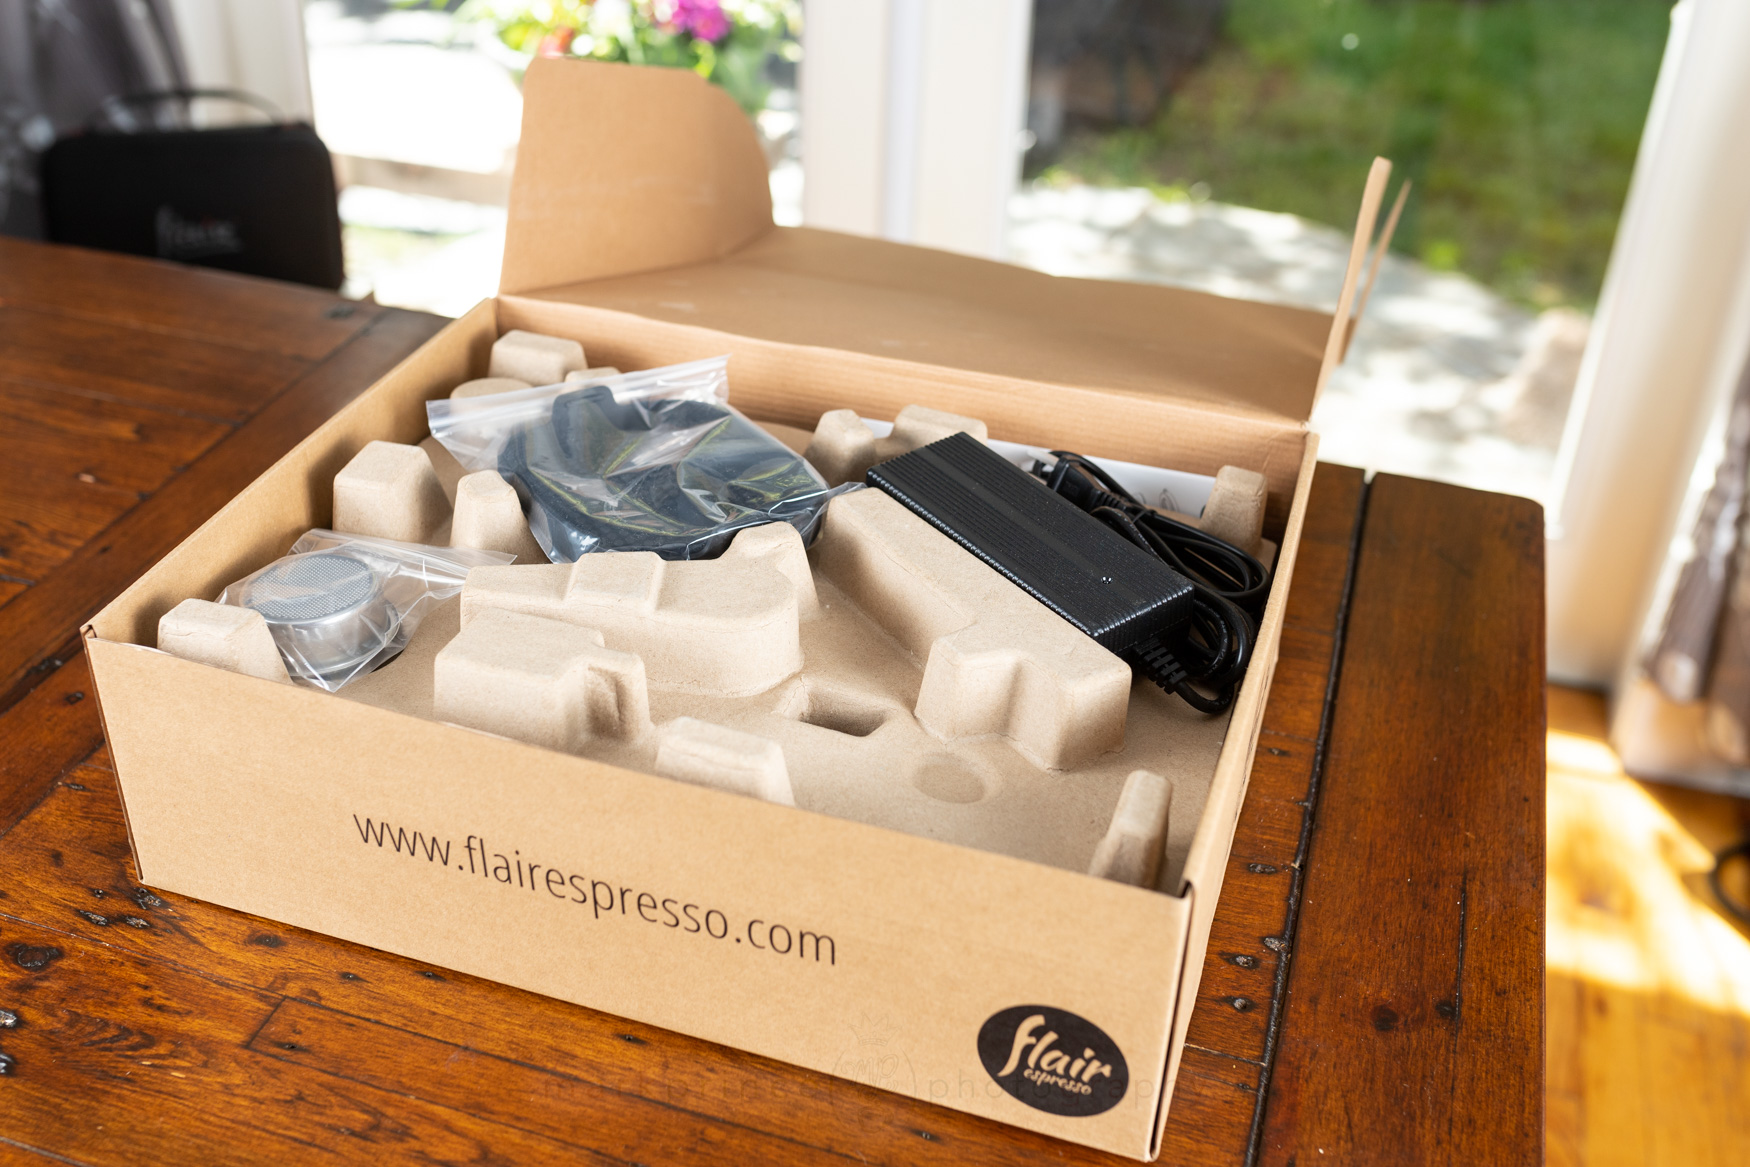
The Flair 58 Box opened reveals the company uses cardboard forms to protect the machine.
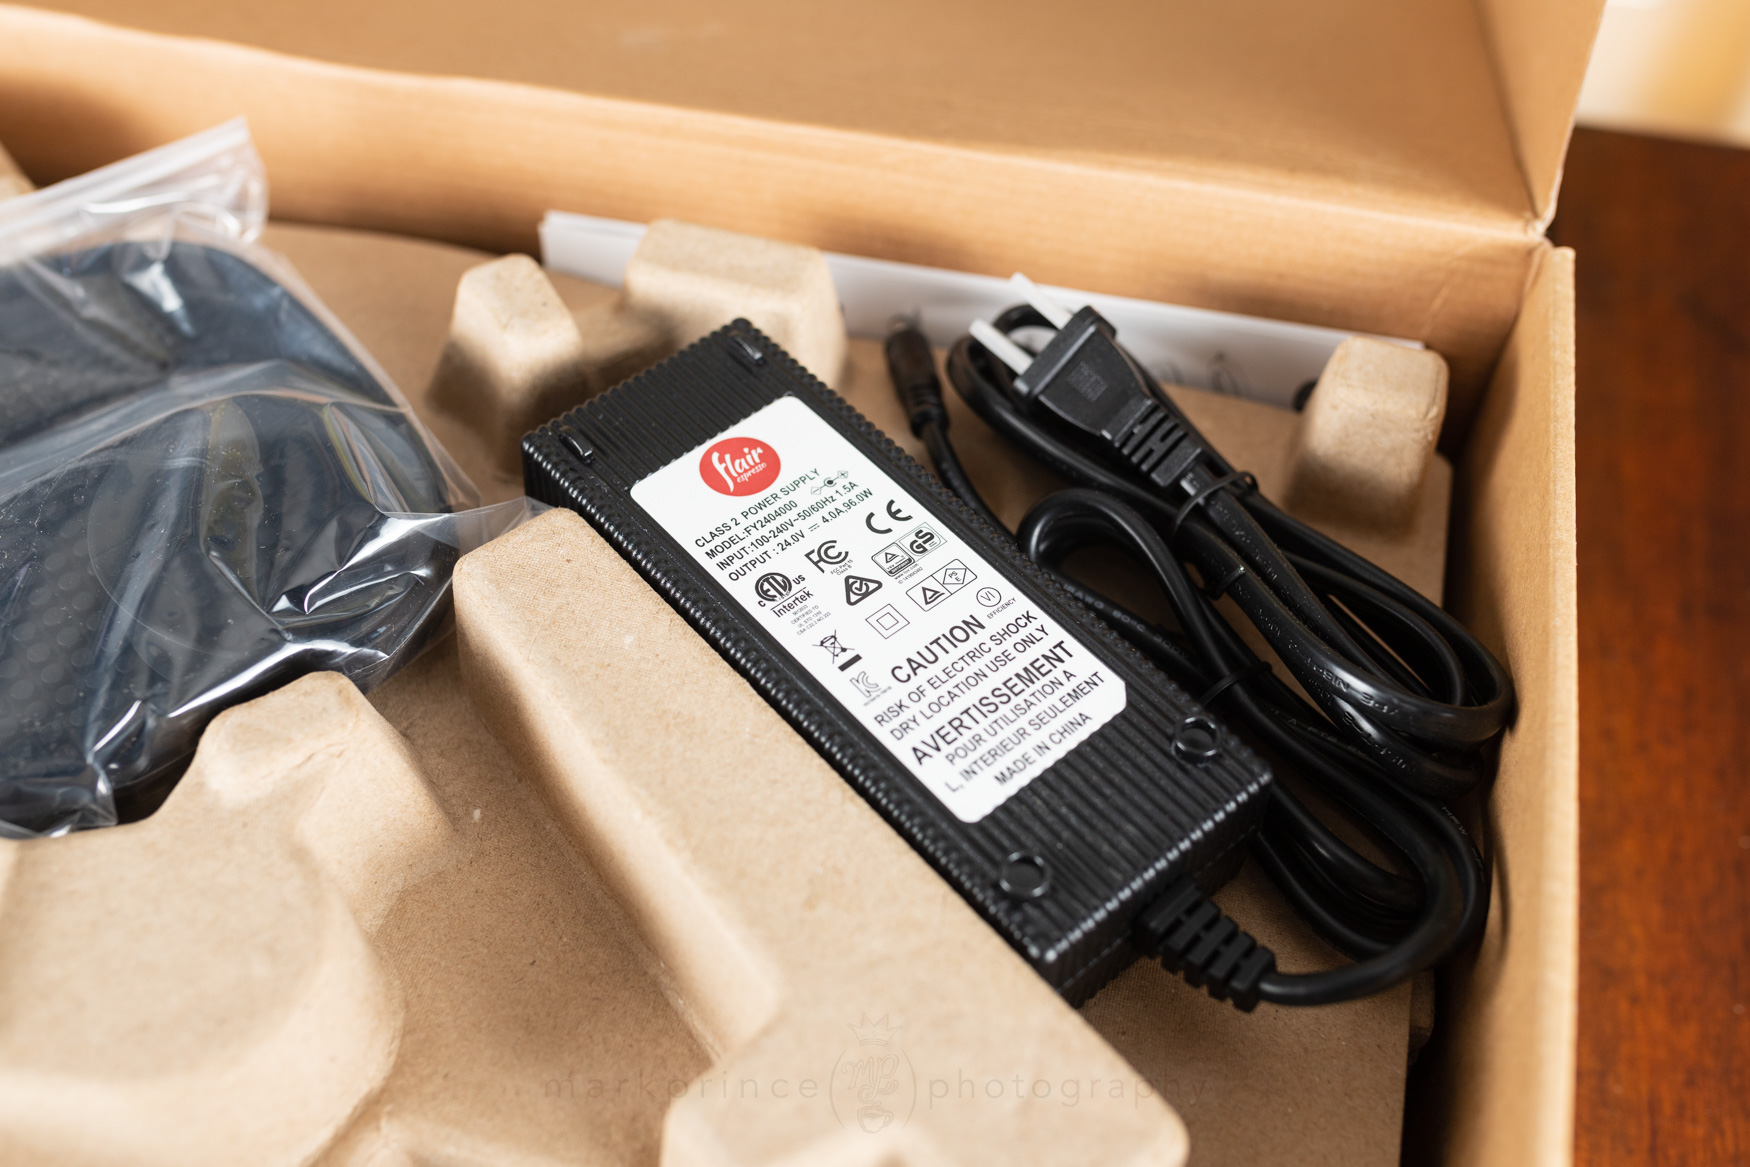
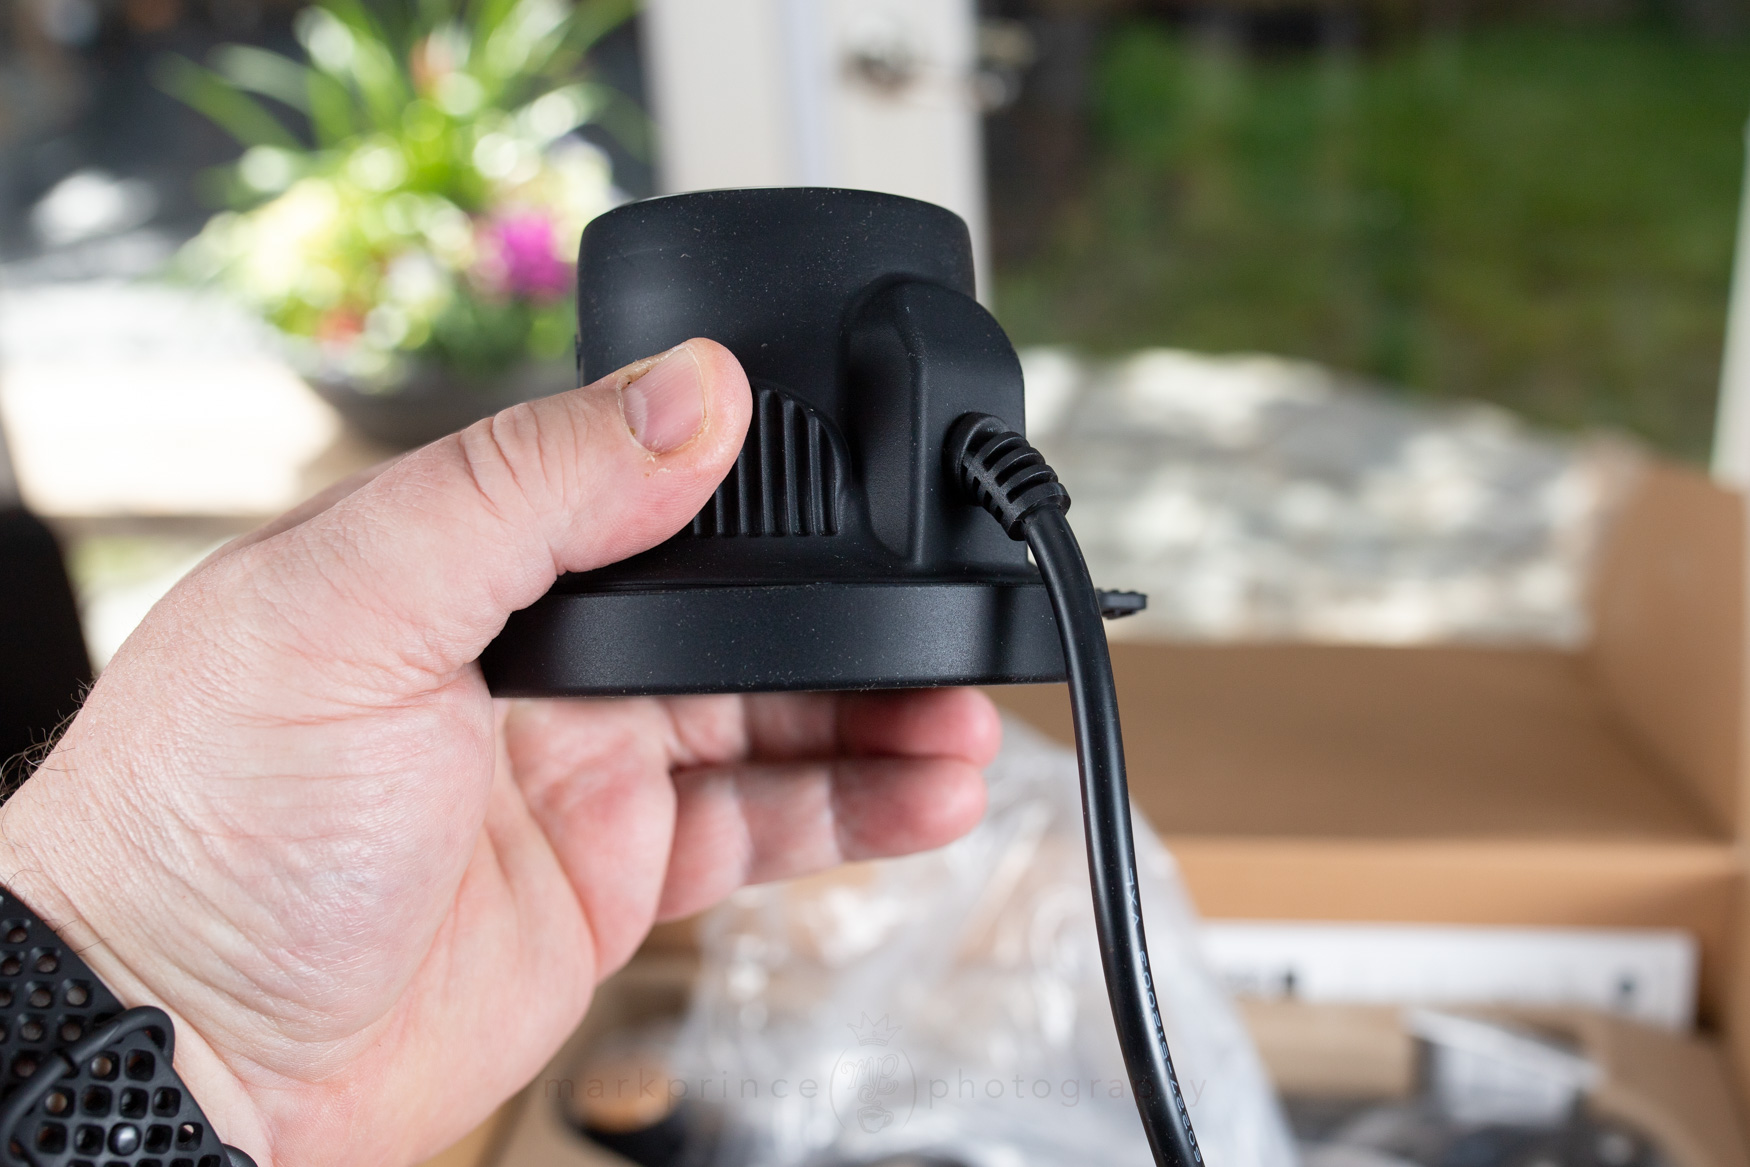
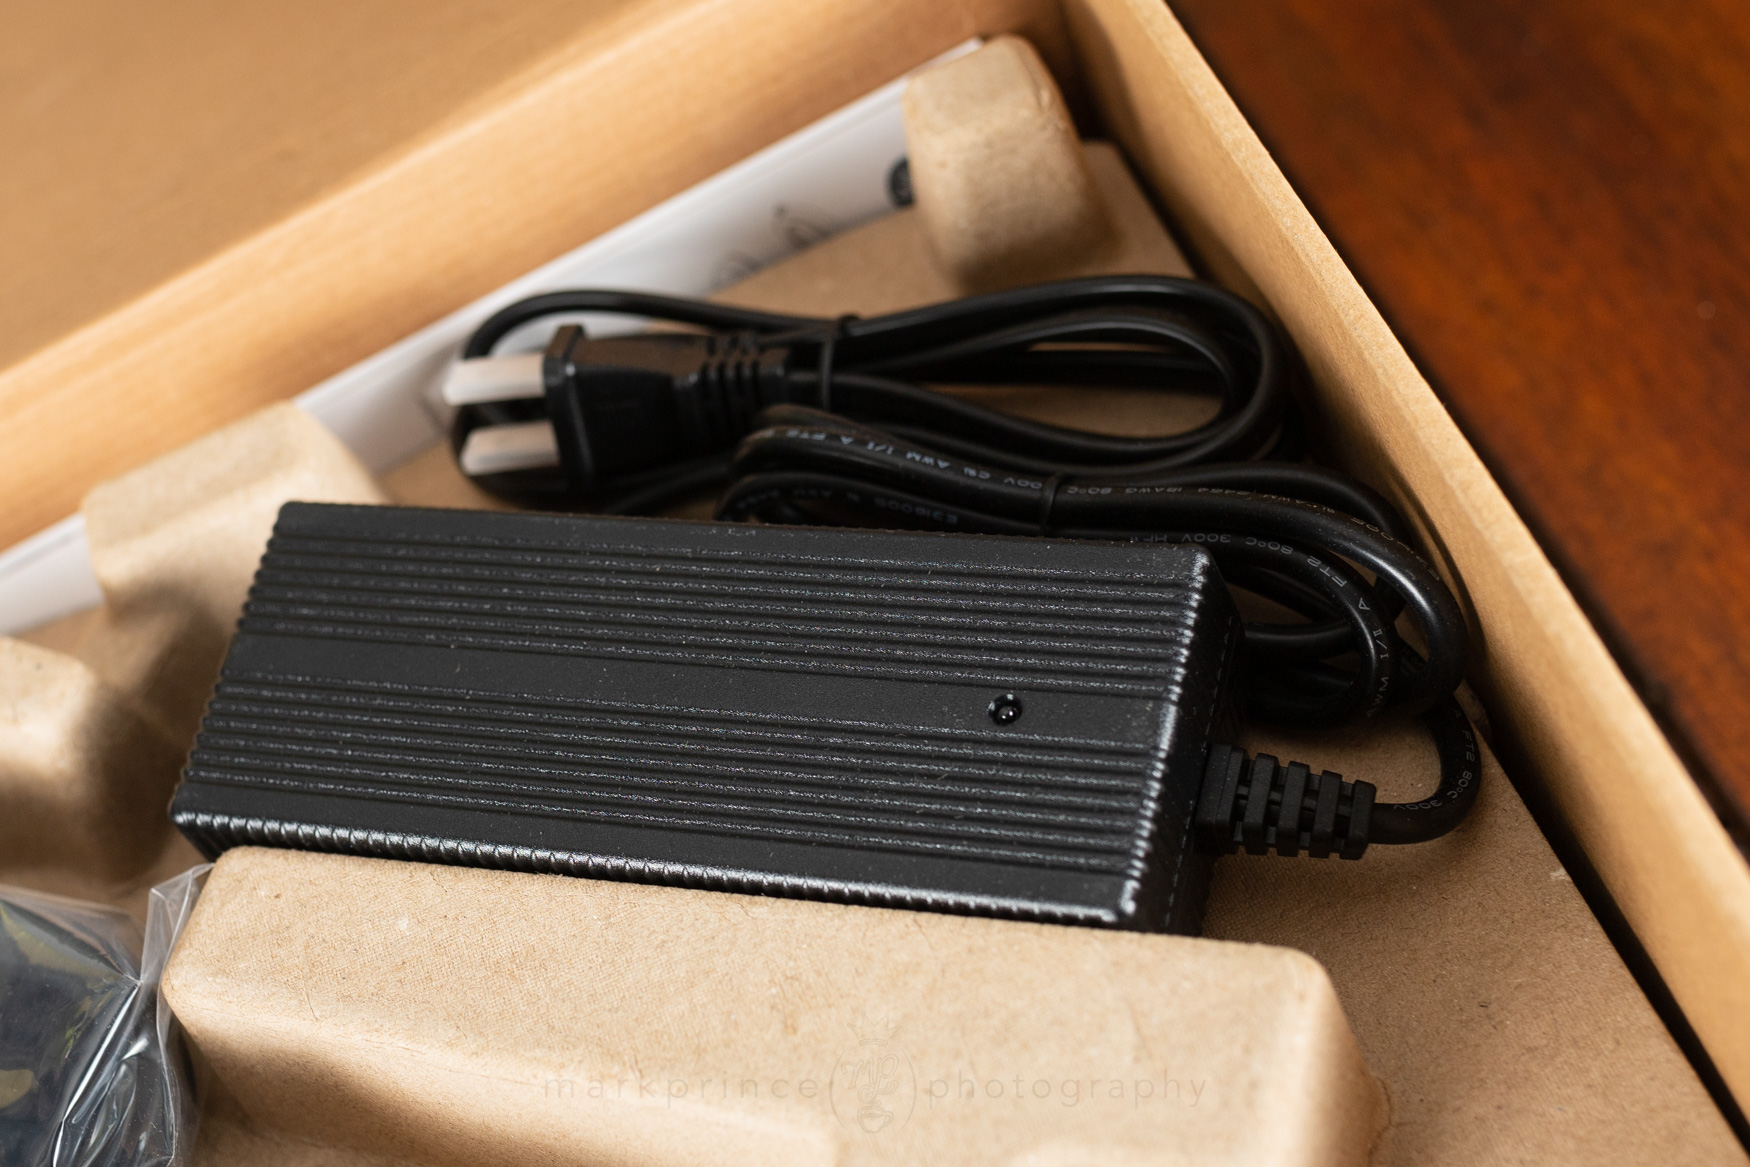
The power brick really is massive.
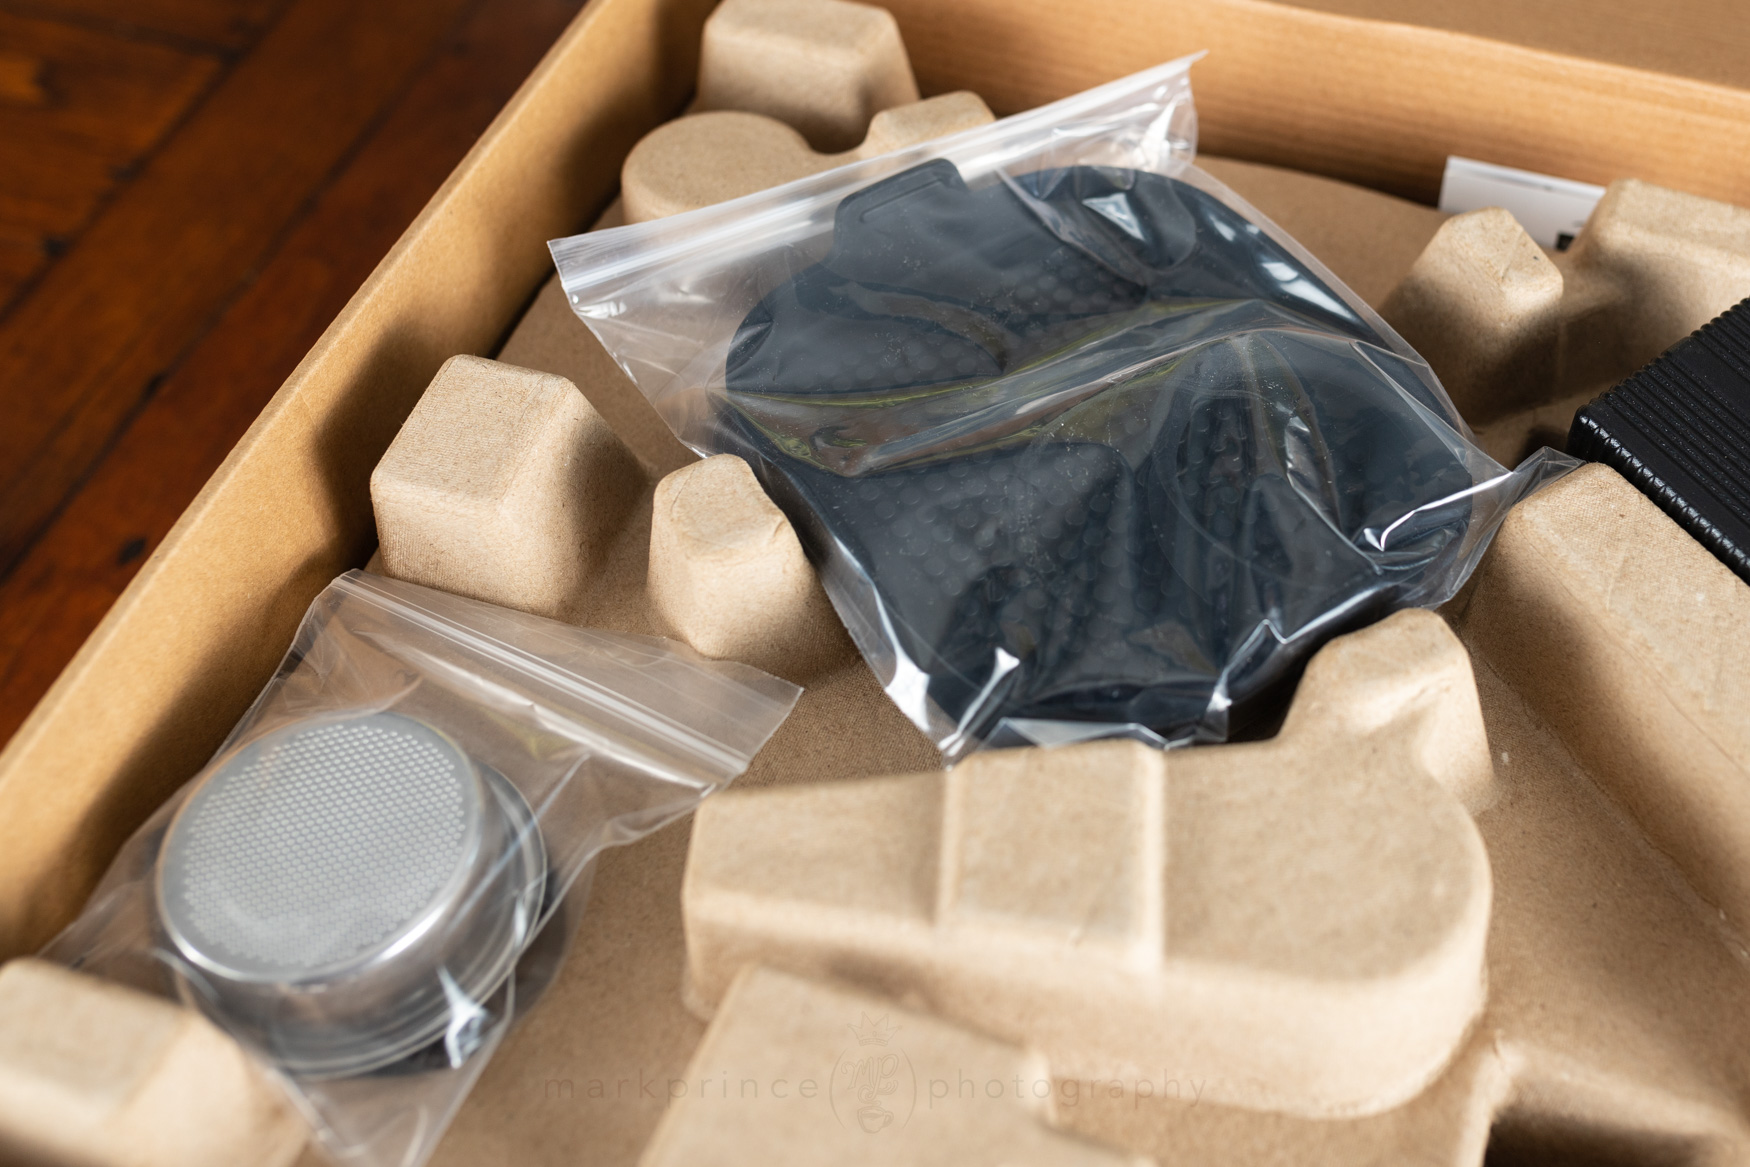
The Flair 58 silicone drip tray and spare filter baskets.
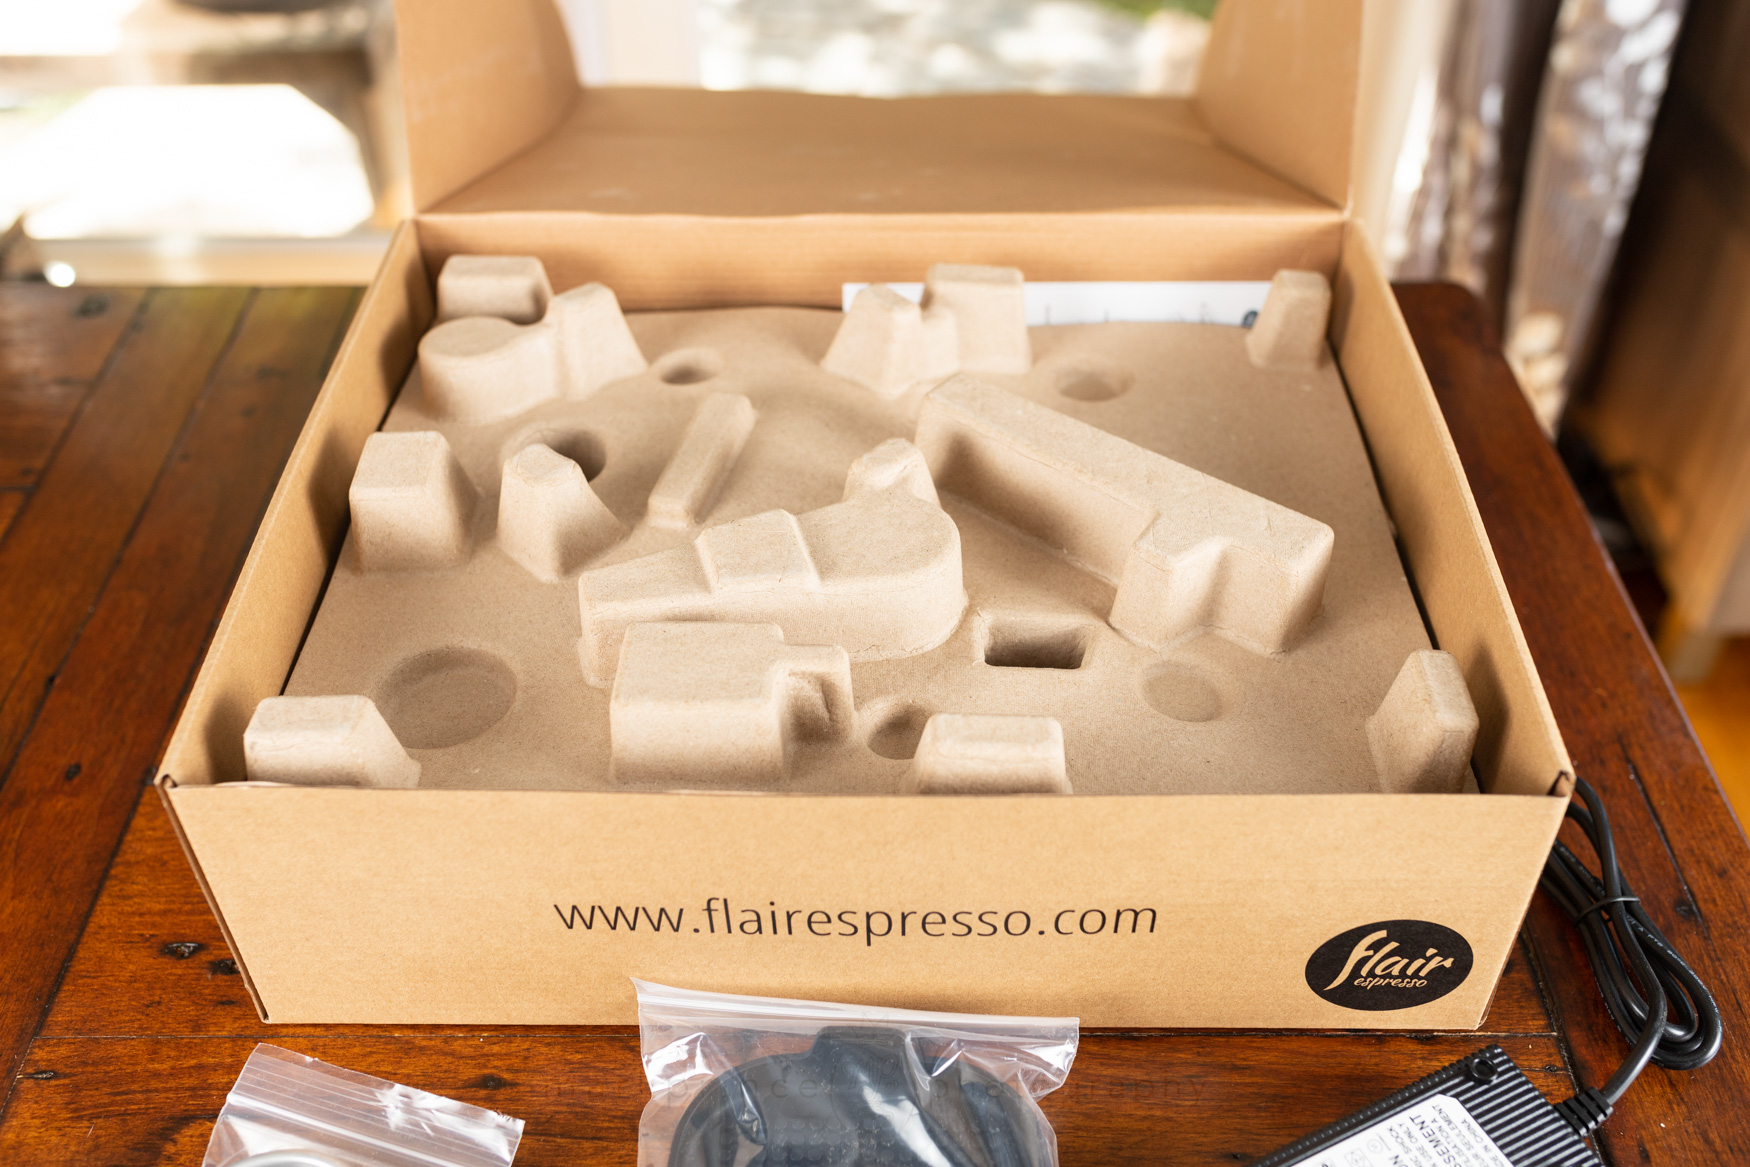
More companies need to do this.
The main parts of the Flair 58 espresso machine, wrapped in protective plastic. Compostable bags would be better.
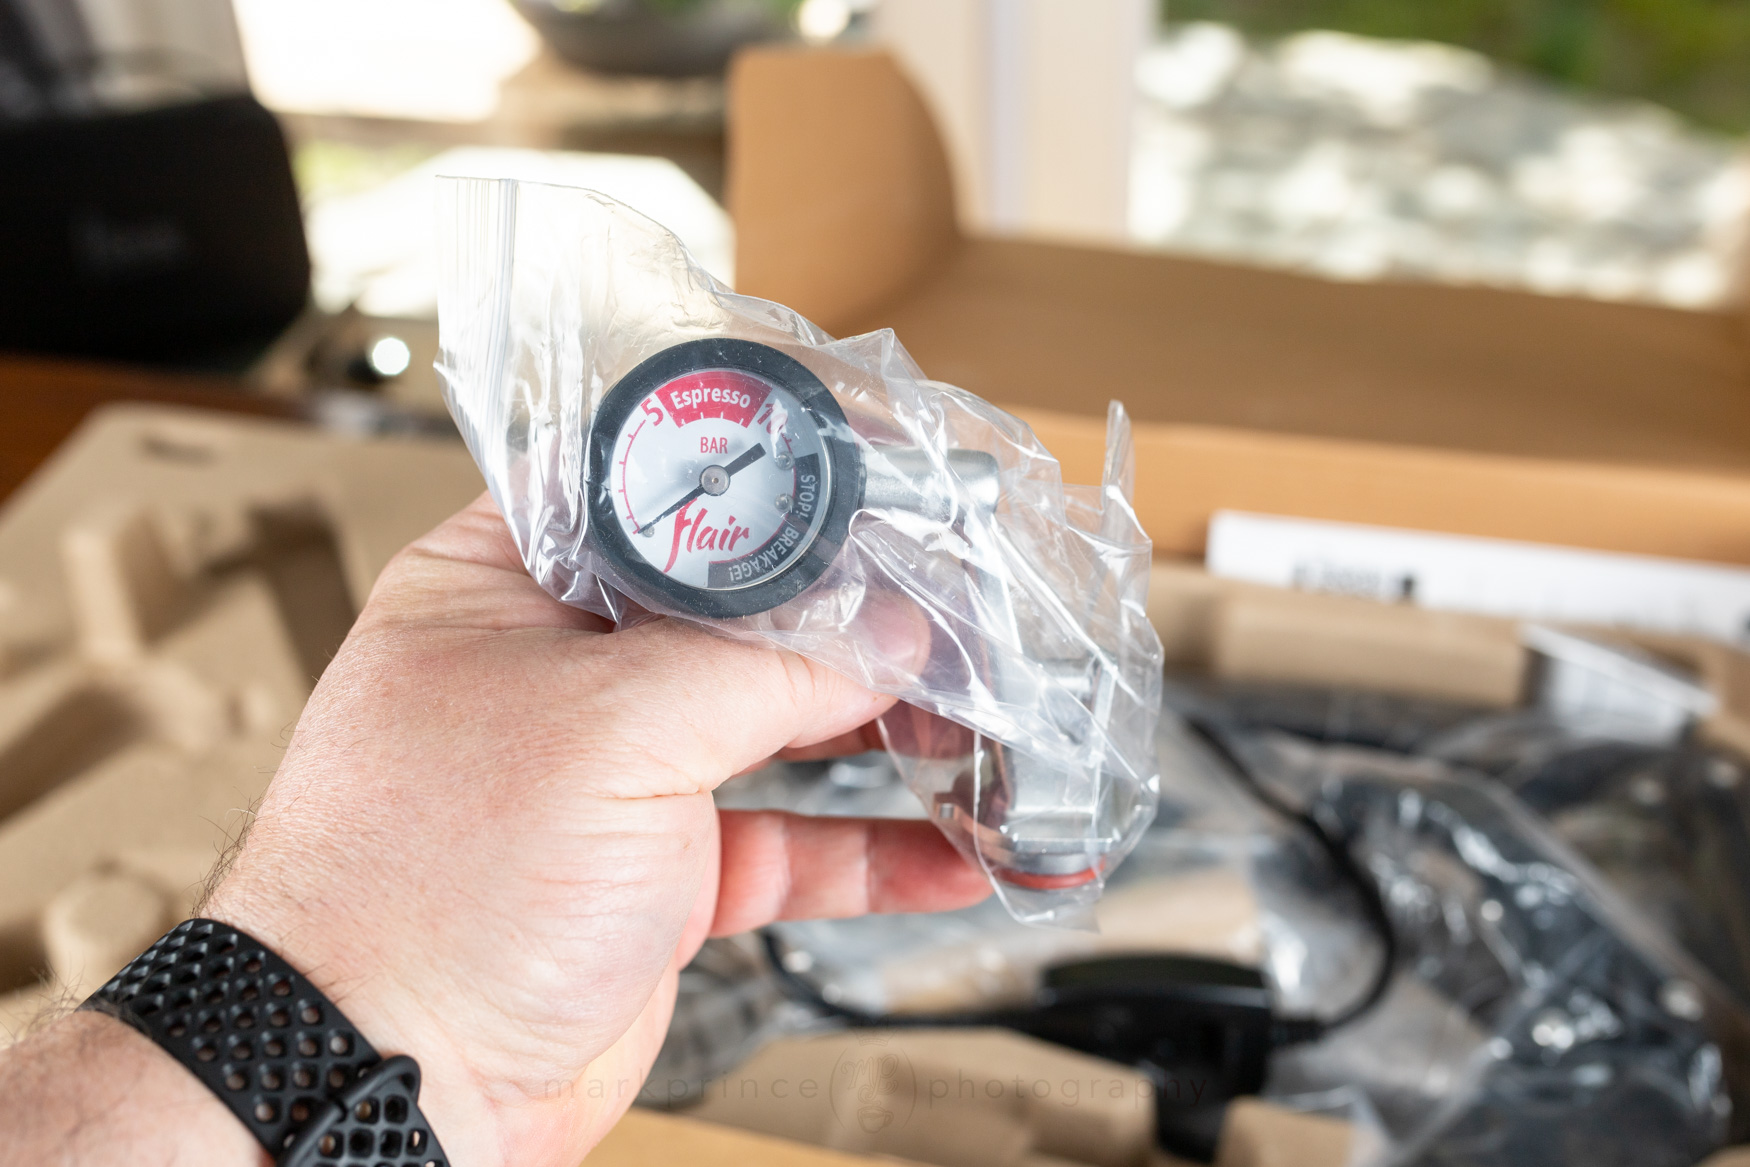
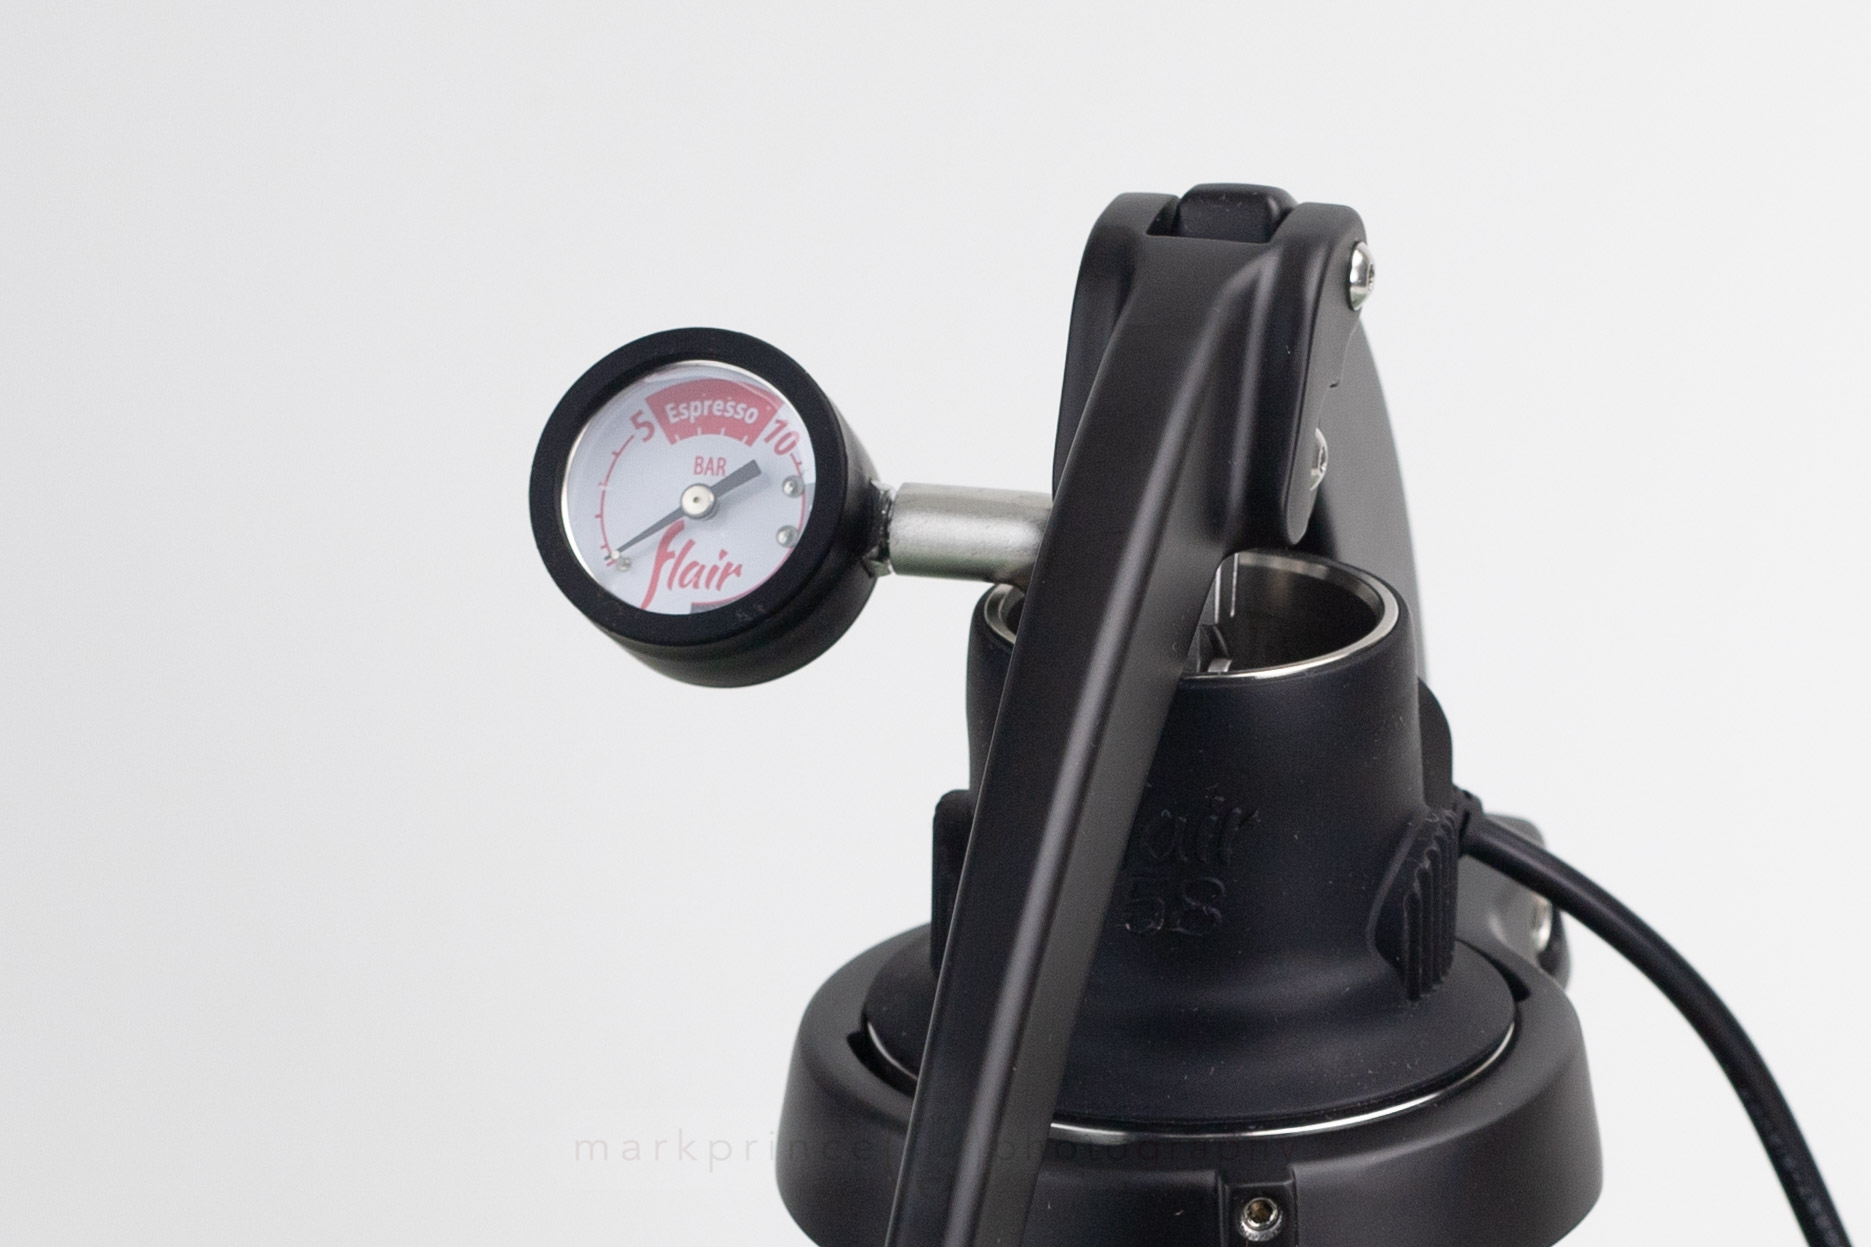
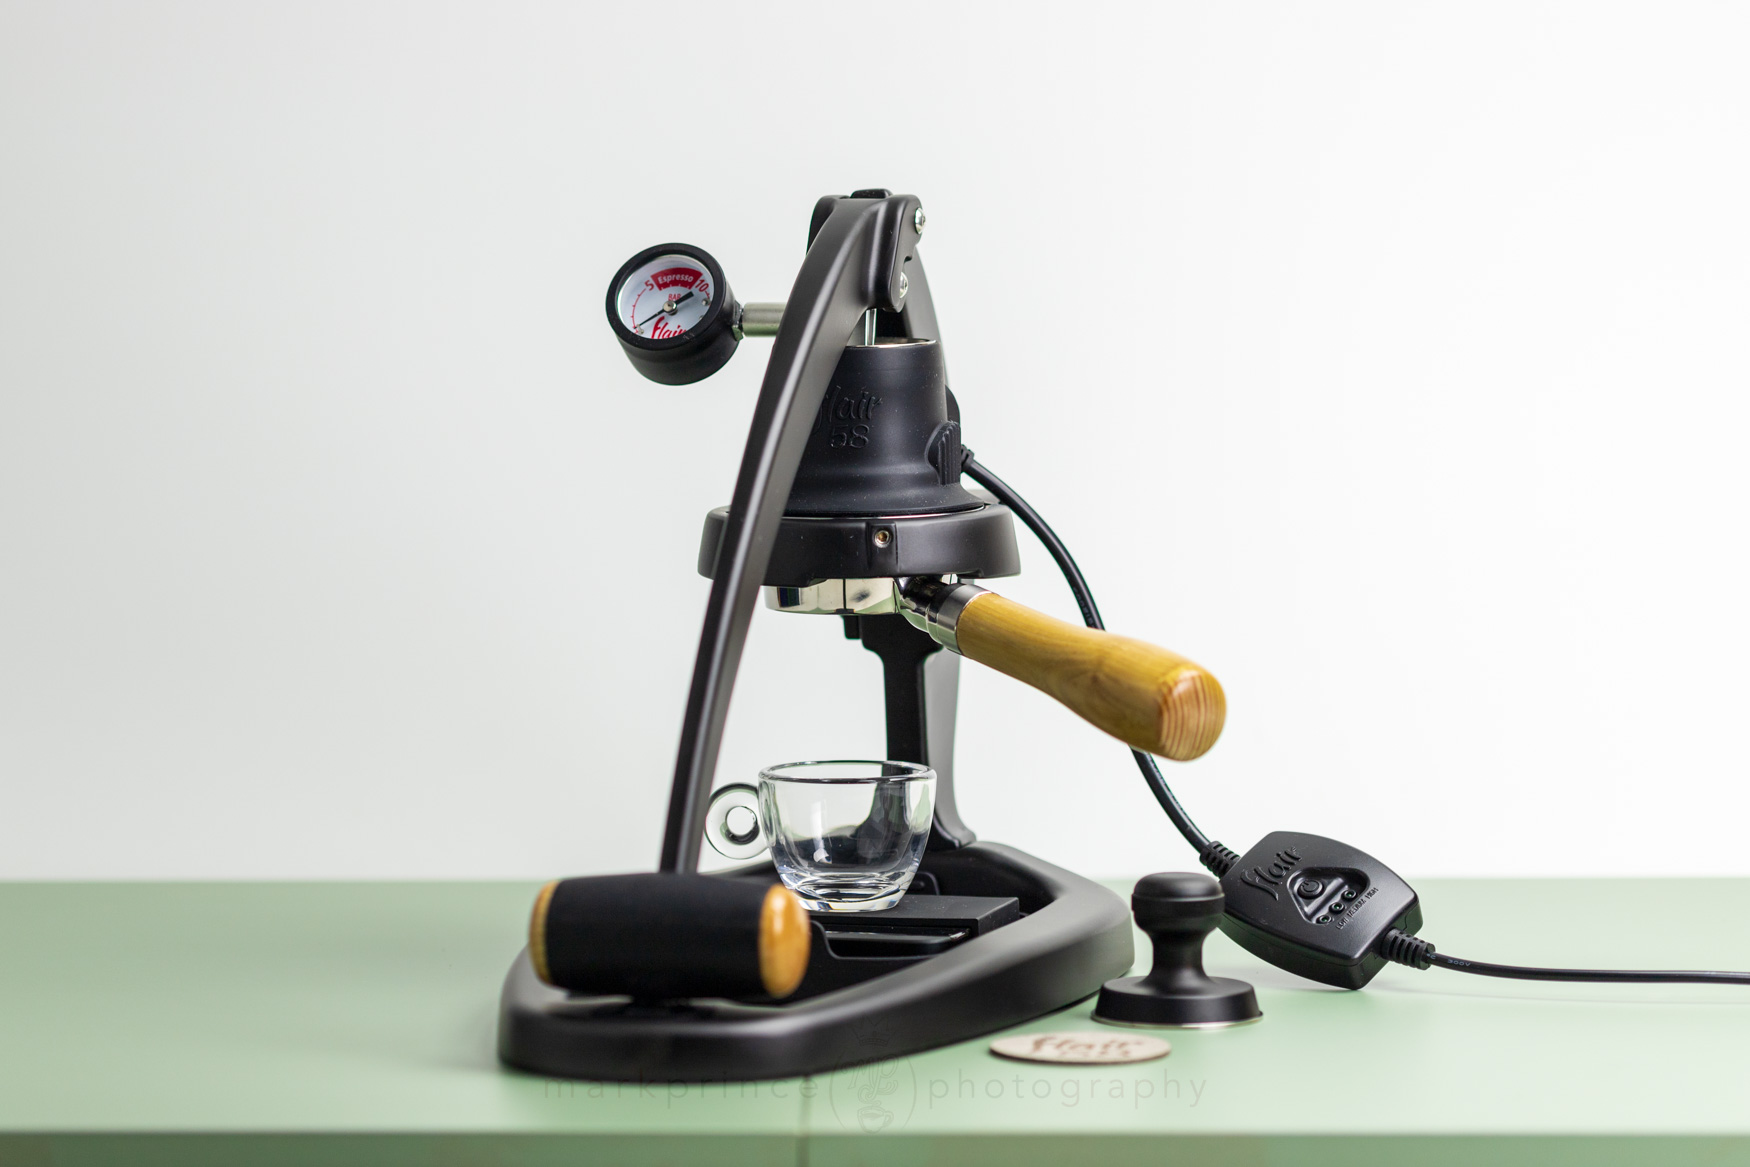
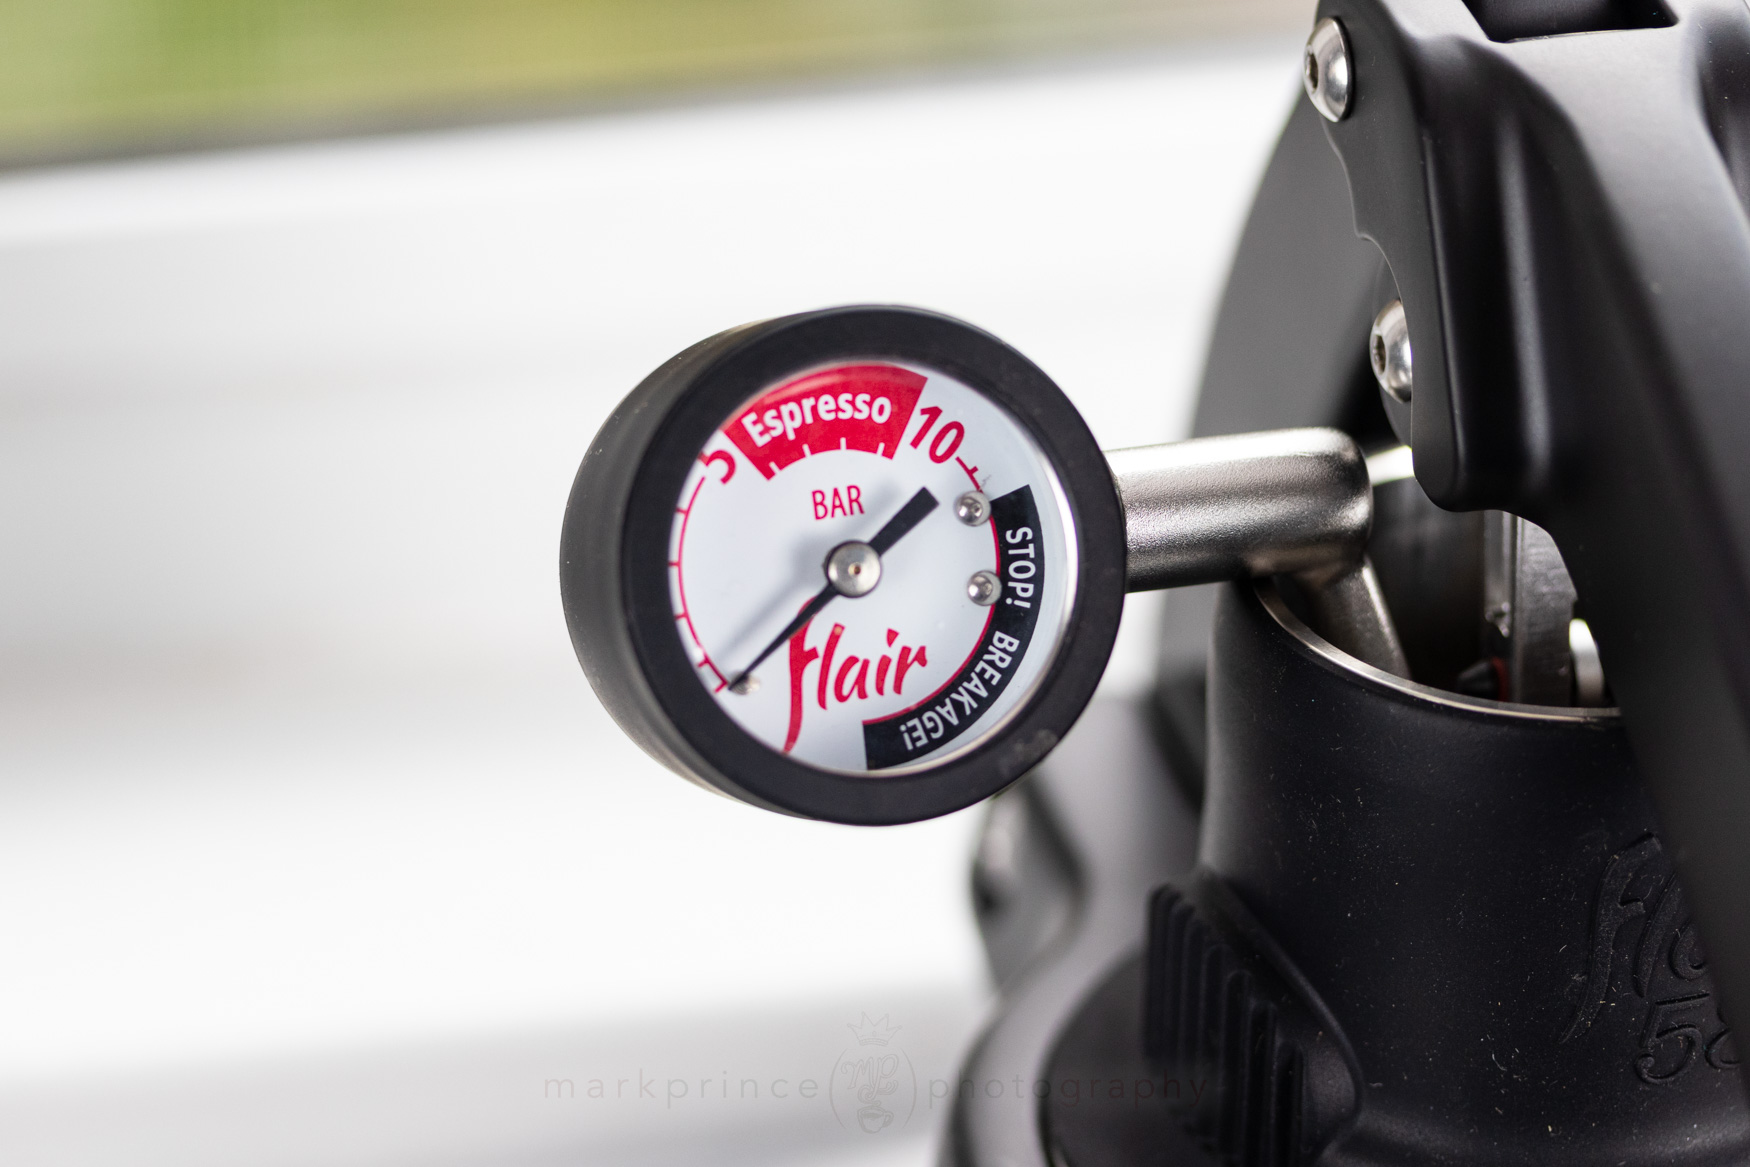
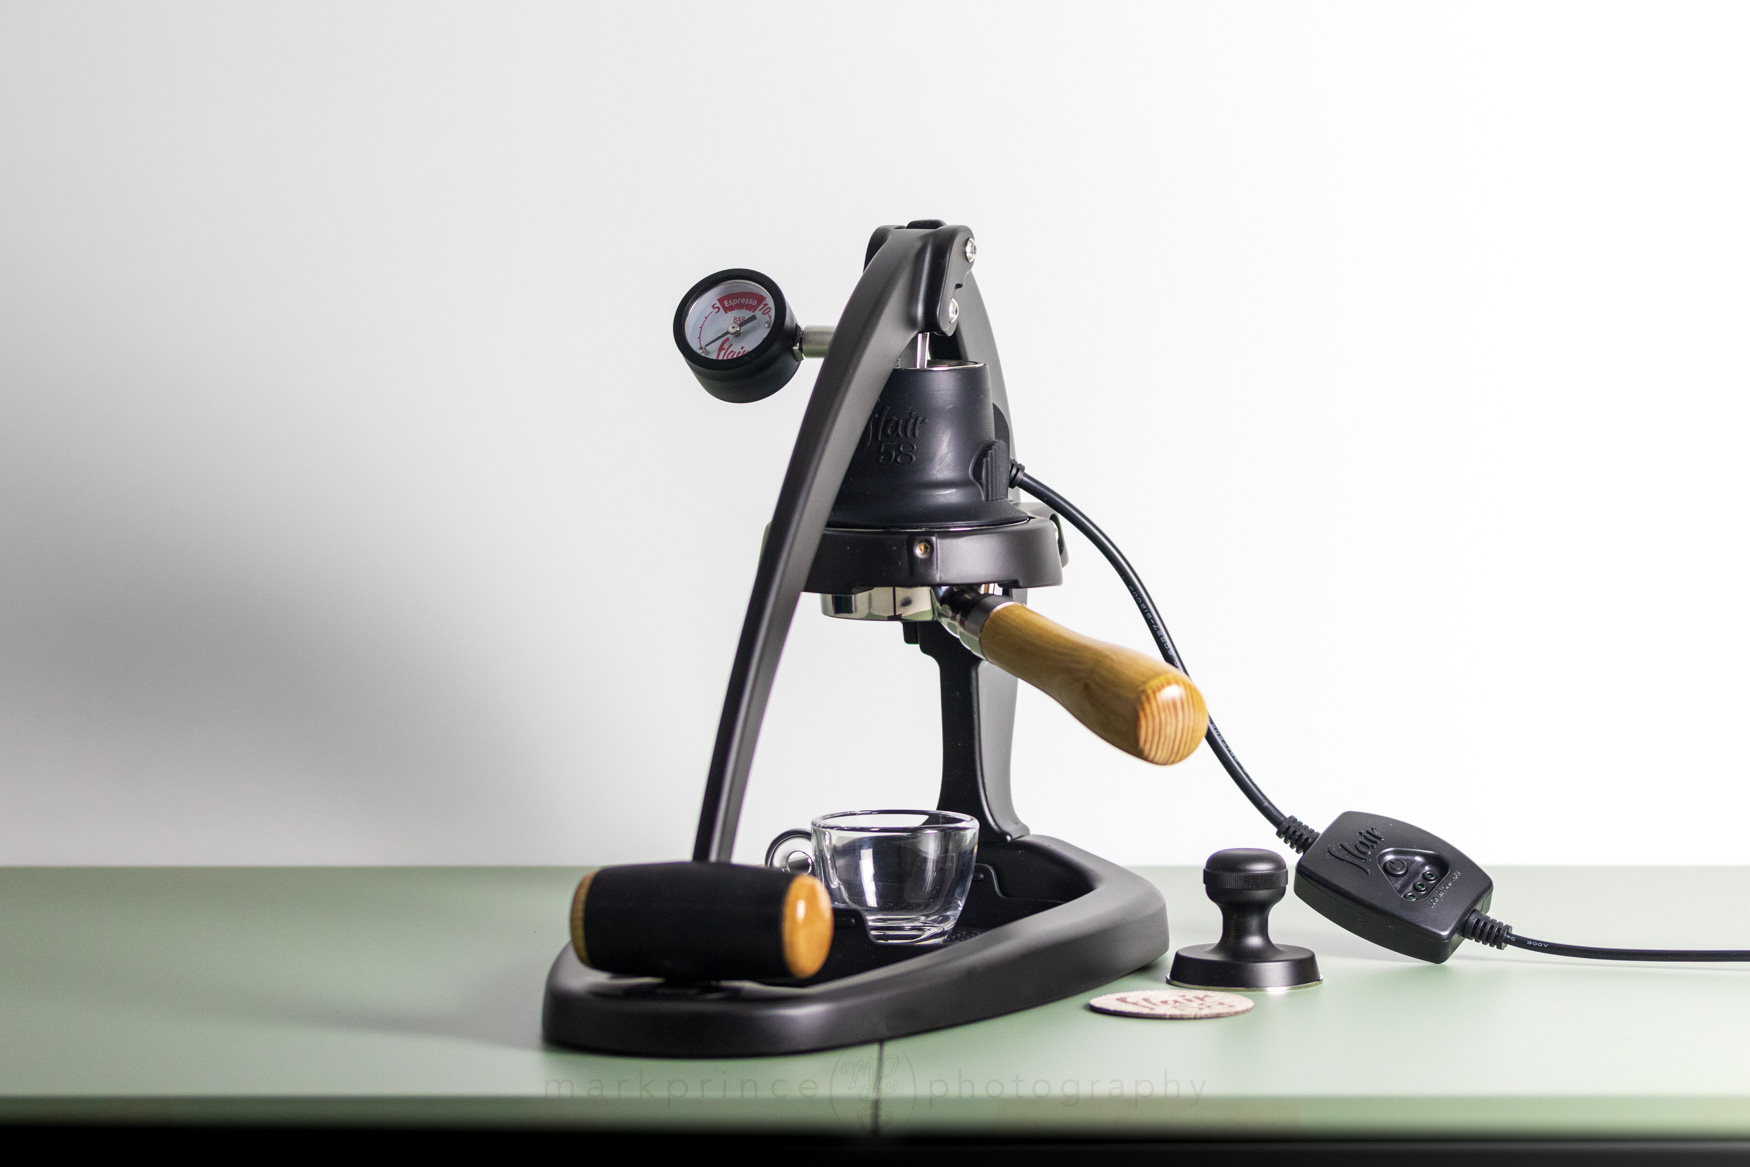
This is an absolute crucial tool for your espresso adventures - the pressure gauge.
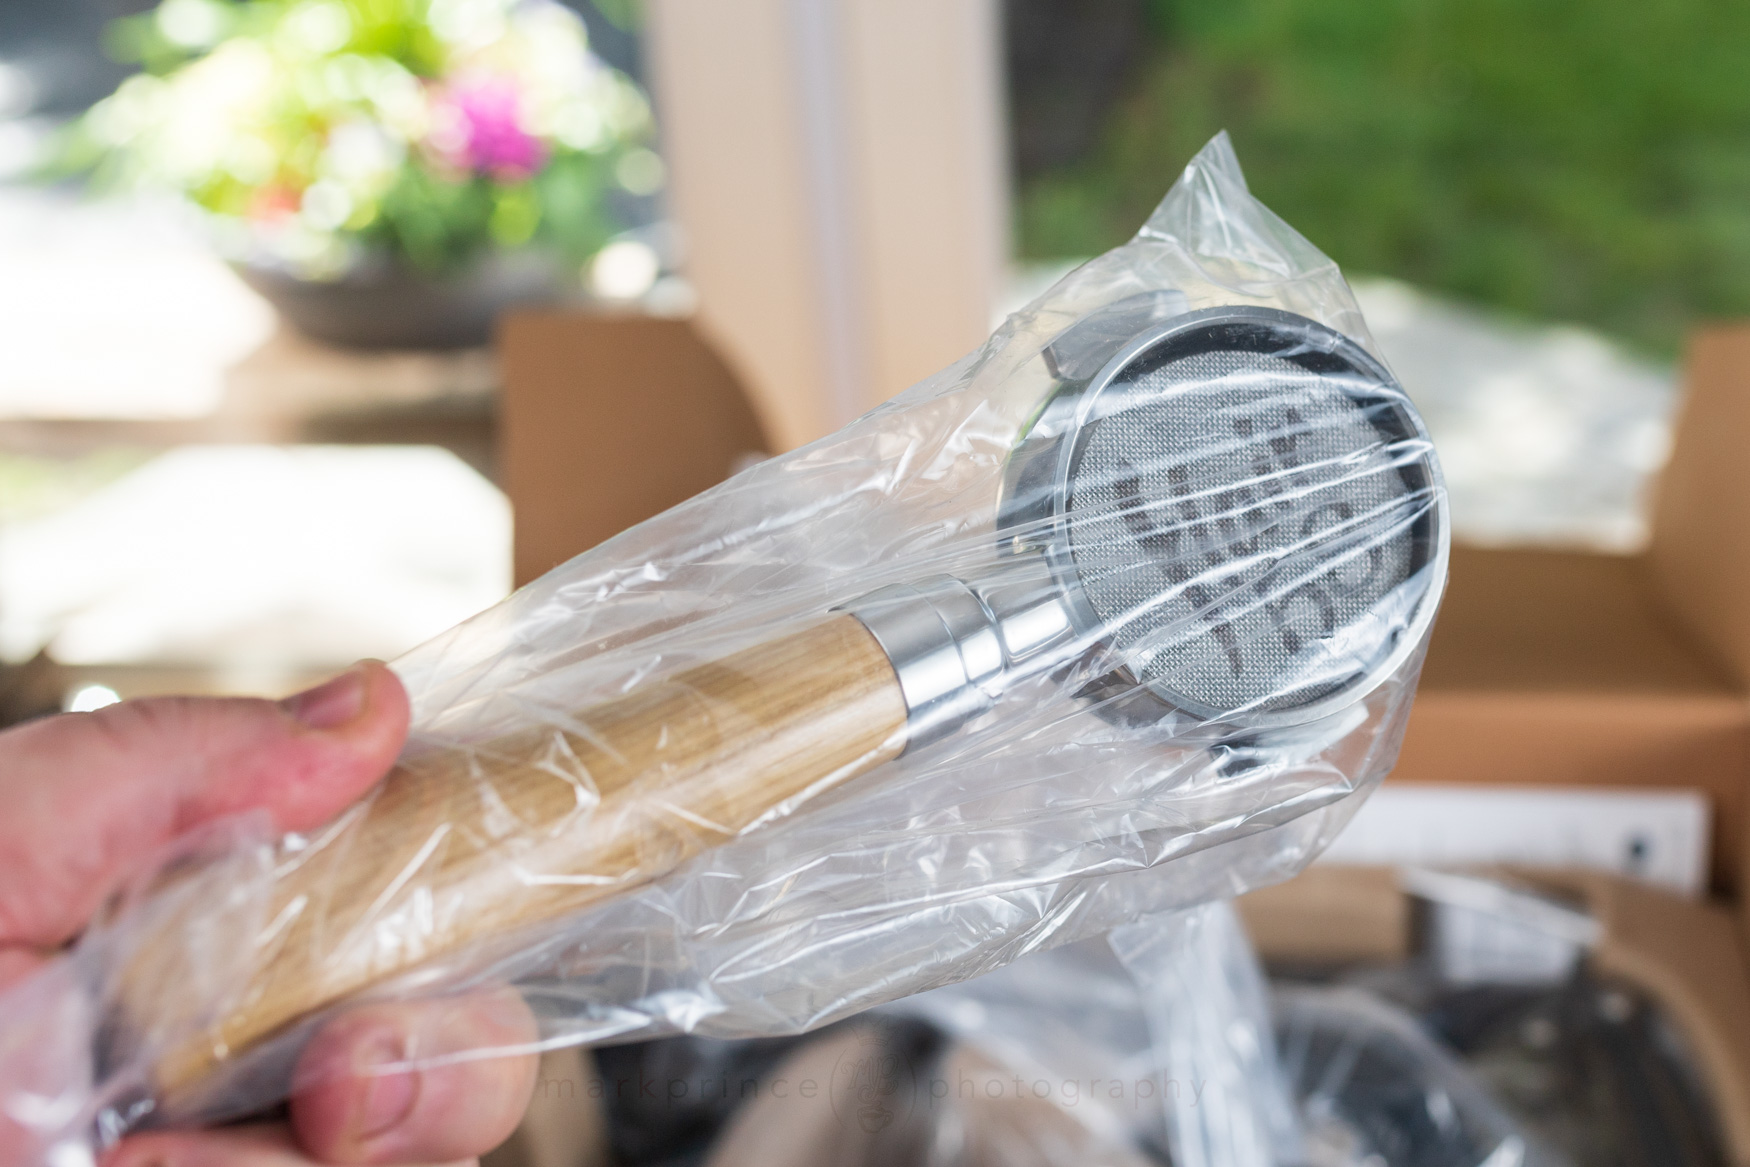
The Flair 58 portafilter with the puck screen enclosed.
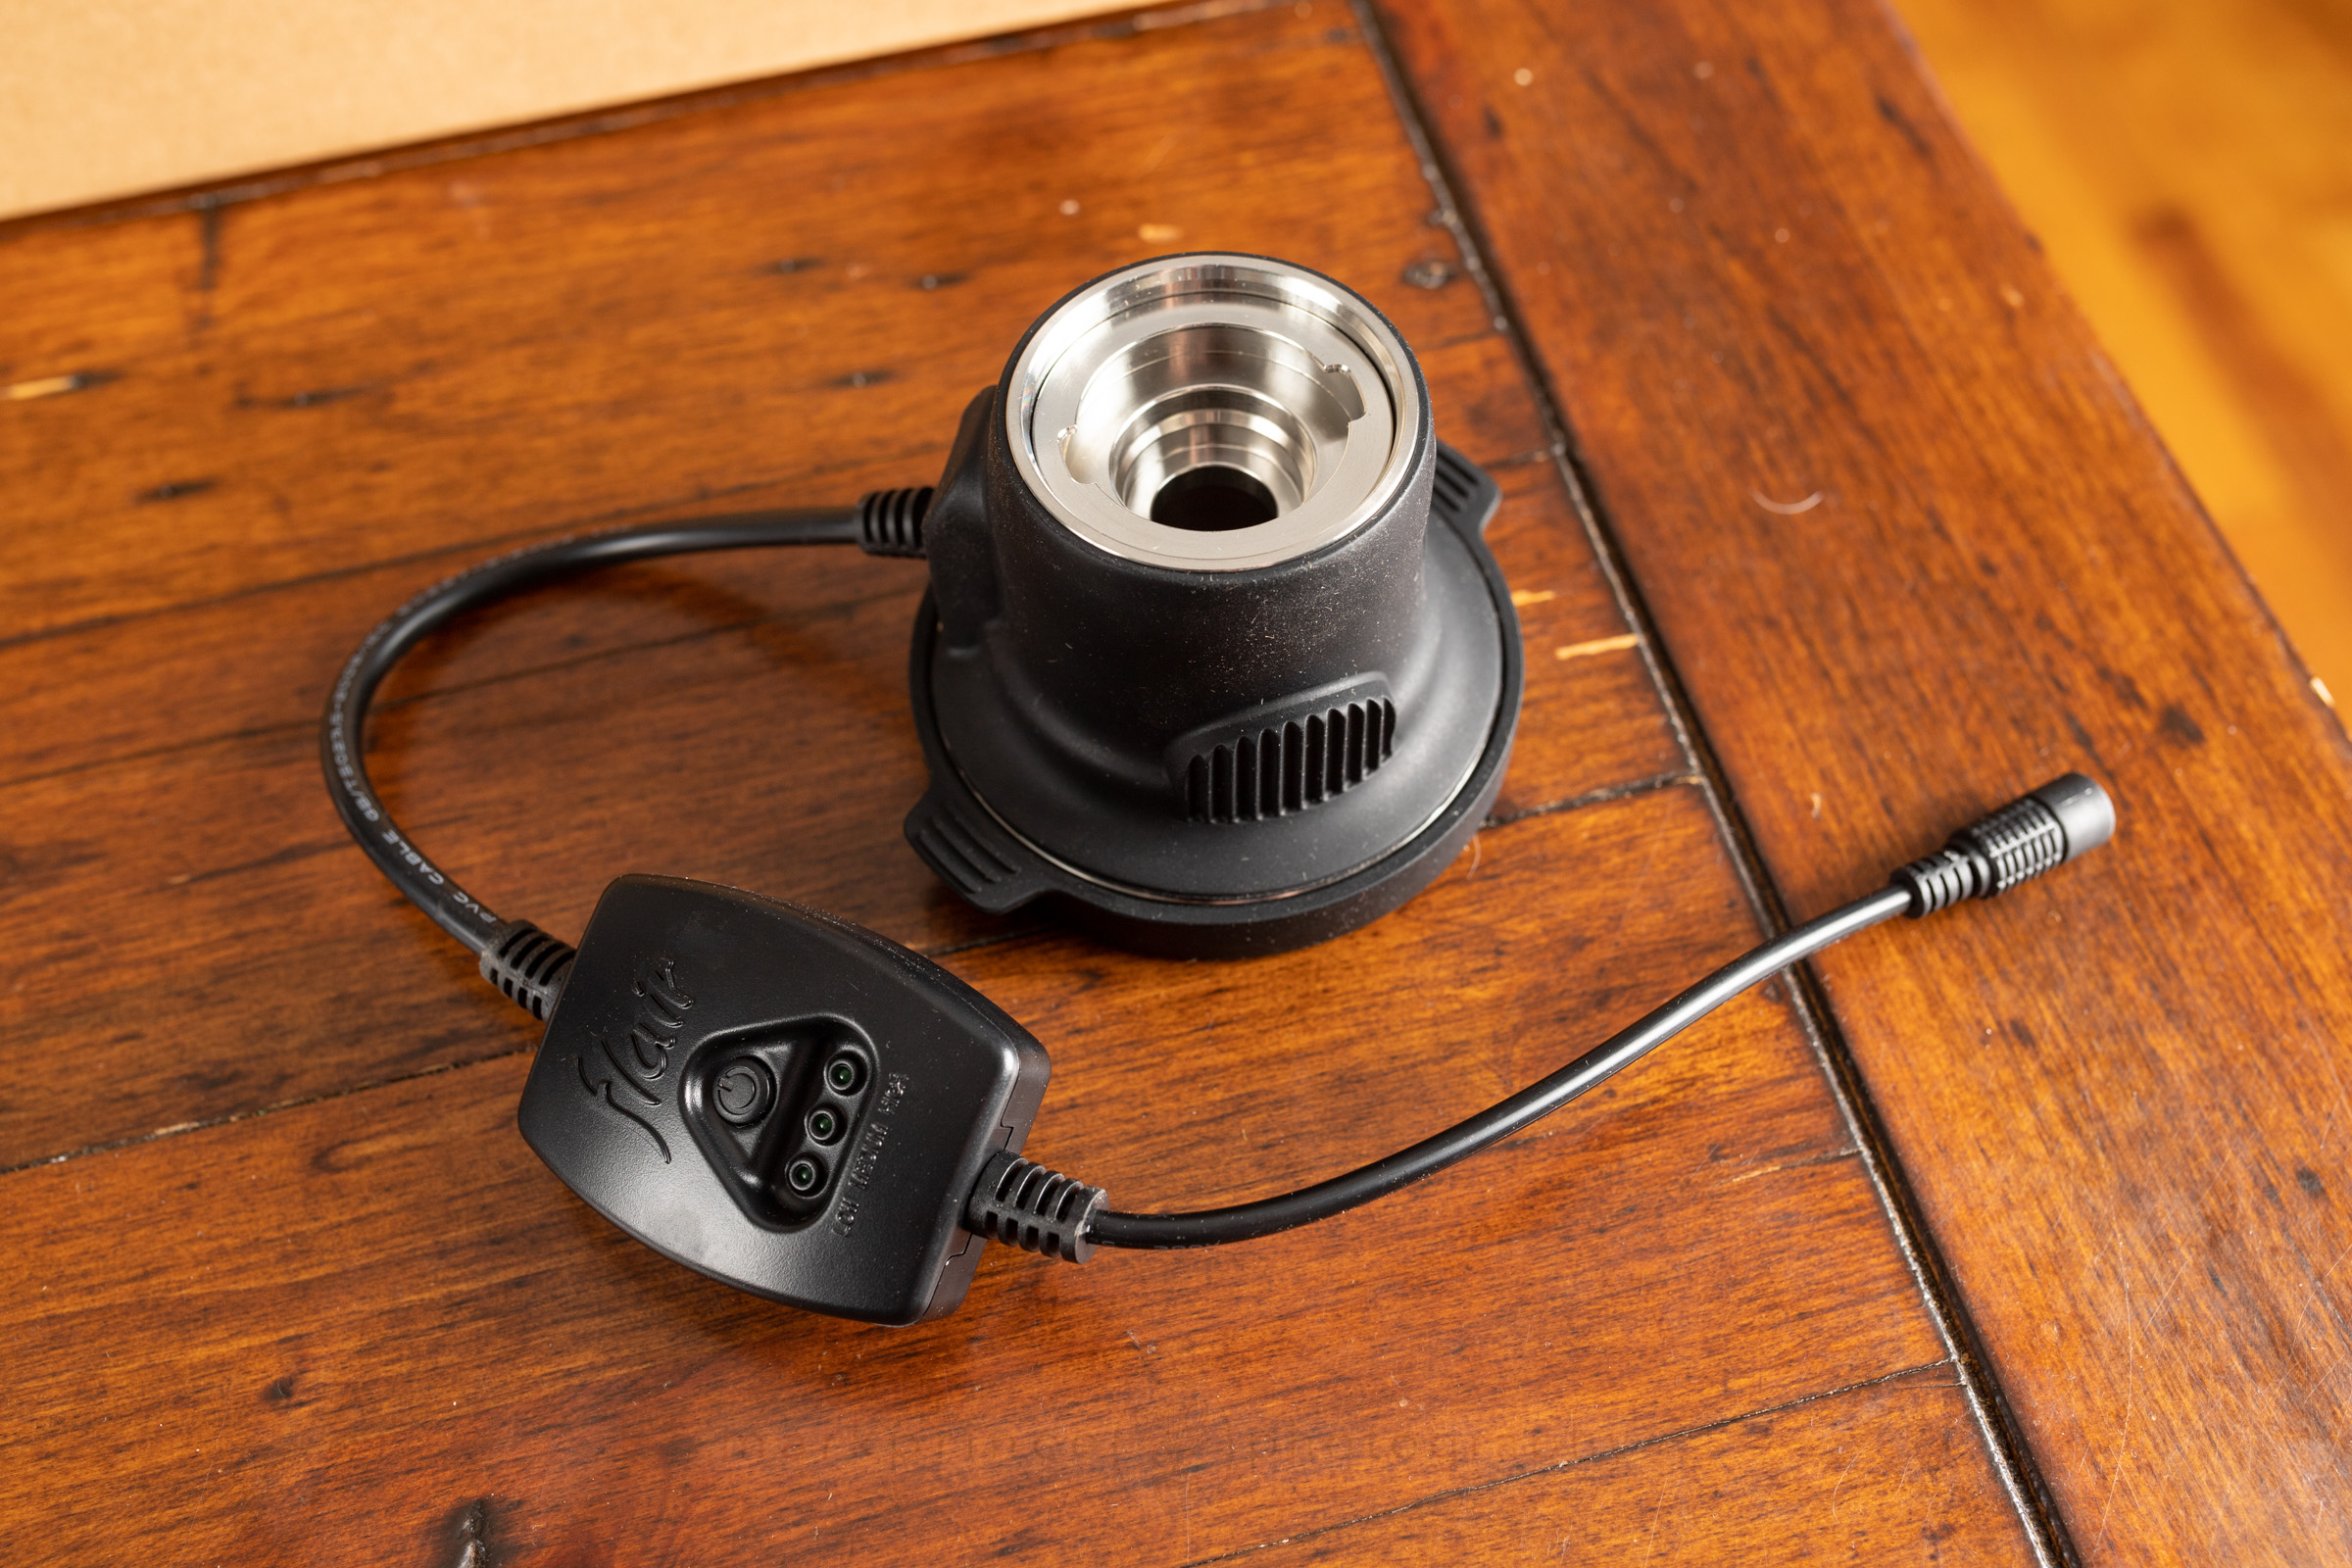
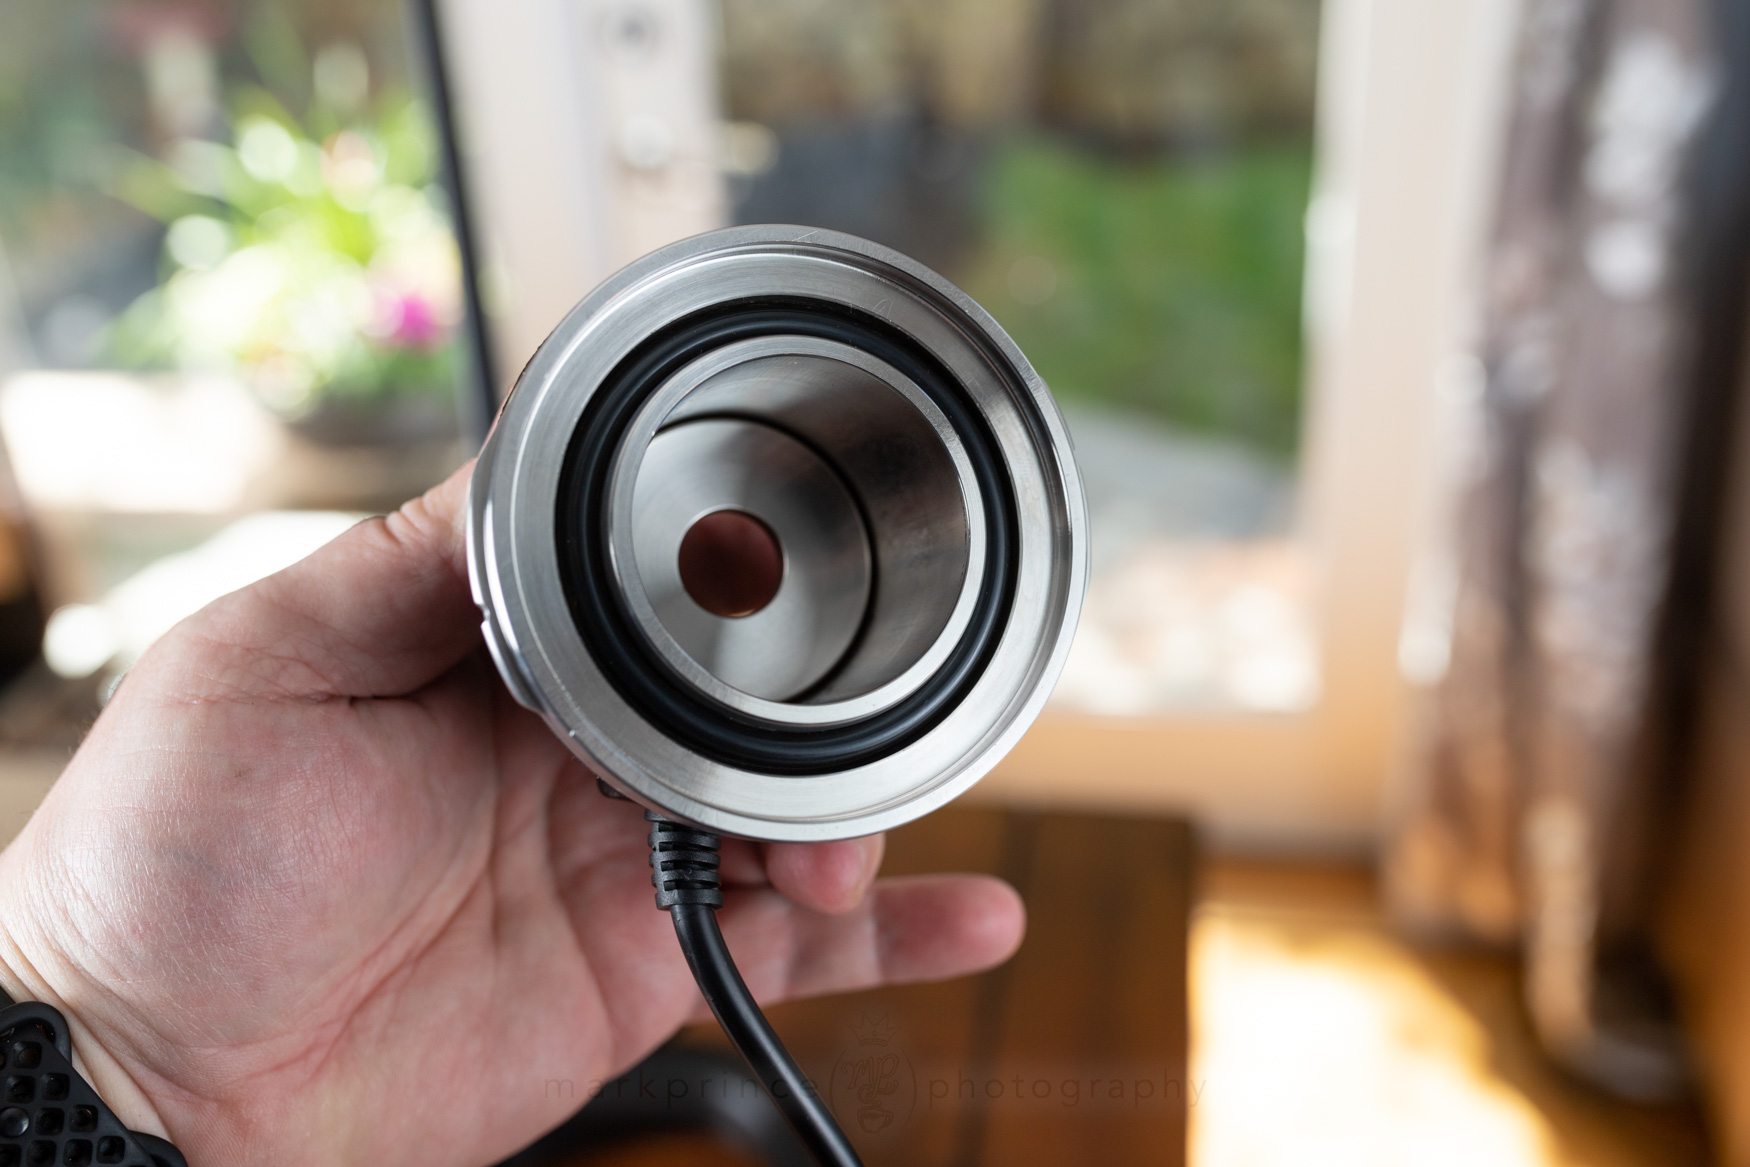
The silicone sheathed grouphead reservoir of the Flair 58

The Flair 58 lost one of its wire connections last year: now the grouphead is permanently wired to the control box.
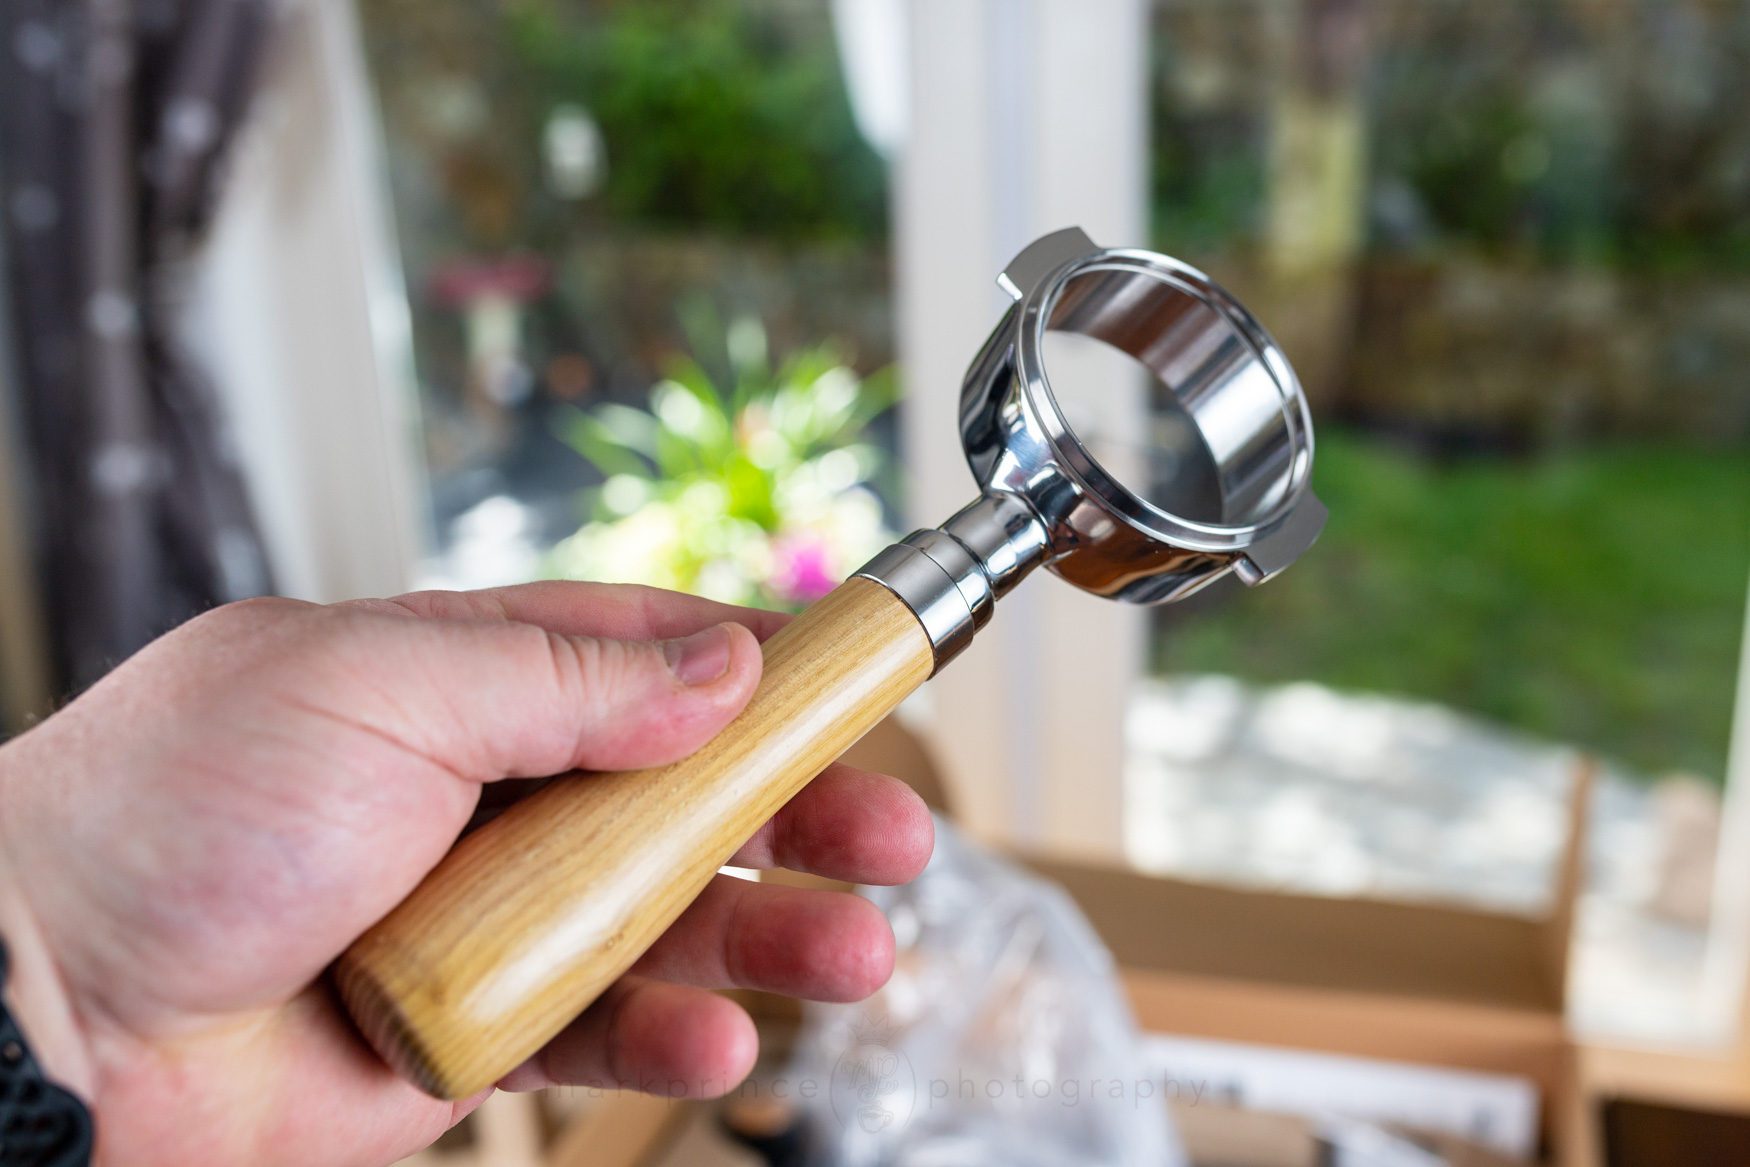
It's a pretty good portafilter design. I'd rate it as near-premium.
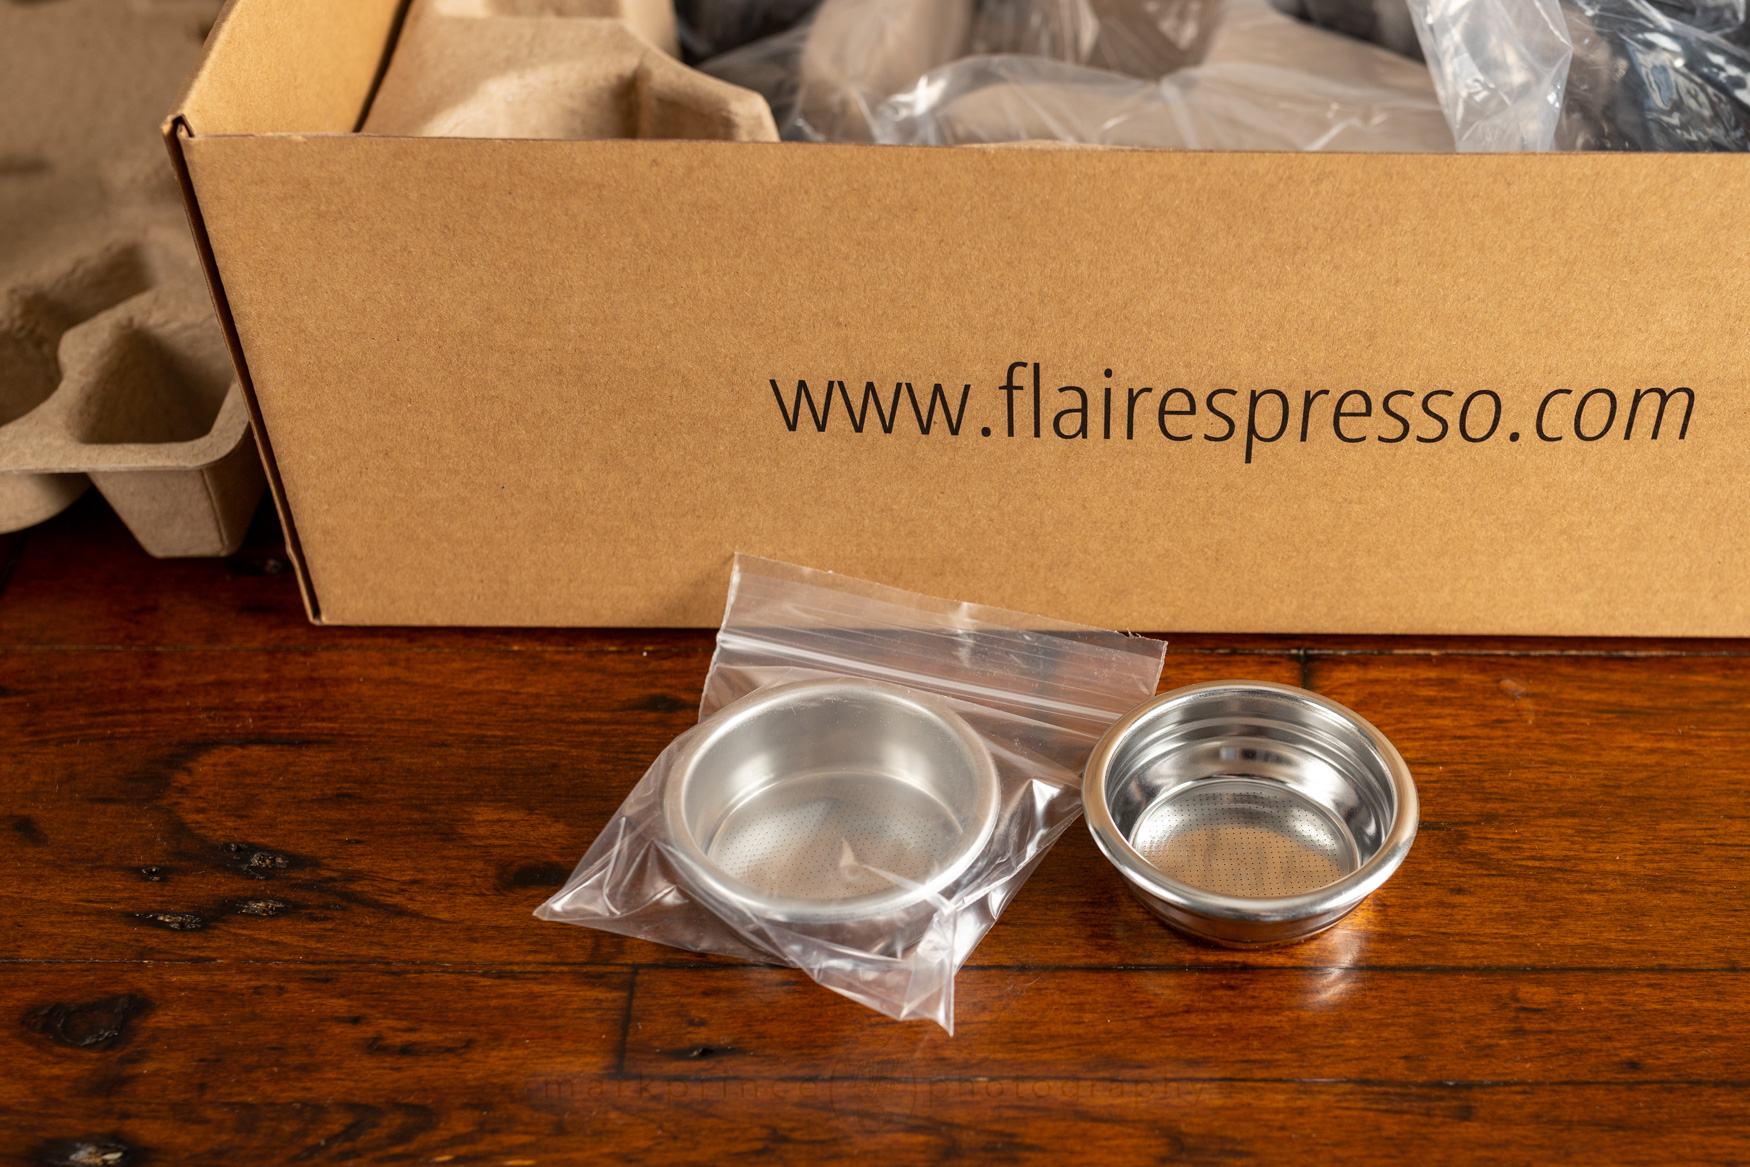
The Flair 58 ships with either one basket (low-flow), or two if you pay $16 more (high flow).
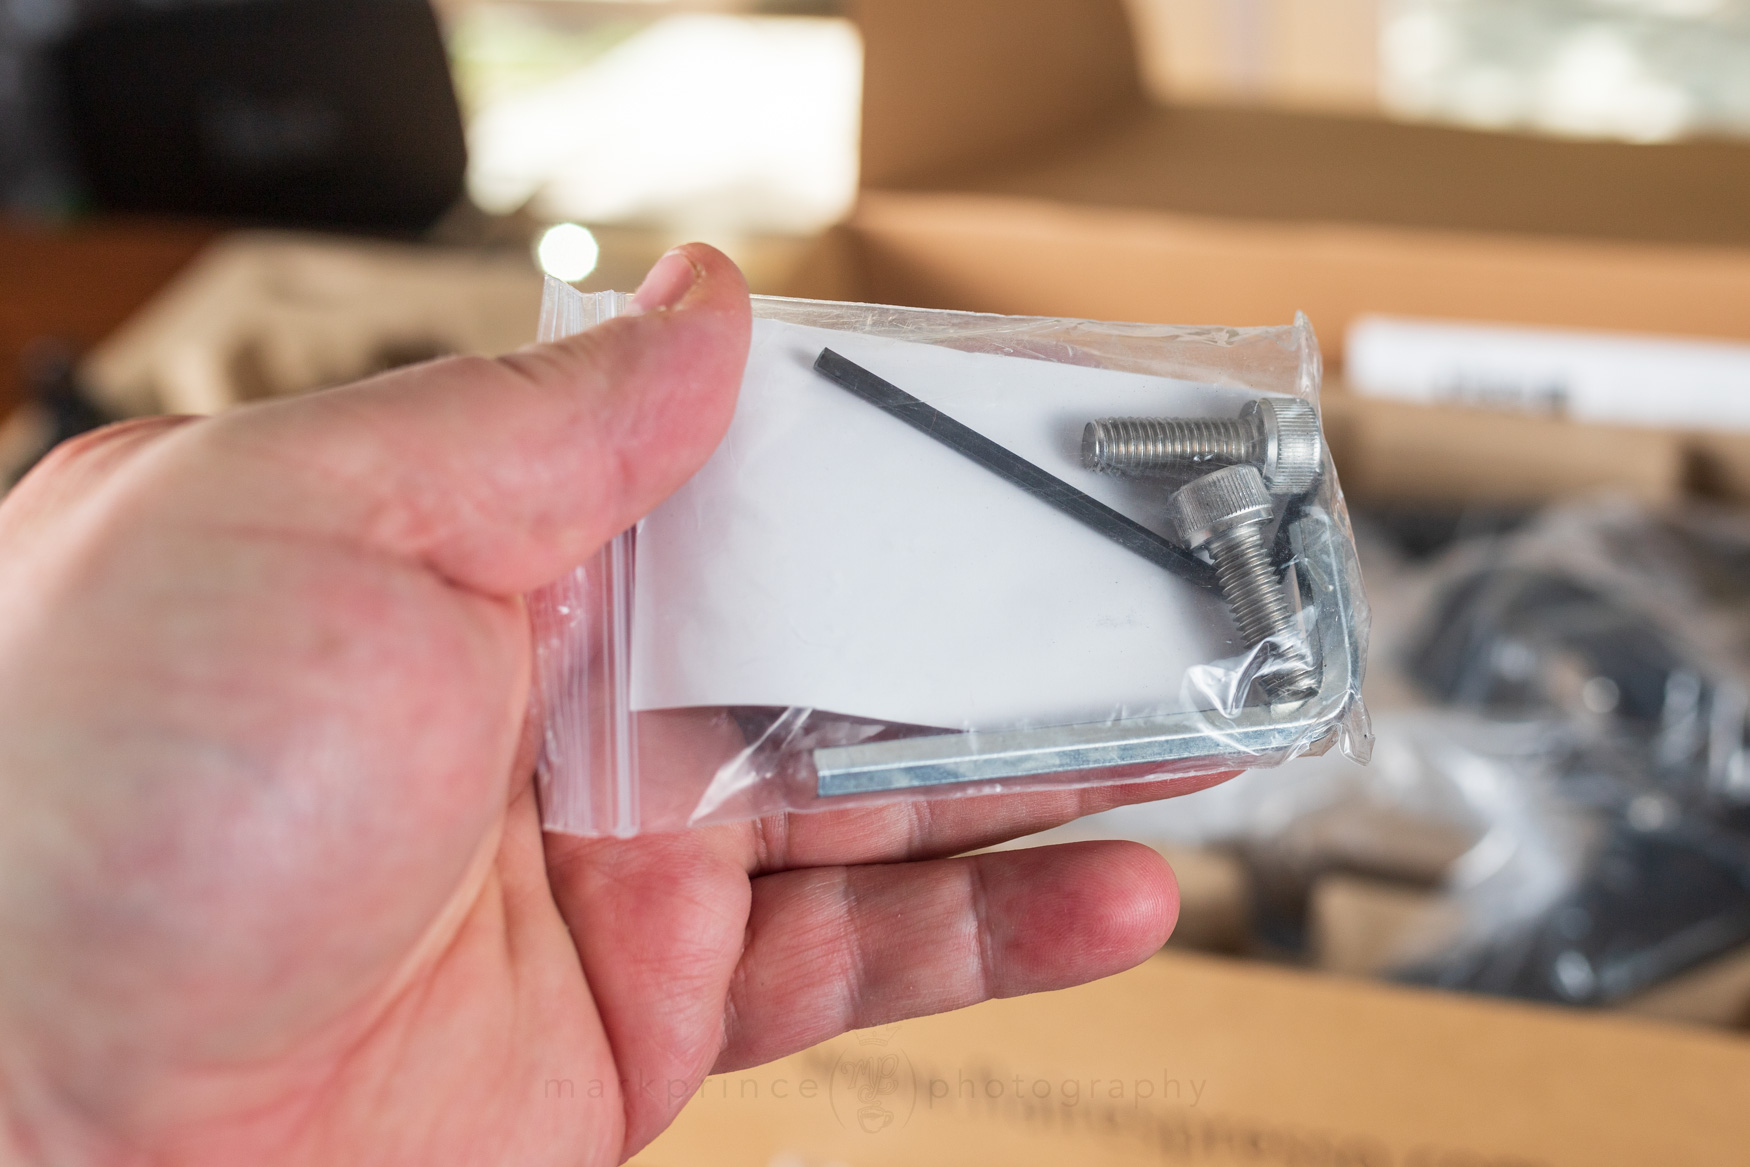
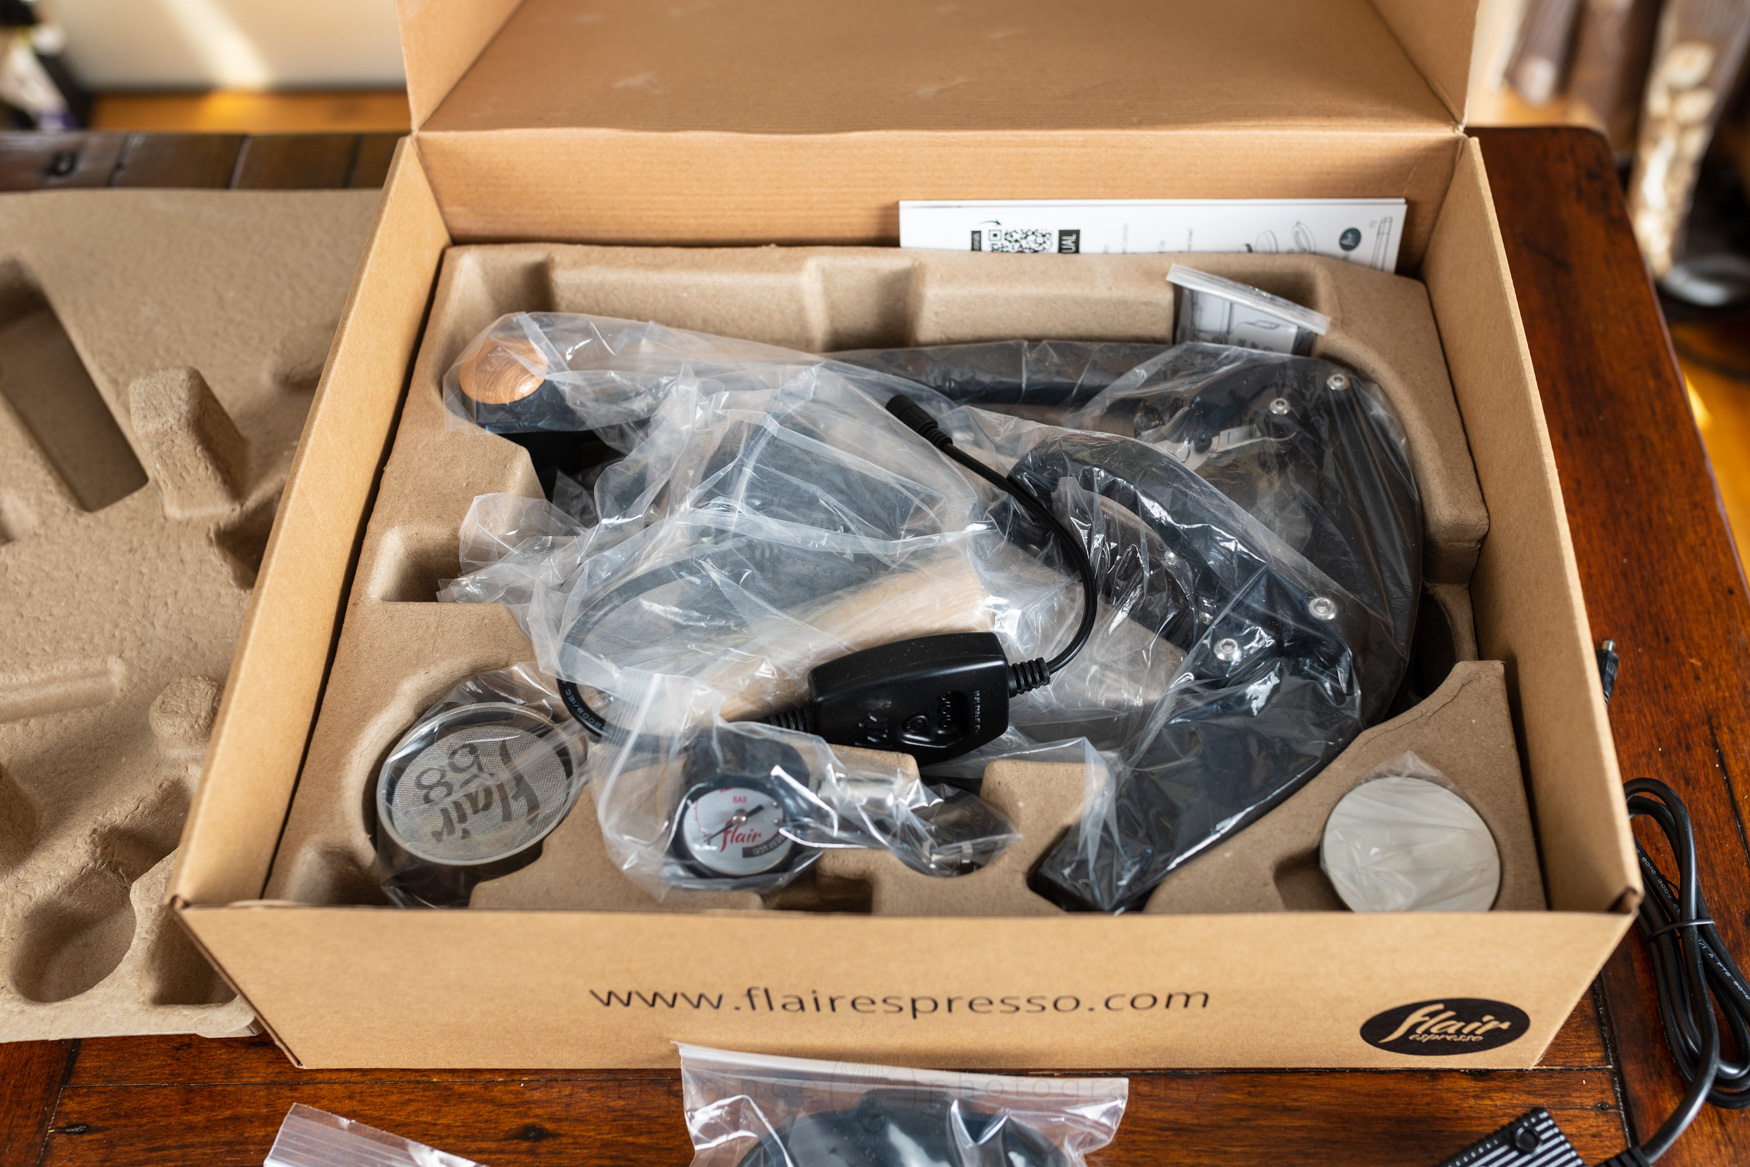
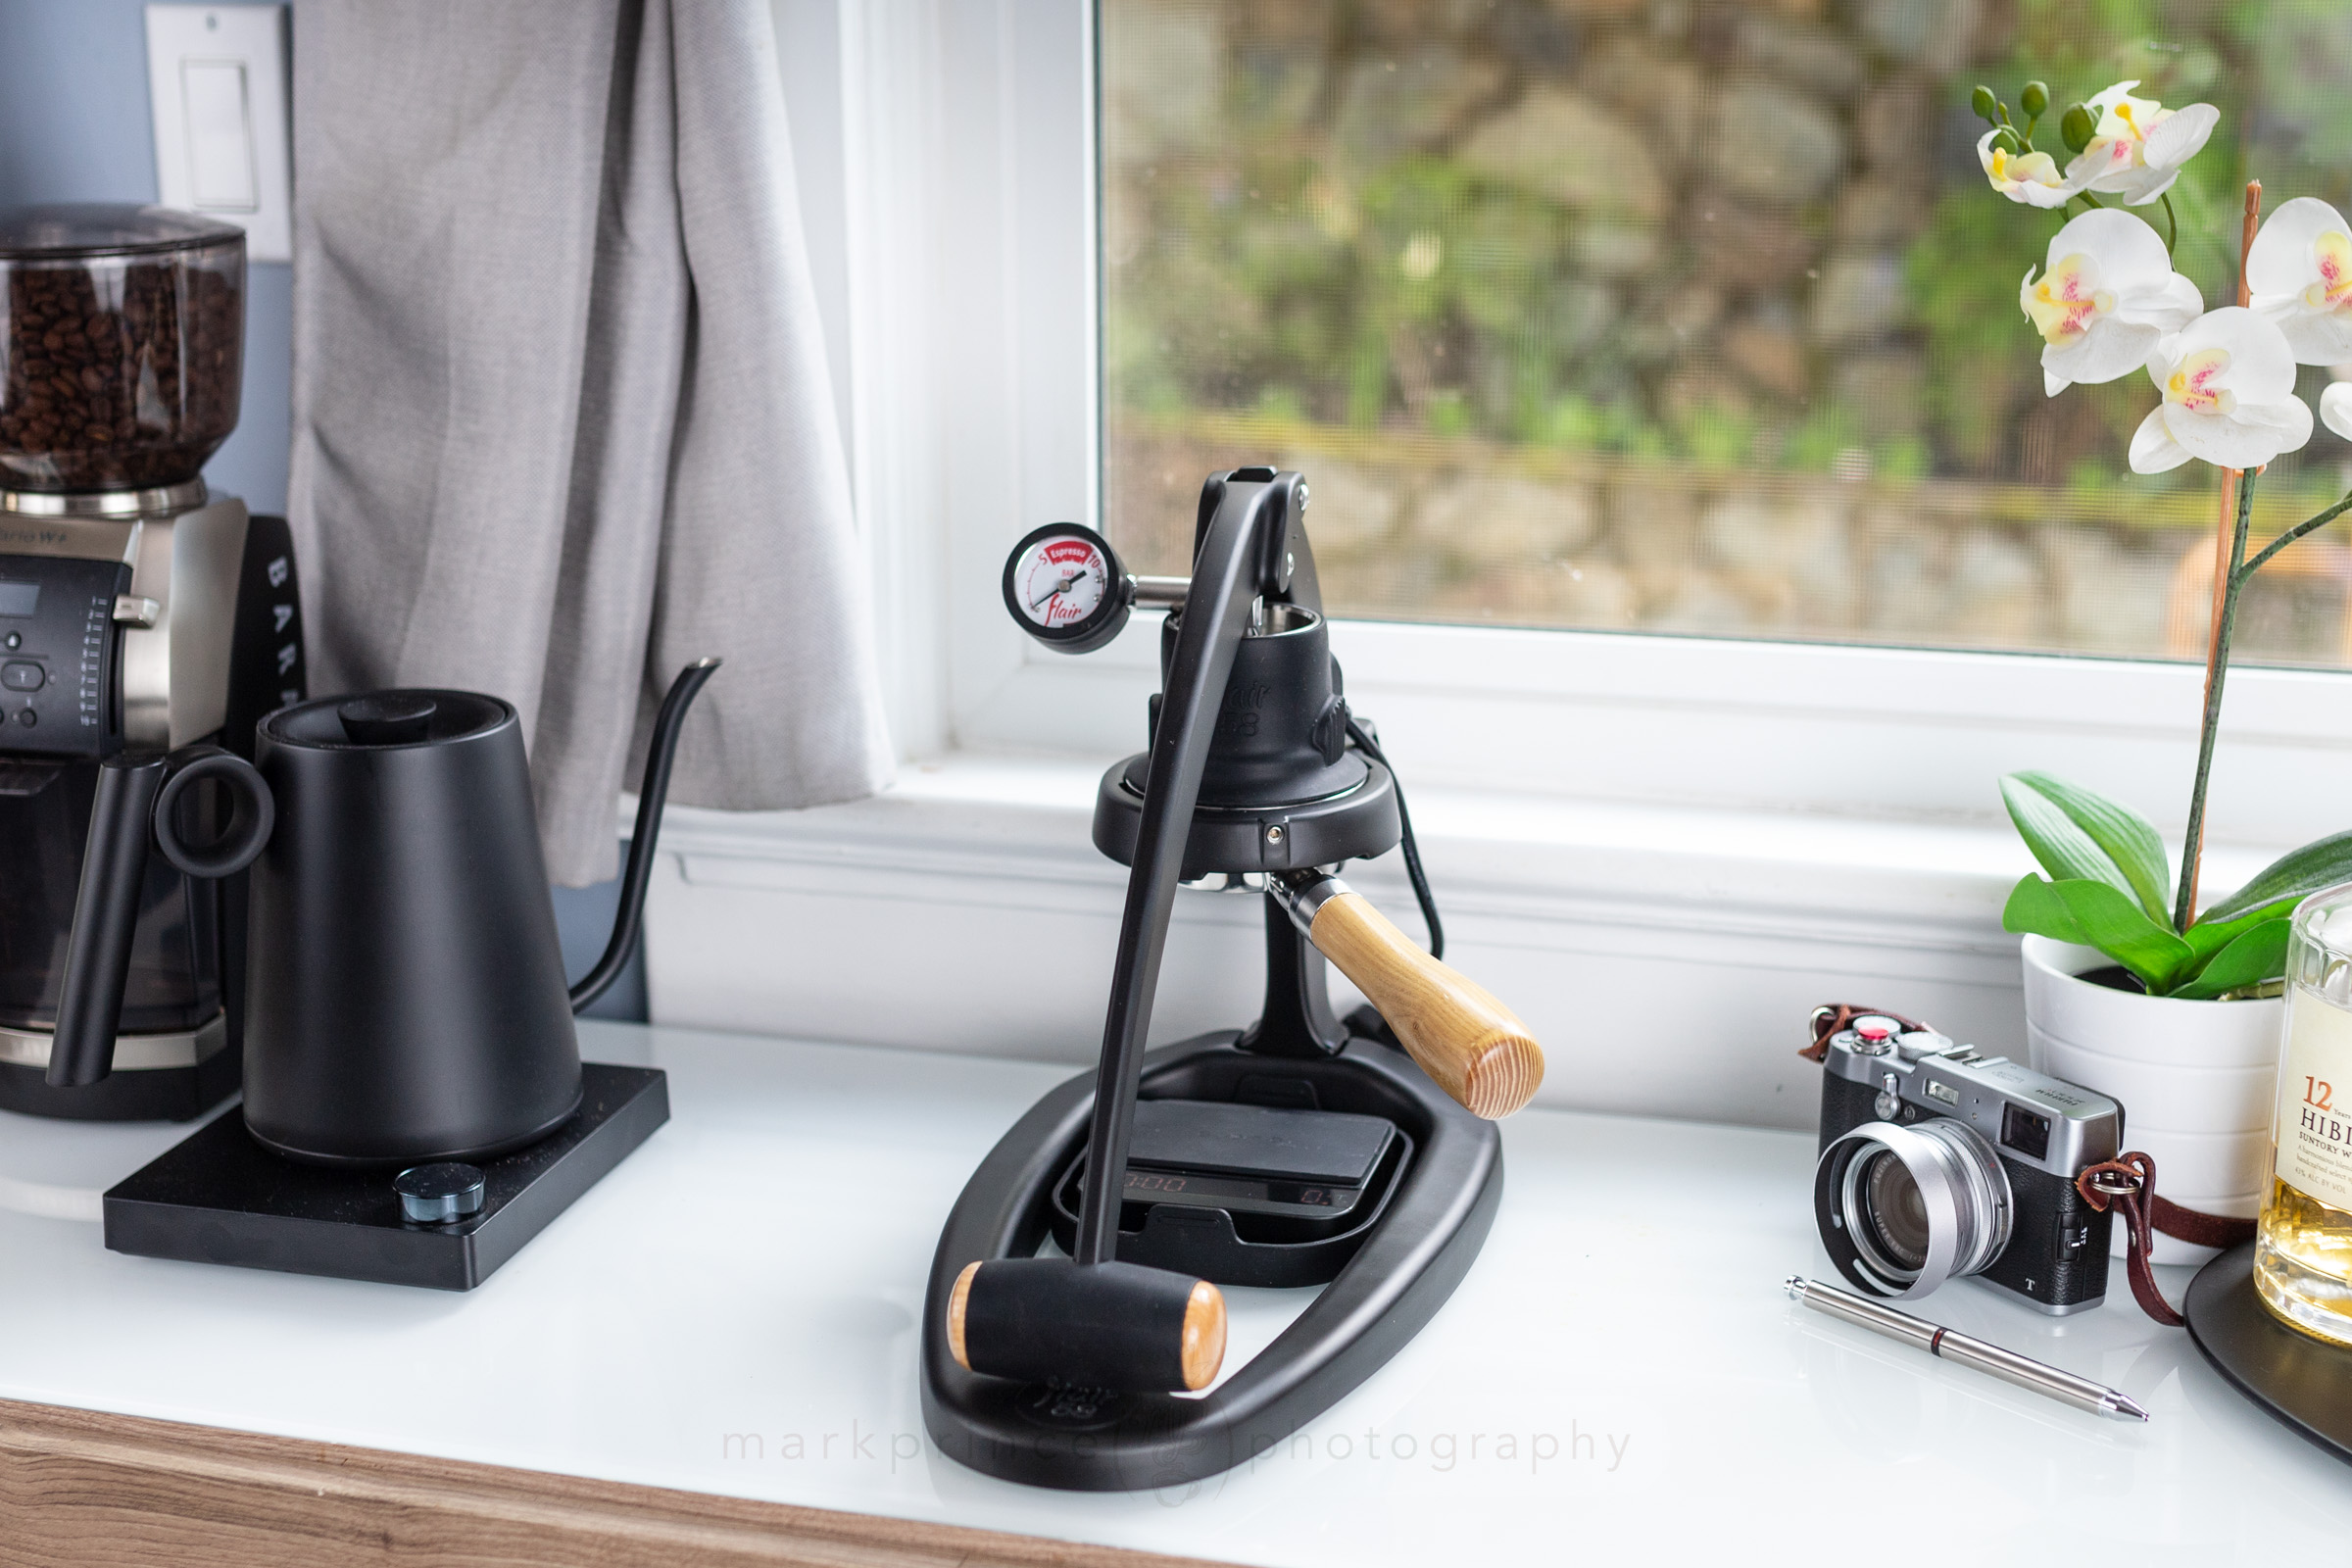
All you need to put the Flair 58 together.
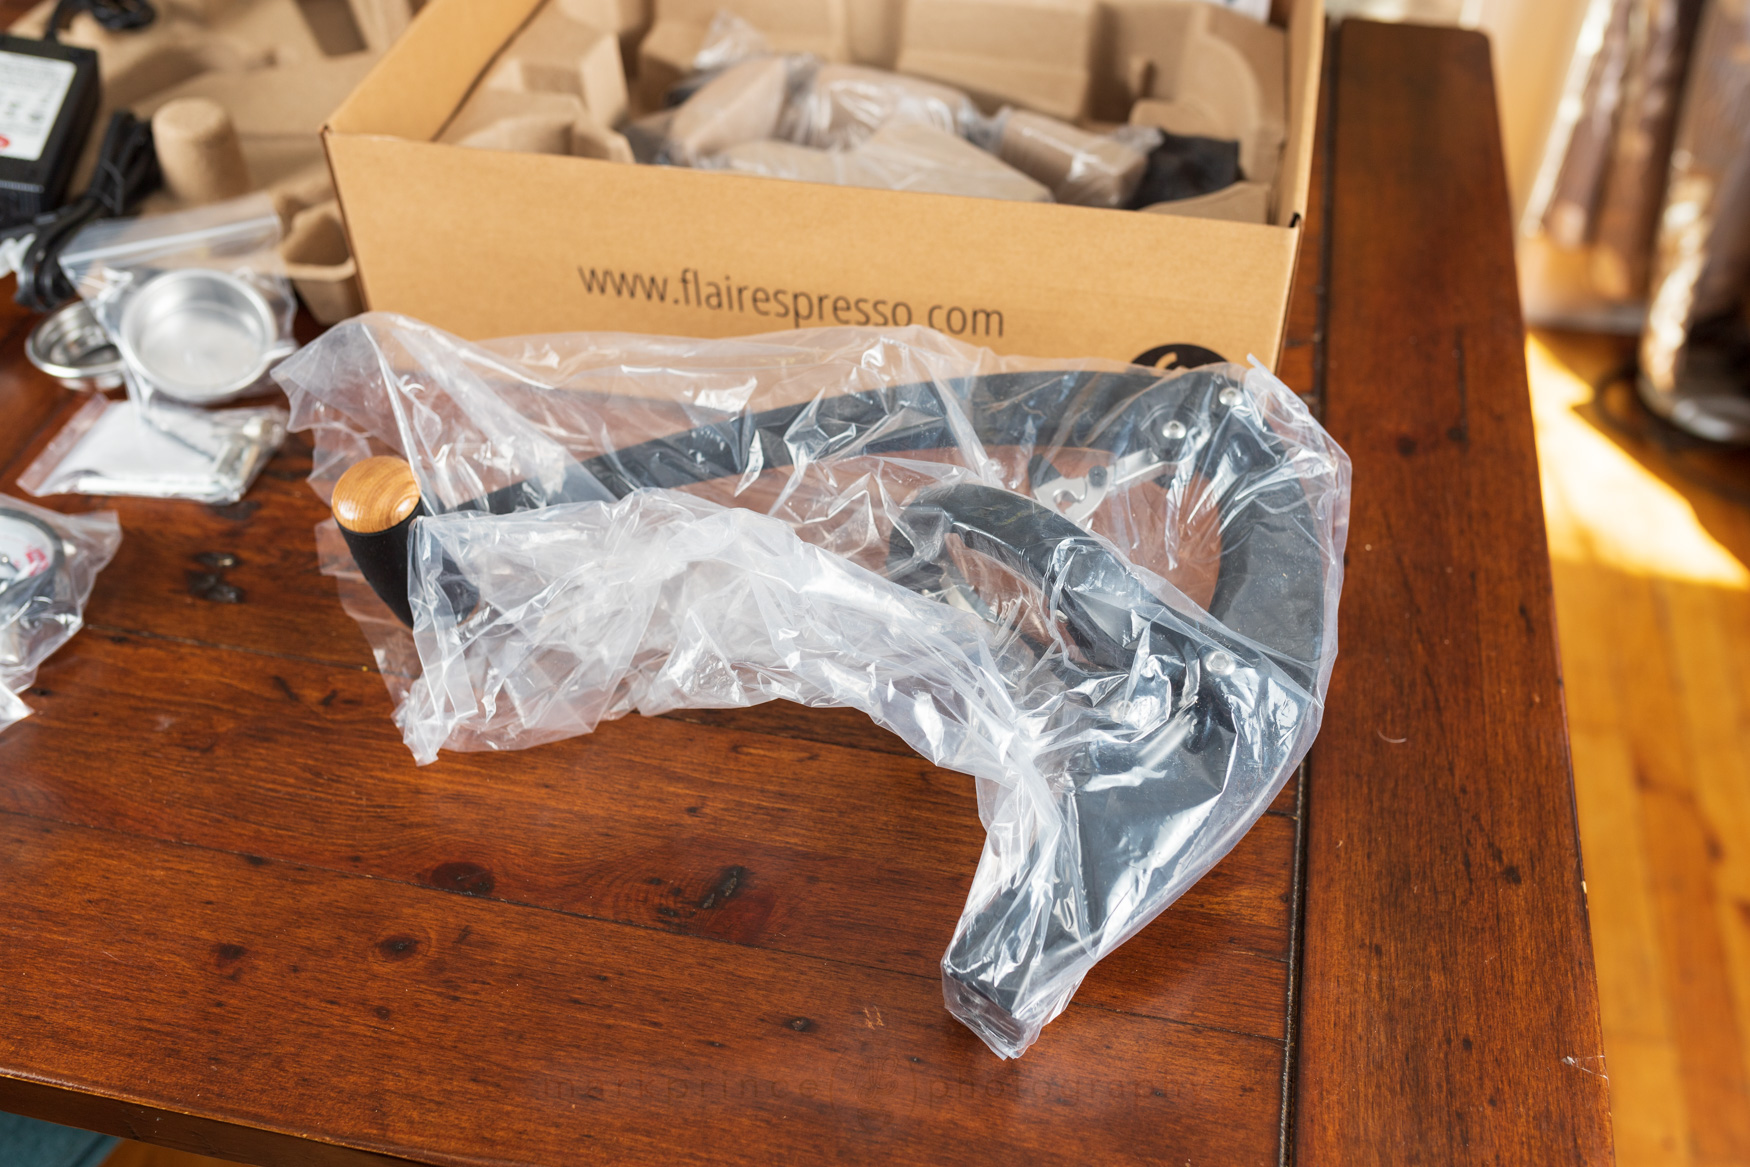
The lever arm and grouphead mount is already assembled.
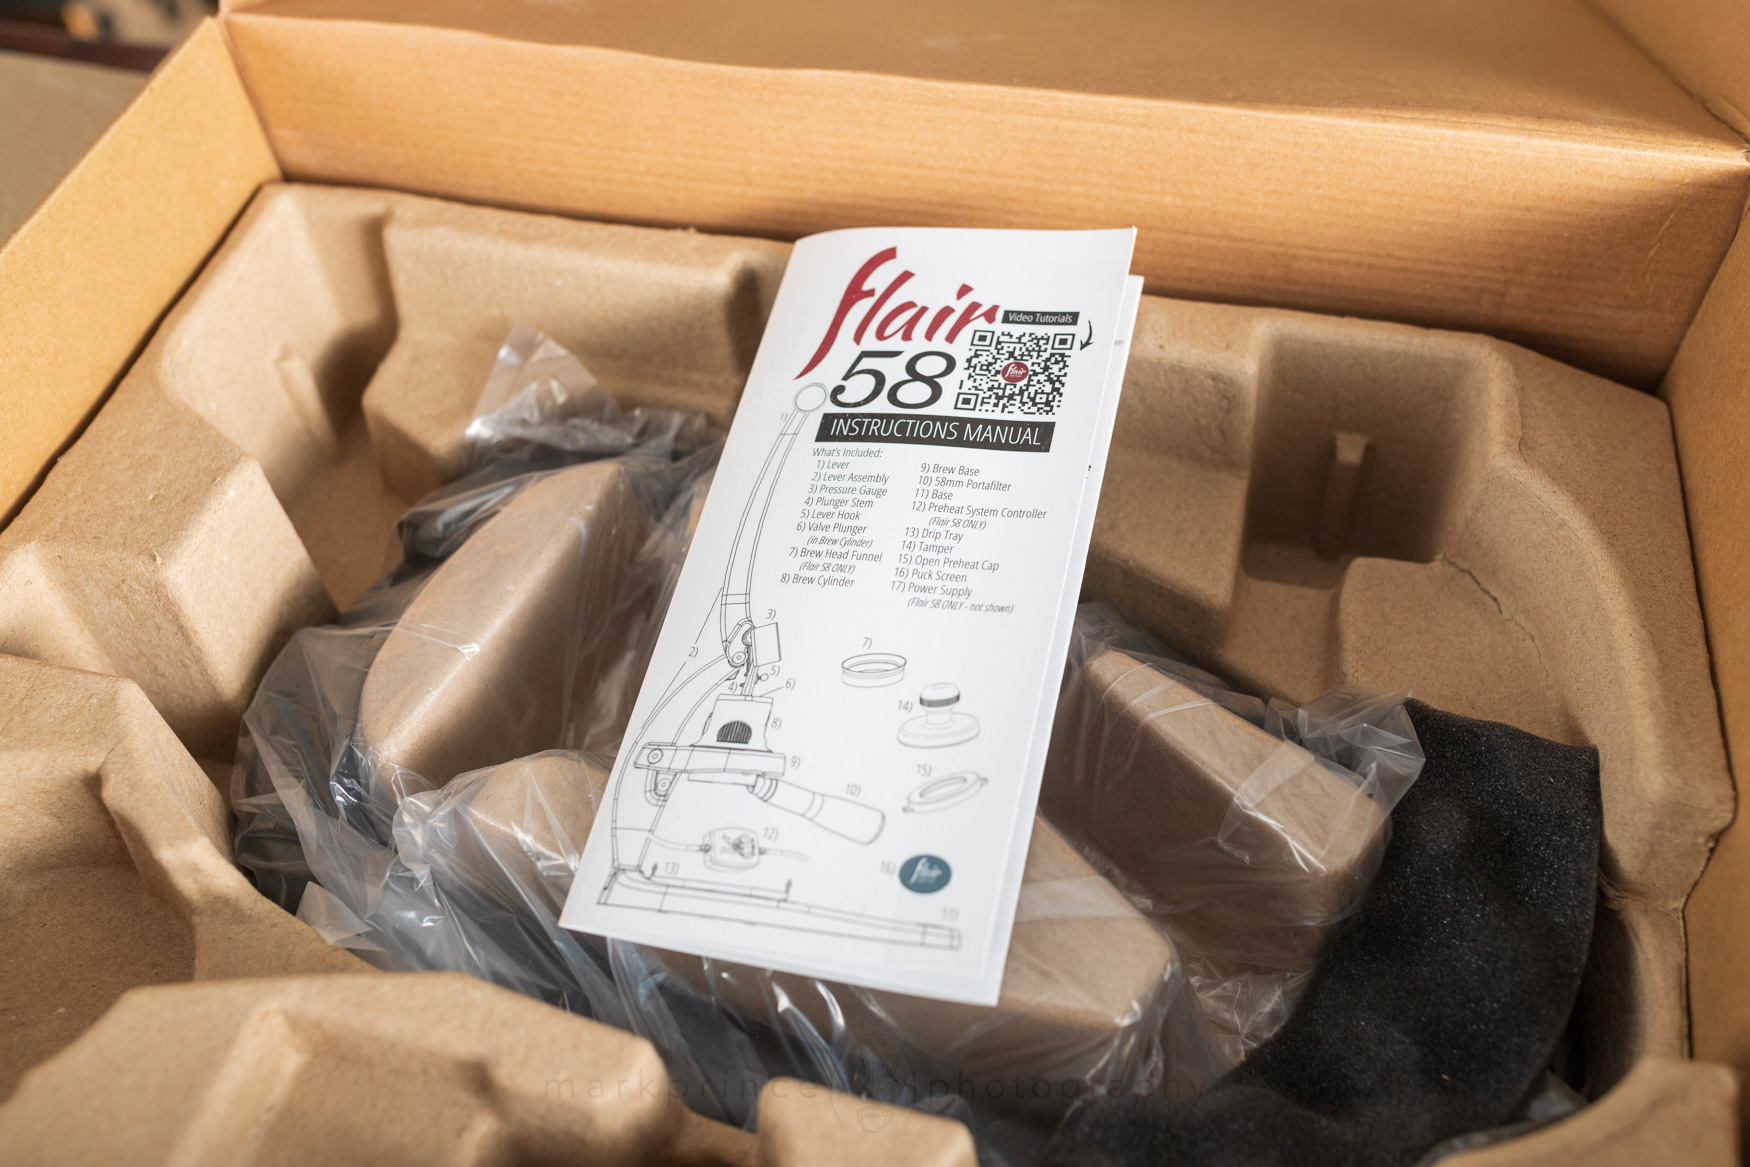
The Instruction manual for the Flair 58. NB, Flair updates this often so check online for the latest version.
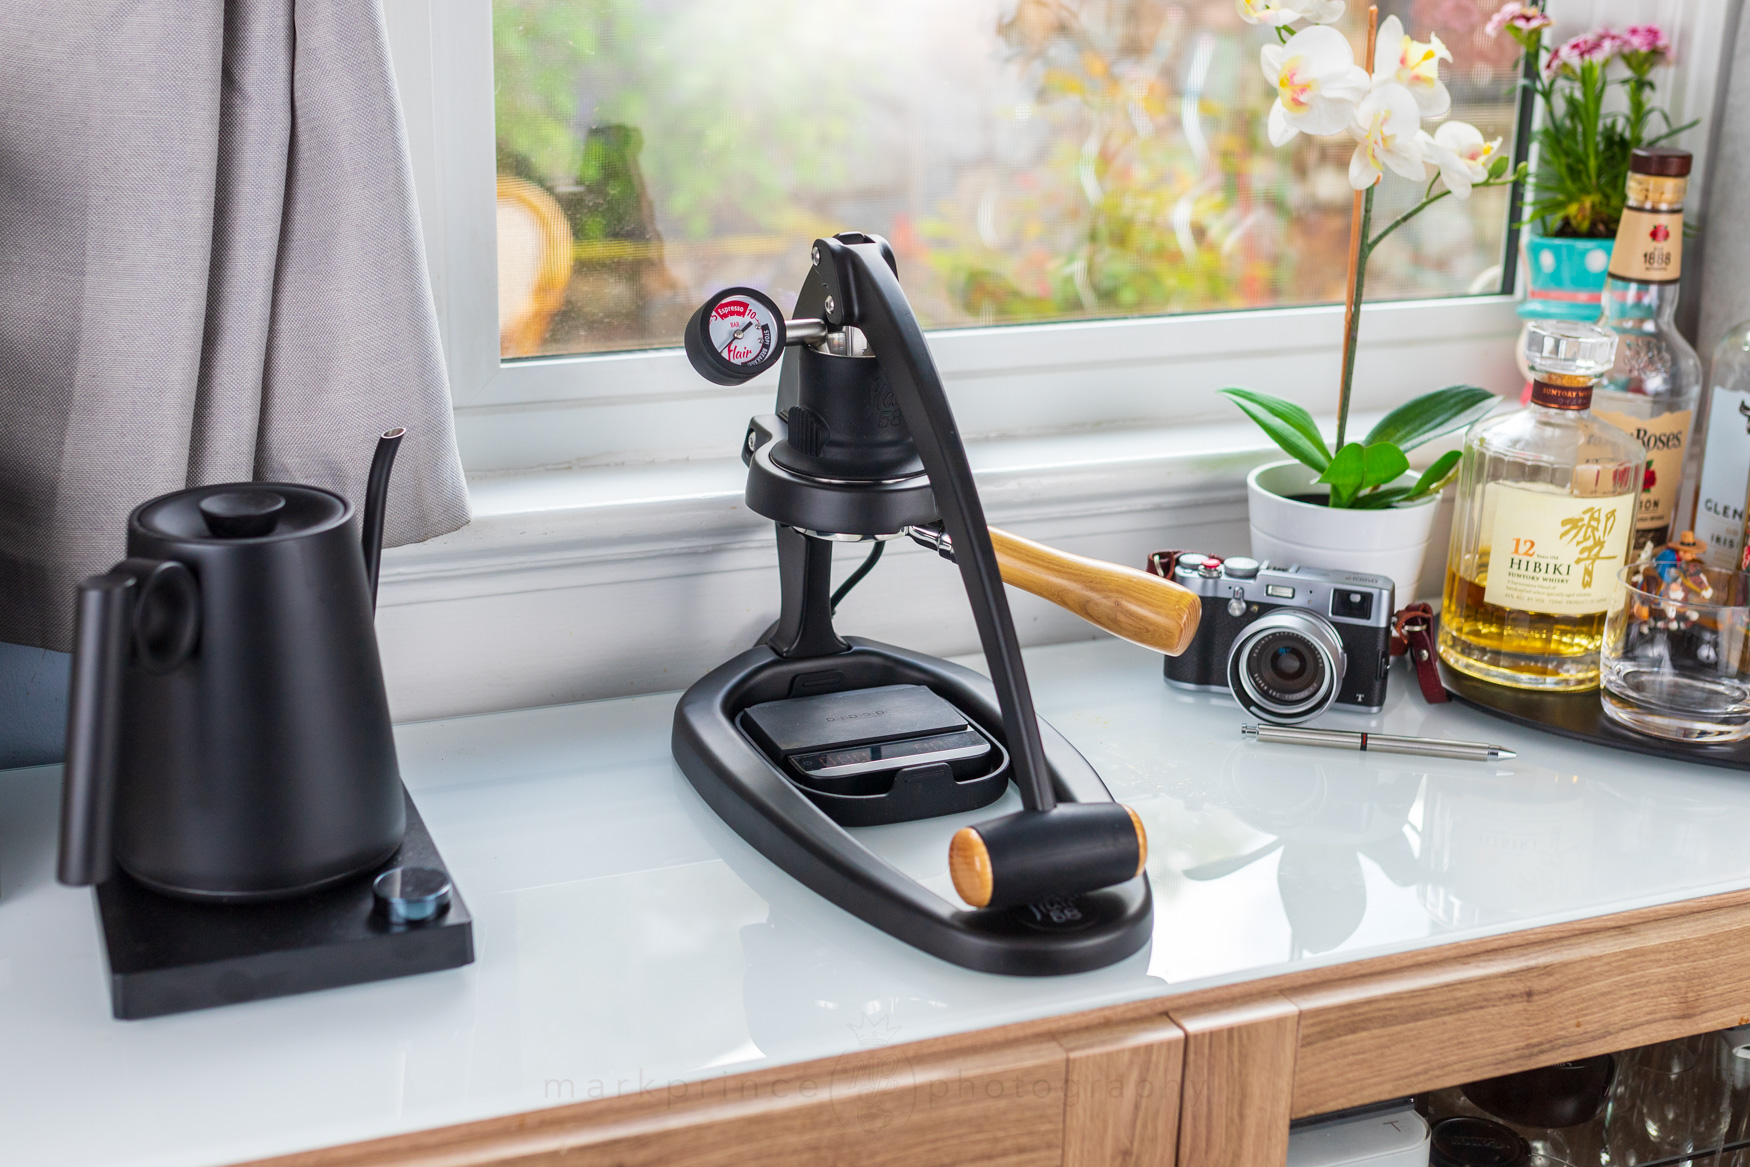
The base has lots of grippy rubberized foot pads, keeping the unit secure on the table.
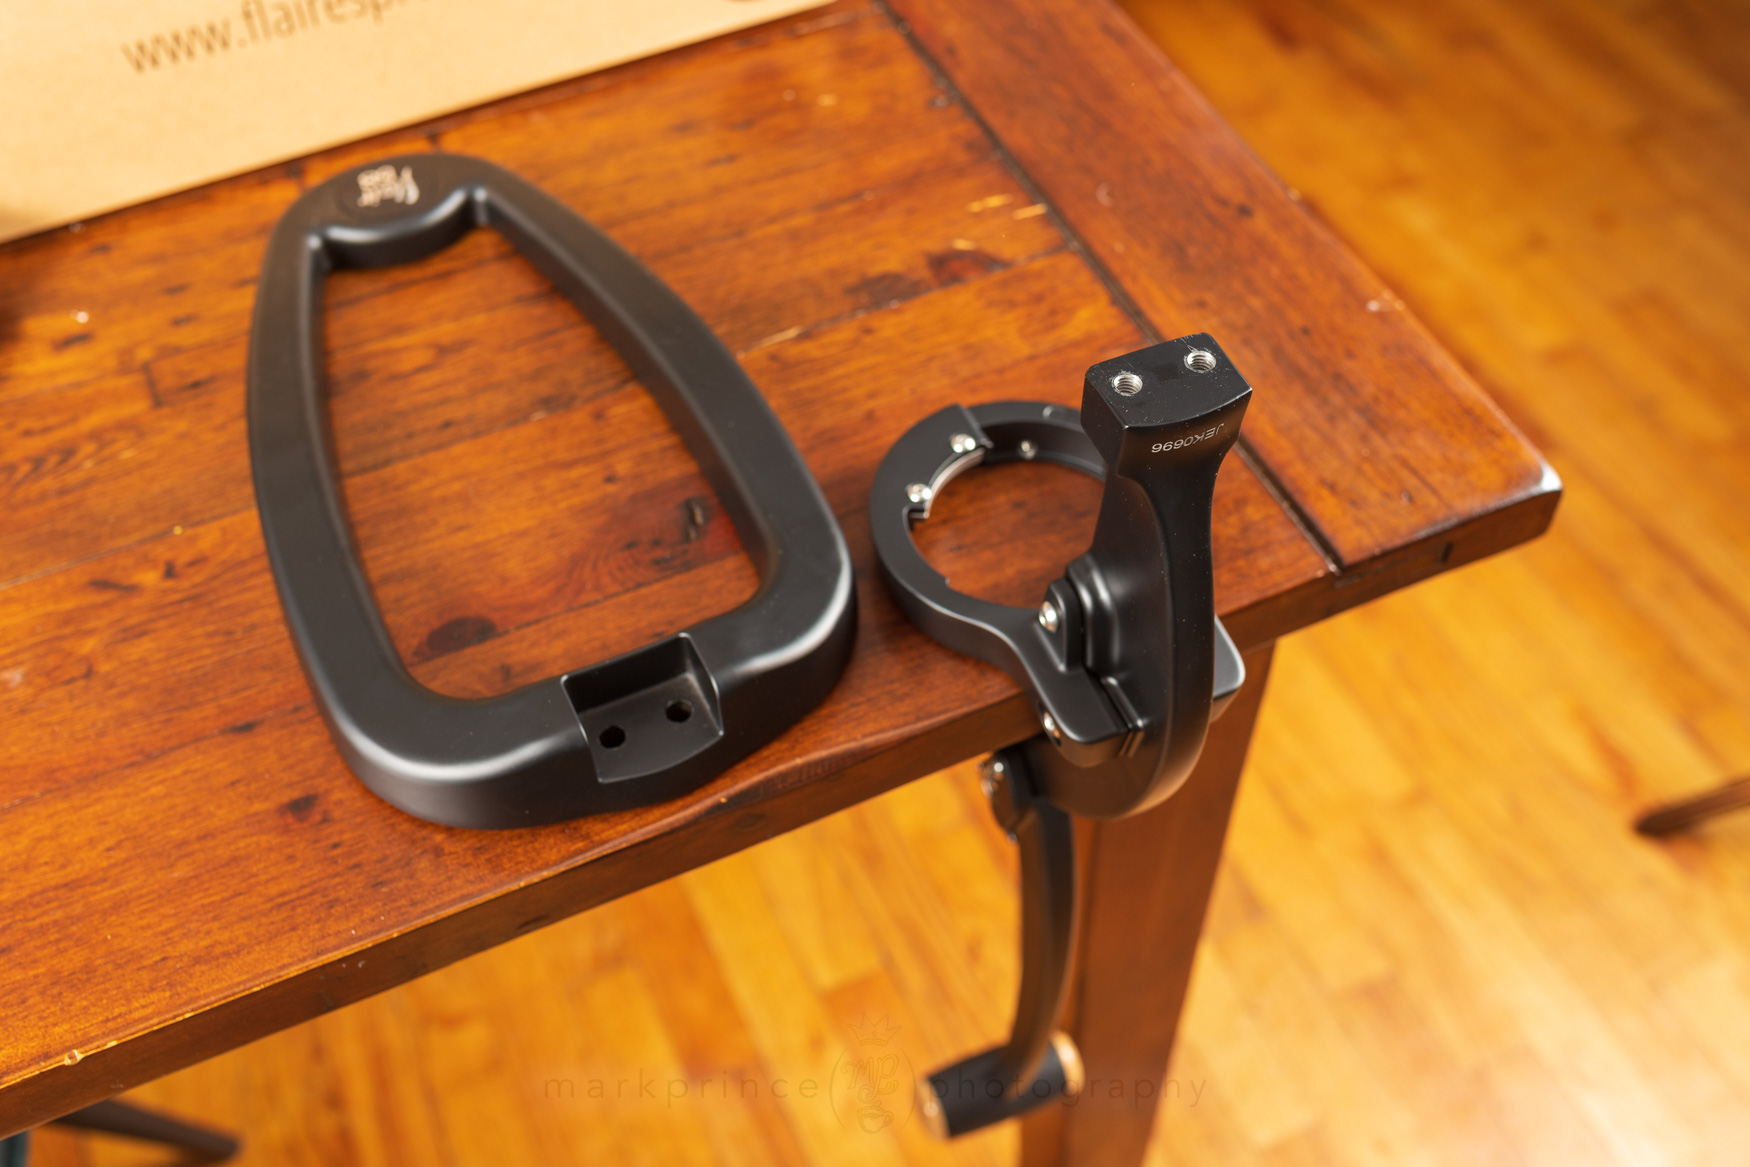
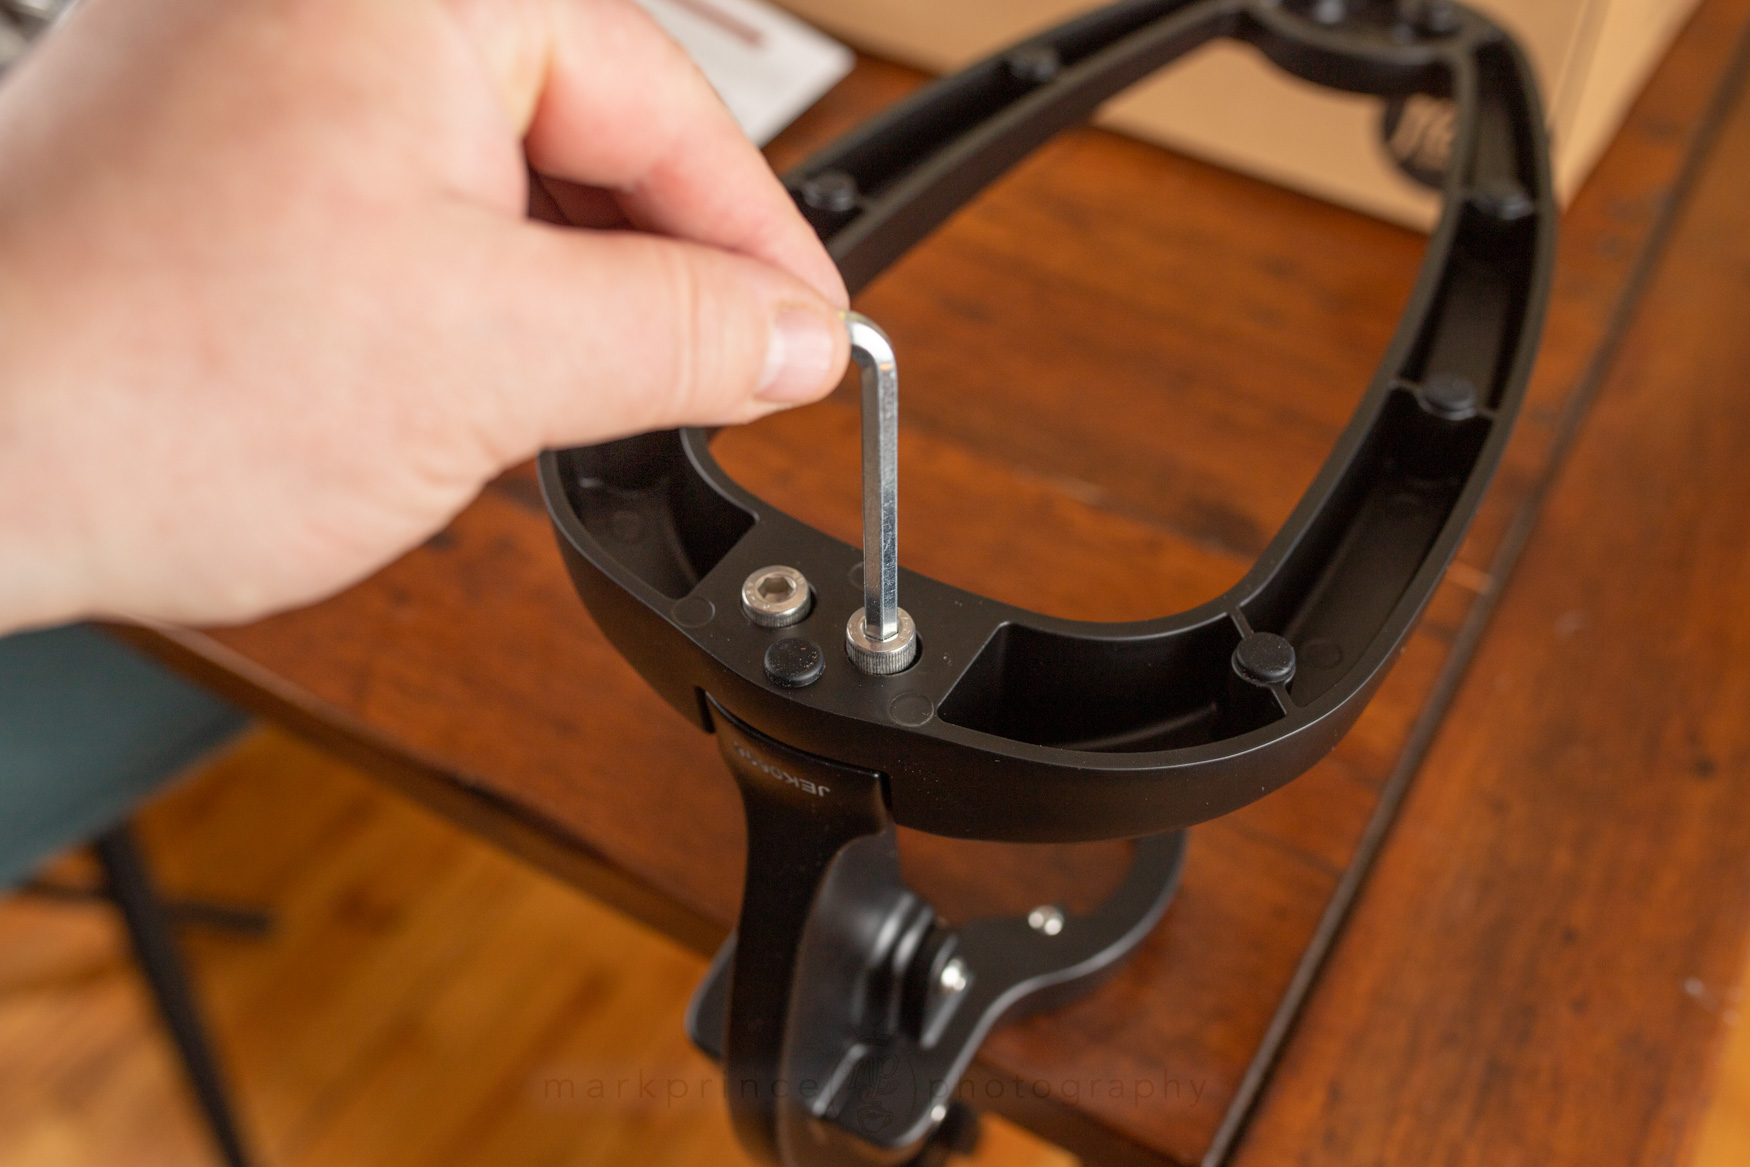
To assemble the Flair 58, it's best to lay the grouphead holder upside down on a table with the lever extended.

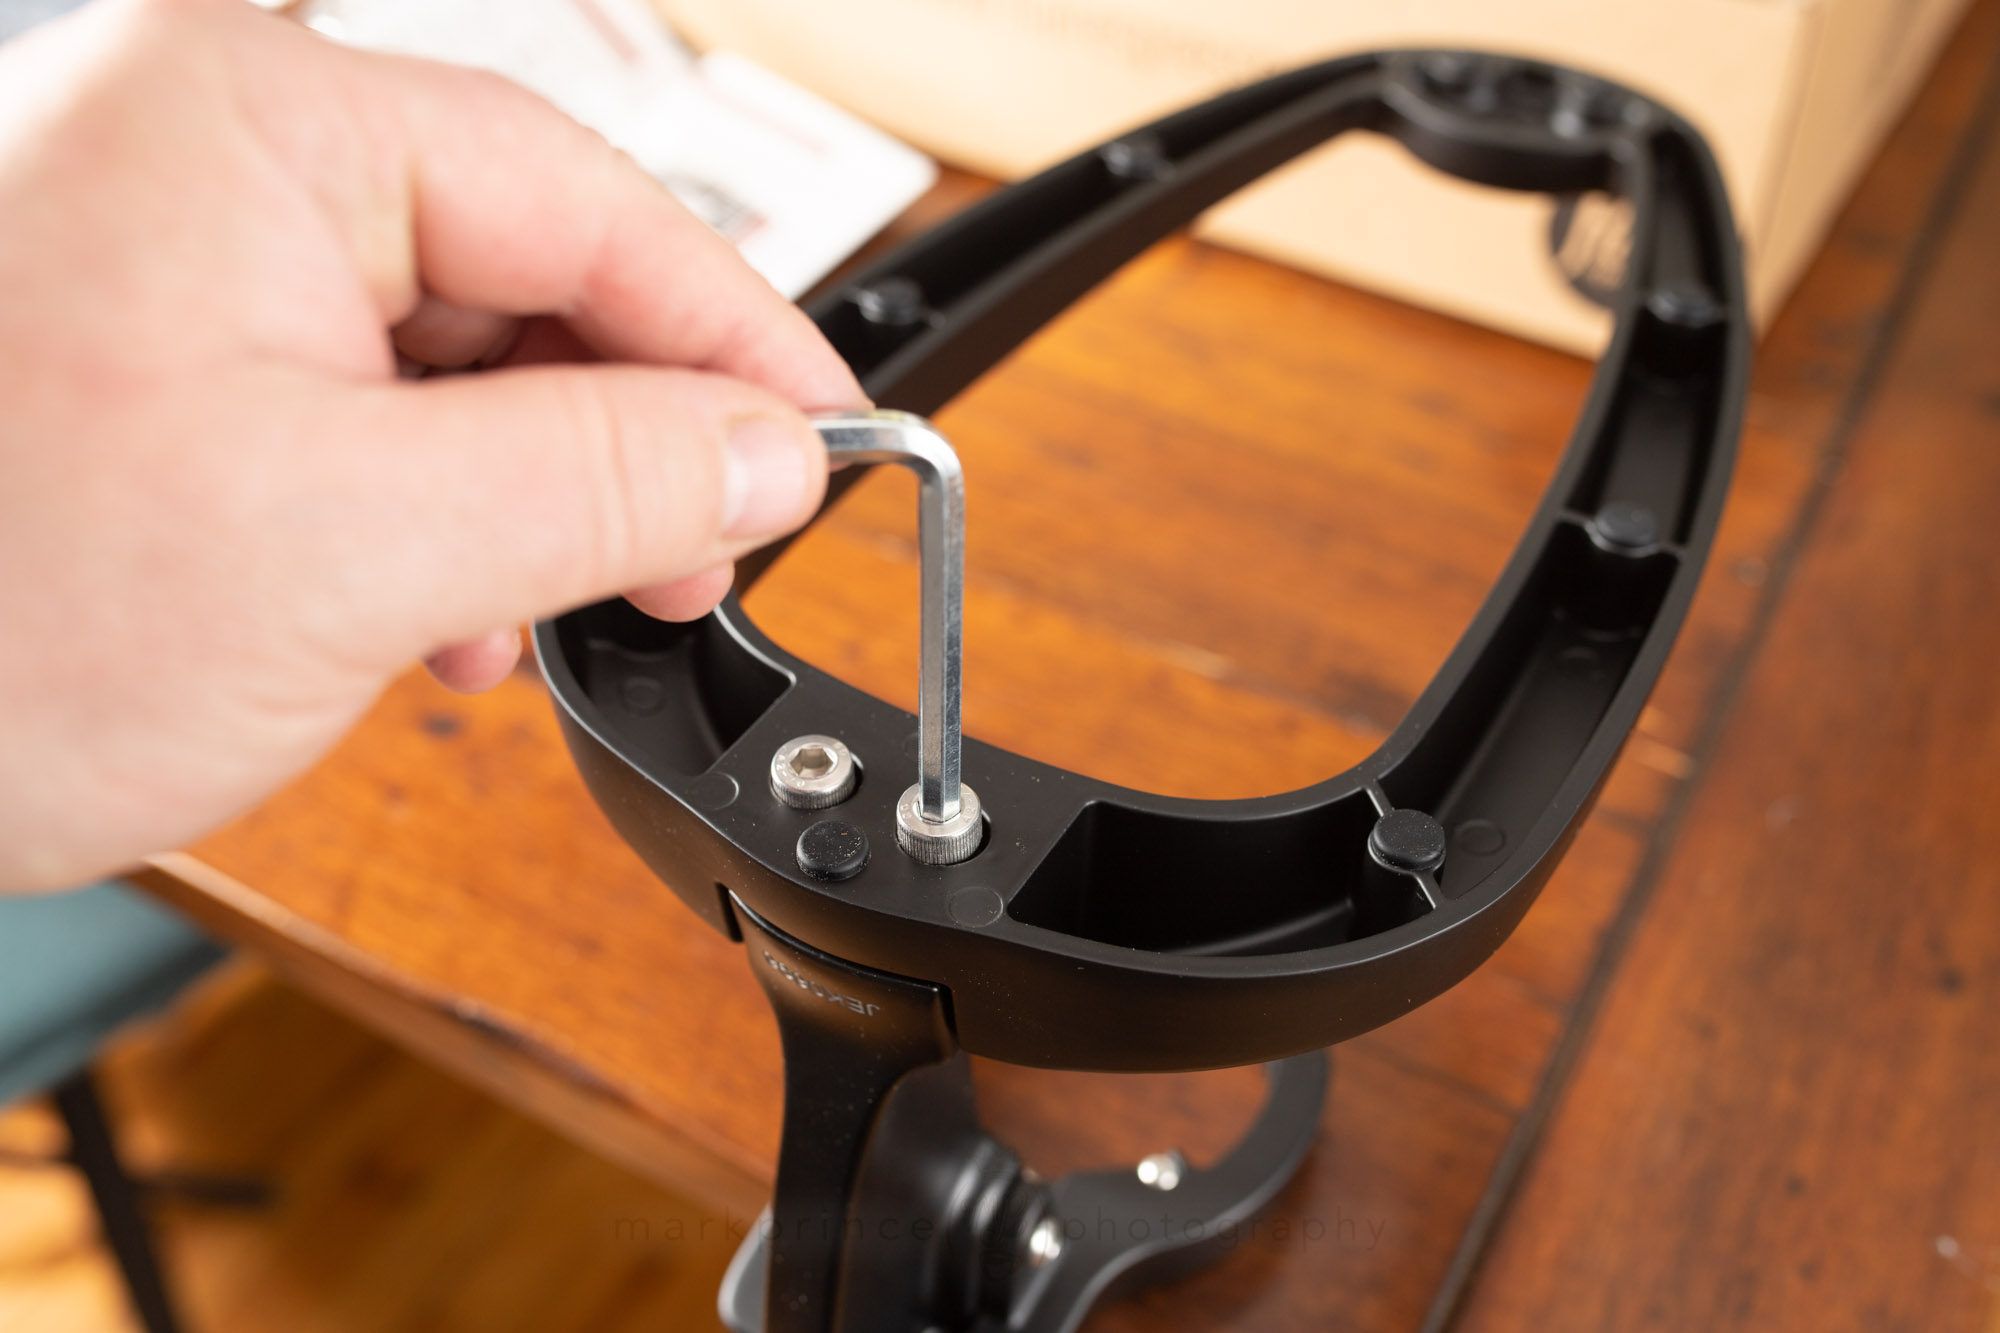
Screw the base into the lever arm assembly, switching between each two nuts as you tighten down.
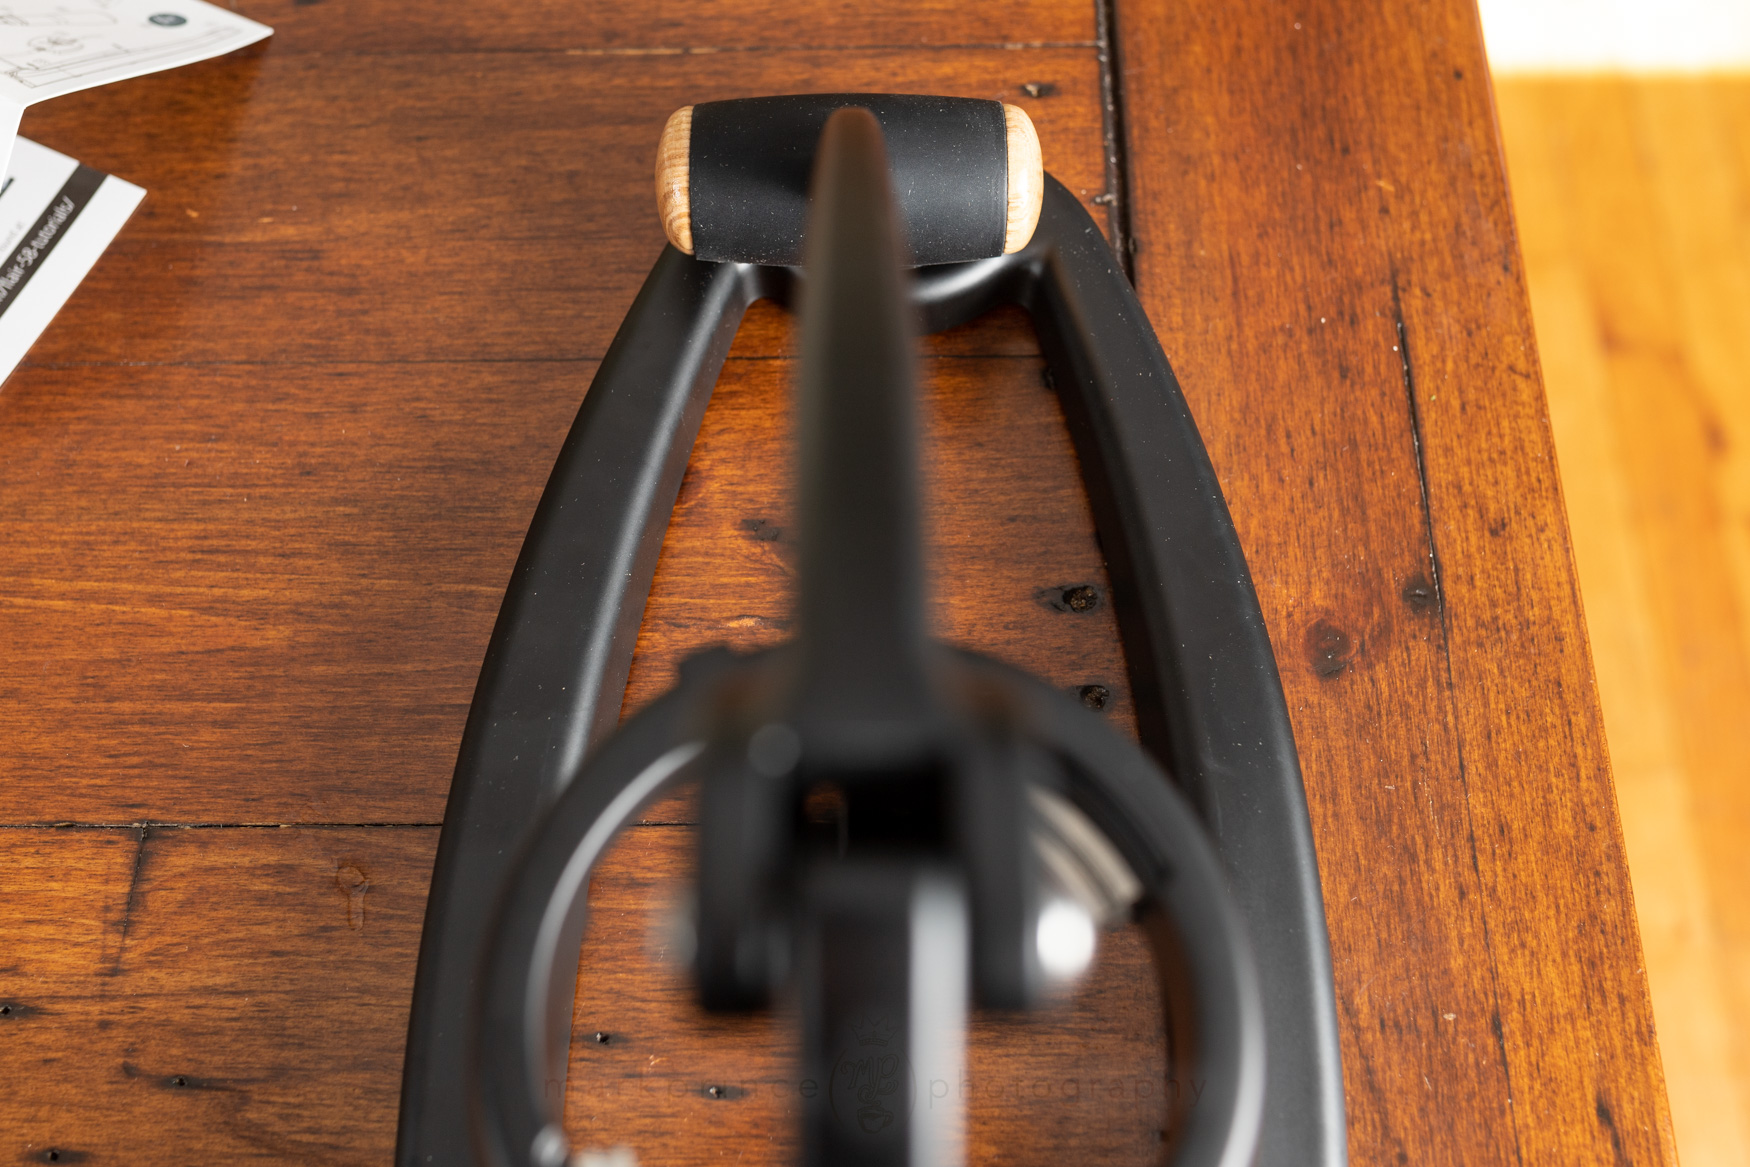
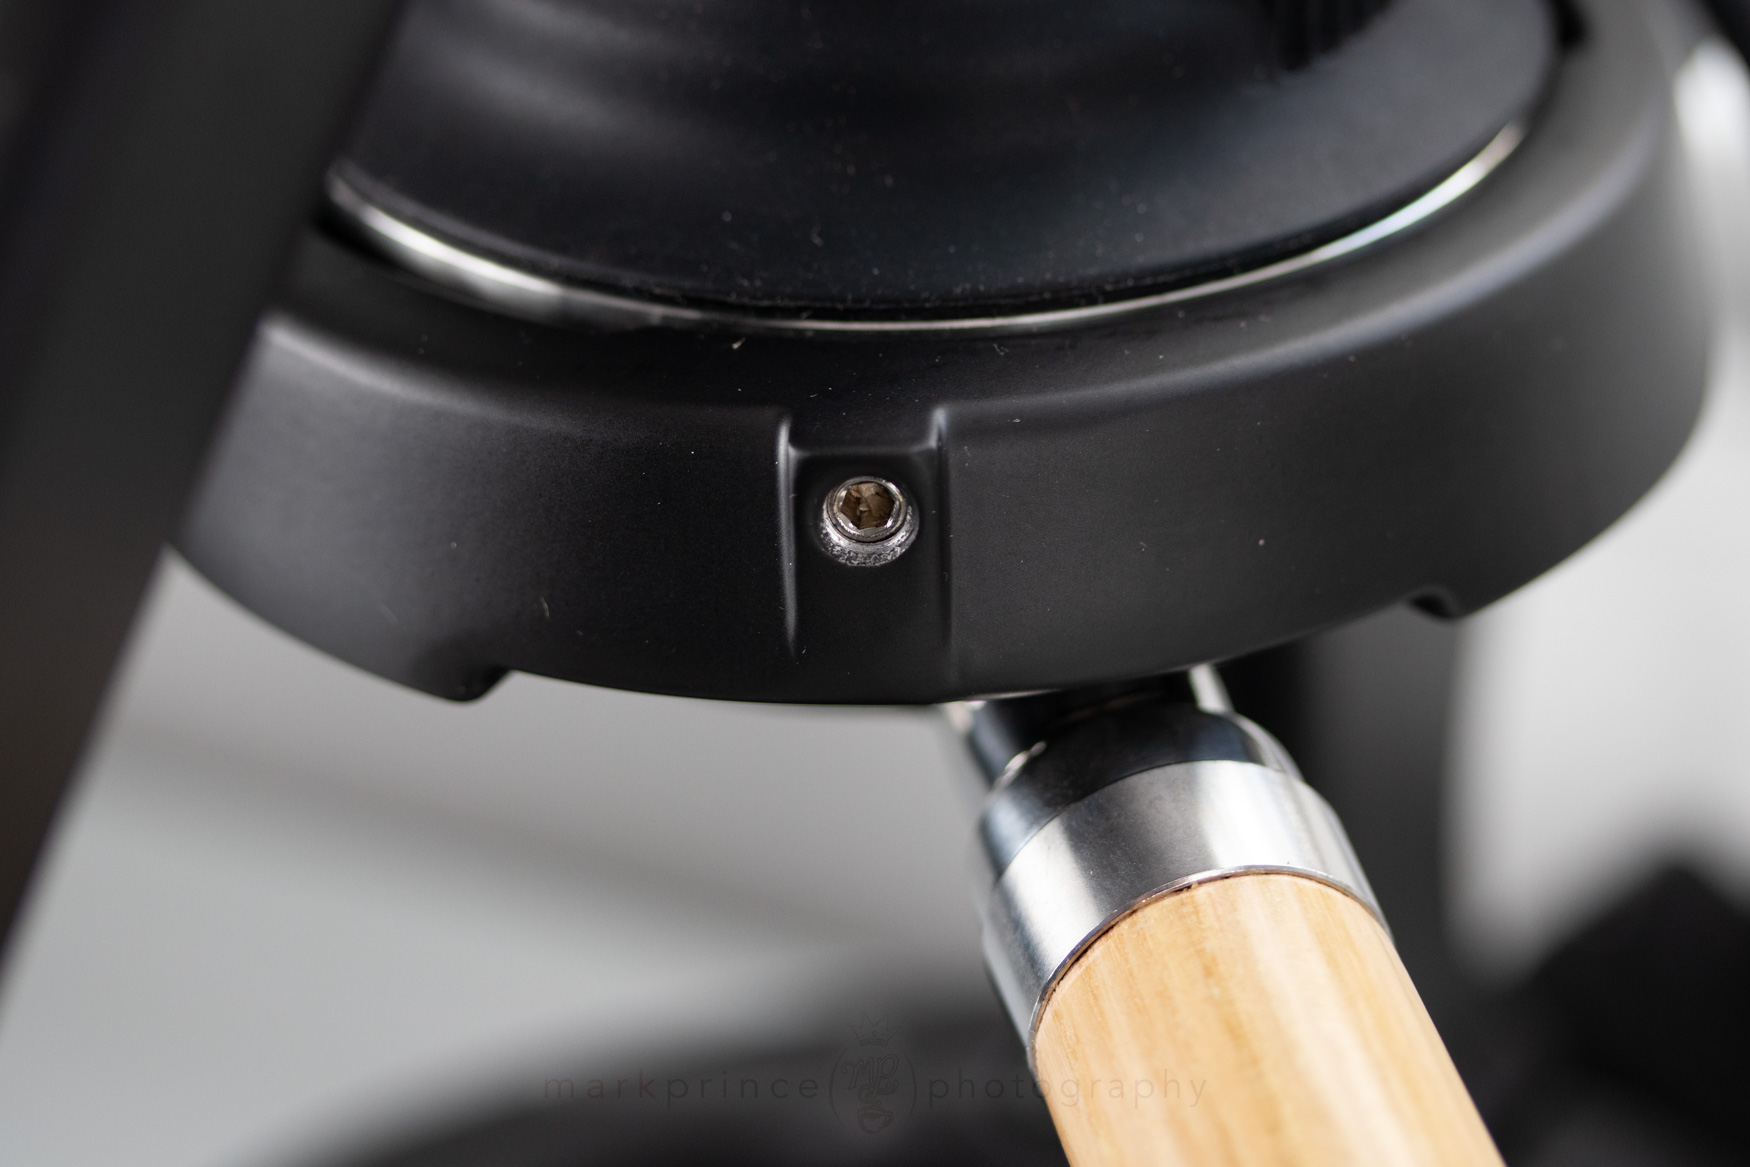
I didn't get perfect alignment of the Lever handle the first time I tried to assemble everything.
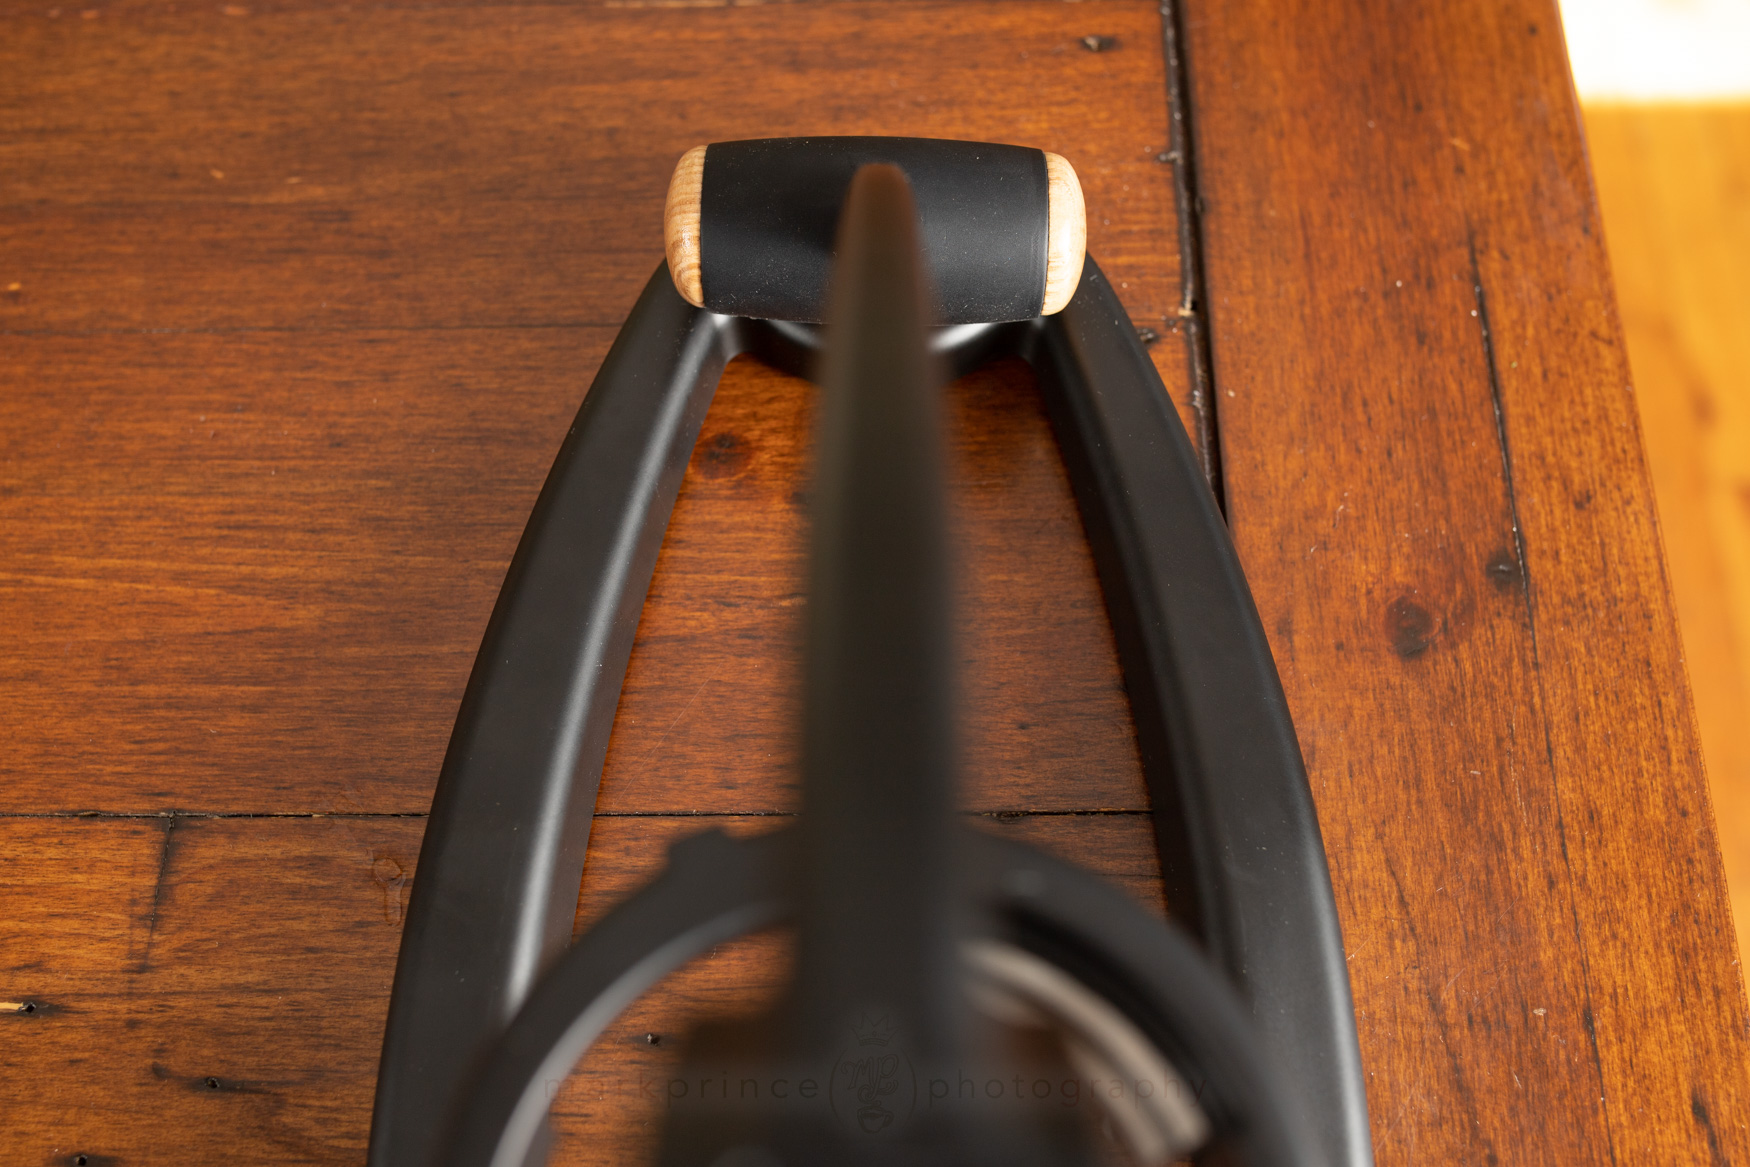
After an adjustment, my eyeball said the lever was perfectly lined up.
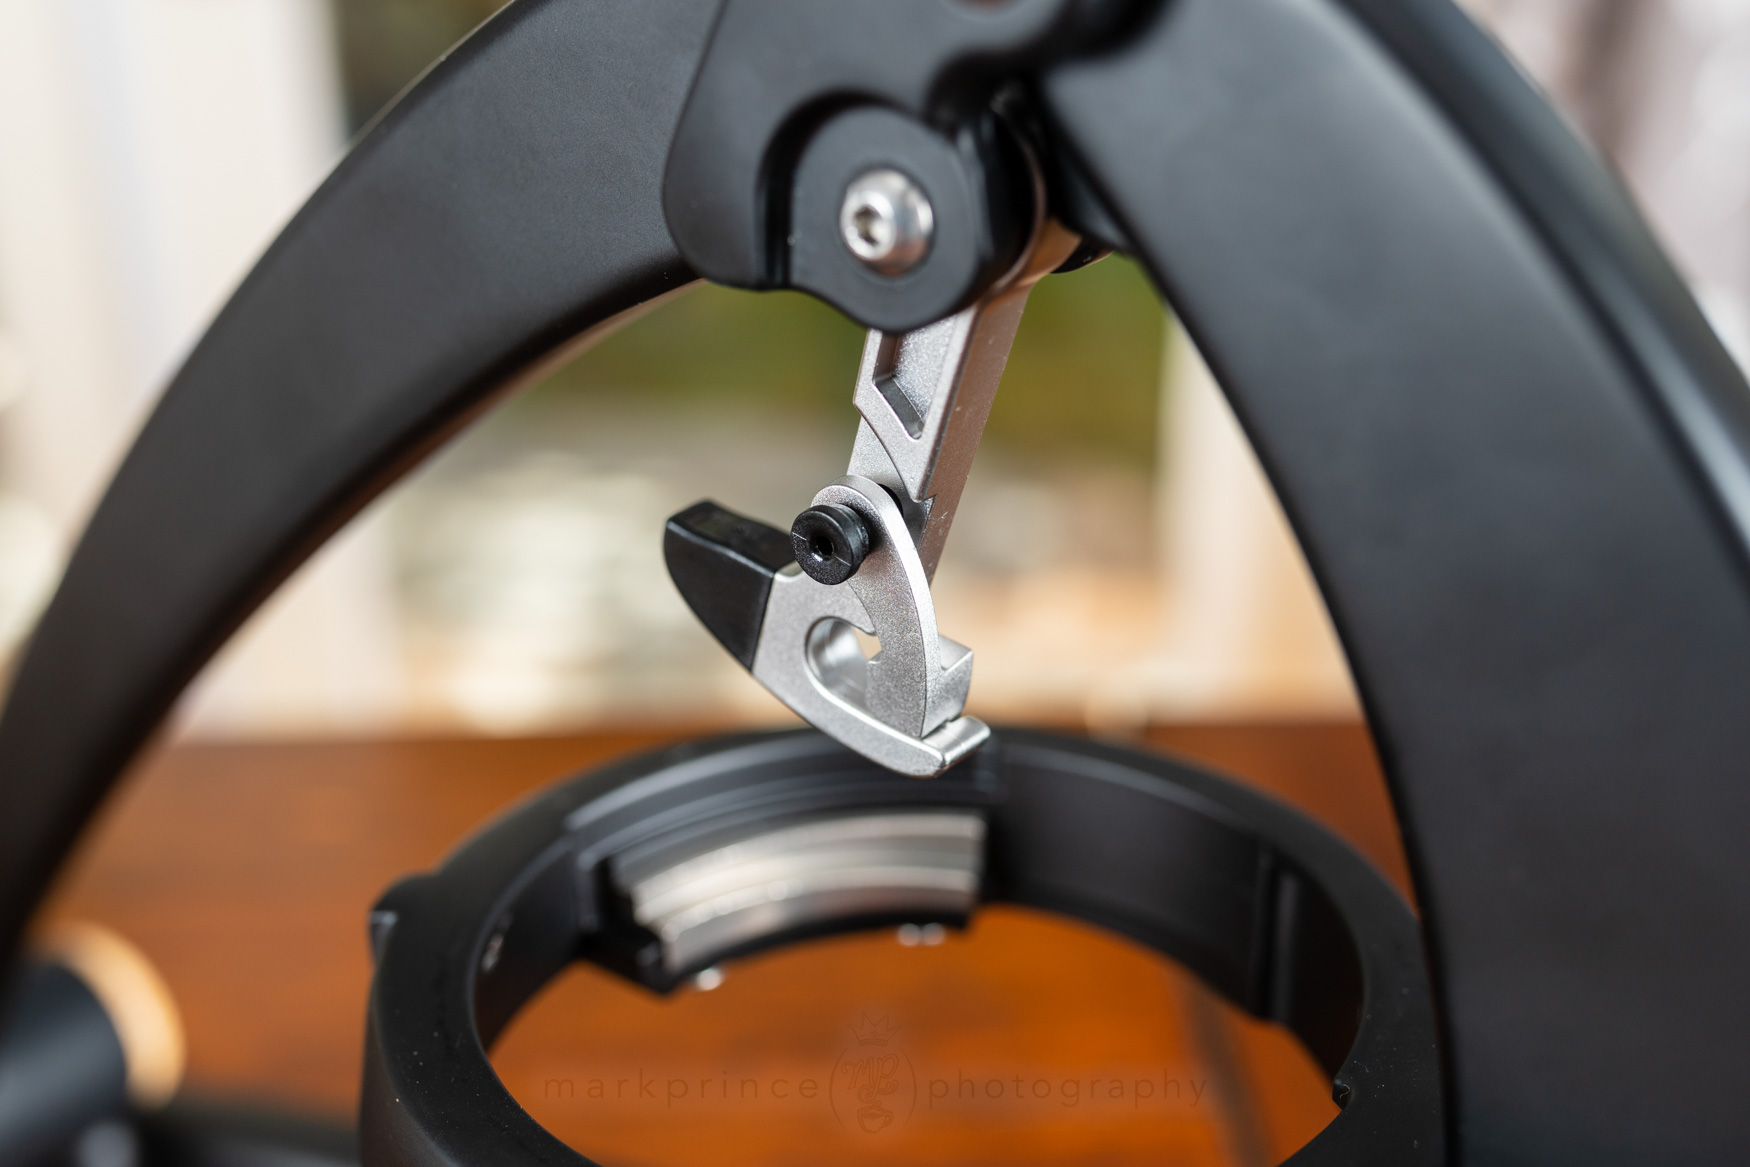
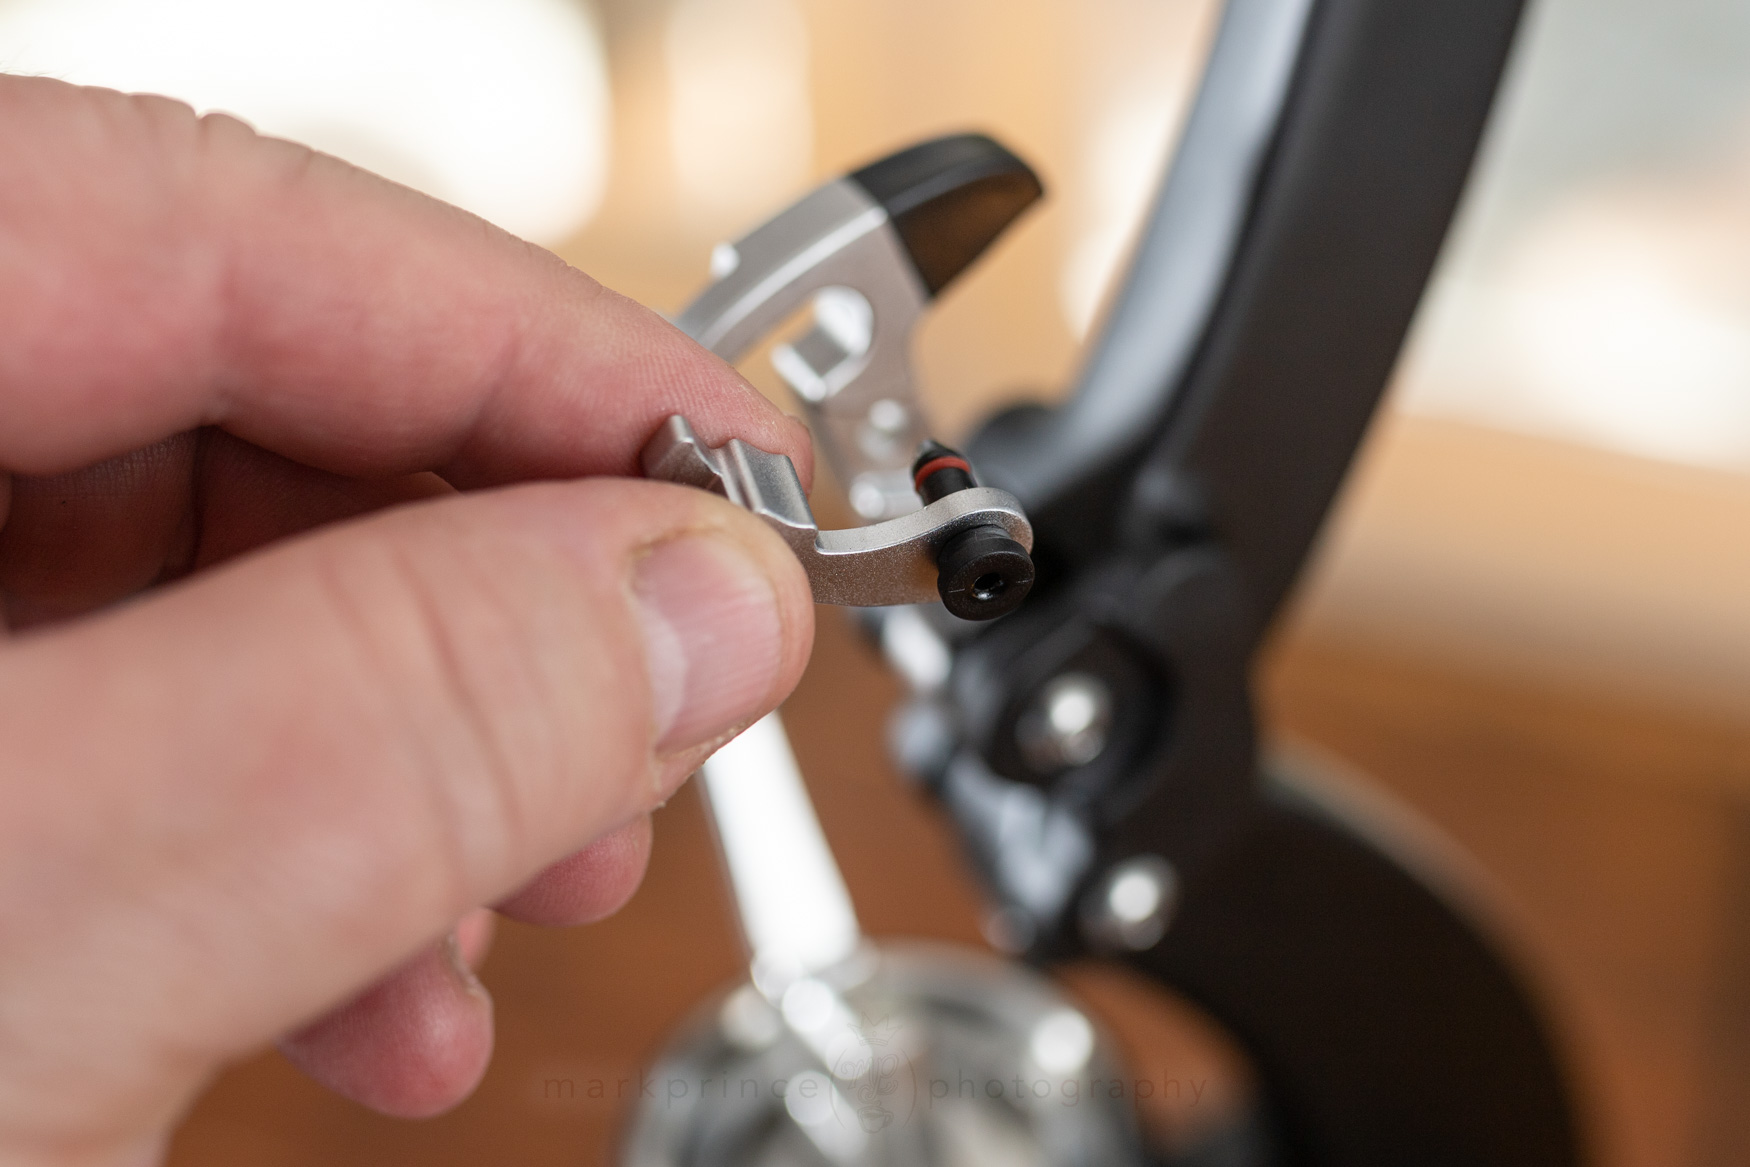
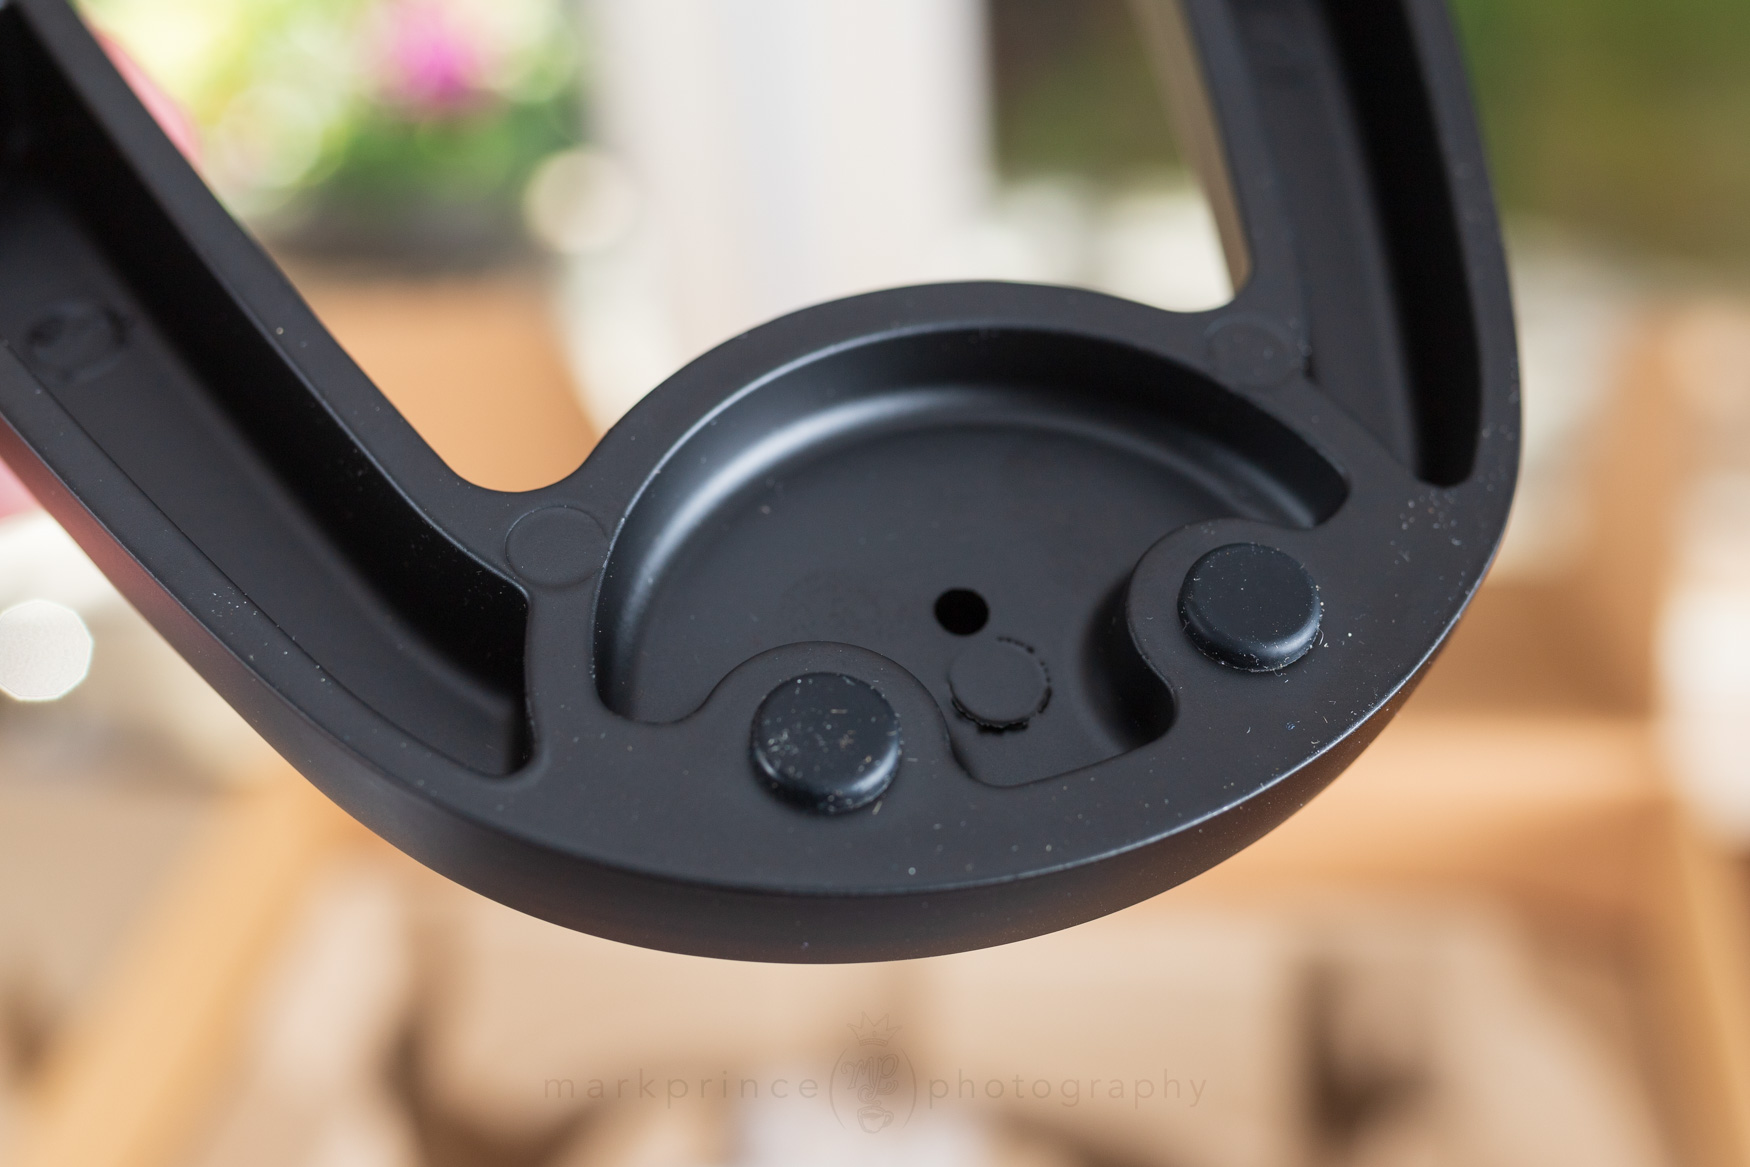
The locking hook assembly you have to fiddle with to get the lever attached to the pressure gauge piston.
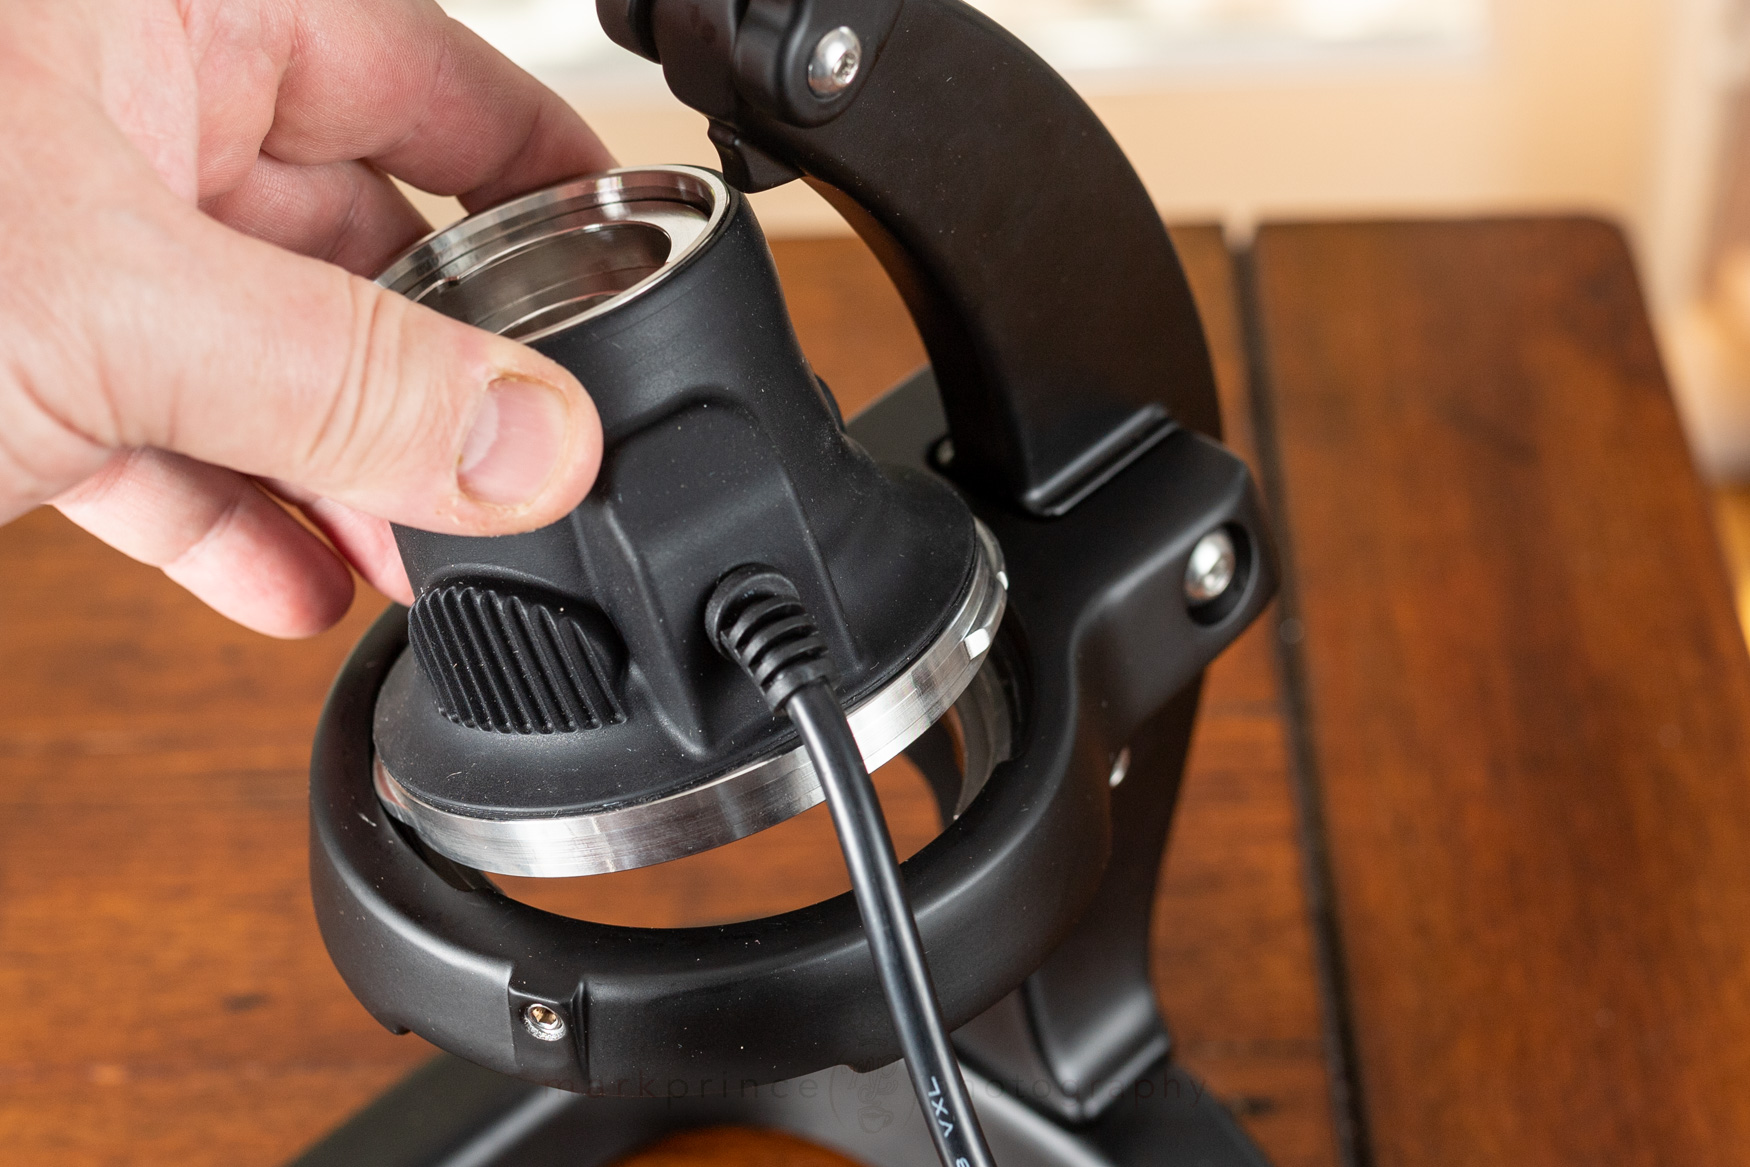
The grouphead has tabs which have to be inserted a certain way.
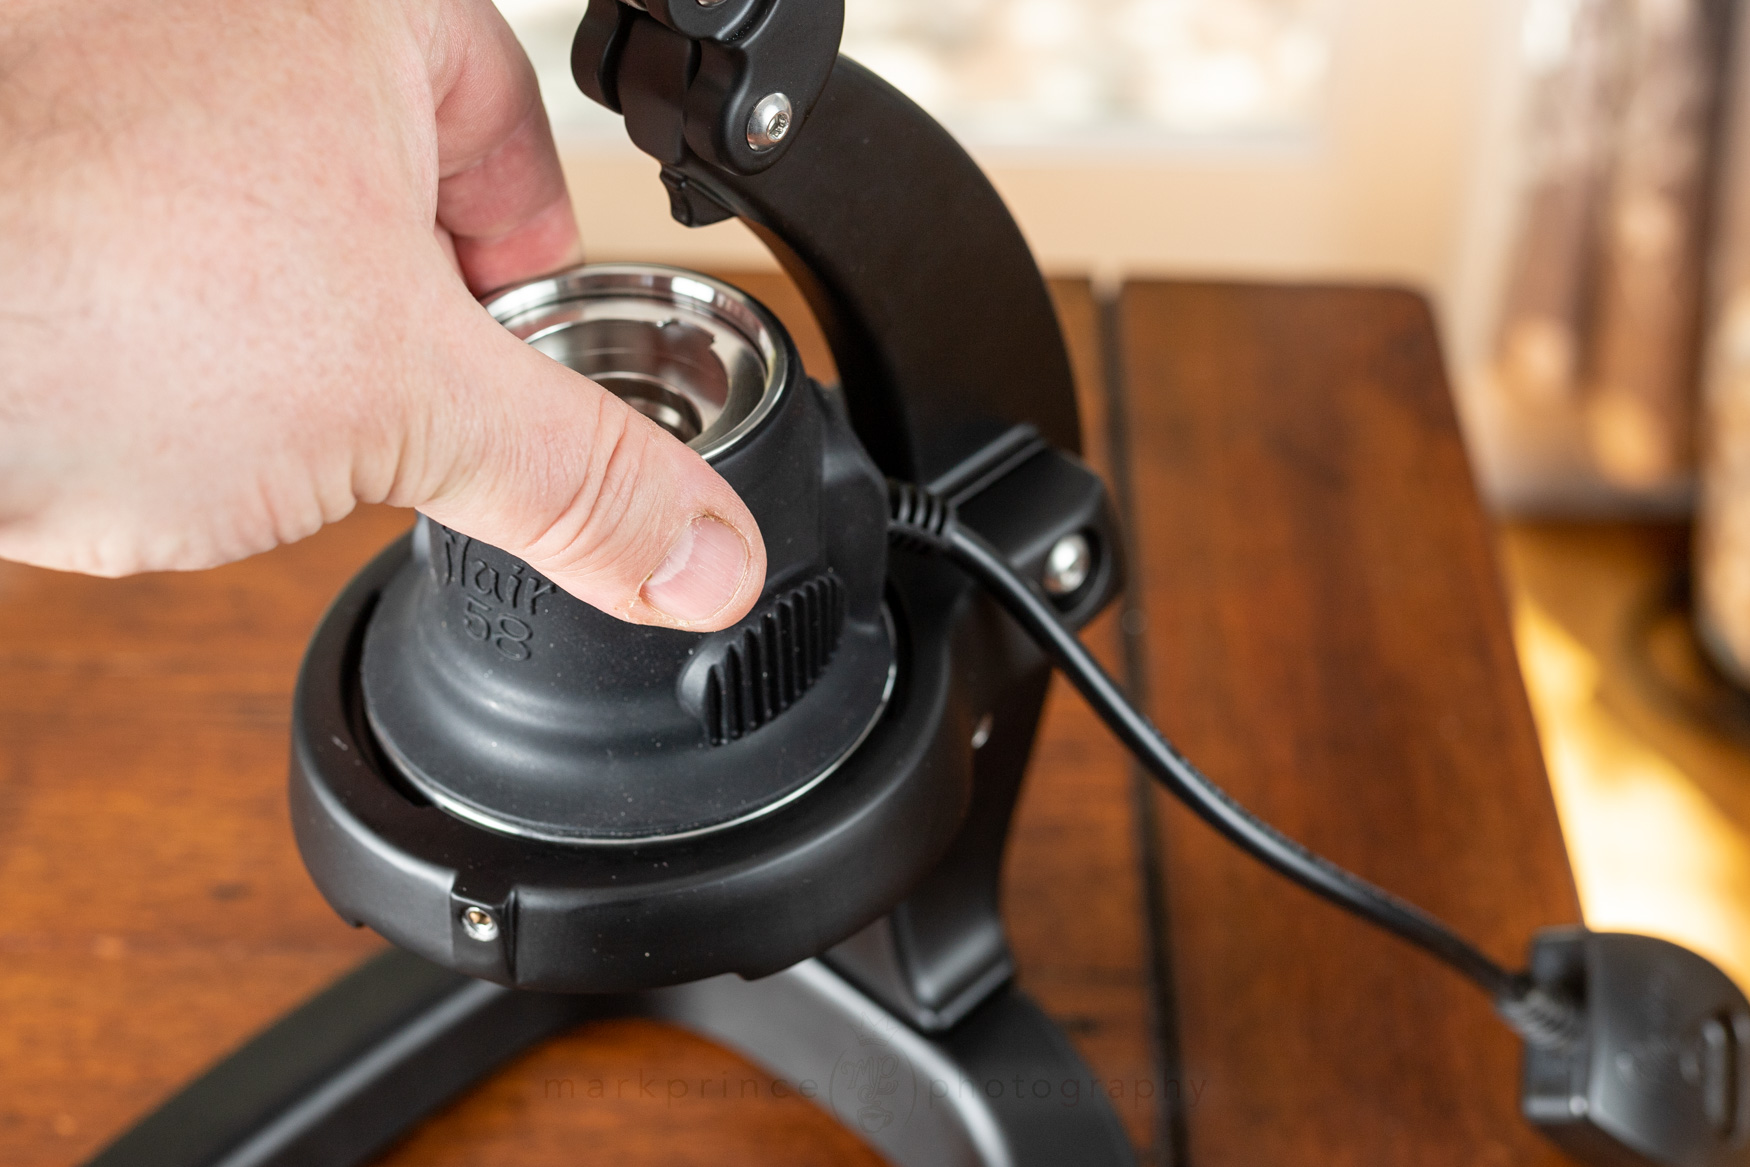
Rotate the grouphead after inserted into its holder, to align it properly and lock it down.
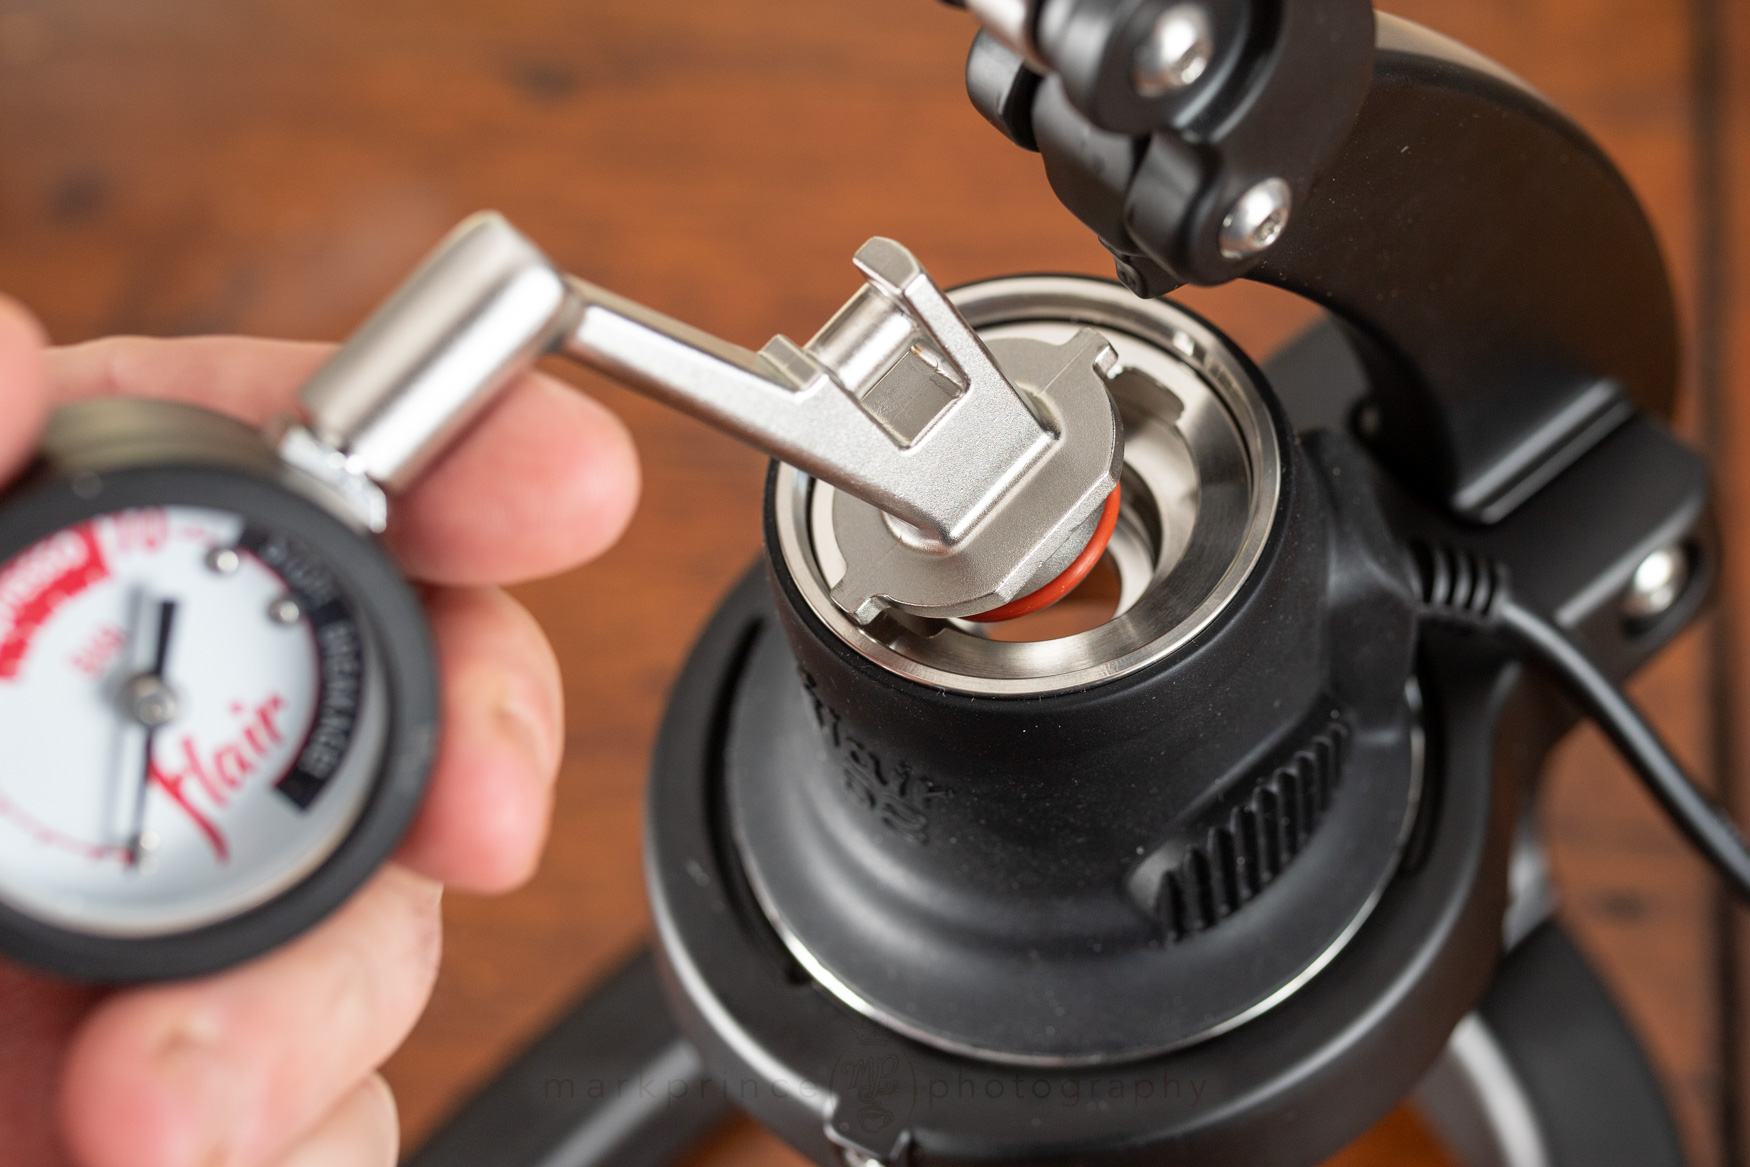
The pre-seated flow through valve has tab cutouts at the 12 and 6 o-clock position (this can move though). Line up the gauge when inserting, then rotate it into proper position.
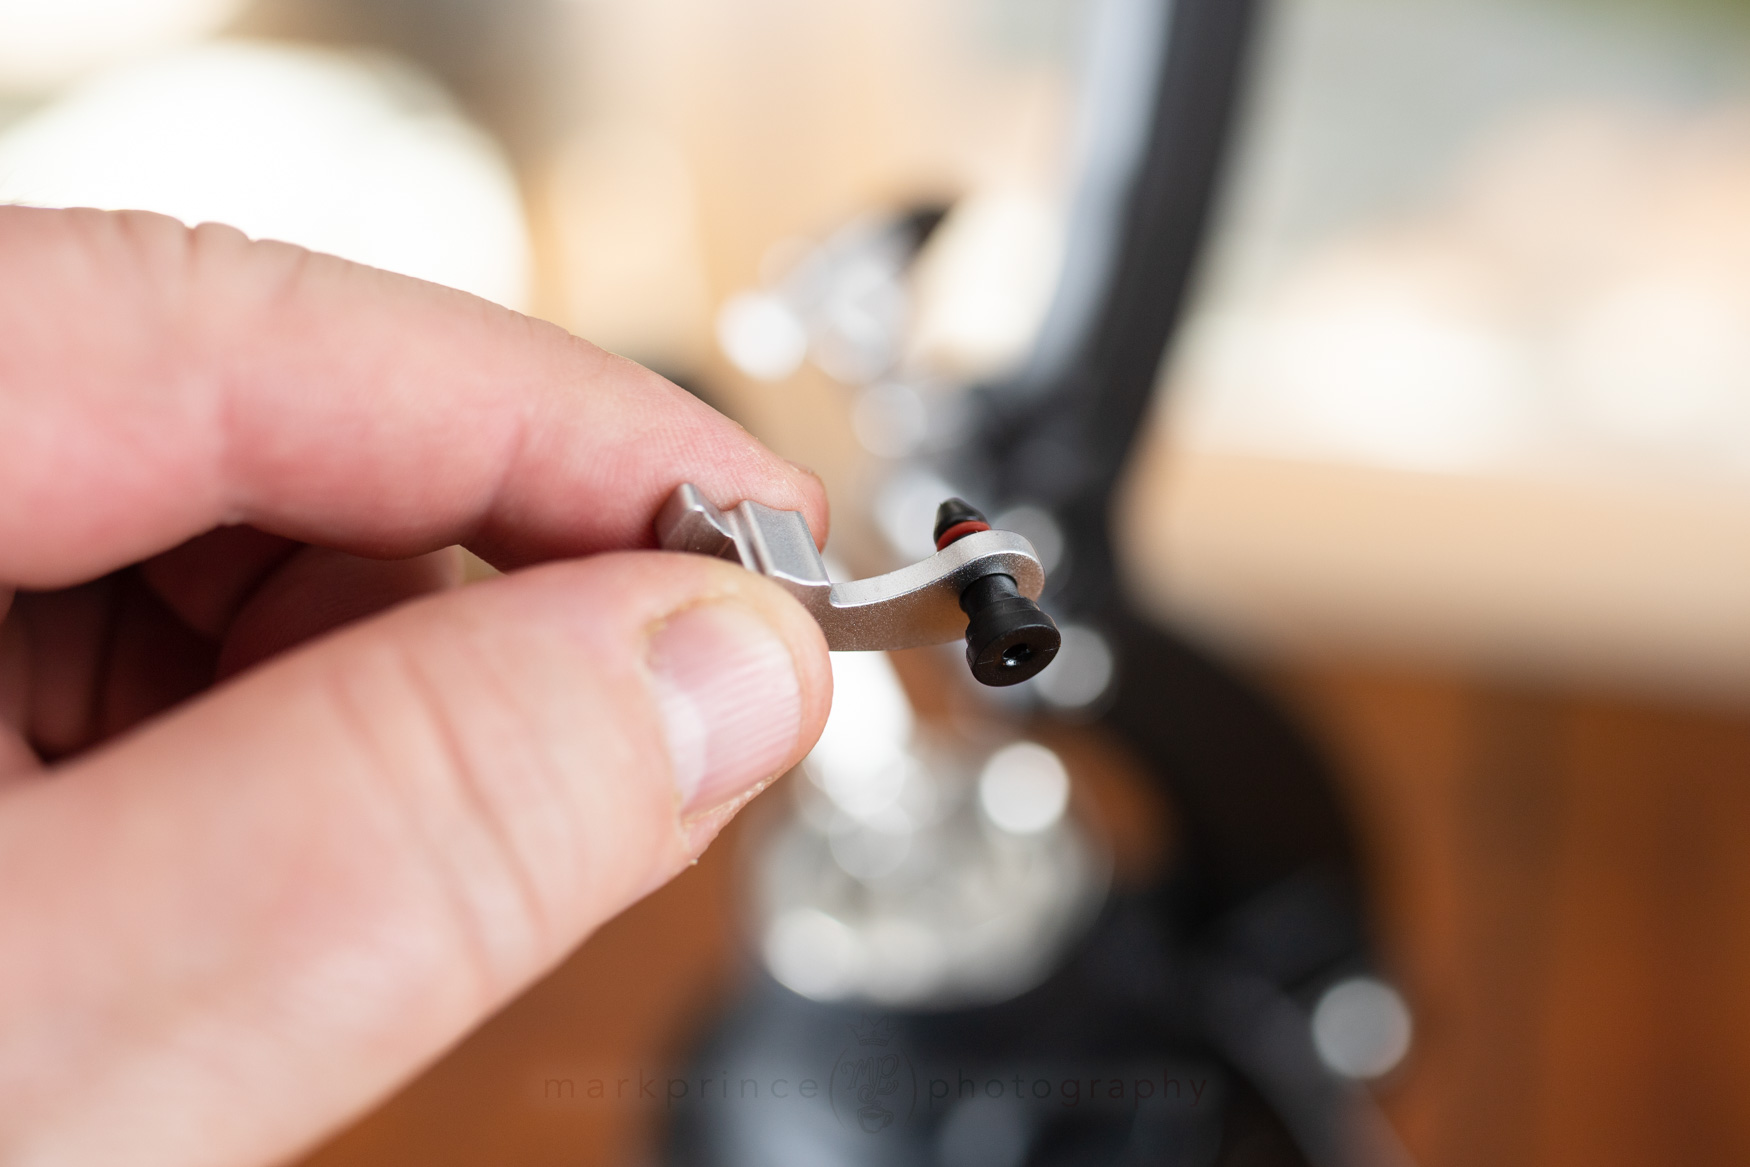
The removable "permanent" placement hook to keep the lever attached to the Pressure gauge piston.
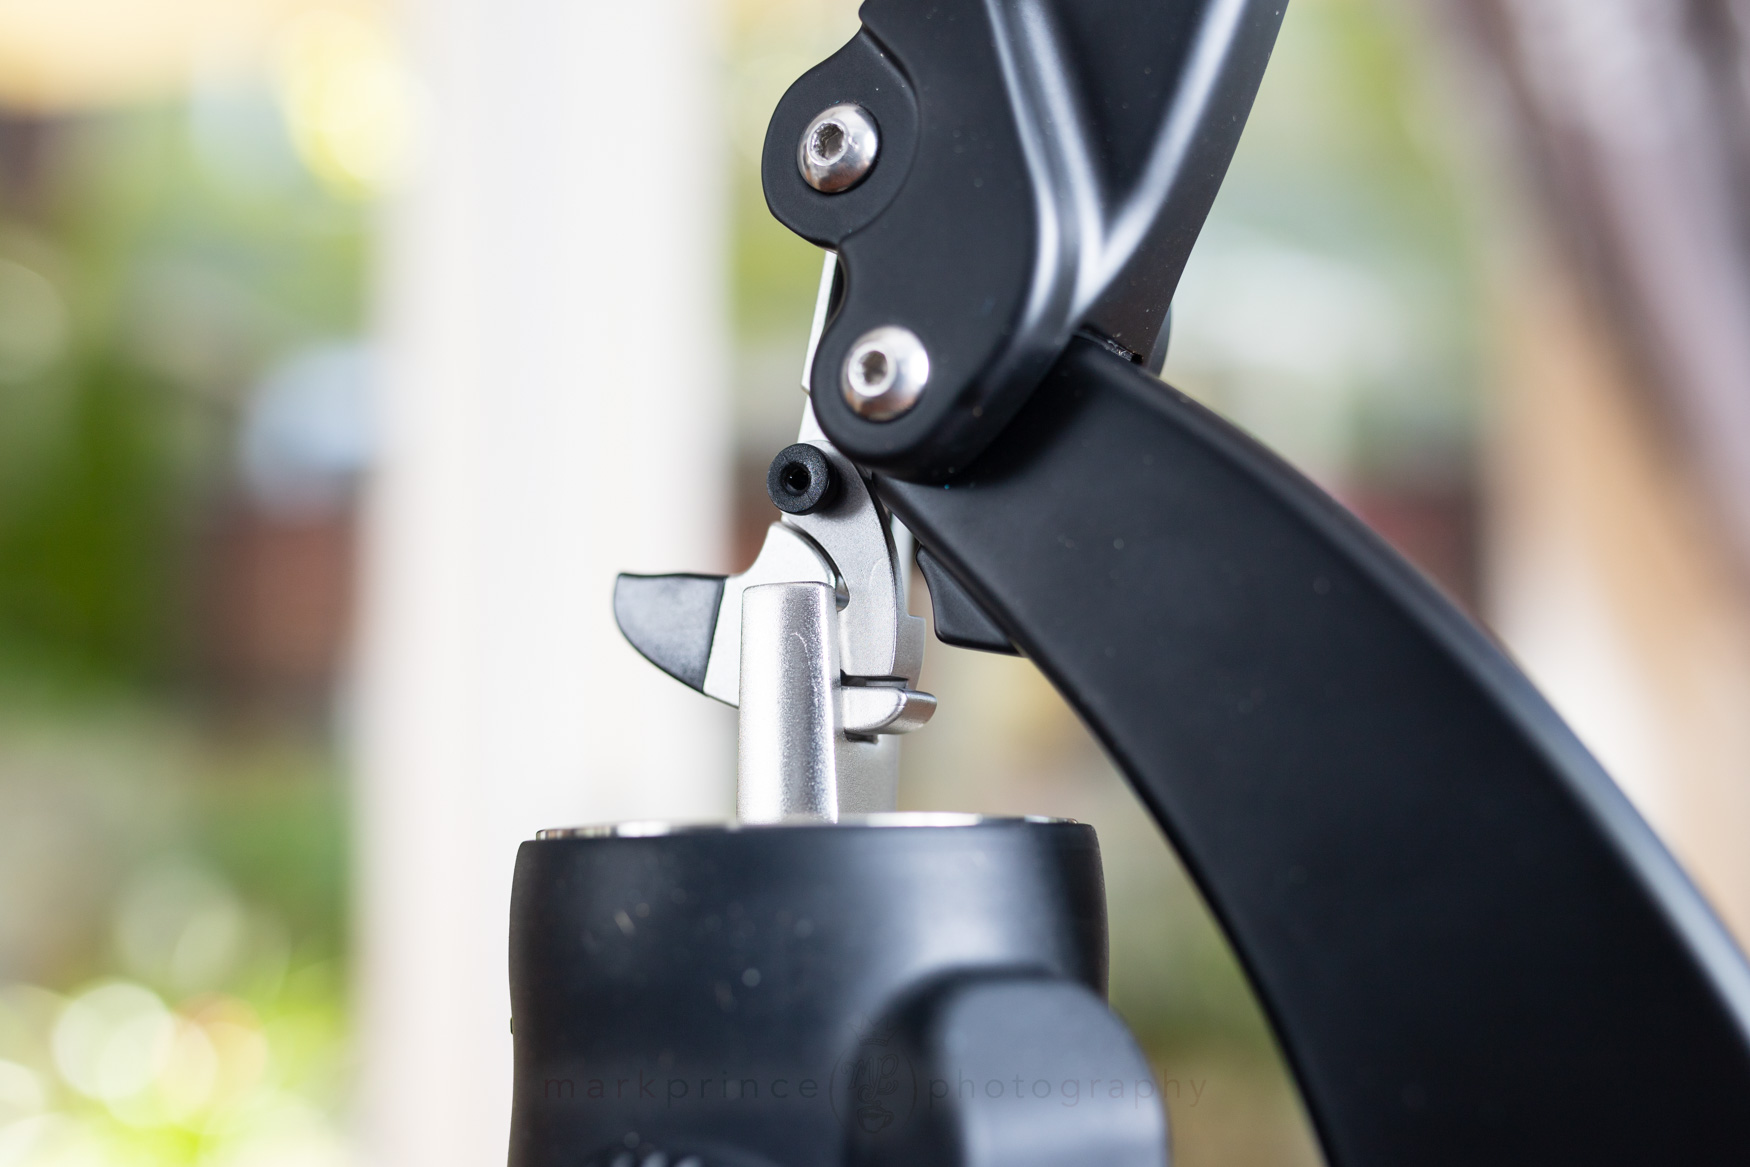
It's a bit tricky to fit into place, but once you do, the lever is more or less permanently attached to the pressure gauge piston.

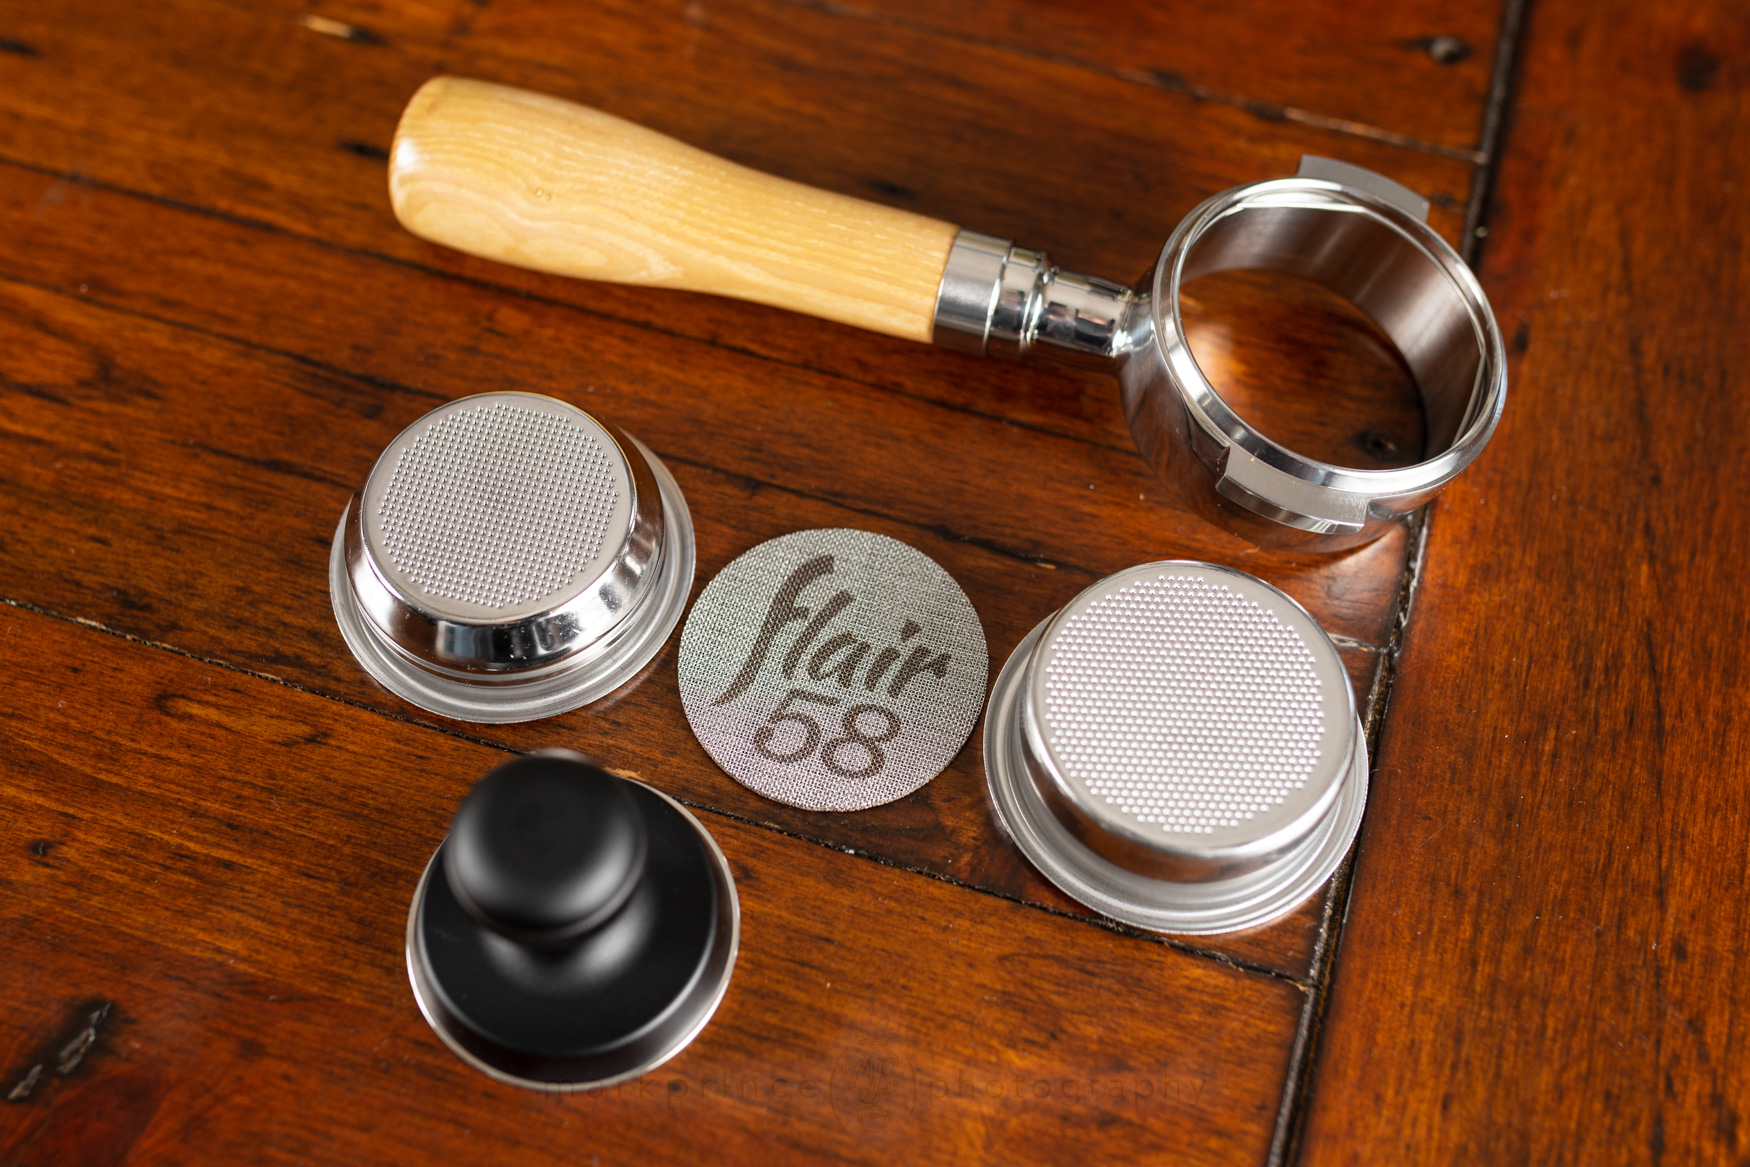

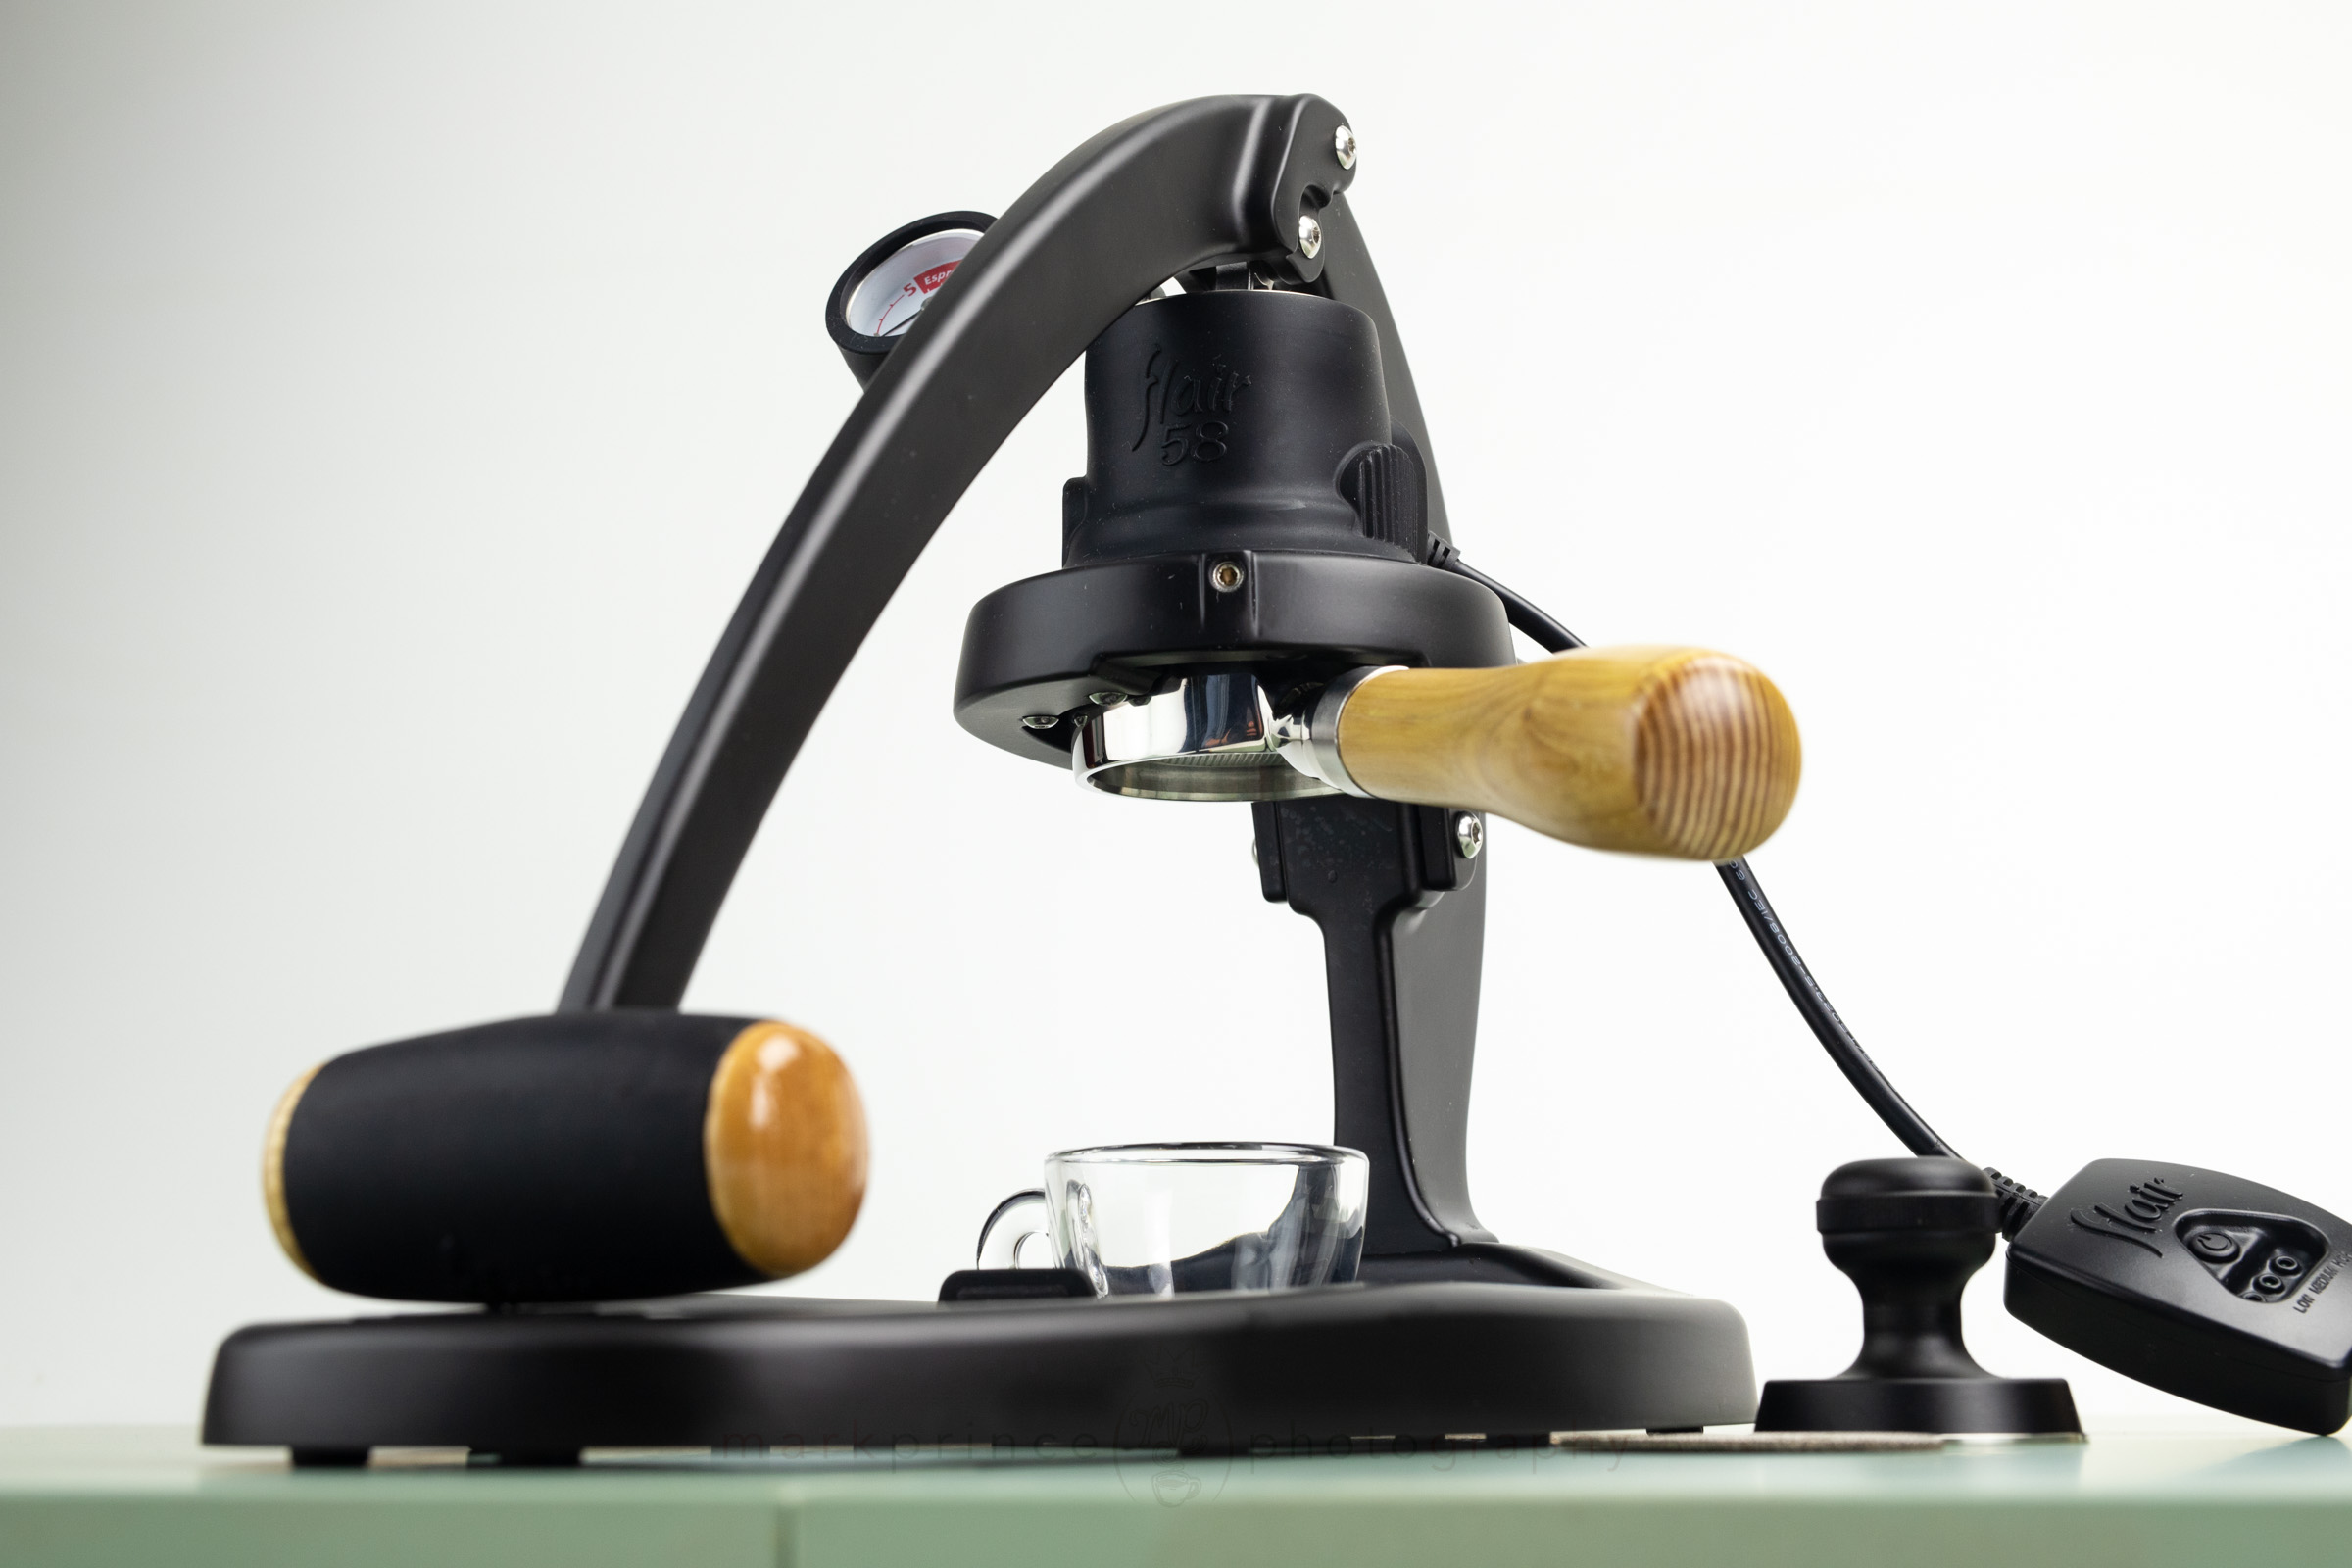
The included all metal tamper with the Flair 58. Unique looking, nice weight, not suited to my tamping style however.
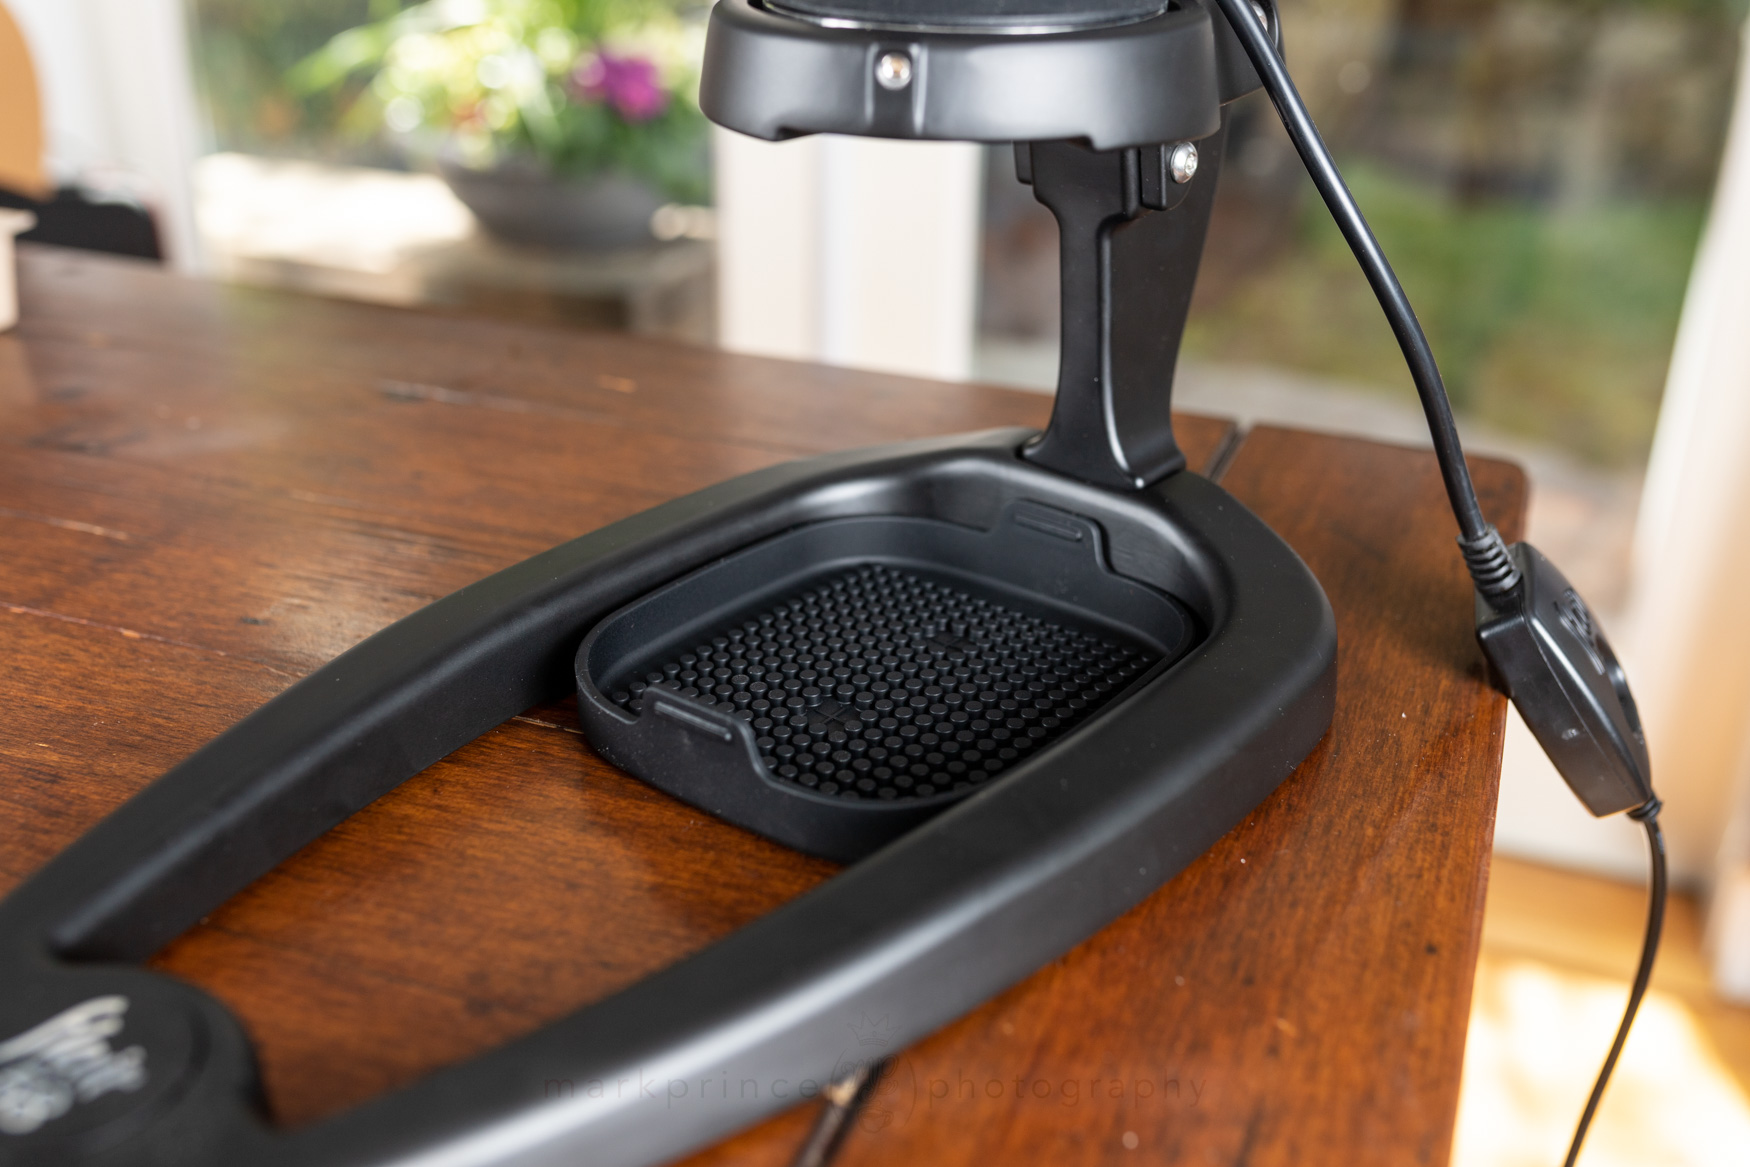
The Flair 58 drip tray is better than other flair models in that it can contain liquid. Fits only a few scales though.


Support CoffeeGeek
If you enjoy and learn from this resource, please consider making a one time or recurring donation to help support our work and fund purchases for future reviews.


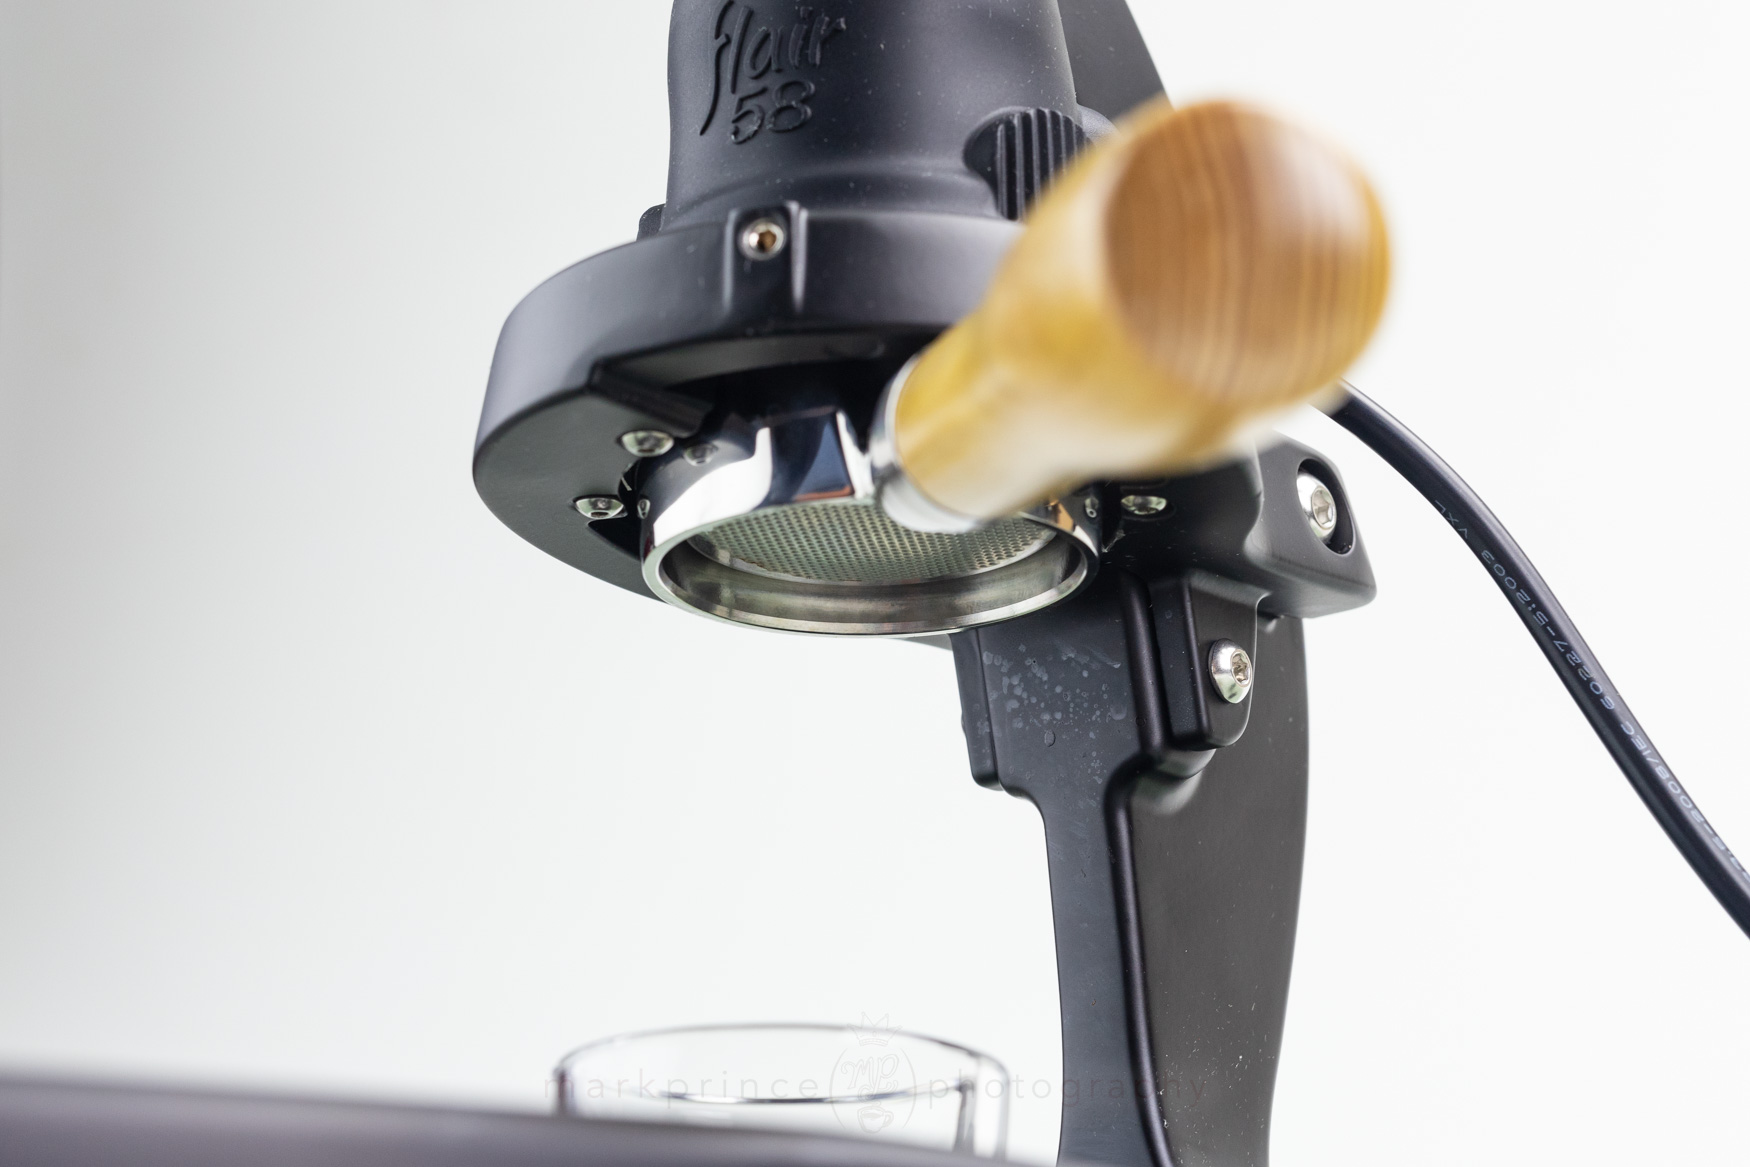
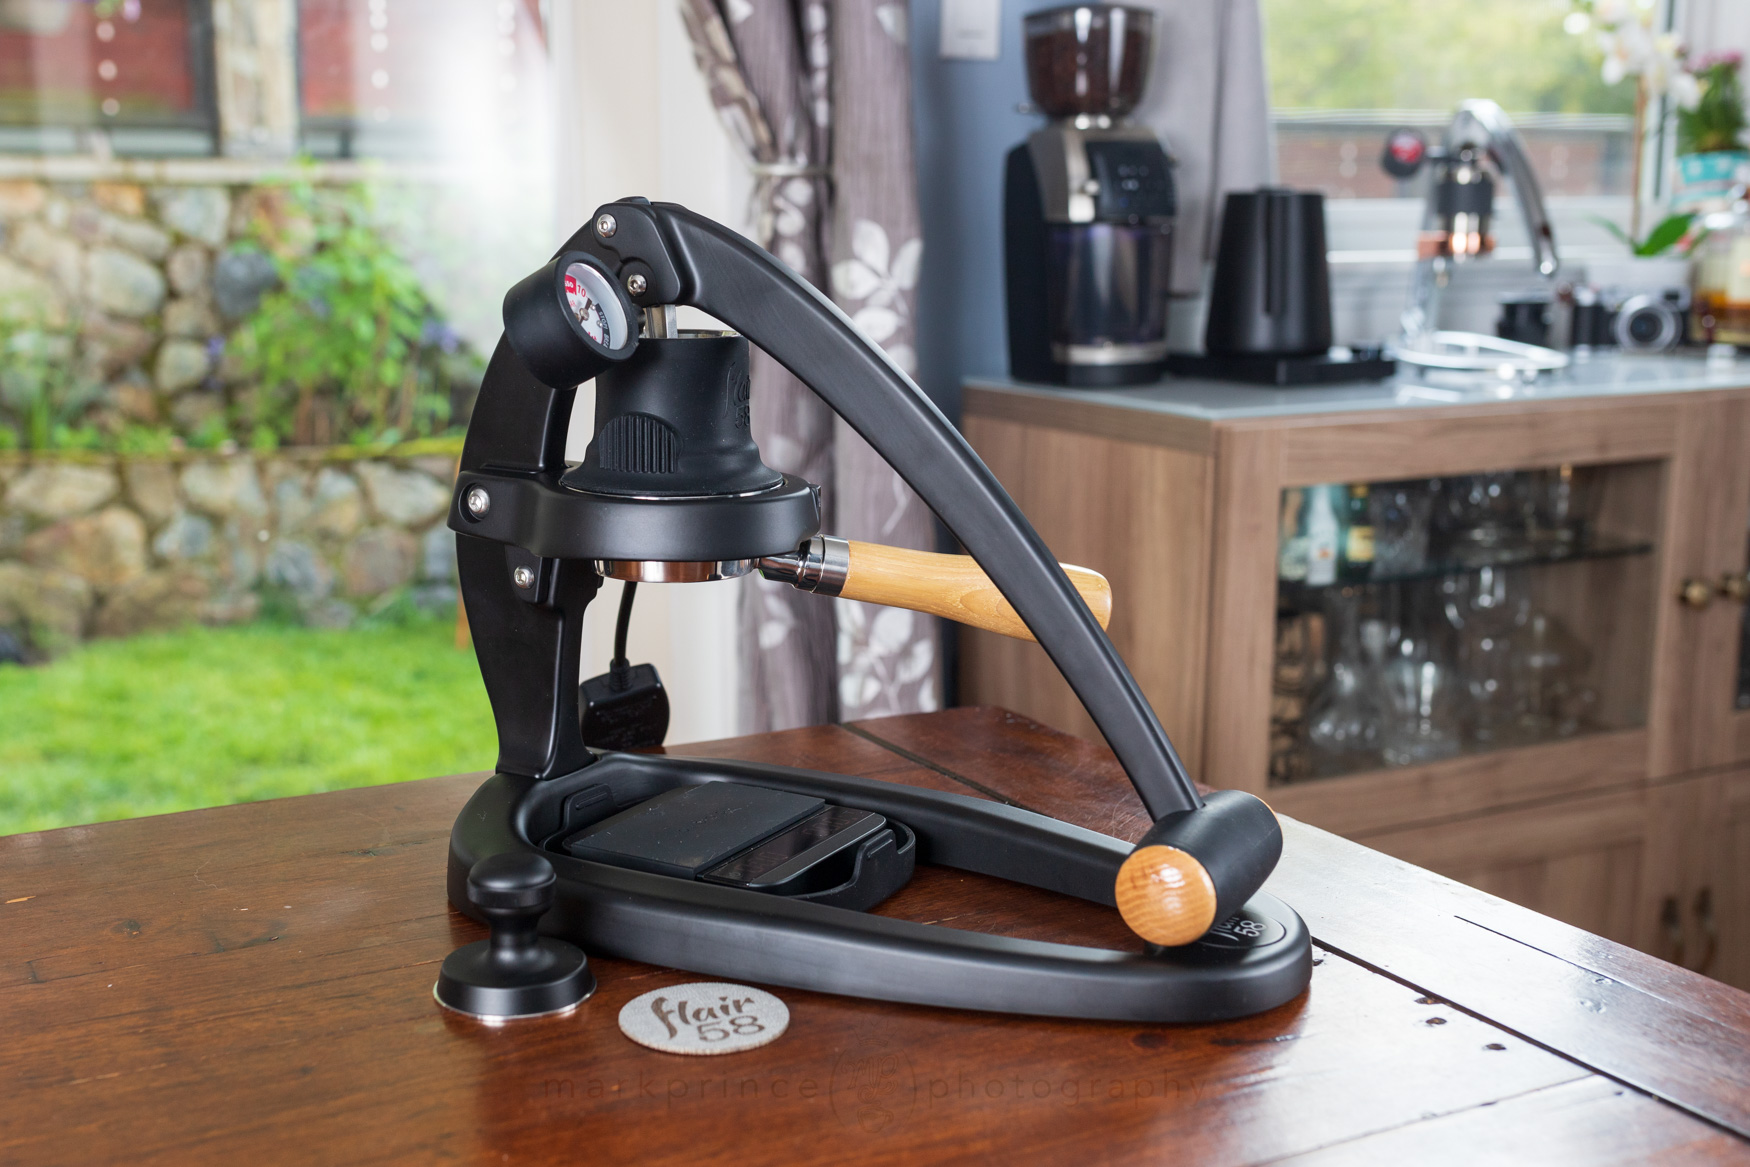
The use of a standard (chopped) 58mm Portafilter really changes the game in this category of manual lever espresso machines.
Must always remember to use this when brewing with a Flair 58. You'll have a mess to clean up if you forget.


Support CoffeeGeek
If you enjoy and learn from this resource, please consider making a one time or recurring donation to help support our work and fund purchases for future reviews.


Support CoffeeGeek
If you enjoy and learn from this resource, please consider making a one time or recurring donation to help support our work and fund purchases for future reviews.


One Response
I’ve seen the Flair 58 mentioned in a few circles but never quite understood the entire way the lever worked. I really appreciate the detailed information you provided in this review. It helps to make a purchase decision, and I’m almost there.