A First Look atKvdW Speester
Back in 2001, a fellow by the name of Kees van der Westen had already made a big name for himself as an artist with metalwork and someone who loved espresso and the technology behind it. He’d designed one-off machines for some of the top echelon of the espresso world for almost two decades by that point, including machines showcased at La Marzocco, used at Espresso Vivace, and dreamed of by a yet to be started up roastery in Portland known as Stumptown. He was well into the run of building his fabled Mistral lineup of machines, using La Marzocco parts; mainly from Lineas.
van der Westen had spare machine parts in ample supply because he was the distributor and service agent for La Marzocco in Holland at the time. Lineas were La Marzocco’s sole machine during that period, but van der Westen also had a collection of old GS/2 machines – single and double groups – at a time when La Marzocco had long ceased production of the machine. As he puts it himself on his website,
“Through the years we acquired some of the old type paddle-groups from the GS machines. As we could not bring ourselves to dump these we eventually decided to use these in a fun-project: building a small series of one-group machines, especially designed to use these groups for their proper purpose. This machine was called Speedster.”
The Speedster of that era was about as old school inside as you could get. It featured the original GS’s same-size boilers used for both brewing and steaming. It was almost entirely mechanical, with no temperature stability or state of the art electronics. It did however feature three key things – the iconic and revolutionary La Marzocco paddle group; the aforementioned dual boiler setup; and the complete uniqueness of van der Westen’s design skills.
Original Speedster
One of the six original Speedsters built in 2001; features La Marzocco boilers, paddle group.
AboutThe Machine
There’s not much I could write about the technological innards of the Speedster that van der Westen hasn’t already fully detailed himself on his website – but I’ll give it a go, at least from a third party perspective. It’s also important to note that the machine has already seen upgrades and will continue to do so.
The Speedster ships quite complete. In the crate you’ll find:
- all necessary tubing, pressure tubes, connections, etc.
- water softener machine.
- the pump.
- single spout and double spout portafilter (or a chopped portafilter if you ordered one), teflon lined (chopped PFs are not teflon lined).
- Kees van der Westen custom tamper, height adjustable. Heavy, beautiful, mirror polish finish.
- custom Speedster espresso cups – two. These are ltd edition though.
- a cleaning brush (a clone of the Pallo design) in aluminum.
- spare gaskets, filter baskets, blind filter.
- aluminum tamping stand.
- Speedster t-shirt (again ltd item, once gone, no more).
- Speedster instruction manual including setup instructions.
- cleaner.
Little things like the brush, cups, t-shirt, and bigger things like the way-cool tamper make a big difference to the overall package. Seems complete. About the only thing missing is the grinder. By comparison a La Marzocco GS/3 comes with a plastic tamper, bottle of cleaner, two PFs and little else. And no grinder either.
The Speedster Espresso Machine is about as state of the art inside as you can get in today’s espresso world, and is quite different from the 2001 era Speedster, at least inside. The machine is built around a dual boiler, dual PID (proportional–integral–derivative) controller setup to deliver brewing water, heating water and steam.
The boilers feature the latest go-to technology in espresso: the 3.5 litre steam boiler is fitted with a heat exchanger to provide pre-heated water for the smaller 2.3 litre brew boiler. This technology was initially developed for the GS/3 to help with power consumption but it was also found to increase temperature stability, especially shot-to-shot-to-shot performance in all machines, Along with the Speedster, some of the most technologically advanced machines in the world feature this design, including the La Marzocco FB80 and GB/5 series, and the Synesso machines.
Both boilers are controlled via solid state relays, a much more reliable and efficient way to control the heating elements over the old mechanical relays. They are also virtually silent, and much less prone to break down (or wearing down) compared to the older style of relays most machines have.
Taking a peek inside the Speedster takes all of two minutes: four side bolts and three hex bolts in the back and both the side panels and top panel slide off easily. If you’ve seen earlier interior photos of the Speedster (2008 version), things have changed a bit. There are no less than four electronic Parker solenoid valves controlling everything from steam boiler refill to water mix, to injecting the preinfusion chamber unique to the Speedster (and Mirage line from van der Westen). Initially, the Speedster had the steam boiler PID on the right side of the machine, accessible through a maze of copper tubing, but that has since moved to the more clean left side. Also gone from the initial 2008 version is the internal adjustable mix valve the Speedster offered for hot water dispensing; instead there’s a very unique dual mode hot water option available via a front panel rocker switch.
Subscribe to
Coffee Pulse
Delivered twice monthly, CoffeeGeek's premier newsletter dives into a specific coffee topic each issue. The Pulse also occasionally features contests and giveaways. Subscribing is free, and your personal information is never shared.
By submitting this form, you are consenting to receive marketing emails from: CoffeeGeek. You can revoke your consent to receive emails at any time by using the SafeUnsubscribe® link, found at the bottom of every email. Emails are serviced by Constant Contact
Support CoffeeGeek
If you enjoy and learn from this resource, please consider making a one time or recurring donation to help support our work and fund purchases for future reviews.
SpeedsterDesign
There is so much to the design of this machine that is unique and ground breaking.
Let me focus on that one bit for a second. The Speedster’s two ginormous dial handles up front were traditionally for steam (the left side) and hot water (the right side). But on the 2009 edition of the Speedster, the right side dial handle is for show and aesthetics only because accessing hot water on this machine is accomplished via a rocker switch on the right front panel.
Why a rocker switch? van der Westen heard feedback from many professional baristas regarding hot water from a machine. Some wanted a mix valve, pulling both water from a steam boiler (above boiling, usually 275F) and line water (72F) so the resulting water pulled into a cup could be below boiling or usually around 200F. Others wanted steam boiler only water (275F but “flashes” to 212F as it comes out of the tap) for the heat.
van der Westen devised a system in 2009 that provided both, via microswitches, solenoids and computer control and the result was the rocker switch activation for hot water. Flip the switch upward and the hot water tap feeds steam boiler-only water. Flip it down, and you get mixed water – steam boiler and line water – for approximately 200F water at the tap head. Quite ingenious.
Here’s a few more visual features.
I focused on the hot water delivery to prove a point about this machine and about the person who builds it: Kees van der Westen is a details man. Pretty much every aspect of this machine, from the aesthetics, to the usability, to the technology inside shows a supreme attention to detail by an artist and engineer who “gets” modern day espresso.
This isn’t a machine designed by someone who’s building for 10,000 units sold in Spain, or 25,000 units sold in China, where niceties such as temperature stability, steaming ability or manual controls are not valued much. This is machine designed by someone who gets what the modern day professional barista demands from a state of the art espresso brewer. It shows in every single aspect of the machine’s design and function.
SpeedsterPreinfusion System
This is where the Speedster really starts to stand out. When it was first announced that the machine was going to be built again in limited numbers, the prototype machines that van der Westen showed at the Copenhagen World Barista Championships in 2008 were missing something obvious – it was no longer a paddle group machine. Instead, brewing was done via a three-position shift lever on the right side of the front panel.
Preinfusion Piston
Piston is fully engaged (sticking out of the machine) showing full preinfusion.
Here is another example of van der Westen’s brilliance in engineering design – two areas actually. He fully understands the allure and hands-on control that La Marzocco’s 20+ year technology known as the paddle group offered to a professional barista for crafting a shot of espresso. So do Synesso and Slayer – their machines feature paddles for hands on control of preinfusion. van der Westen also believes that the lever group design (for spring piston lever espresso machines) offers the best form of preinfusion and coffee saturation today, which is why his Mirage machine line up includes the Idrocompresso variant.
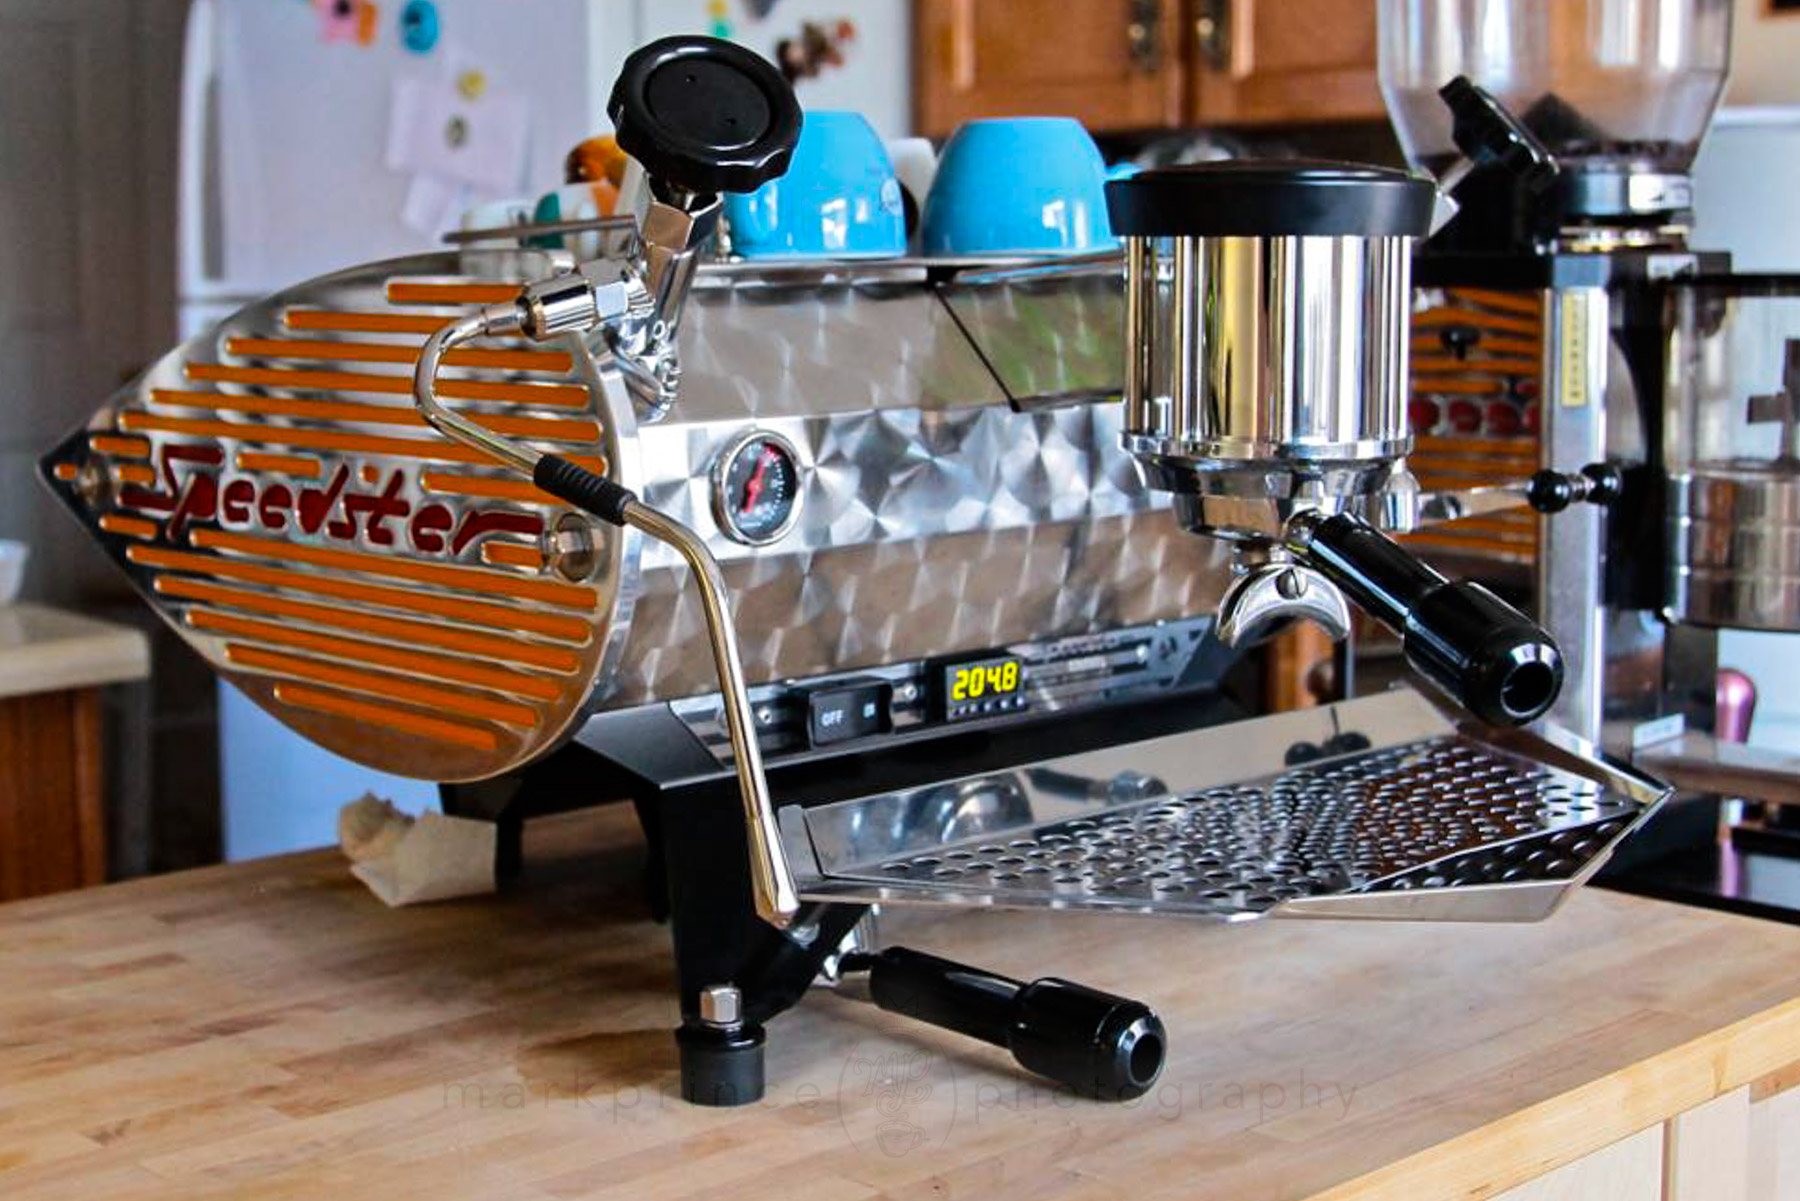
van der Westen found a way to marry three key desired methodologies in espresso machines – dual boilers, manual preinfusion, piston lever enabled preinfusion – into one machine controlled by solid state relays and PIDs – and this is what makes the Speedster entirely unique. The Mirage lineup are heat exchanger machines (single boilers with heat exchangers for the groupheads); the Speedster is a dual boiler machine that still encompasses all the best from two other machine technologies.
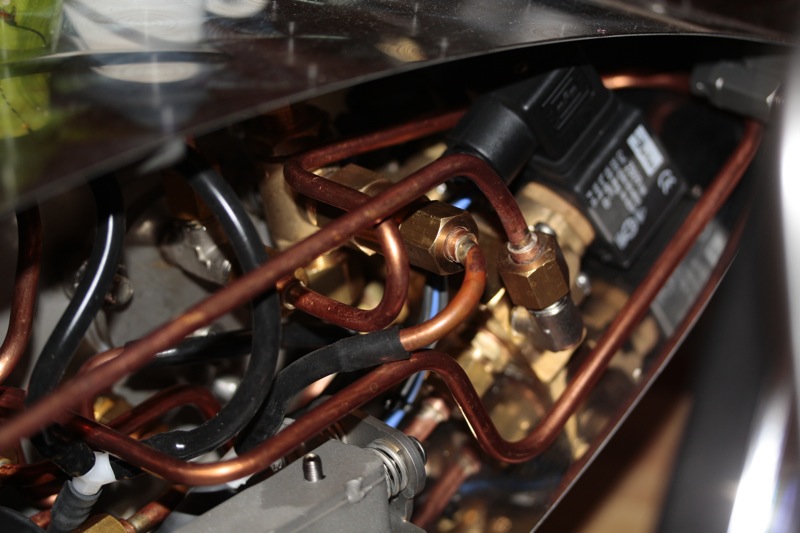
How it works is a bit difficult to explain but we’ll try here. When water for brewing first comes into the machine it actually goes through a heat exchanger in the steam boiler. It gets heated up quite a bit – hotter than what is adequate for brewing in fact – but the machine’s design takes that into account. The brewing water exits the steam boiler heat exchanger and goes through over 50cms (almost 2 feet) of copper tubing that snakes around the back-right side of the machine. The tubing eventually makes it into the brew boiler, where the water is now just slightly below usual boiler water temperature settings.
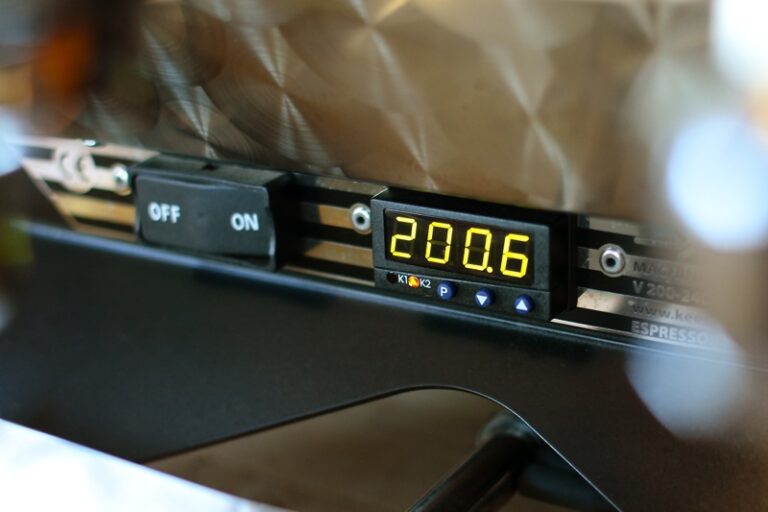
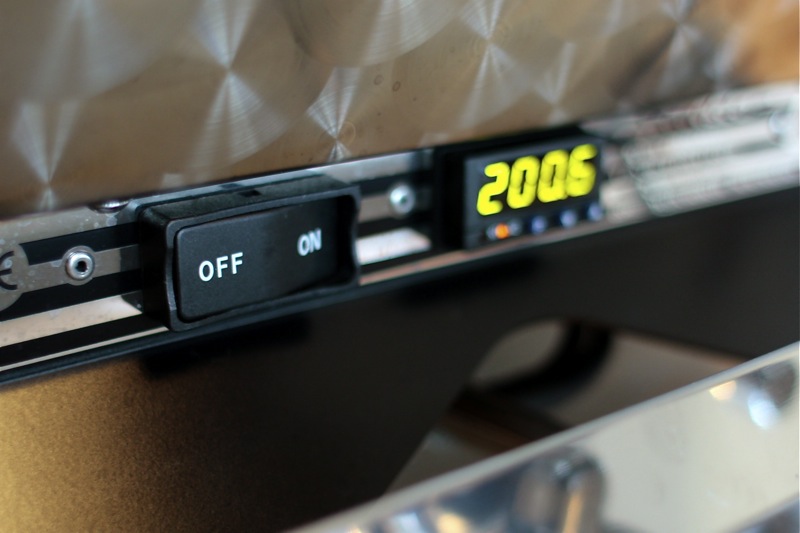
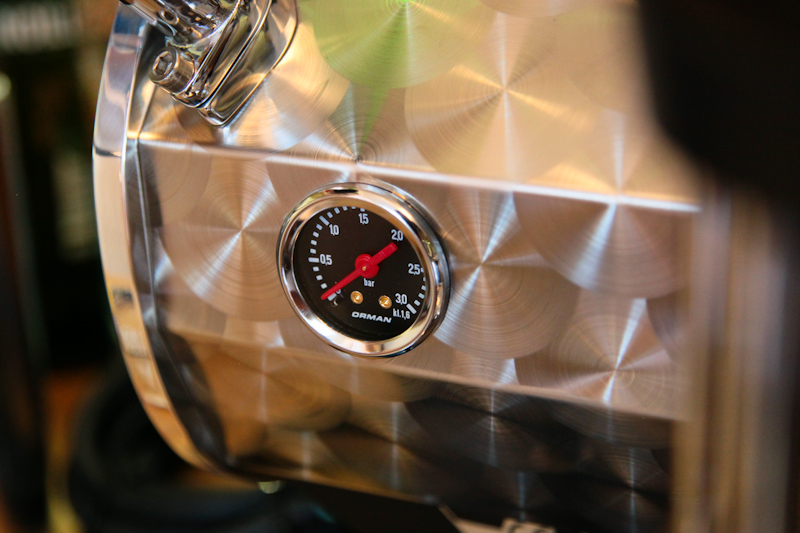
The brew boiler’s PID is constantly turning on and off the heating element to manage the temperature to 0.1F / 0.1C ranges. At this point the water is approximately 3-4F hotter than your customised brewing temperature (if you’ve programmed the front PID to have a pre-programmed offset).
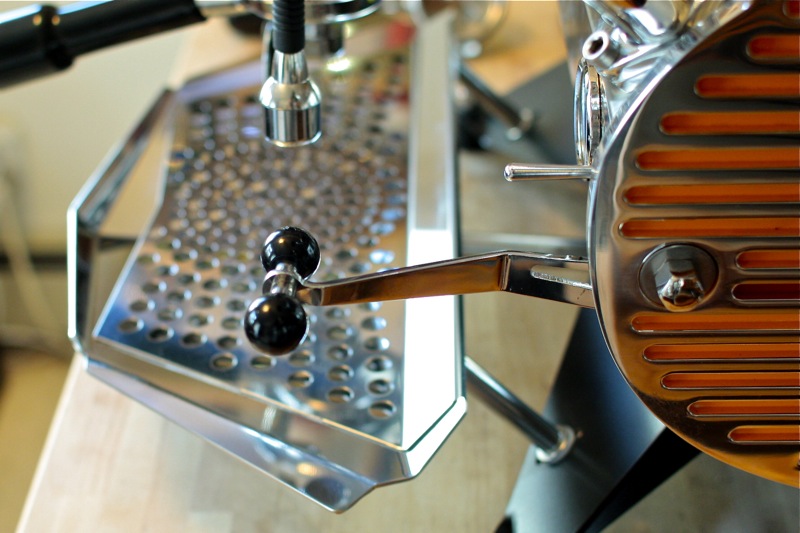
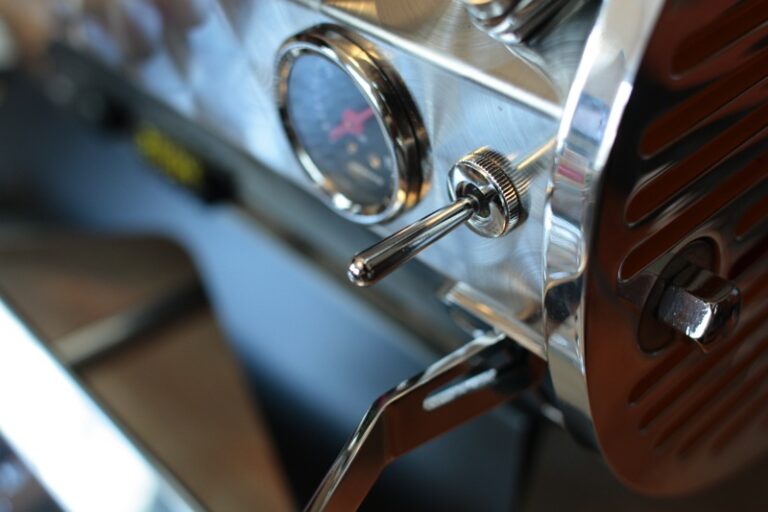
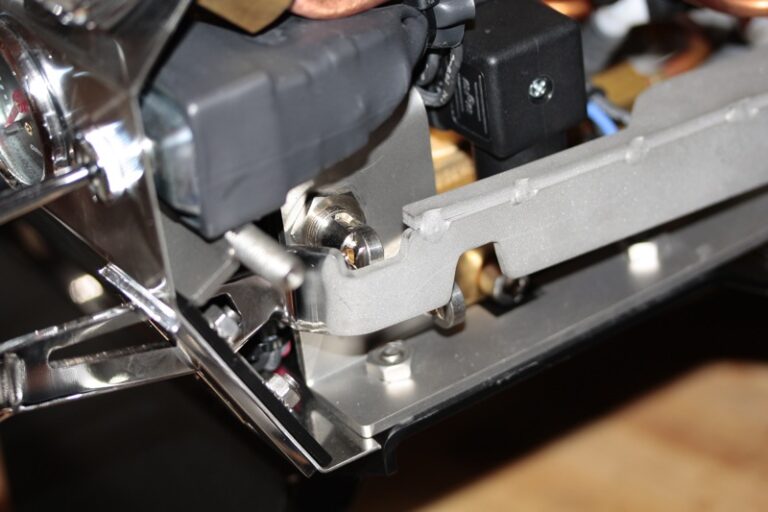
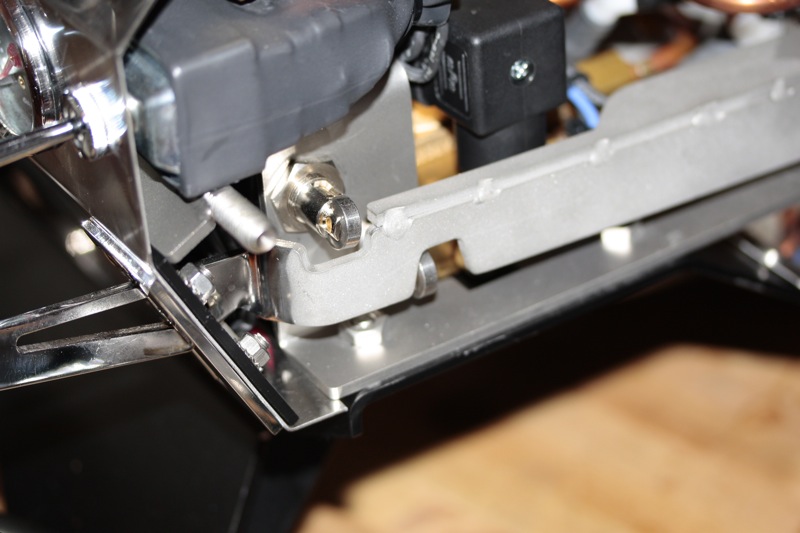
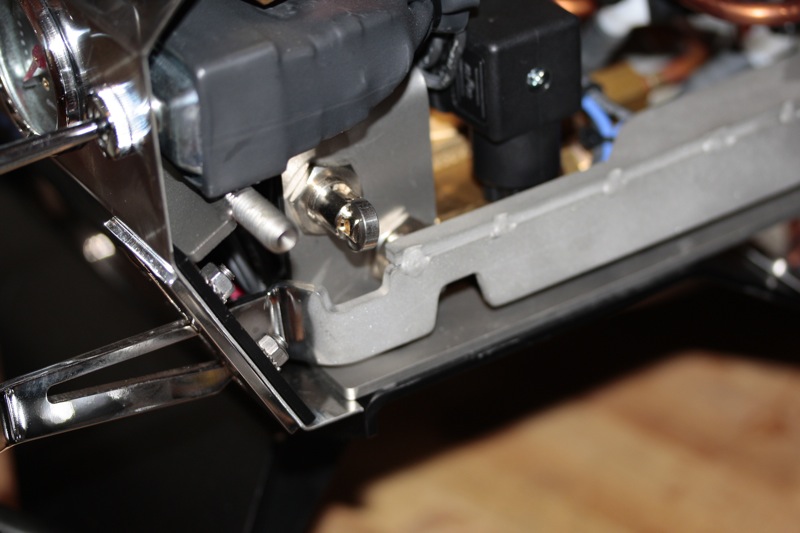
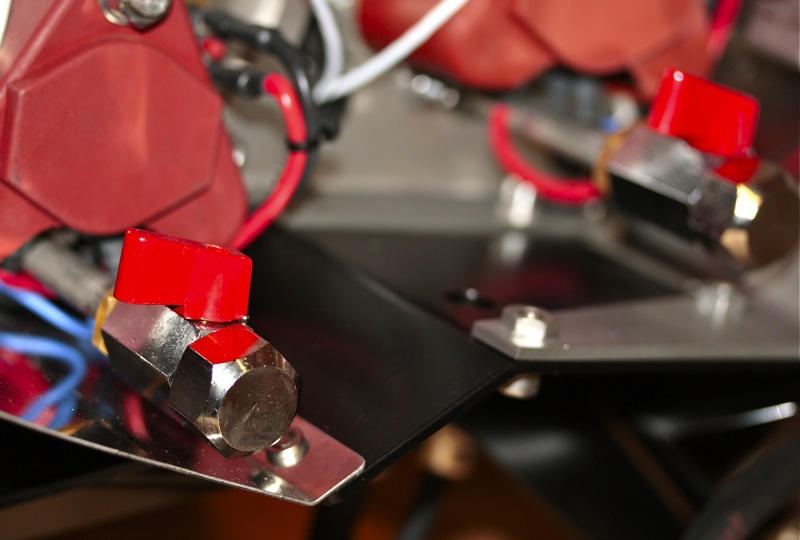
When you move the shift lever away from its off position, a microswitch is disengaged and one of the machine’s two brewing water solenoids is re-engaged (the one right behind the groupcap) to keep the pressure-release path closed, and the other brewing water solenoid on the right front of the machine is disengaged, allowing water flow from the line pressure (3bar usually) to start flowing into a preinfusion chamber which sits just behind the right front panel.
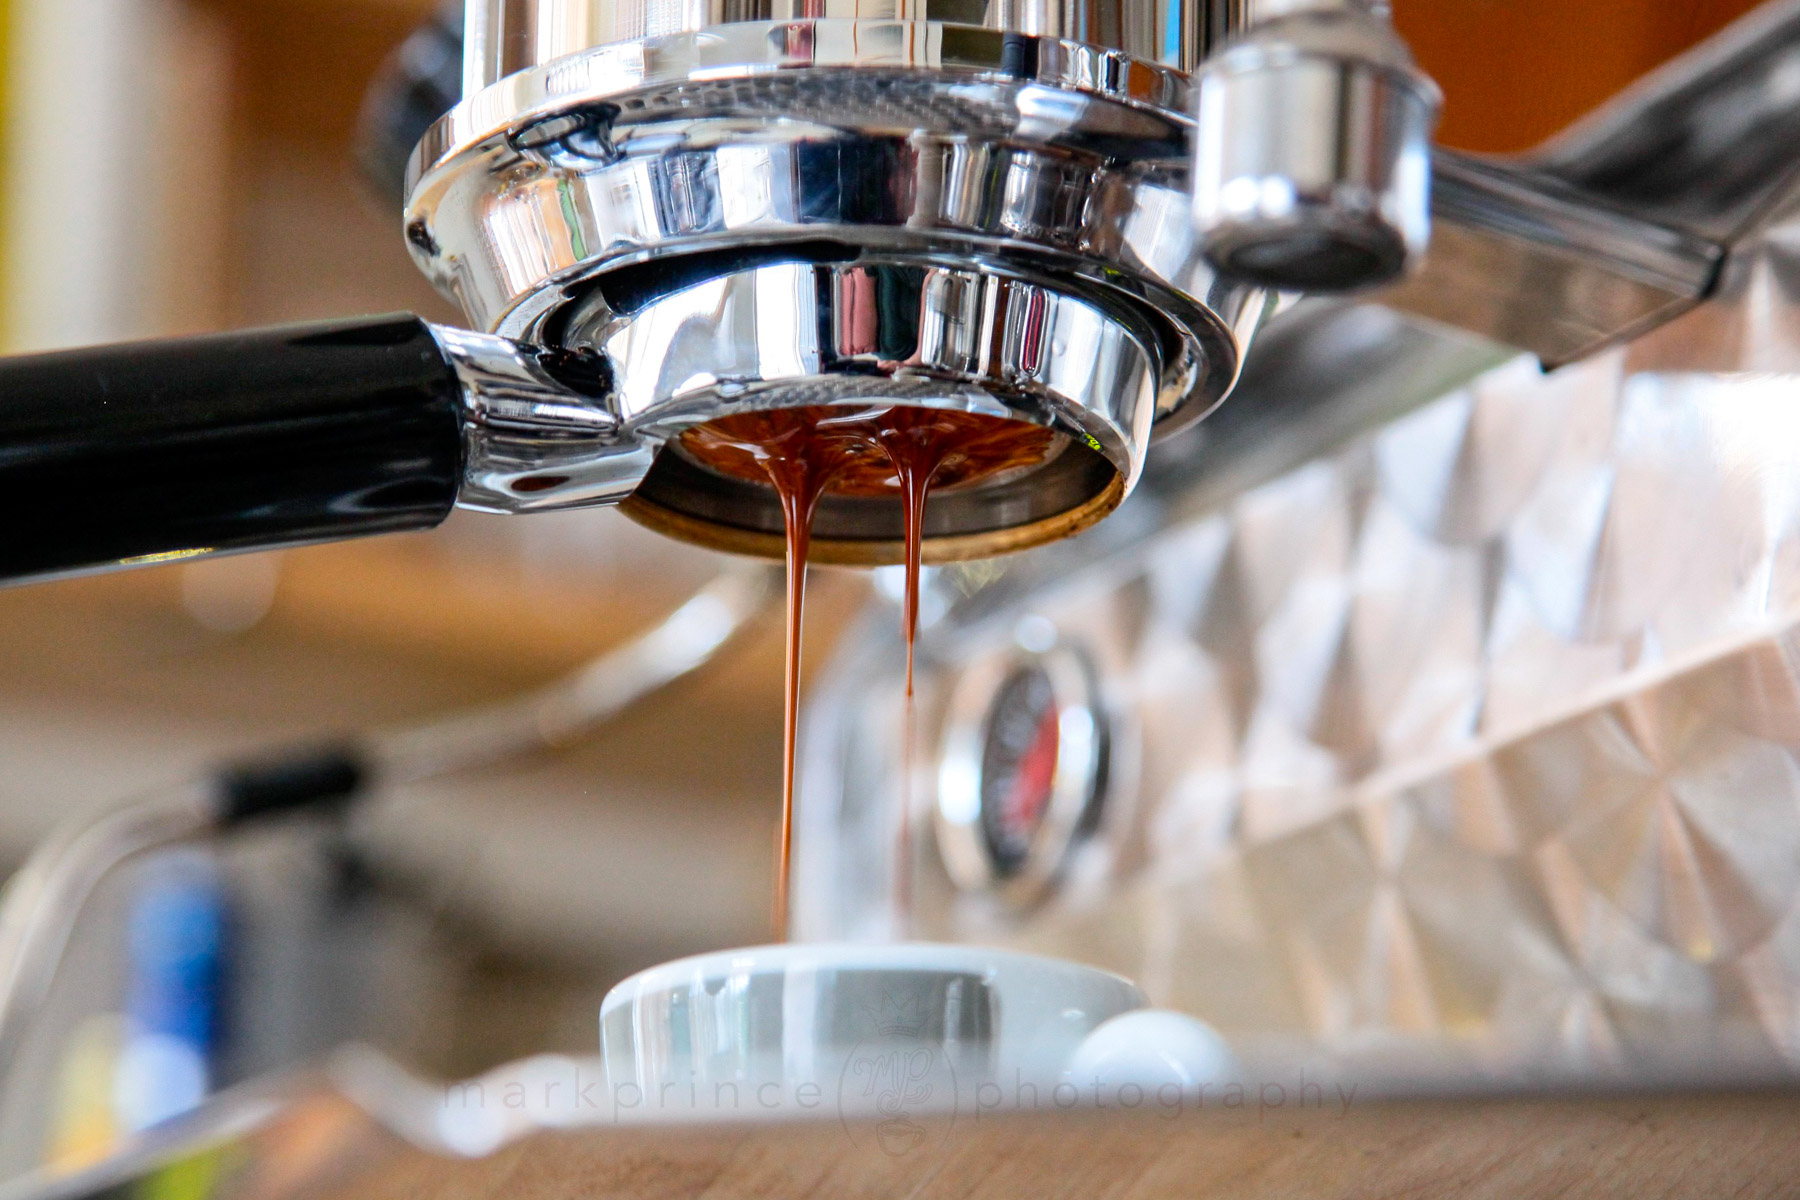
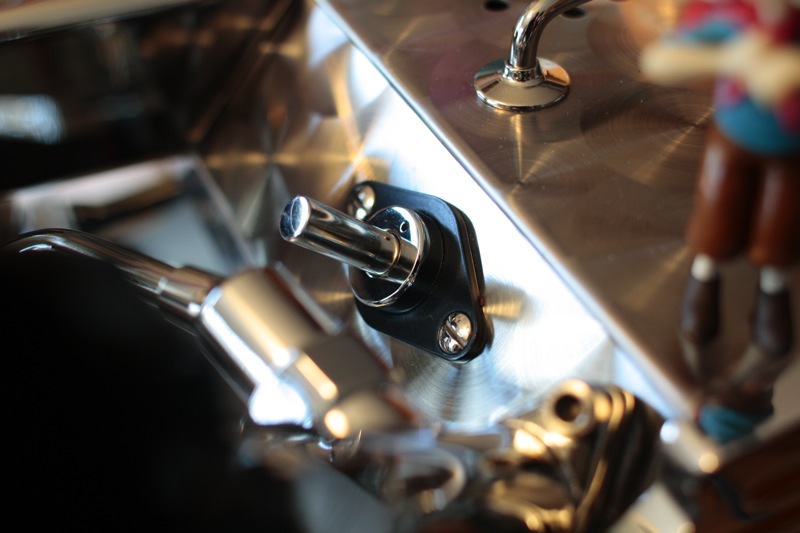
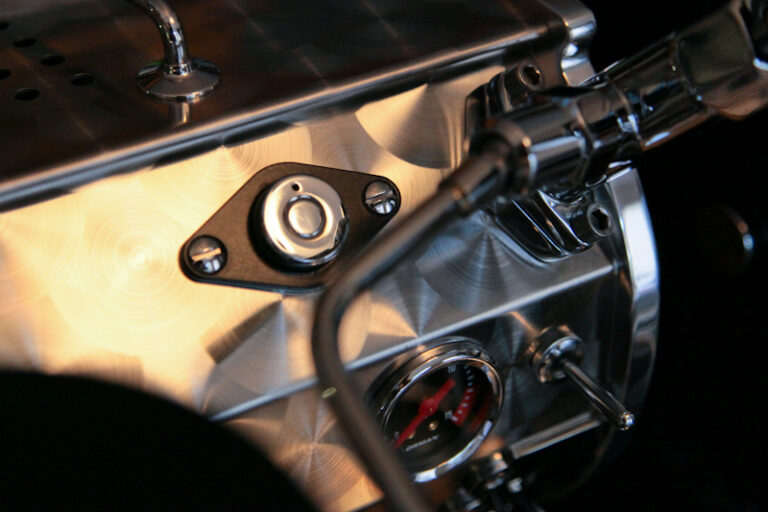
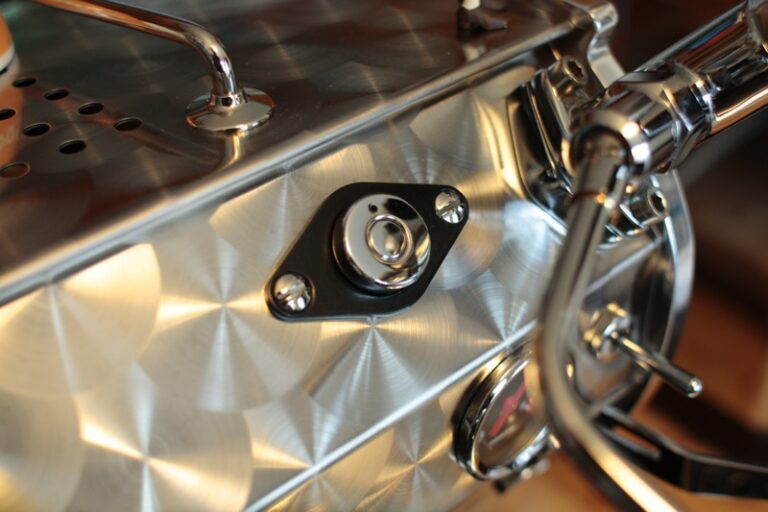
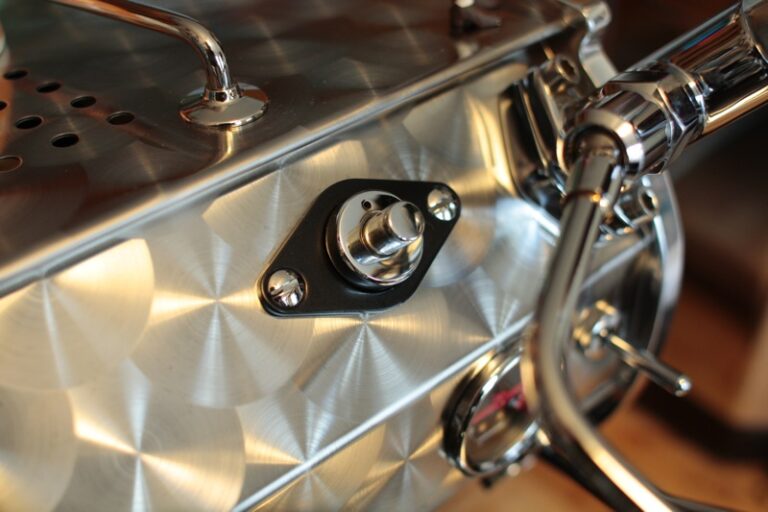
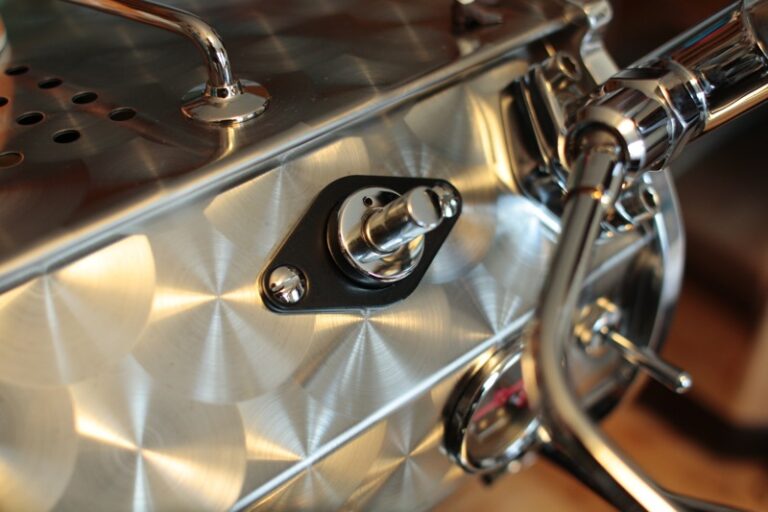
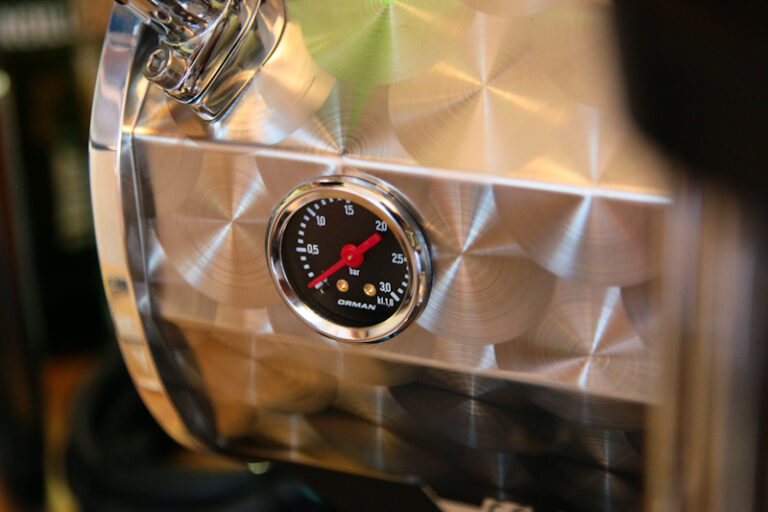
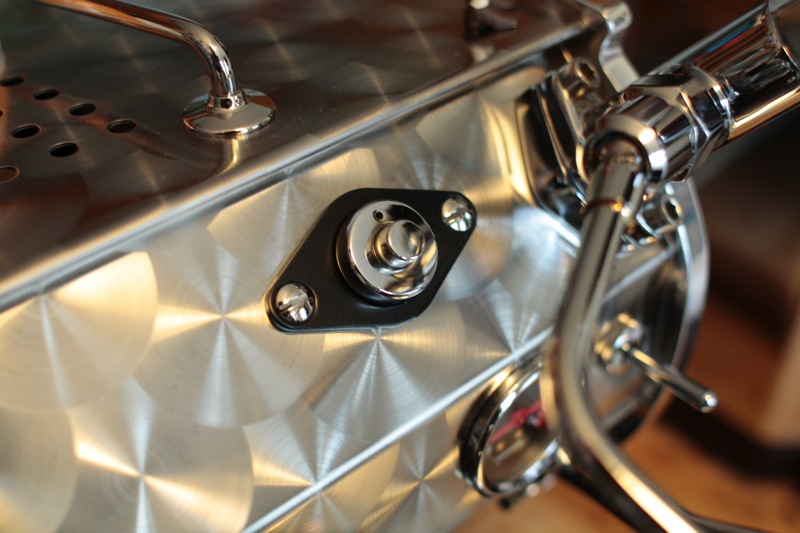
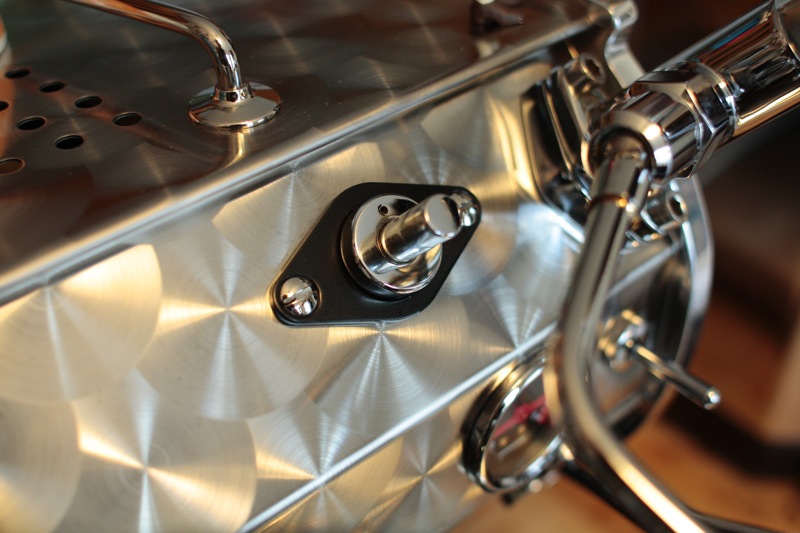
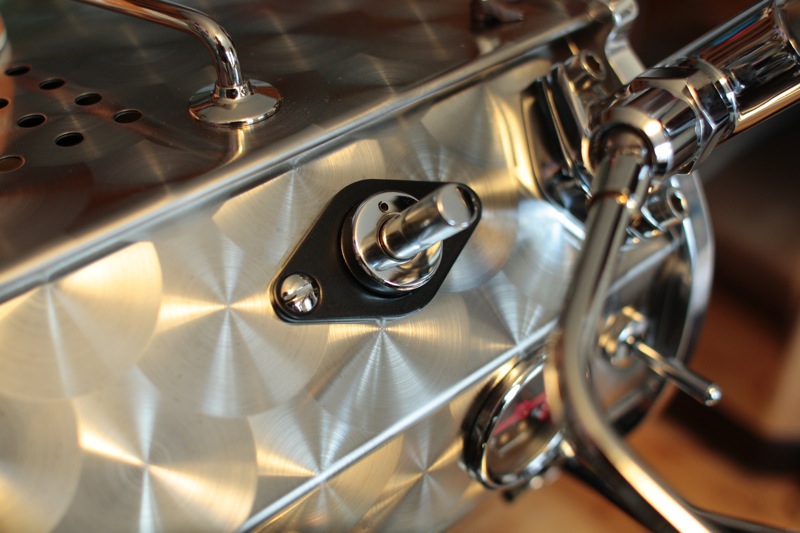
While this small chamber (not unlike the size and shape of a lever piston’s water chamber) starts filling up with water, the water also flows at normal atmospheric pressure to the grouphead where your coffee is sitting. For approximately 5 to 6 seconds, if you don’t engage the machine’s pump, the coffee is saturated with water being pushed by nothing more than gravity. You also get a visual indication of this via the preinfusion chamber’s most notable design feature – there is a spring-loaded piston that starts to jut out from the front panel of the Speedster as the chamber fills up. As it fully extends, pressure in the grouphead ramps up from normal pressure to 3bar (about 60psi). It will hold steady at this point as long as you don’t move the brewing shift lever to its third position – the pump position.
Shifting the machine into ‘second gear’ means ratcheting the shift lever down to the lowest position and slotting it left into the locked position. At this point, a second microswitch is engaged and the pump starts, delivering 9bar through both the preinfusion chamber and solenoid to start the true espresso brewing process.
Shifting off the second gear lock position does one thing, and one thing only – it disengages the pump. If you don’t put the shift lever back up into the neutral or starting position, the machine keeps the group cap solenoid engaged (ie back pressure is not released) and the preinfusion chamber solenoid disengaged (ie, open flow to grouphead from boiler water); what this means is you can do a preinfusion, brewing via pump, and a post brew using line pressure, if you want. Whether this is a boon or not for espresso brewing quality is not for deciding here – instead, I mention it to show the possibilities a hands-on barista has for fully manipulating water flow and pressure during the entire shot process.
Putting the shift lever back into the neutral position does two things – it closes the brew boiler / preinfusion chamber solenoid, and opens up the back pressure solenoid to instantly relieve the pressure in the brewing group.
On last thing about this preinfusion system. There’s actually two ways it works. If you ratchet the brewing shift lever into the first position (first gear we call it here), you as the barista control the preinfusion and the preinfusion is quite slow since it is entirely based on line water pressure (60psi, 3bar), and not pump pressure (135psi, 9bar). But you can use the van der Westen-designed “programmed” preinfusion by simply ratcheting the shift lever directly into position two (second gear) and letting the preinfusion chamber fill up via pump pressure. It is a faster preinfusion, but a neutral pressure preinfusion none-the-less.
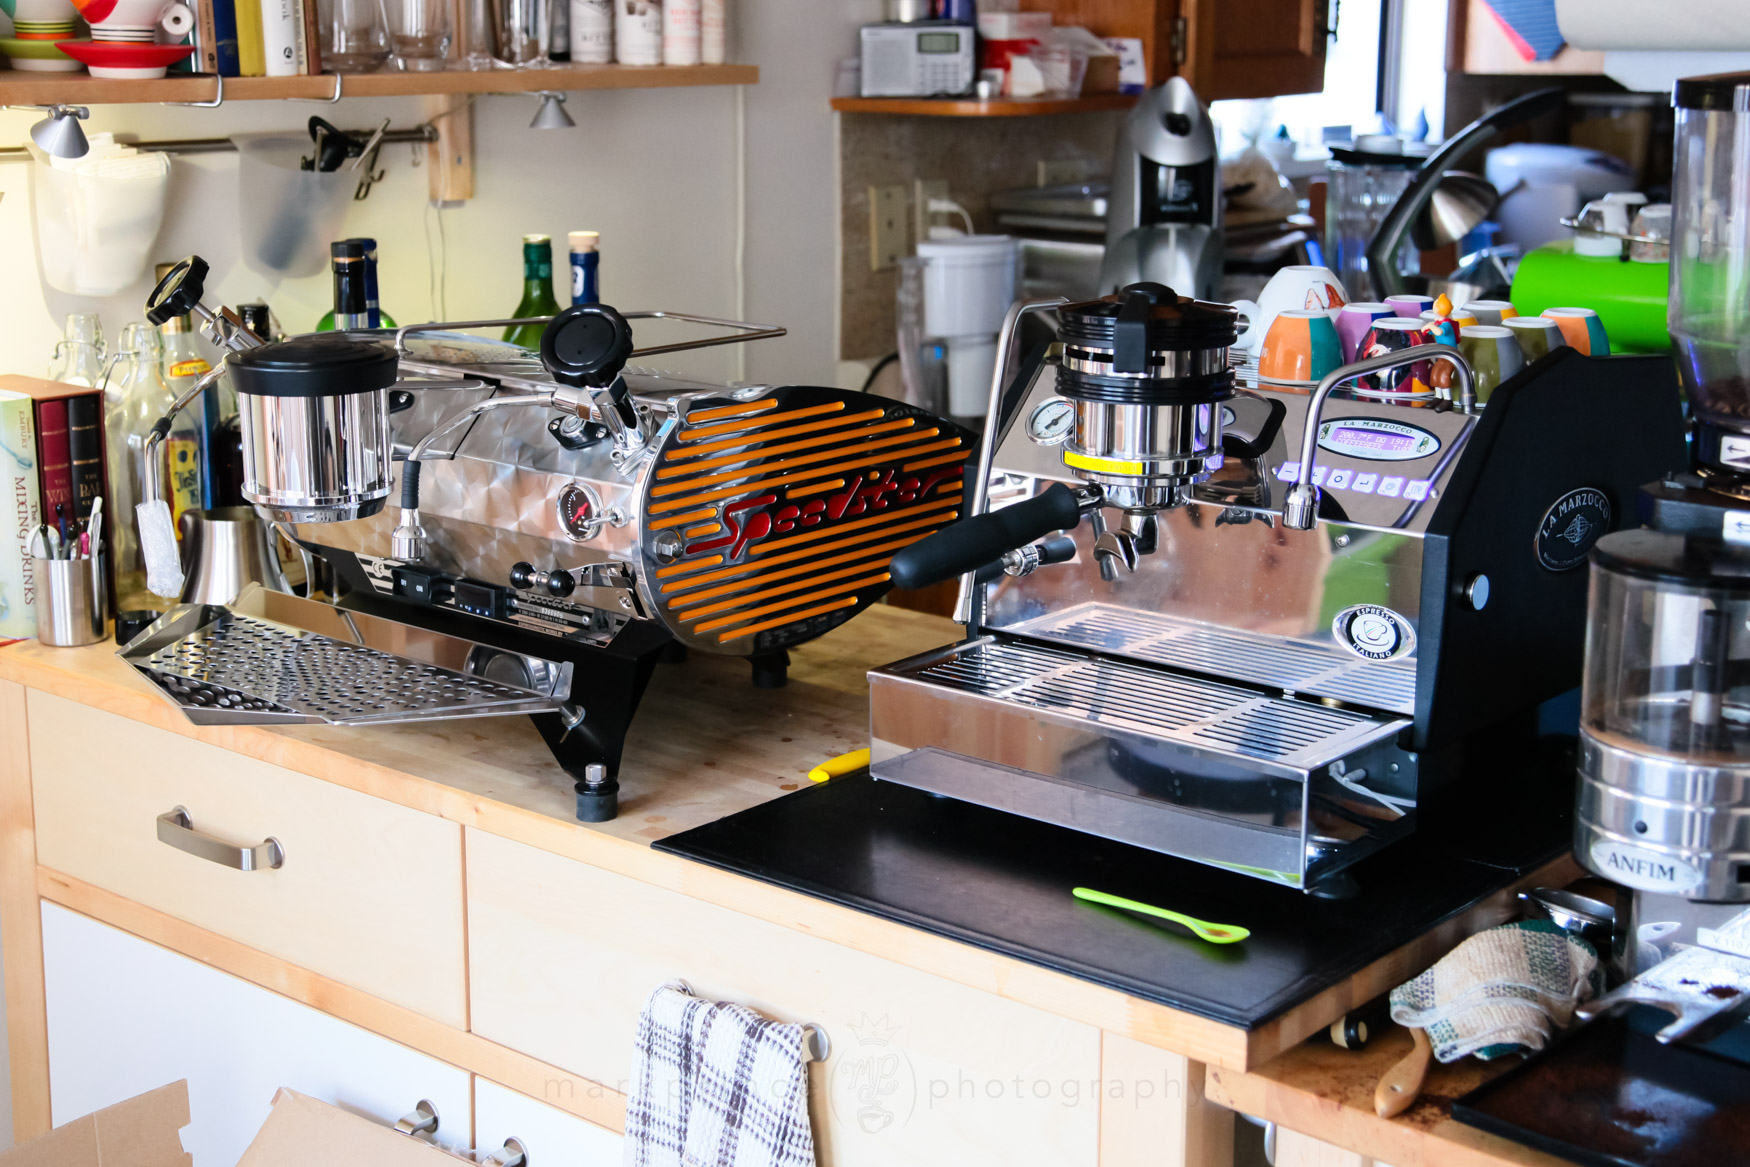
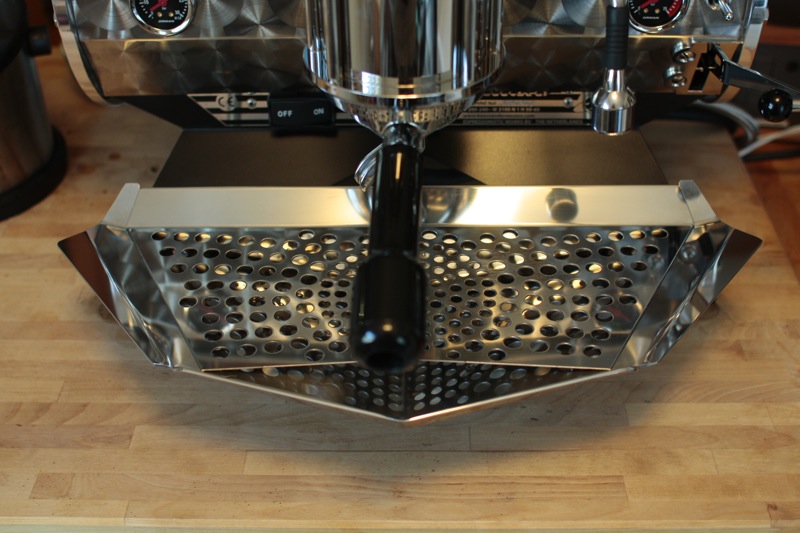
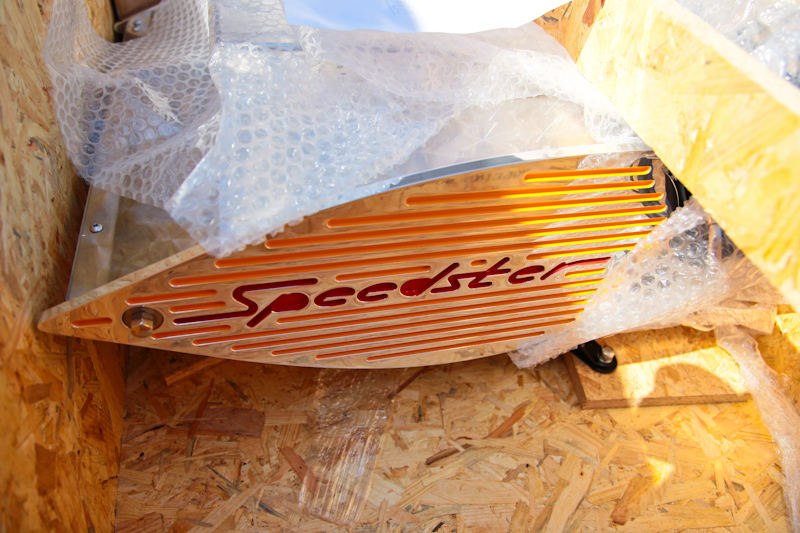
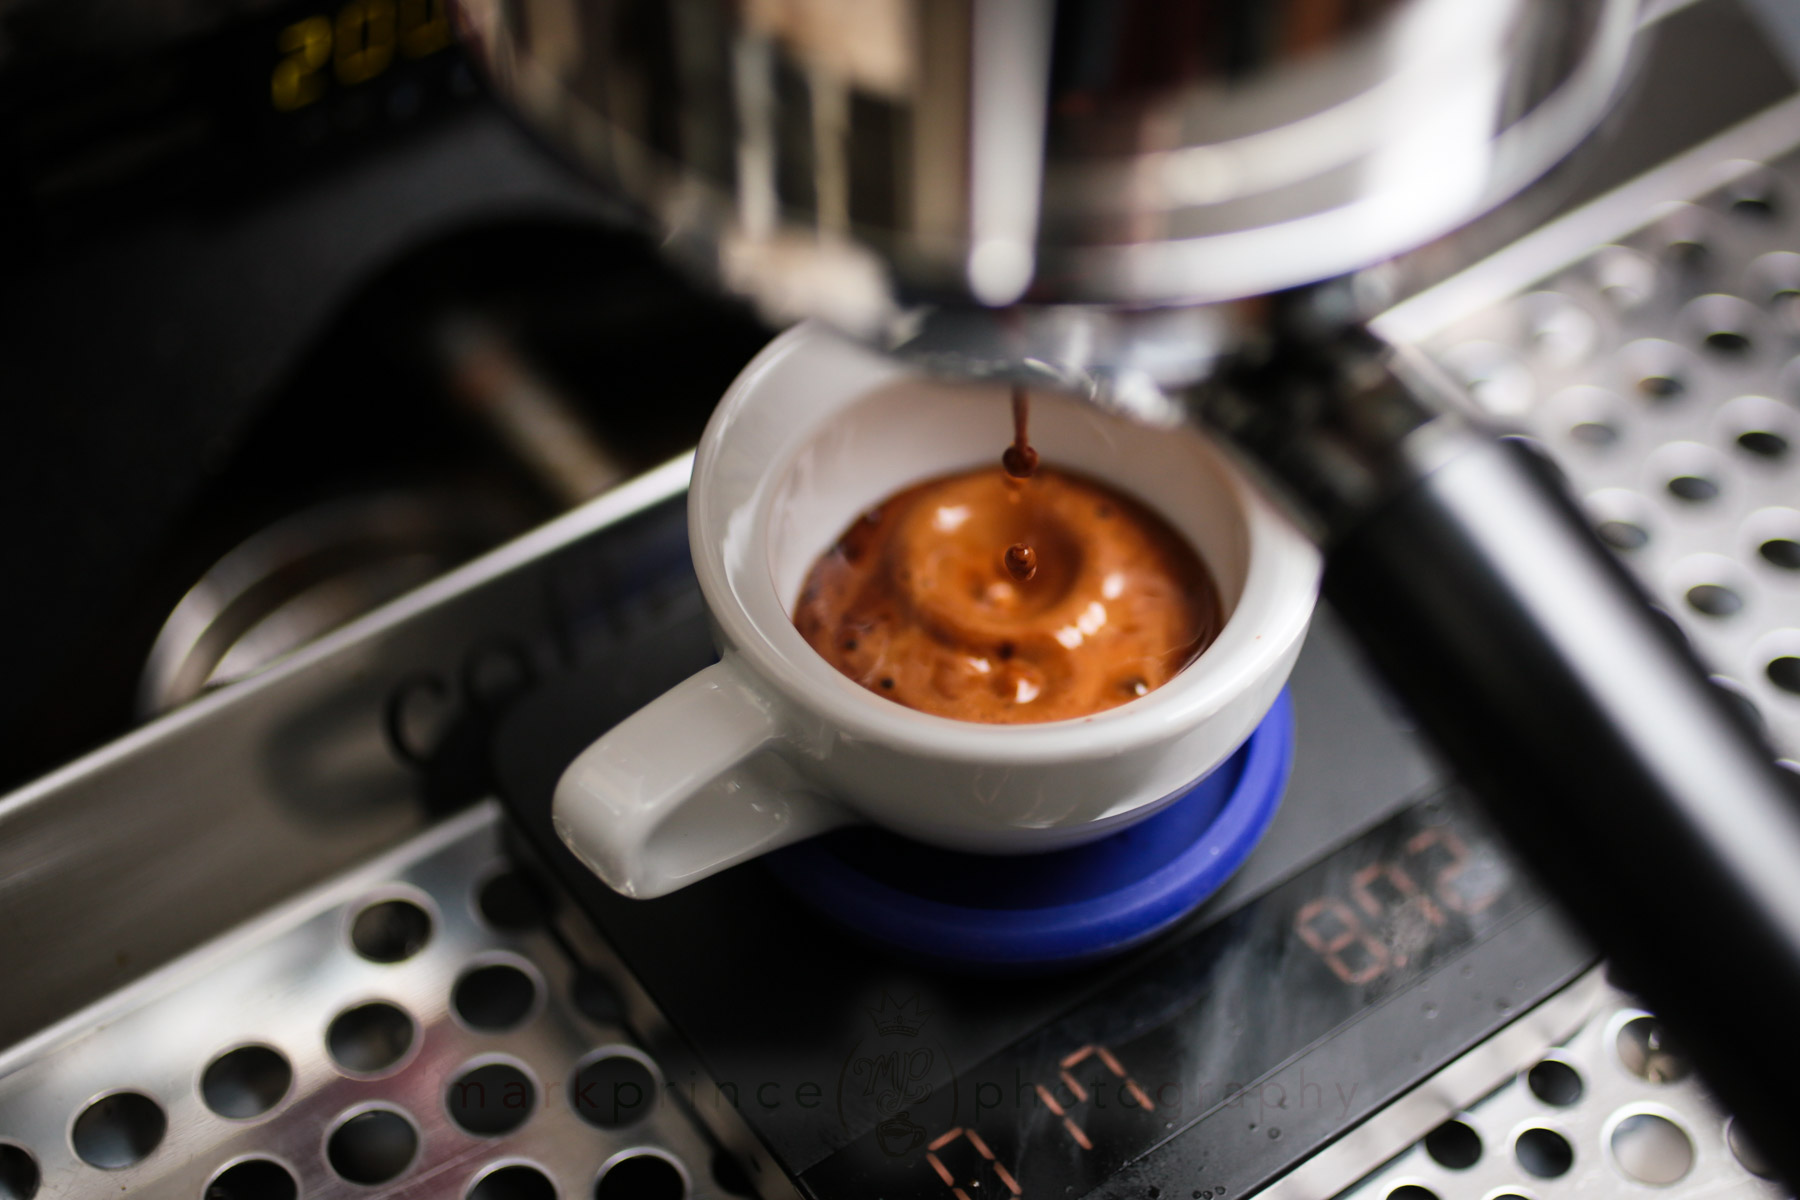
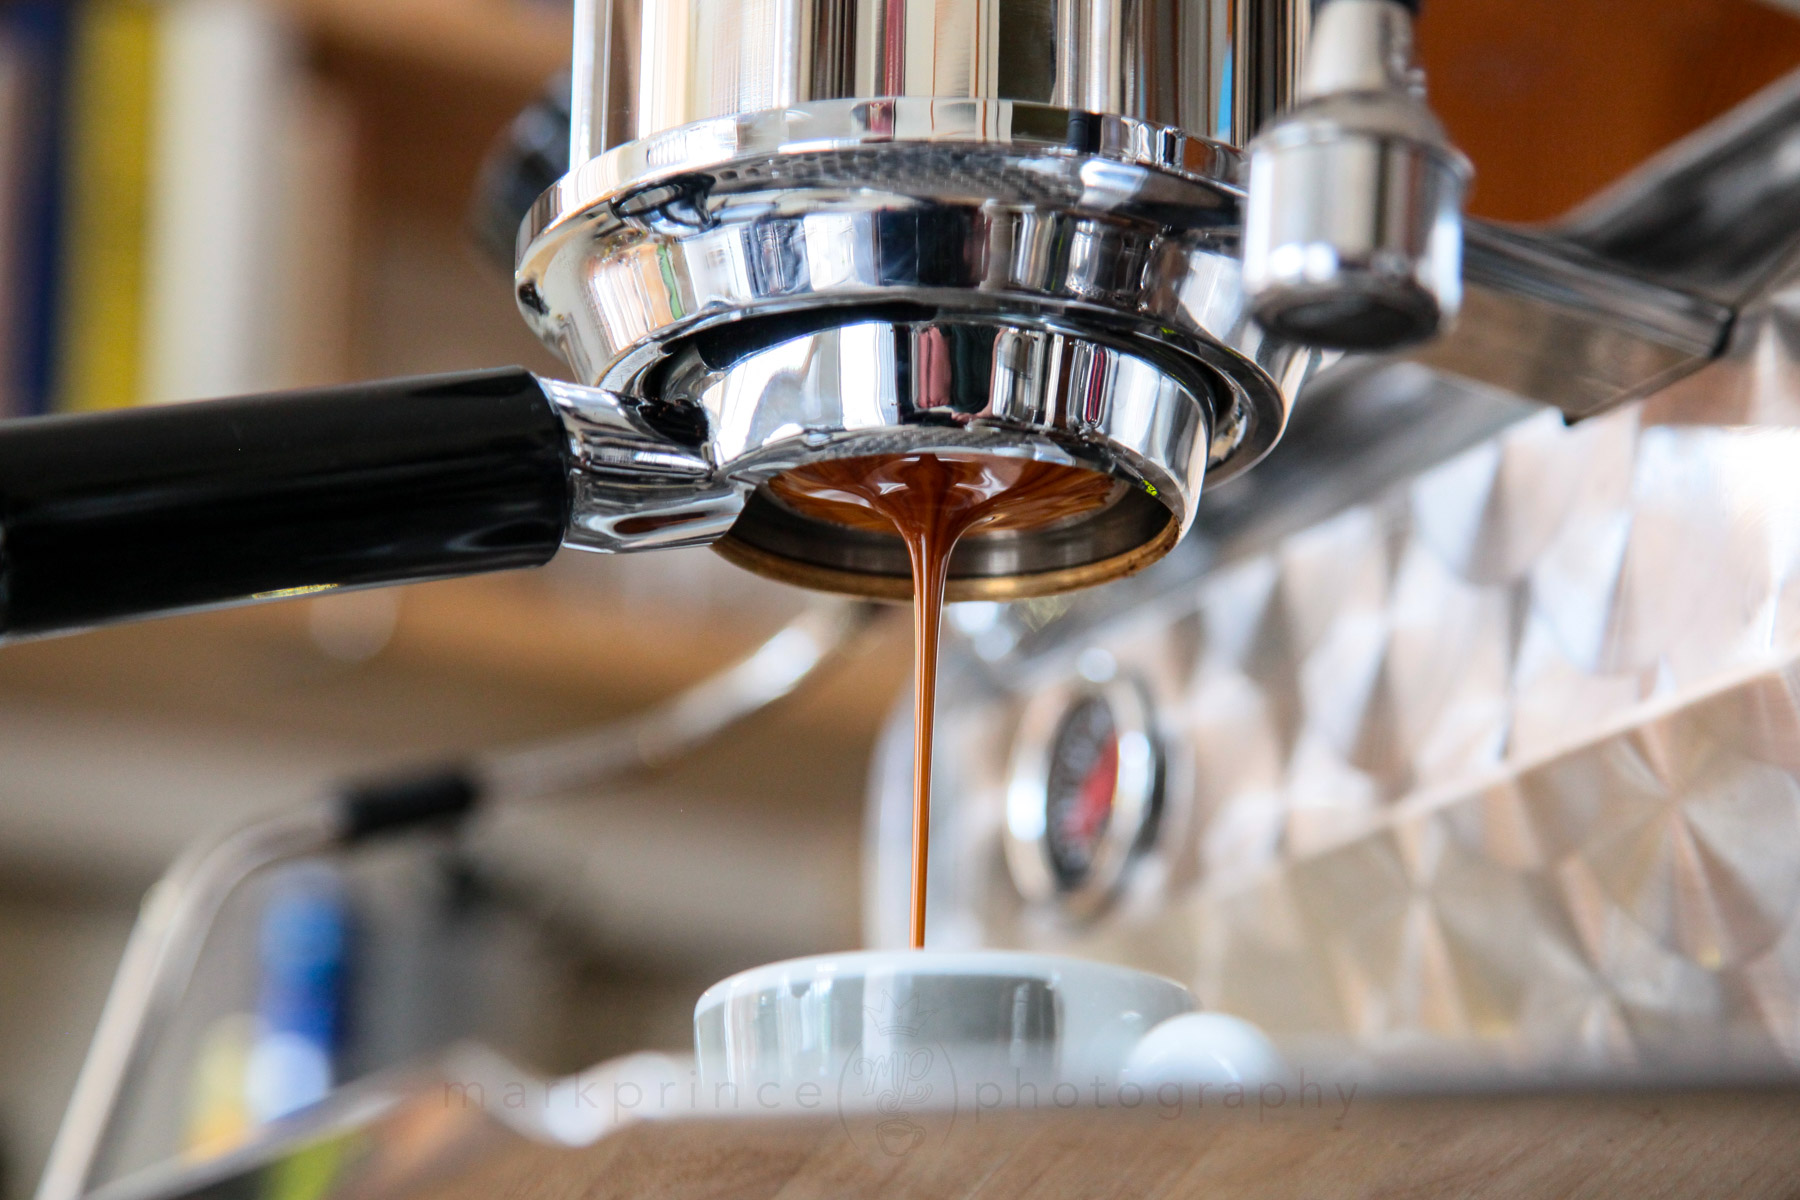
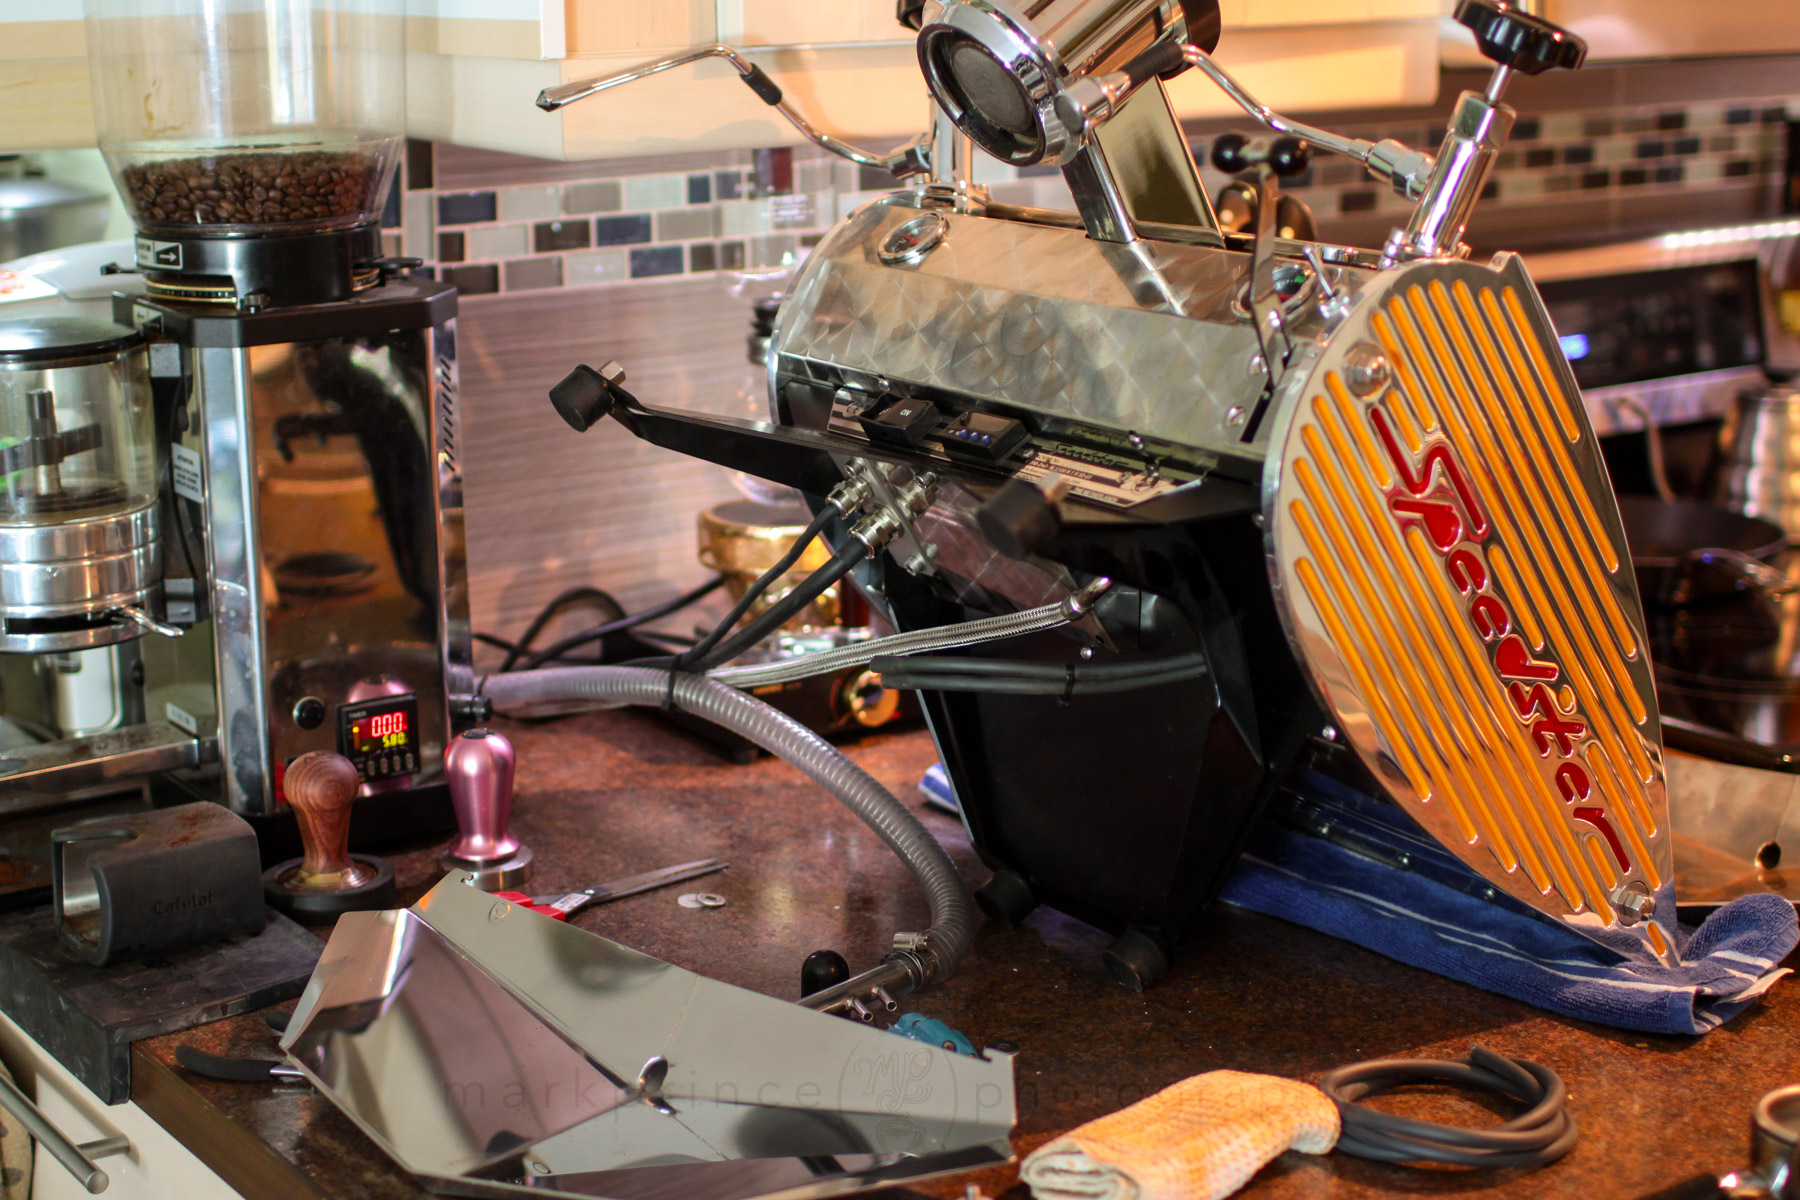
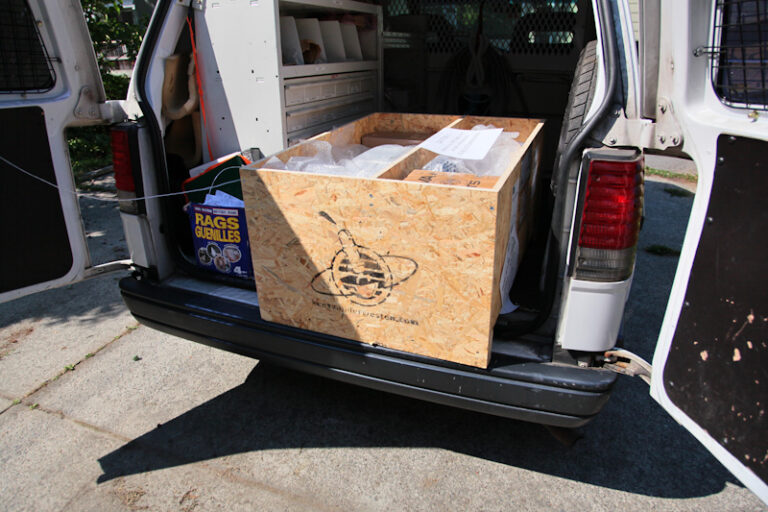
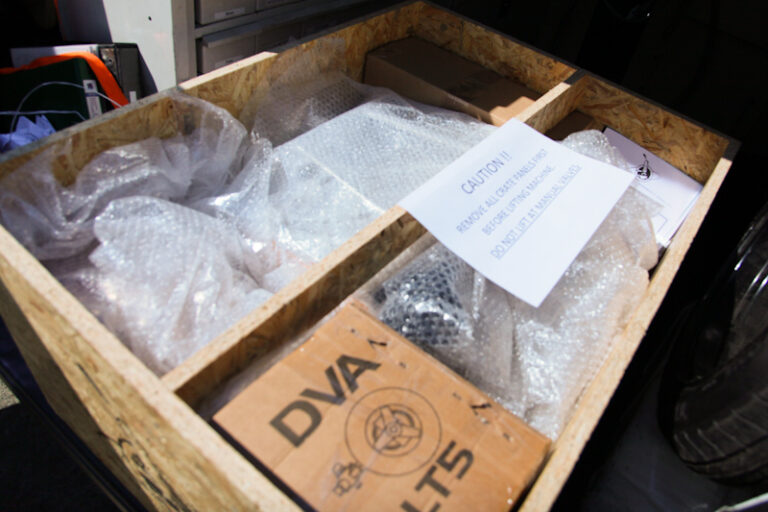
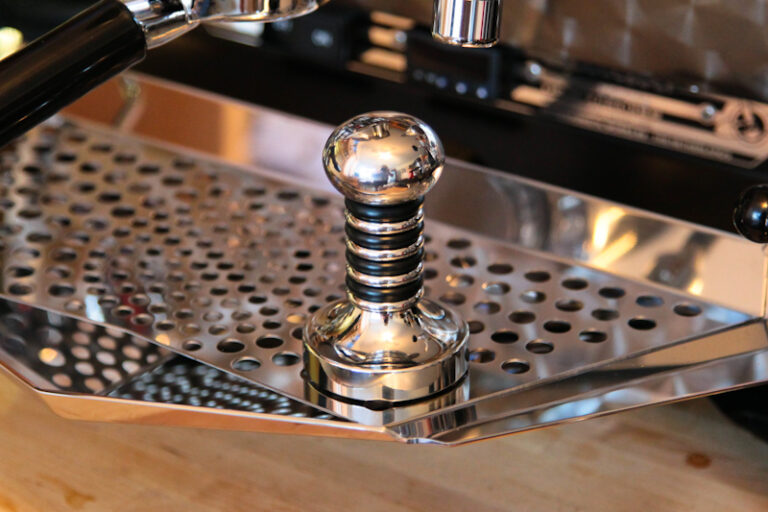
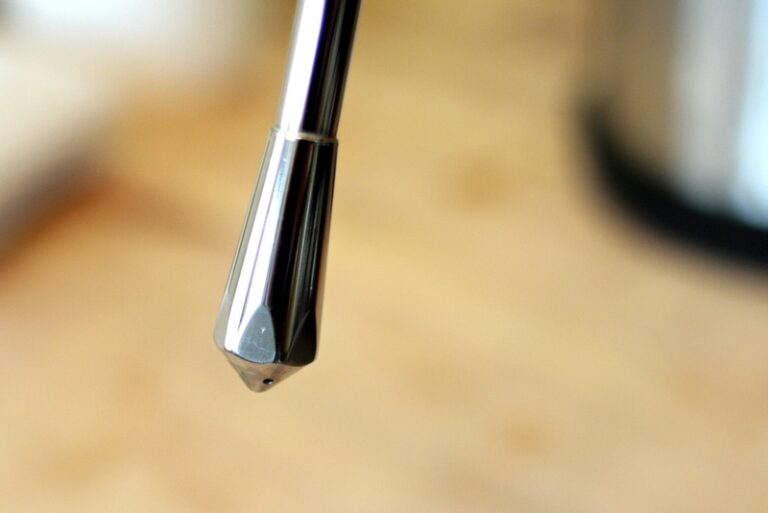
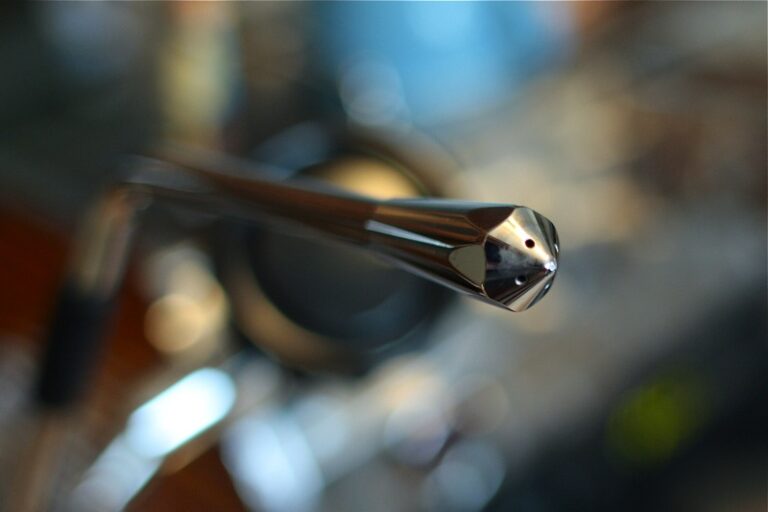
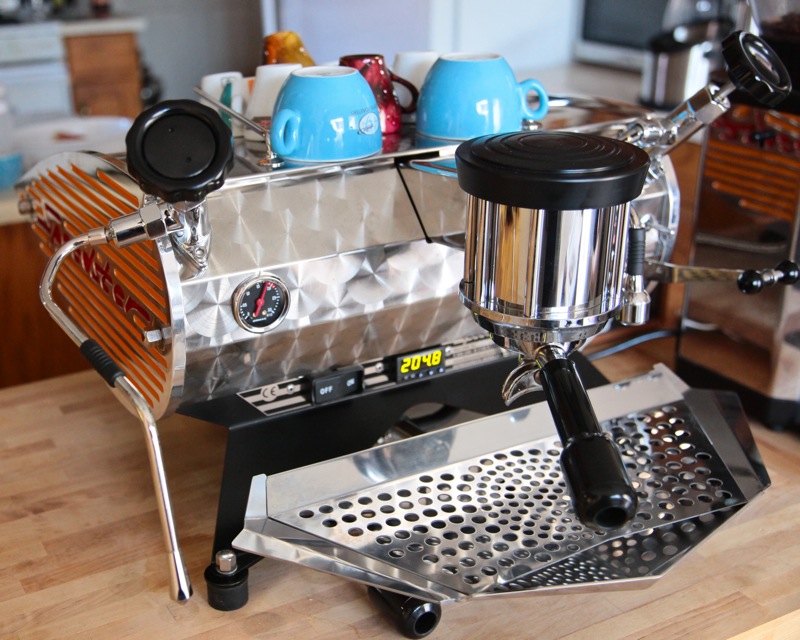
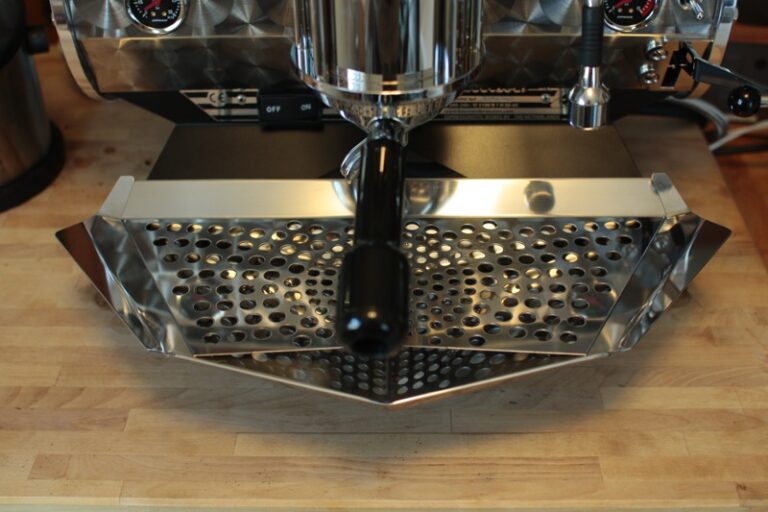
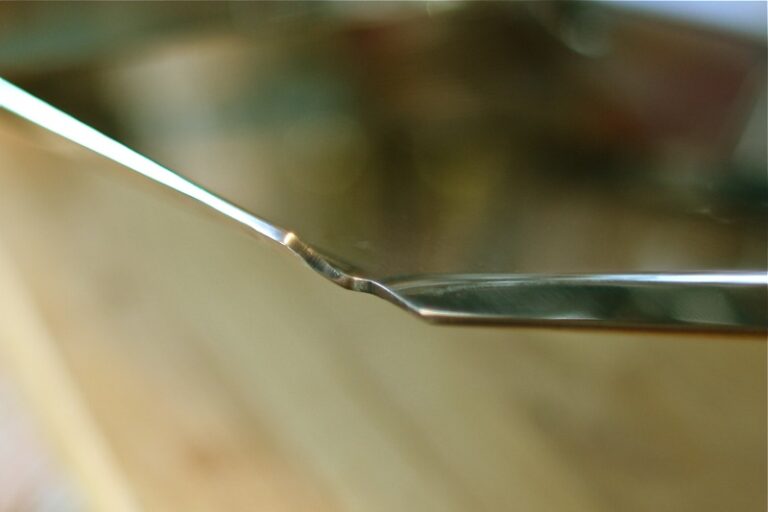
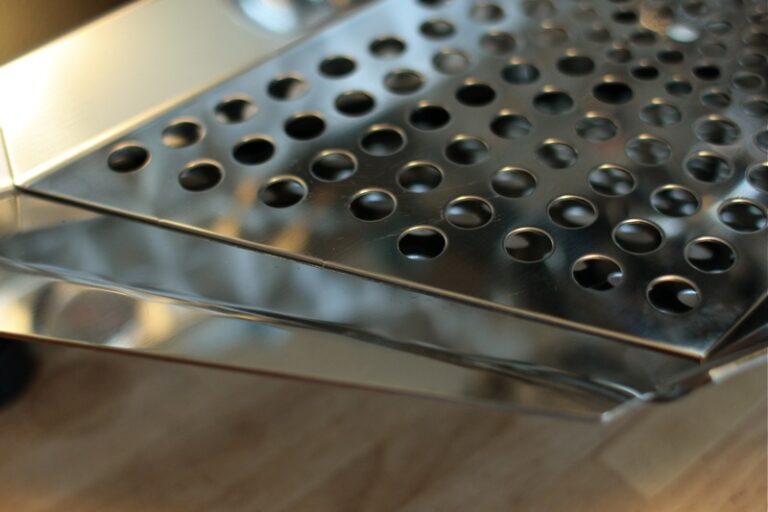
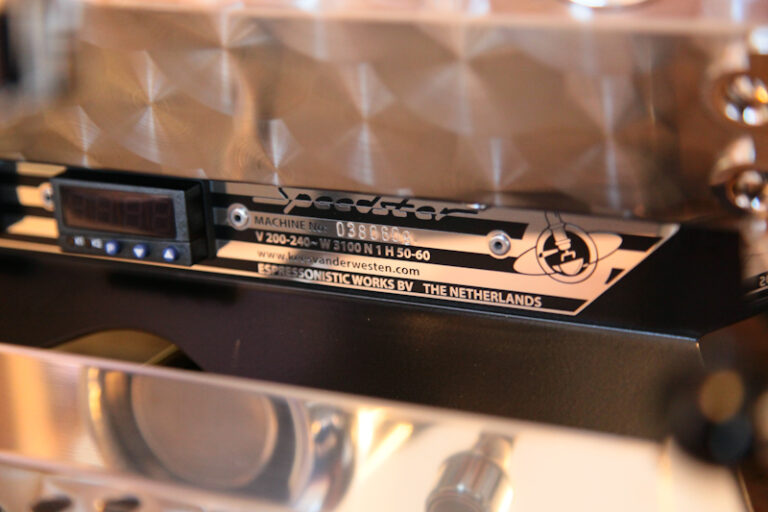
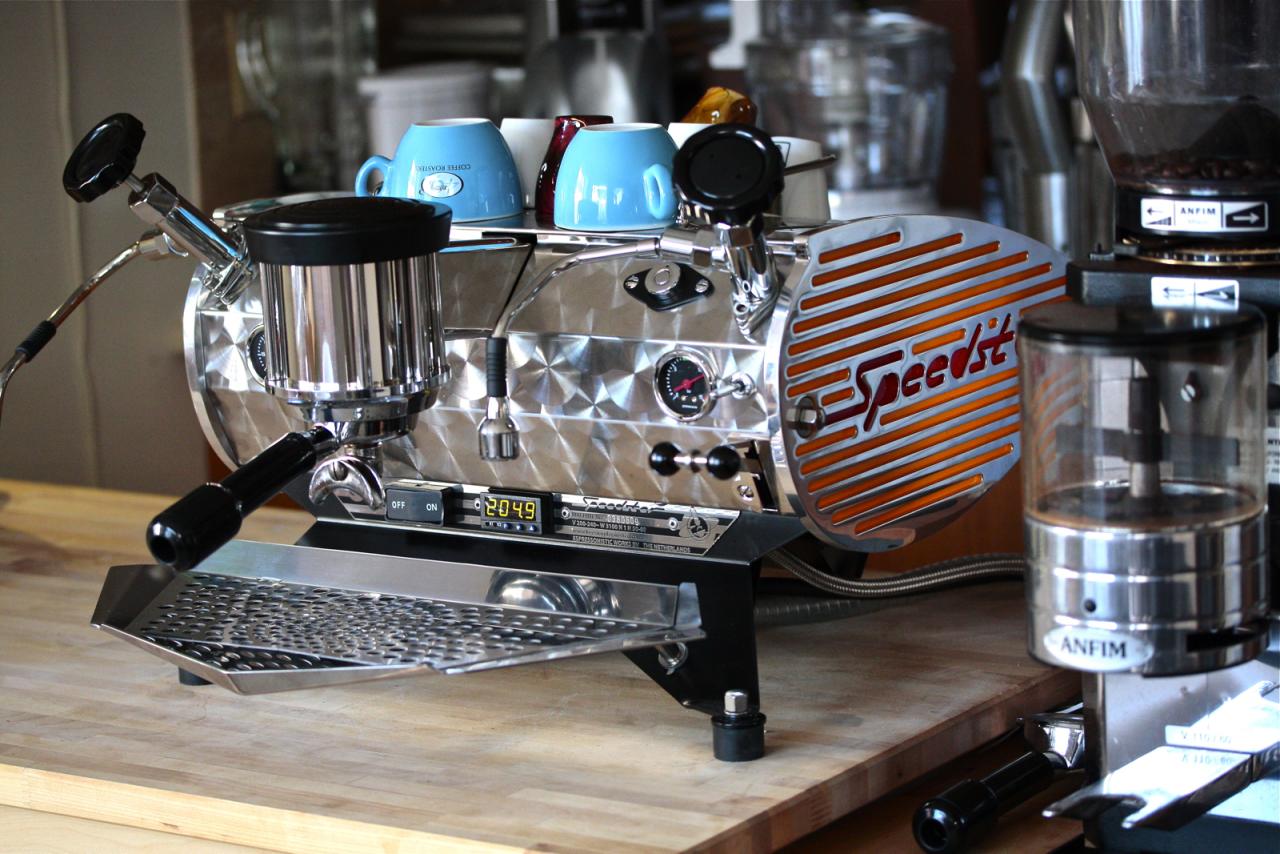
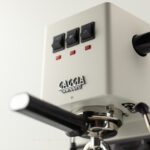
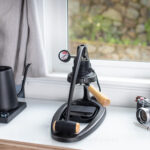
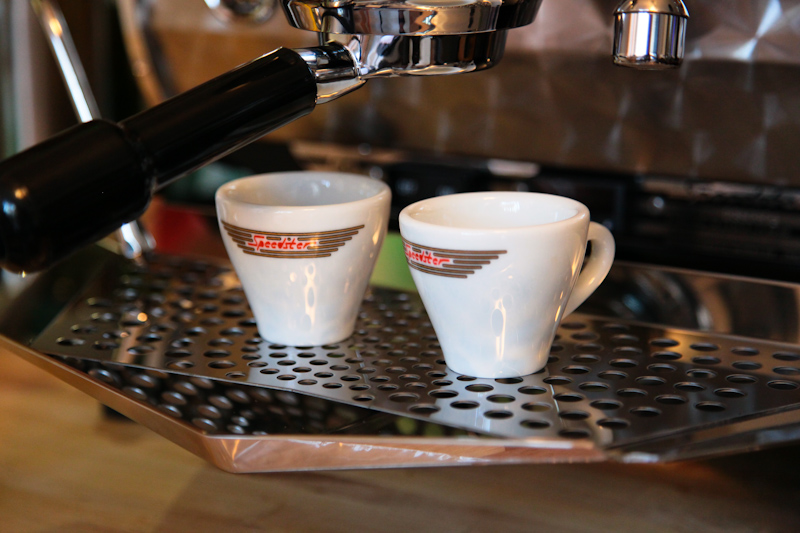
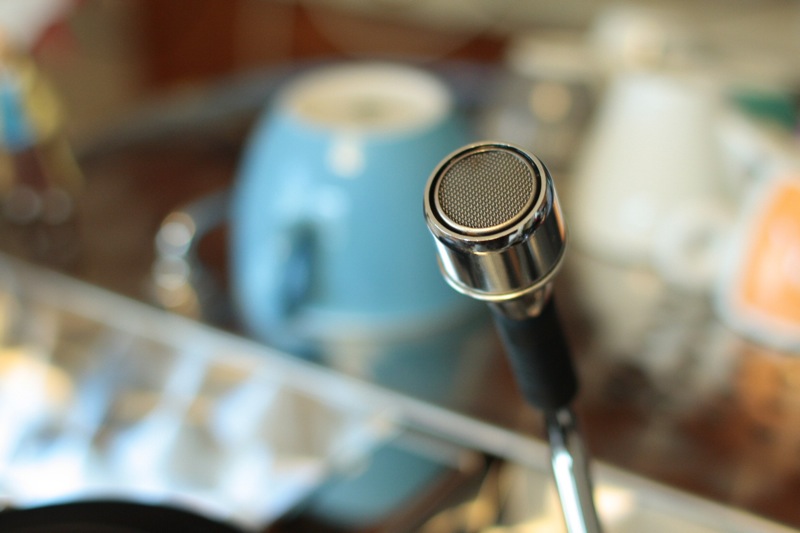
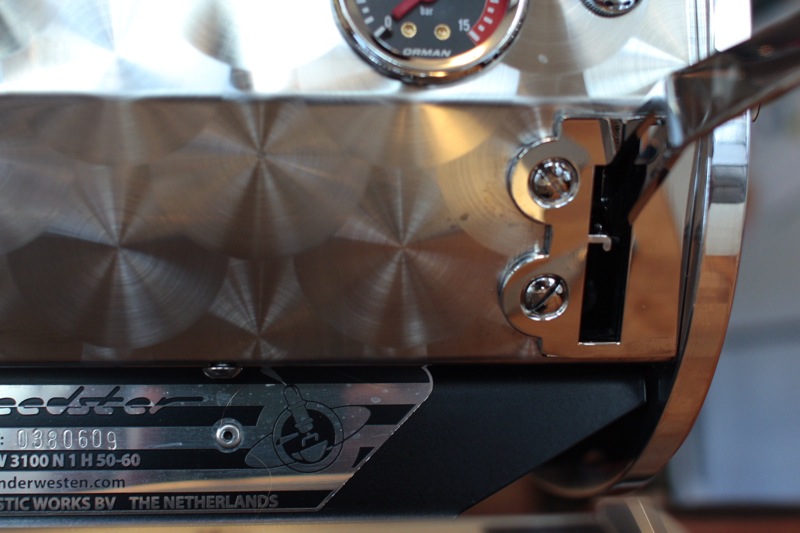
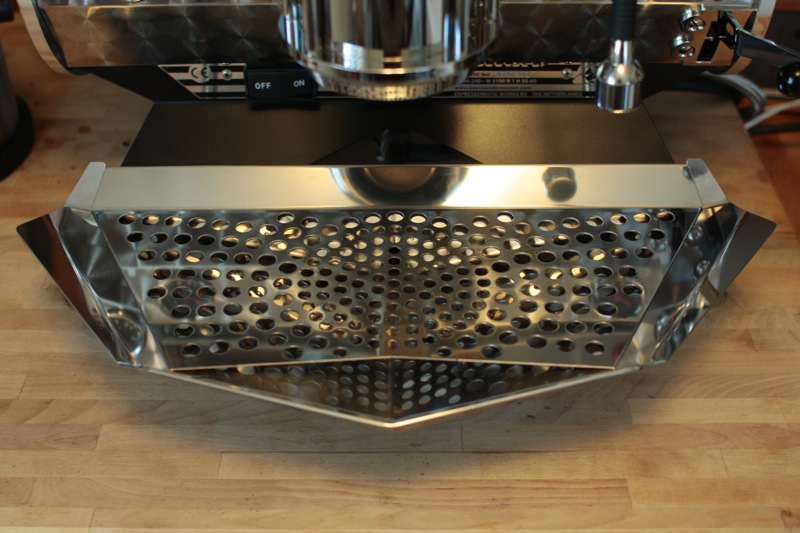
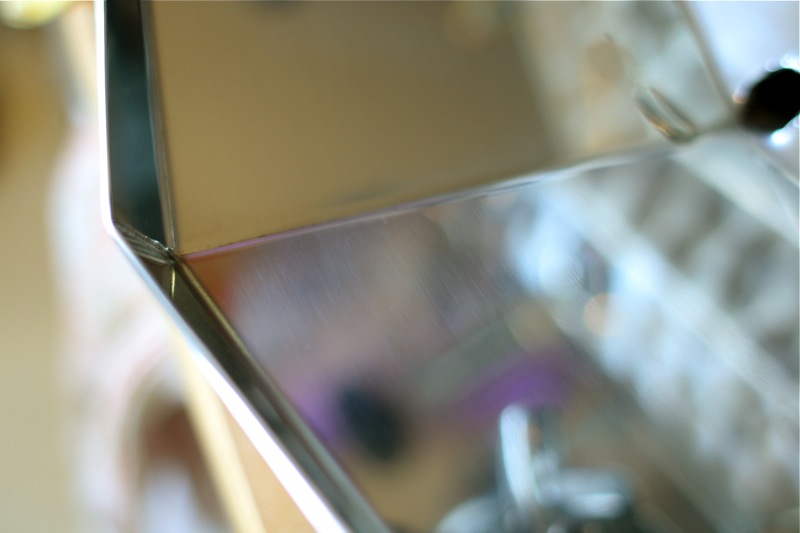
Let’s have a visual look at some of these features.
SpeedsterOther Highlights
The Speedster features three 900 watt heating elements – two in the steam boiler (left and right) and one in the brewing boiler. It runs on 220V, 20amp service, and requires special electrical hookup in N. America in a home environment – you cannot plug this machine into a standard 110V 15amp (or 20amp) plug.
The Speedster also requires plumbing in. You could run it off a water bottle setup with a Flo-jet handling the preinfusion, but to get the full benefits of the multi-preinfusion systems, running a cold water line from a T-valve off your kitchen’s sink is a requirement, not an option.
Little niceties about the machine include the use of POM plastic for the dispersion block inside the grouphead – something I don’t think any other espresso machine uses (at least that I know of). POM is extremely durable, temperature neutral, and very resistant to any kind of oils contamination from the coffee. The dispersion screens are a screwless design (similar to E61 machines) and the grouphead itself is a fully saturated design – the grouphead is in effect part of the brewing boiler – its volume of water is part of the brewing boiler’s overall volume.
There are so many more technological things to talk about with regards to the Speedster but the last we’ll discuss is something that is both elegantly simple and painfully obvious but you have to wonder why something like this is rarely done by other machine builders. The Speedster has a very simple and accessible boiler draining system. If you take the left panel off the machine, you can see two beefy pipes extending out from the two boilers at the bottom of each. These pipes come to the right border of the machine’s frame and have caps on the front and shiny red levers on top. When the machine is cooled down all you need to do to completely drain the boilers is remove the caps, attach hoses to the pipes and open the valves. No bendy-twisty actions to get to a bottom-capped boiler drain. No flipping the machine this way and that to access them. Simple. Elegant. Efficient.
These water drains are a perfect example of what this machine is all about – a complete, state of the art espresso machine designed by a company that pays attention to the smallest most minute details.
SpeedsterAesthetics
It was evident the moment this machine was taken out of its crate – the Speedster is something special, and part of that special-ness comes from the absolute attention to details this machine has been given by the manufacturer.
From the business side of the machine (the operational front), you feel like you’re operating a 1950s roadster, or perhaps even a racer-airplane and facing the dash or control panel. The portafilter evokes feelings of a joystick in a retro plane. The shifter on the right side is super slick and tends to catch most new users by surprise.
Speedster First Day
The Speedster (before offset was programmed in) from the user angle.
From the side, the roadster and retro-aeronautic feelings continue, but as you get around to the back of the machine, it feels like a 1950s flying wing or slight-steam-punk alien bug ship. All very cool.
The side panels. What really can I say, except to say photos don’t even do them justice. In person, they are a major wow factor. The high gloss polish on the aluminum panels is broken up by the carved out powder-coated yellow stripes and red lettering. Just stunning. Polish is inside as well as out.The plating on the machine, known commercially as “perlage” or engine tuned plating is first rate, and blemish free.
I own a a fair bit of hand built products. I had a locally hand built mountain bike for some time. I have a variety of hand built coffee and espresso machine products. I feel I can safely say this: There is no product I’ve seen that is hand built, one a time that has the level of fit and finish the Speedster has. Heck, even where there are metal and plastic washers (like on the drip tray frame bar mounts), the plastic washers are lined up perfectly with the metal washers – I know because when I went to go adjust the height of the drip tray and re-tightened the bolts, I put the plastic washers slightly out of alignment (easy to do).
There is not a single dirty /scorched weld on this machine. There are no gaps. Every single seam, angle, joinery, weld, curve and physical part on the outside of the machine is flawless. I noticed it right away in the drip tray’s design and build: given the angular, “floating on air” nature of the drip tray and drip tray cover, I half expected to see weld scorch marks in hidden areas or where metal has been joined with metal, but there are none. All the bends are precise. All the welds are flawless and polish-finished. All the pieces align perfectly.
You can see it from every angle on the machine – for as much attention that has been given to the internal construction of the Speedster, at least as much (if not more) has been given to the fit and finish. In preparation for this first look I scoured the machine front to back, side to side and top to bottom to find one flaw, no matter how small, in the build quality.
I found none.
Compare this to the GS/3. We have a paddle group model in the CoffeeGeek Lab and it is an amazing machine technologically, but the aesthetics are very meh, and the fit and finish is questionable at times. You can see weld scorch marks on the upper cup tray of the GS/3 for example. You can wiggle around the cup tray and drip tray because the fit isn’t terribly precise. The side panels on my original GS/3 paddle group had misaligned mounting bolts making it quite difficult to remove the left side panel.
The Speedster has none of these issues. It is in a completely different league when it comes to aesthetics, quality of build and fit and finish. I cannot say it enough: I have never seen an espresso machine with such a complete attention to every minute detail as I have with the Speedster. It sets a completely new standard.
SpeedsterUsability
Usually aesthetics and usability in an industrial product are mutually exclusive – or at the very least, a case of 60% one way, 40% the other way. Usually something has to give. On the Speedster, there’s very little give in the usability department when compared to the aesthetics. Let’s get the usability quirks out of the way first.
The drip tray is a gorgeous piece of the artwork puzzle on the Speedster. From the user viewpoint, it hangs in mid air with seemingly no supports. It cuts a wide arrow shape out from the body towards one of the Four “M”s (that’d be you), and is wide and spacious. But the top tray, the perforated part, is only held in place by gravity, a small “lip”overhanging the back end of the tray, and by virtue of the sides sitting on the angled basin of the tray. In short, it kind of slides around, mainly when you’re cleaning the tray. It is not an issue when brewing shots. This is an entirely minor thing and to show you how good this machine is, probably my biggest gripe.
The gauges are also a bit hard to read from the user’s standpoint. They are on the front panels of the machine but seem angled downward somewhat and you have to drop lower to fully read them.
The rocker switch for the multi-choice hot water gives the appearance of being flimsy (it actually isn’t – its more of a perception) and very minutely out of place on the machine. Most other elements are beefy (the steam and hot water handle dials, the shift lever), so the long narrow rocker switch seems different.
The grouphead and portafilter position is quite low – at the factory-setting, the drip tray is in its uppermost position (it is height adjustable by about an inch) and the spouts on the double portafilter barely clear an illy espresso cup by 3cm; cappuccino cups clear it by maybe 1cm. For my use this is perfect – I rarely brew into anything larger than a latte wide-bowl cup, but for some it may be an inconvenience – you won’t be fitting your 16oz mug under a spouted portafilter.
Probably the last thing to mention in the negative column isn’t really a negative at all – it is the result of something very positive about the machine. The steam boiler’s intake is fed by a 0.6mm gicleur valve to slow down the boiler refill and keep the temperatures rock steady solid in the steam boiler. This is by design. It makes the machine even more temperature stable than even the best from Synesso and La Marzocco (at least those without a 0.6mm gicleur on the steam boiler). The downside is when you first fill the machine it takes quite a bit longer than other similar sized boilers and when you access steam boiler hot water, the refill via the pump runs a bit longer. A very minor thing and an excellent tradeoff for amazing temperature ability.
Onto the positives in usability. Well, just about everything! The grouphead’s gasket accessibility is literally the best I’ve ever worked with. Accessing the PID for the brew boiler is a breeze – it is right up front, dead centre on the machines lower front panel. Use the shift lever for a week and it feels like the most natural way to control brewing espresso that has ever existed. The machine is quiet, rattle free, and extremely solid on the counter.
The hot water wand articulates into the middle of the machine – a very good design which at first may seem to go against the machine’s aesthetic look. But trust me, you want the hot water over the drip tray, not over the side of the tray. Articulation is quite extensive too – you can rotate it on a near 180-360 degree plane on both vertical and horizontal axis (and other axis too, I guess). What I’m trying to say is you can point the water wand almost anywhere on the right side of the drip tray. It is hot touch, but has a rubber grabber on it that is nice and big but not ugly (nothing on this machine is ugly).
Using the three position shift lever for brewing is something that at first seems weird, but quickly becomes natural for brewing espresso and as you fine tune your preinfusion and brewing technique, you’ll wonder why this kind of brewing system isn’t on every machine. It actually works quite similar to the way a paddle group operates – move to one position and the line valves to the grouphead open up. Move to another position and you engage the pump. After one week, the Speedster’s brewing control seemed incredibly natural.
Viewing a shot as it develops is extremely easy on this machine – there are no blocked ‘sight lines’. Because of the nature of the exposed grouphead and groupcap, the portafilter spouts sit out in the open, not obscured in any way by other parts of the machine. People sitting to the side of the machine can see a shot develop just as well as the operator or people standing in front.
Let me focus on one particular aspect of usability – steaming. This machine is of course a manual steamer, meaning you control the steam through a variable control dial handle, and there are no gizmos or froth aiders to help impede things. The steam boiler is rated to handle 3.0+ bar of pressure (most commercial machines top out at 1.8 or 2.2bar) meaning that it is a complete steam monster in terms of power – it comes factory preset to run at around 2.3bar, and you can easily modify the steam boiler’s PID up or down by removing the left side panel and accessing it.
The machine ships with two steaming tips – the stock one (the “Speedster tip”) is a bit of a limiter in that the four holes are small and restrict the full steaming pressure somewhat, making it easy to steam 12oz pitchers. The other included tip (the “Mirage tip”) has four bigger holes and will fully utilize the steam boiler’s ample steam production.
I definitely do not need the bigger-hole tip. With the slightly restricted tip, I was steaming and frothing in 24oz pitchers (starting with about 12oz of milk) in under 15 seconds. Doing 5oz of milk in a 12oz pitcher takes less than 10 seconds (I haven’t timed it yet, but it is closer to 7 seconds than 10). What amazed me was that, even for all that power (the GS/3 takes twice as long), I was creating beautiful microfoam and had great control over the steaming from the very first pitcher. Part of it is the valve system the Speedster uses – there’s actually quite a bit of control over the amount of steam you use via the dial. Where most steam knob dials go from nothing to full power with very little turn, you have a radius of at least 2 hours (ie from noon to 2pm on a clock face) adjustment possible on the Speedster to fine tune how much steam you’re releasing down the pipe. I have not found another machine with more fine tuning control over the volume of steam.
The machine is also extremely serviceable. As mentioned previously, 4 side bolts (twist off by hand) and three hex bolts at the back of the machine are all that are needed to remove before you can take off the side panels and top plate. I’ve done it in under 1 minute. Almost everything is accessible at this point, save for the water line connections. For me this is a huge usability gain.
Ordering aSpeedster
If you want a Speedster you can order it direct from Kees van der Westen, or order one through a local distributor.
Two things to factor in. This machine costs 4,975 Euros (approximately $7,800 Canadian dollars, or $7,200 US dollars as of this writing), and you will have to pay shipping ($350 sea, $620 air), duties and taxes (9% duty in Canada plus your local PST and GST), bringing the cost close to $10,000 Canadian dollars, or around $9,000 US once it is set up in your home, office, cafe or roastery.
EDIT 2024: Things sure have changed. This machine now costs between $12,900 and $15,000USD in the United States. It is close to $20,000 in Canada.
The second thing to factor in is a waiting list – a long one. You may have to wait up to six months to get a Speedster. van der Westen only builds a few each month and the waiting list last time I checked was over 4 months long.
Some distributors may charge a premium over van der Westen’s 4,975 Euro price + shipping + taxes, some may not, but it is best to go through a distributor because they usually include installation as part of the price, and local servicing and warranty is included.
If you order direct, they will take your name and put you into the queue. You may have to put a deposit down at that time. Once the machine is being built, they will ask for the full amount paid via wire transfer. The machines are shipped COD for delivery costs, so expect to pay the full delivery charge when it arrives. Machines are well crated (82kg incl. crate) and will ship to your nearest Intl’ airport, or if coming by sea, to a major shipping destination (again usually an airport).
There are plenty of variants you can order when getting the Speedster. They include, but are not limited to the following:
- Black powder-coated side plates (black where you see red and yellow on our model)(
- Chopped portafilter instead of spouted model
- Wide cup rail instead of narrow one
- Mirror finish body work instead of perlage style
- All black body panels, powder coated finish matching the legs
In addition, van der Westen debuted a lever version (yes!!!) at the Cologne World of Coffee Expo during the Summer of 2009. It is a prototype, but may go into production for 2010.
EDIT 2024: The Lever Speedster was never realised. But they did make an Idromatic version. See it here.
Here’s what a shot looks like with the Speedster, including preinfusion time.
This video shows a HD rendition of an espresso shot on a Speedster espresso machine, using a factory-modified chopped portafilter.
This particular shot was done using manual preinfusion, which does tend to muck up the shot timing overall – with pump pressure, it was around 22 seconds, but I’d call it about 30 seconds total including the preinfusion time. One thing I’d love to see on the Speedster in the future is one or two speedometer style gauges that show shot times for both full shot (including manual or pump driven preinfusion) and pump “on” time.
Support CoffeeGeek
If you enjoy and learn from this resource, please consider making a one time or recurring donation to help support our work and fund purchases for future reviews.
ConclusionKvdW Speedster
I don’t know if I’ll ever post a full detailed review on the Speedster or not – hence this super long “first look”. It’s quite an exclusive machine and a major expense – possibly the biggest expense someone would make for their home outside of actually buying the home or buying a car.
At the start of this First Look I hinted this may be the best espresso machine in the world. Of course that is a subjective opinion and not rooted in any fact, but here are some real world things about the machine: The Speedster has been installed and operating for five weeks now and has been viewed, used and experienced by at least 30 people, including many professional baristas, restaurant owners, sommeliers, bartenders and cafe owners.
One thing all had in common – to a one they all felt it was the most beautiful and intriguing espresso machine they’d ever seen. At times I had them observe and use both the Speedster and GS/3 Paddle Group and while the more technologically savvy baristas recognized the GS/3’s ground breaking design and electronics, the Speedster was the constant first pick.
Usability is first rate. It’s obviously a hands on machine allowing a certain amount of latitude in how shots are brewed, but where you want automated control (in temperatures and pressures and stability), the machine has very few equals.
Other than that, the machine is just about perfect. For us at least, it is the best espresso machine in the world. Nothing else, save for perhaps other Kees van der Westen machines, come close.
Subscribe to
Coffee Pulse
Delivered twice monthly, CoffeeGeek's premier newsletter dives into a specific coffee topic each issue. The Pulse also occasionally features contests and giveaways. Subscribing is free, and your personal information is never shared.
By submitting this form, you are consenting to receive marketing emails from: CoffeeGeek. You can revoke your consent to receive emails at any time by using the SafeUnsubscribe® link, found at the bottom of every email. Emails are serviced by Constant Contact