


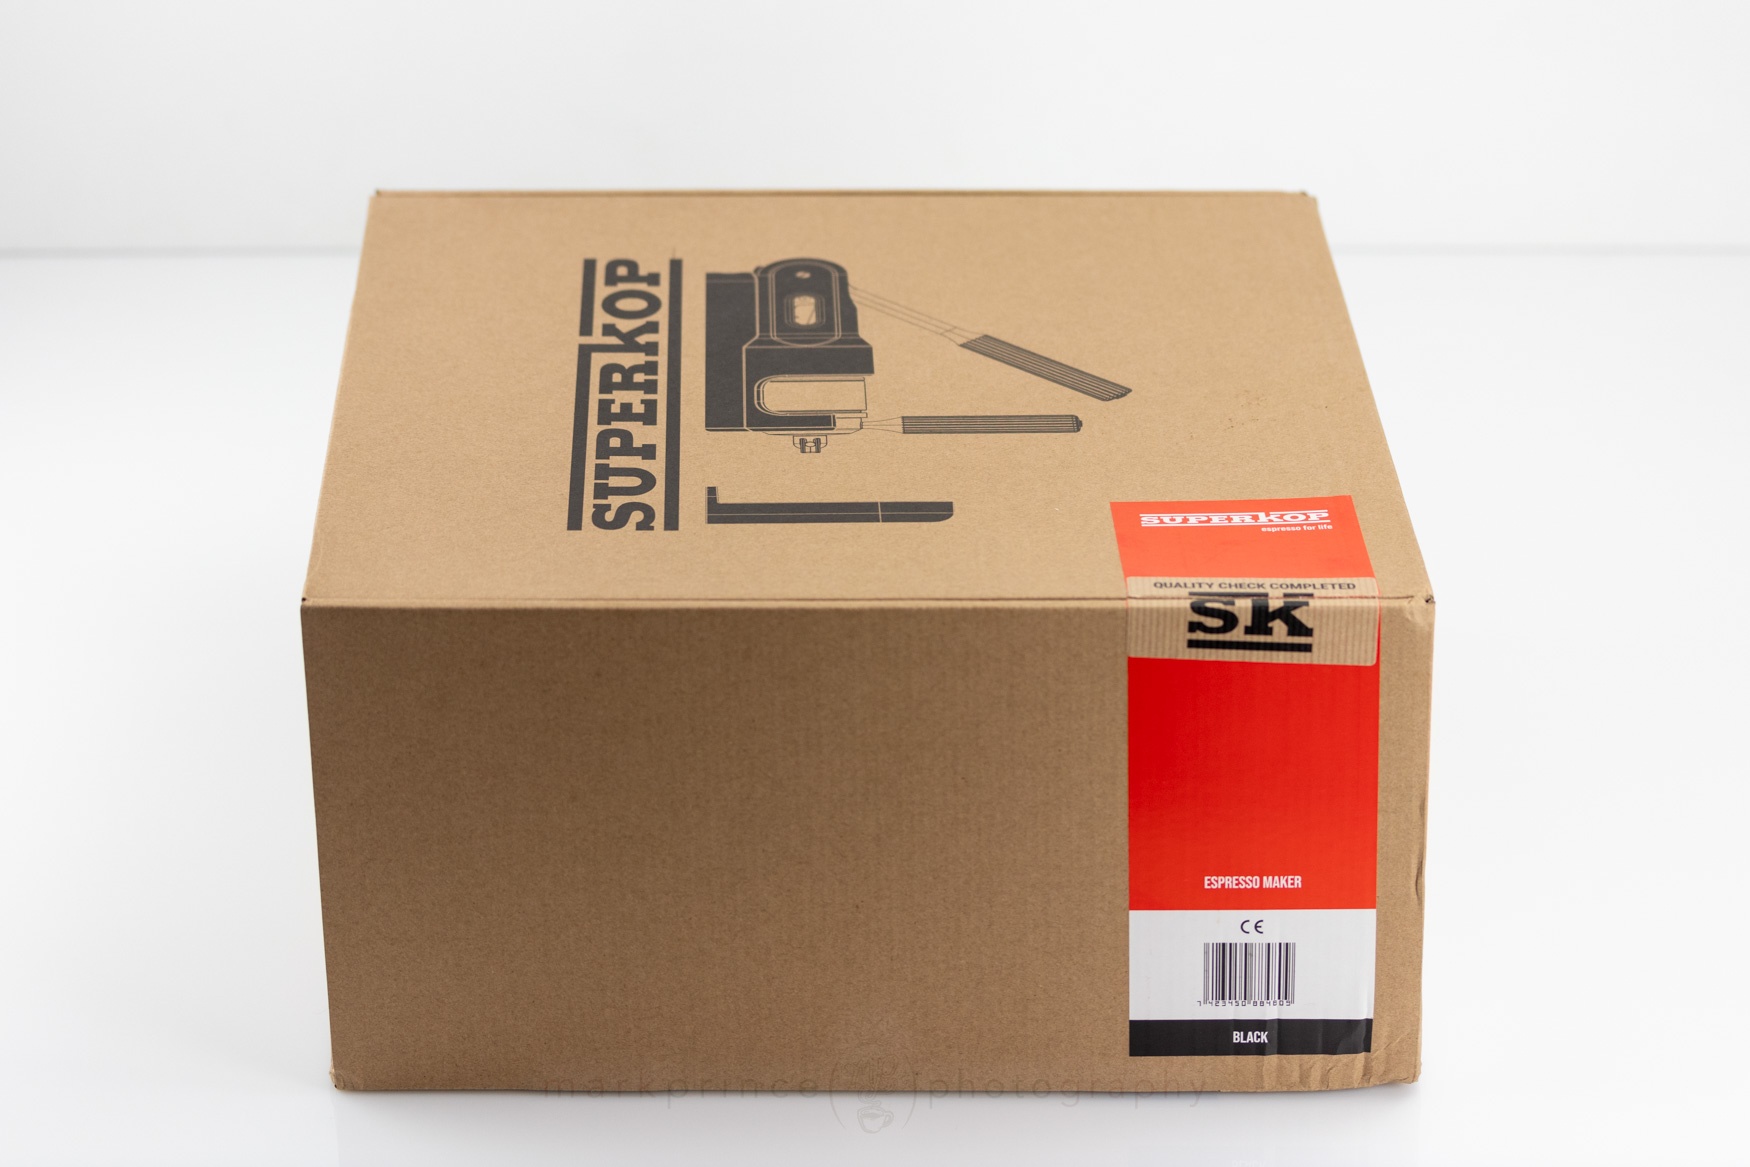
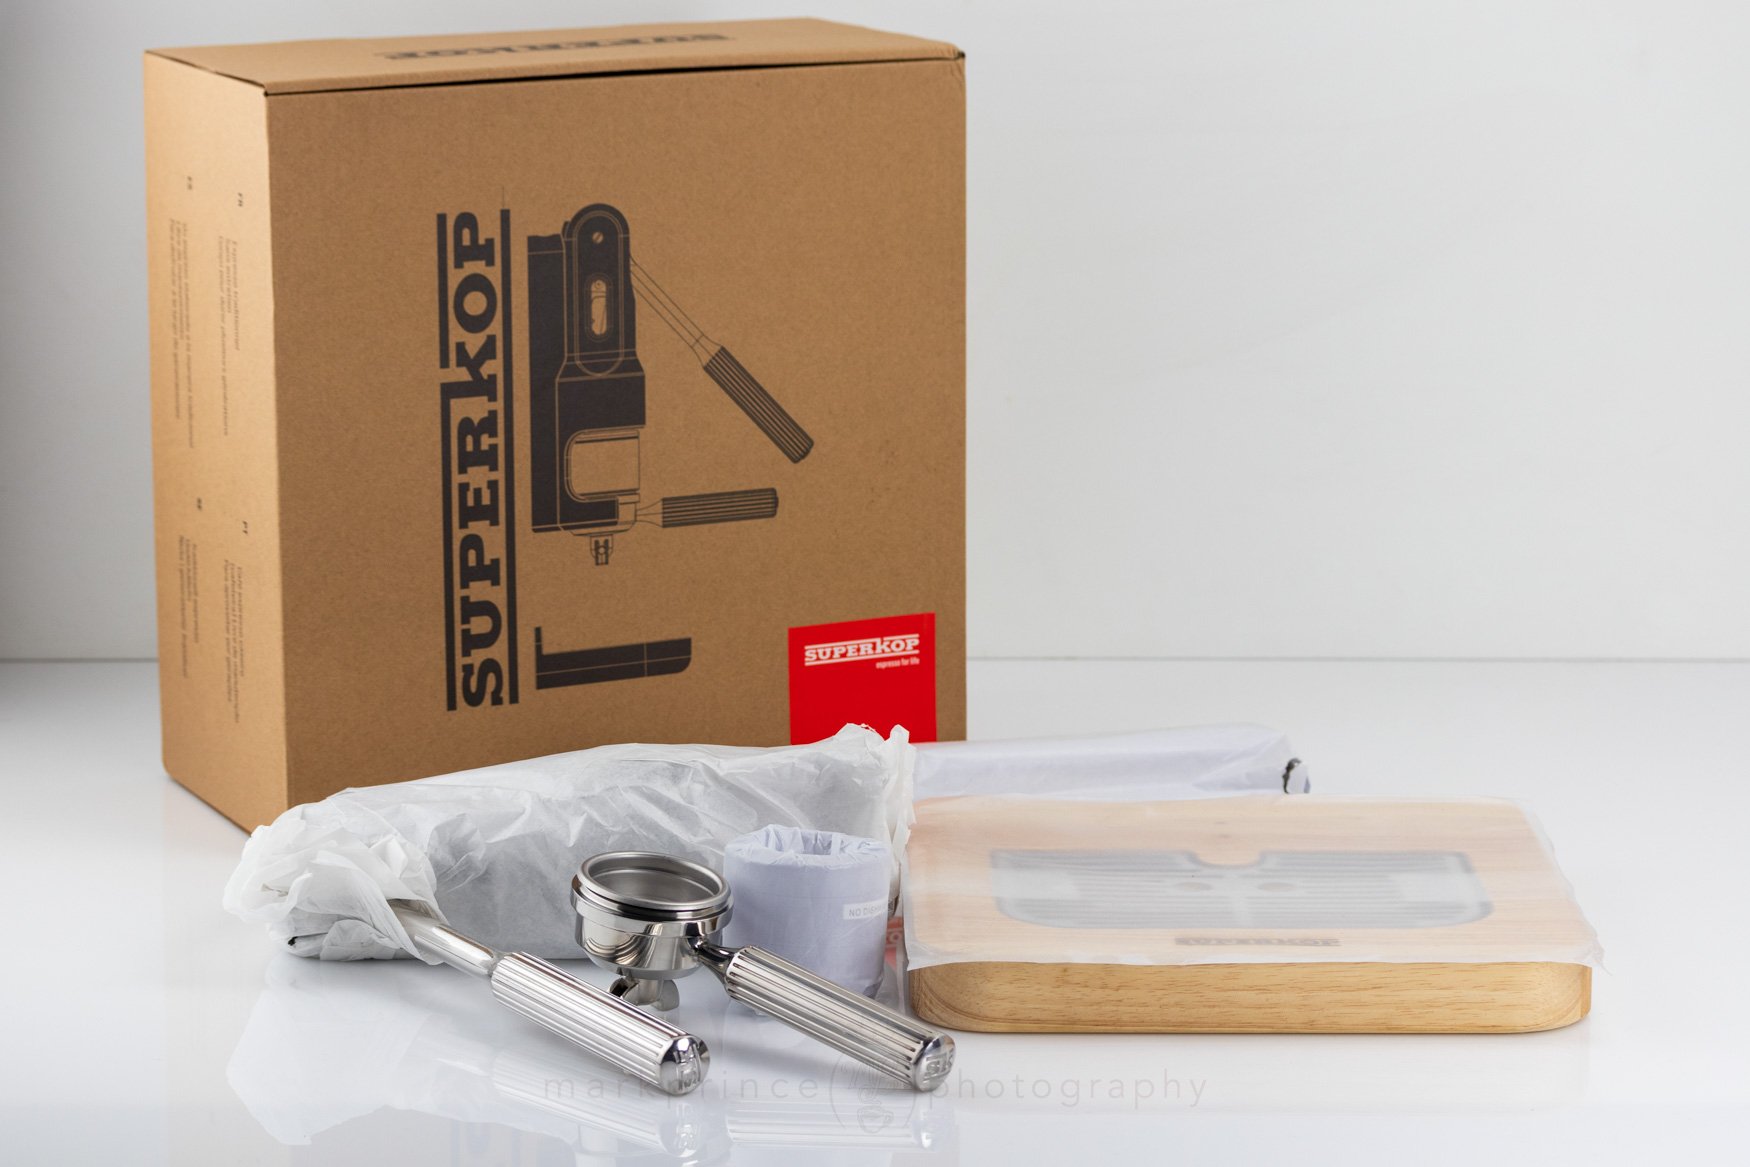
The main box the superkop comes in. I was surprised at how small it was, considering the wood and size of the machine with lever extended.
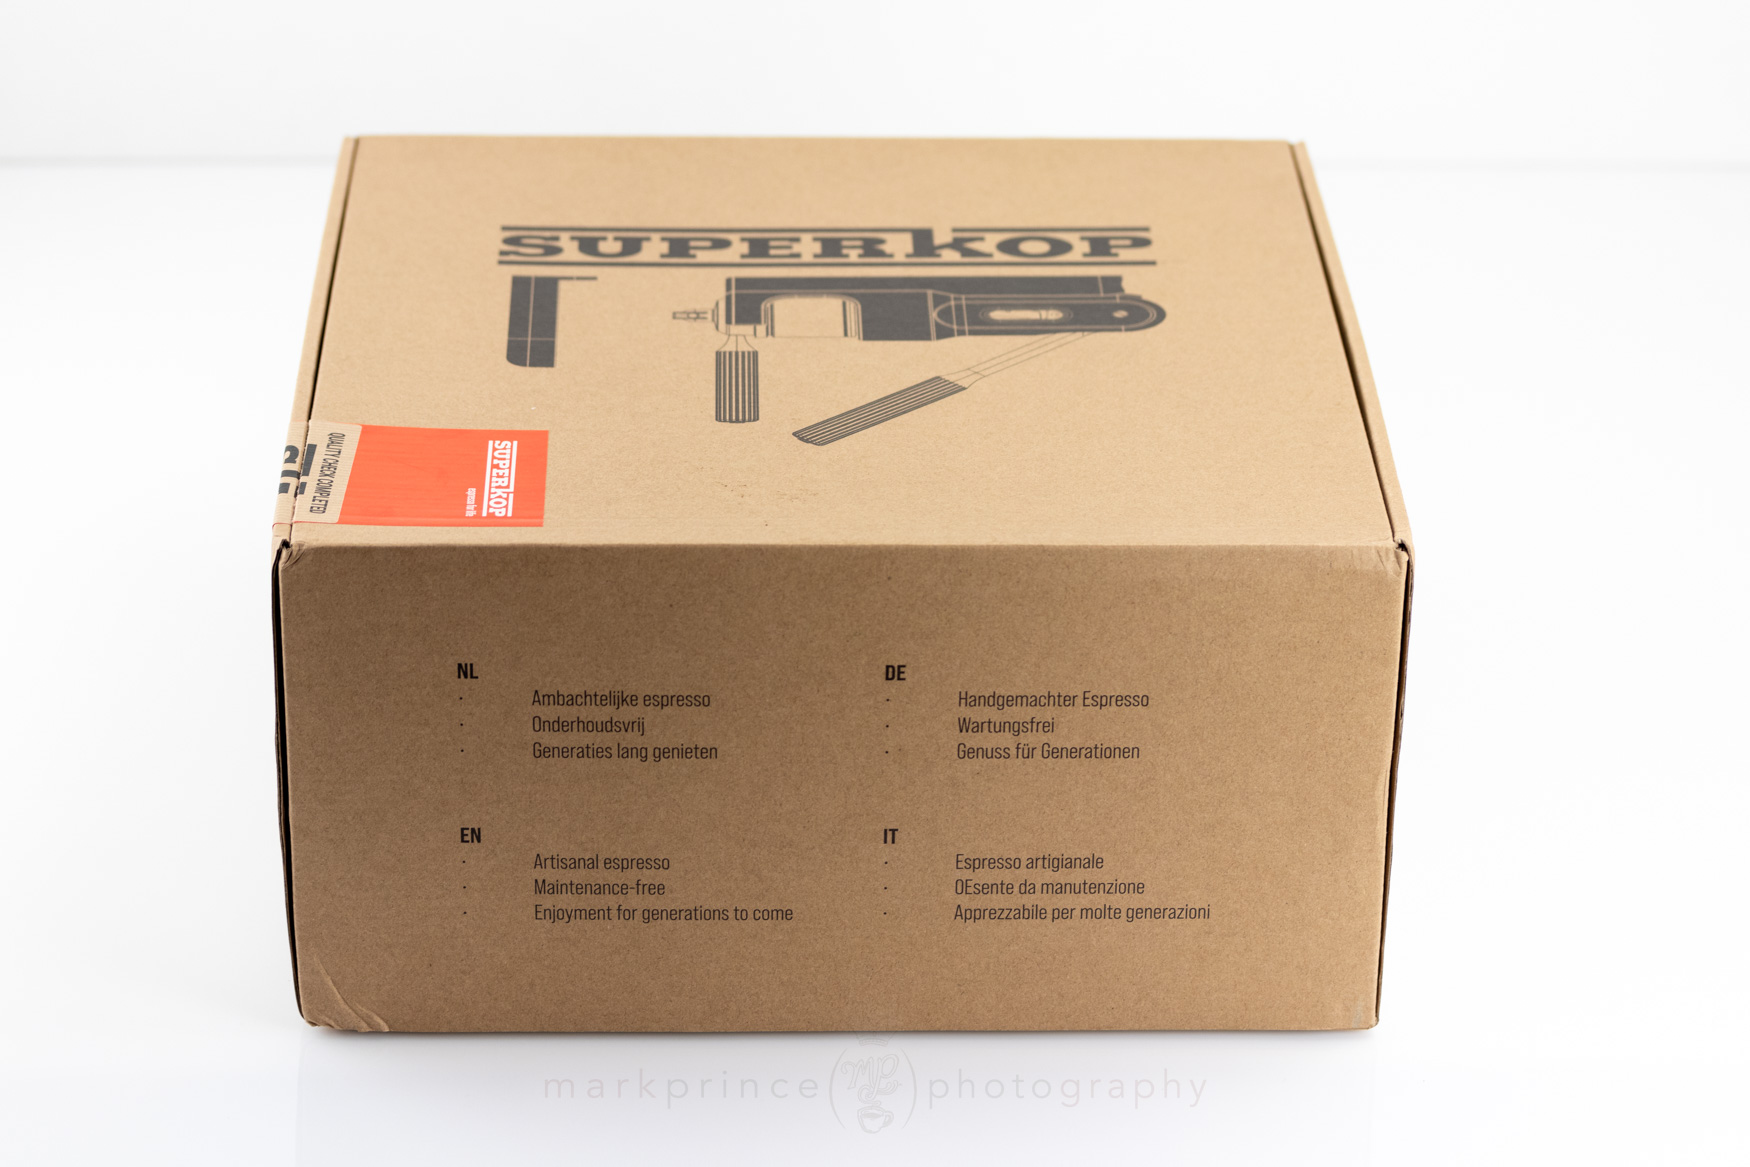
Back of the box, with some pertinent bragging rights in four languages (click to read)
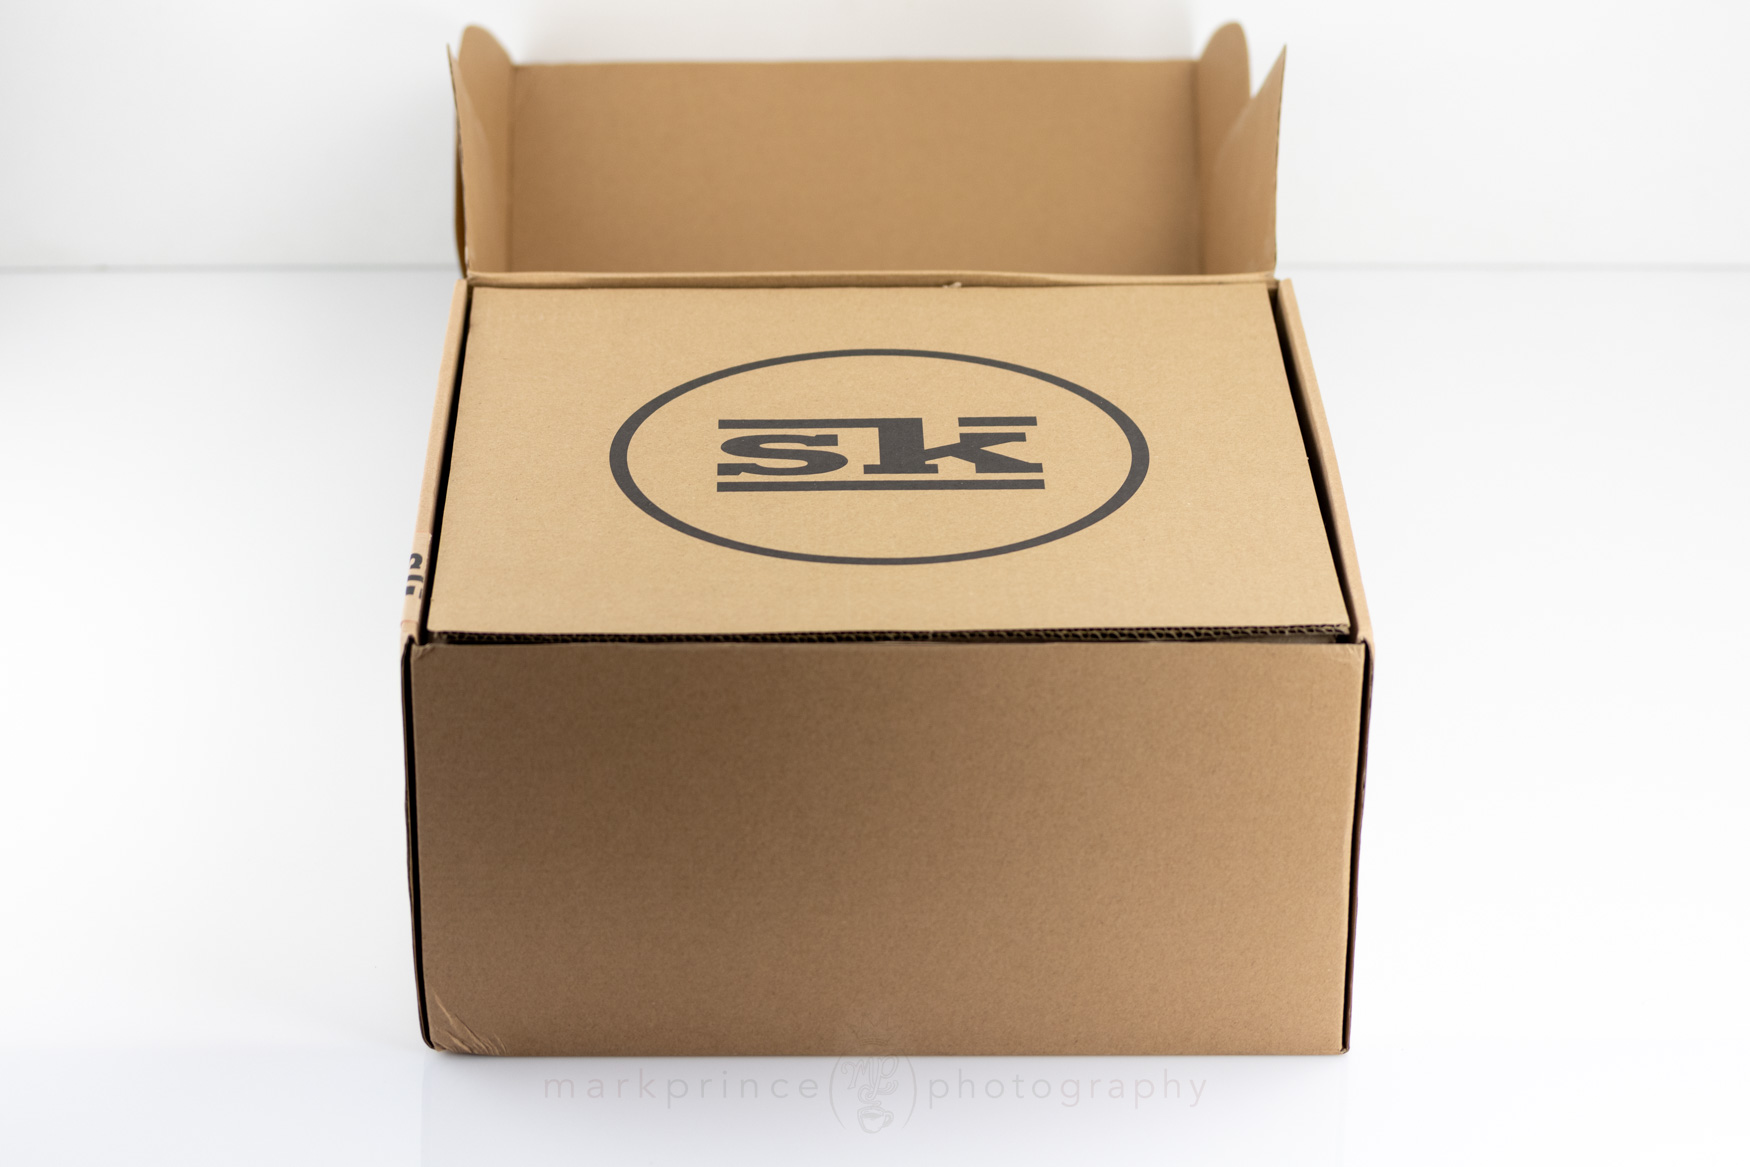
Lifting the lid you see a cardboard cover and form to help the machine stay stable in transport.
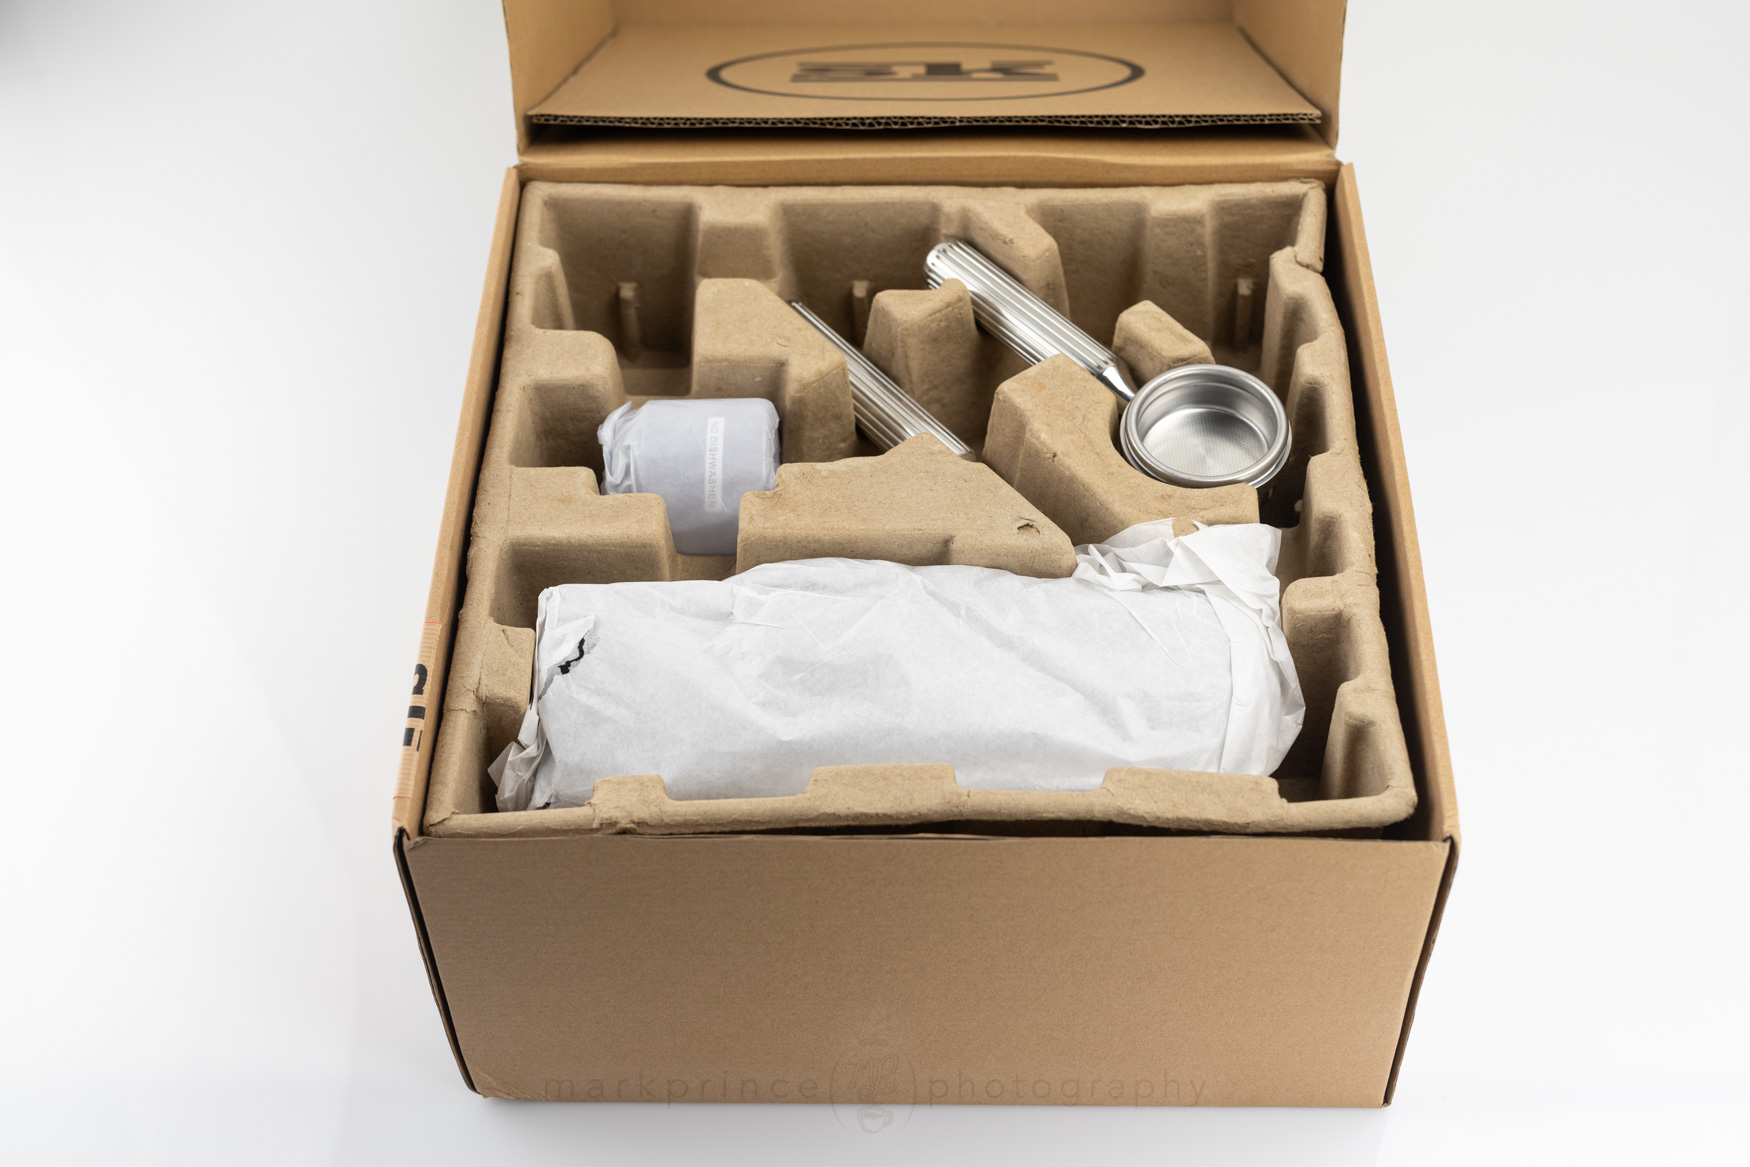
Under the cardboard stabilizer, you see the main parts of the machine, wrapped in tissue paper for travel protection.
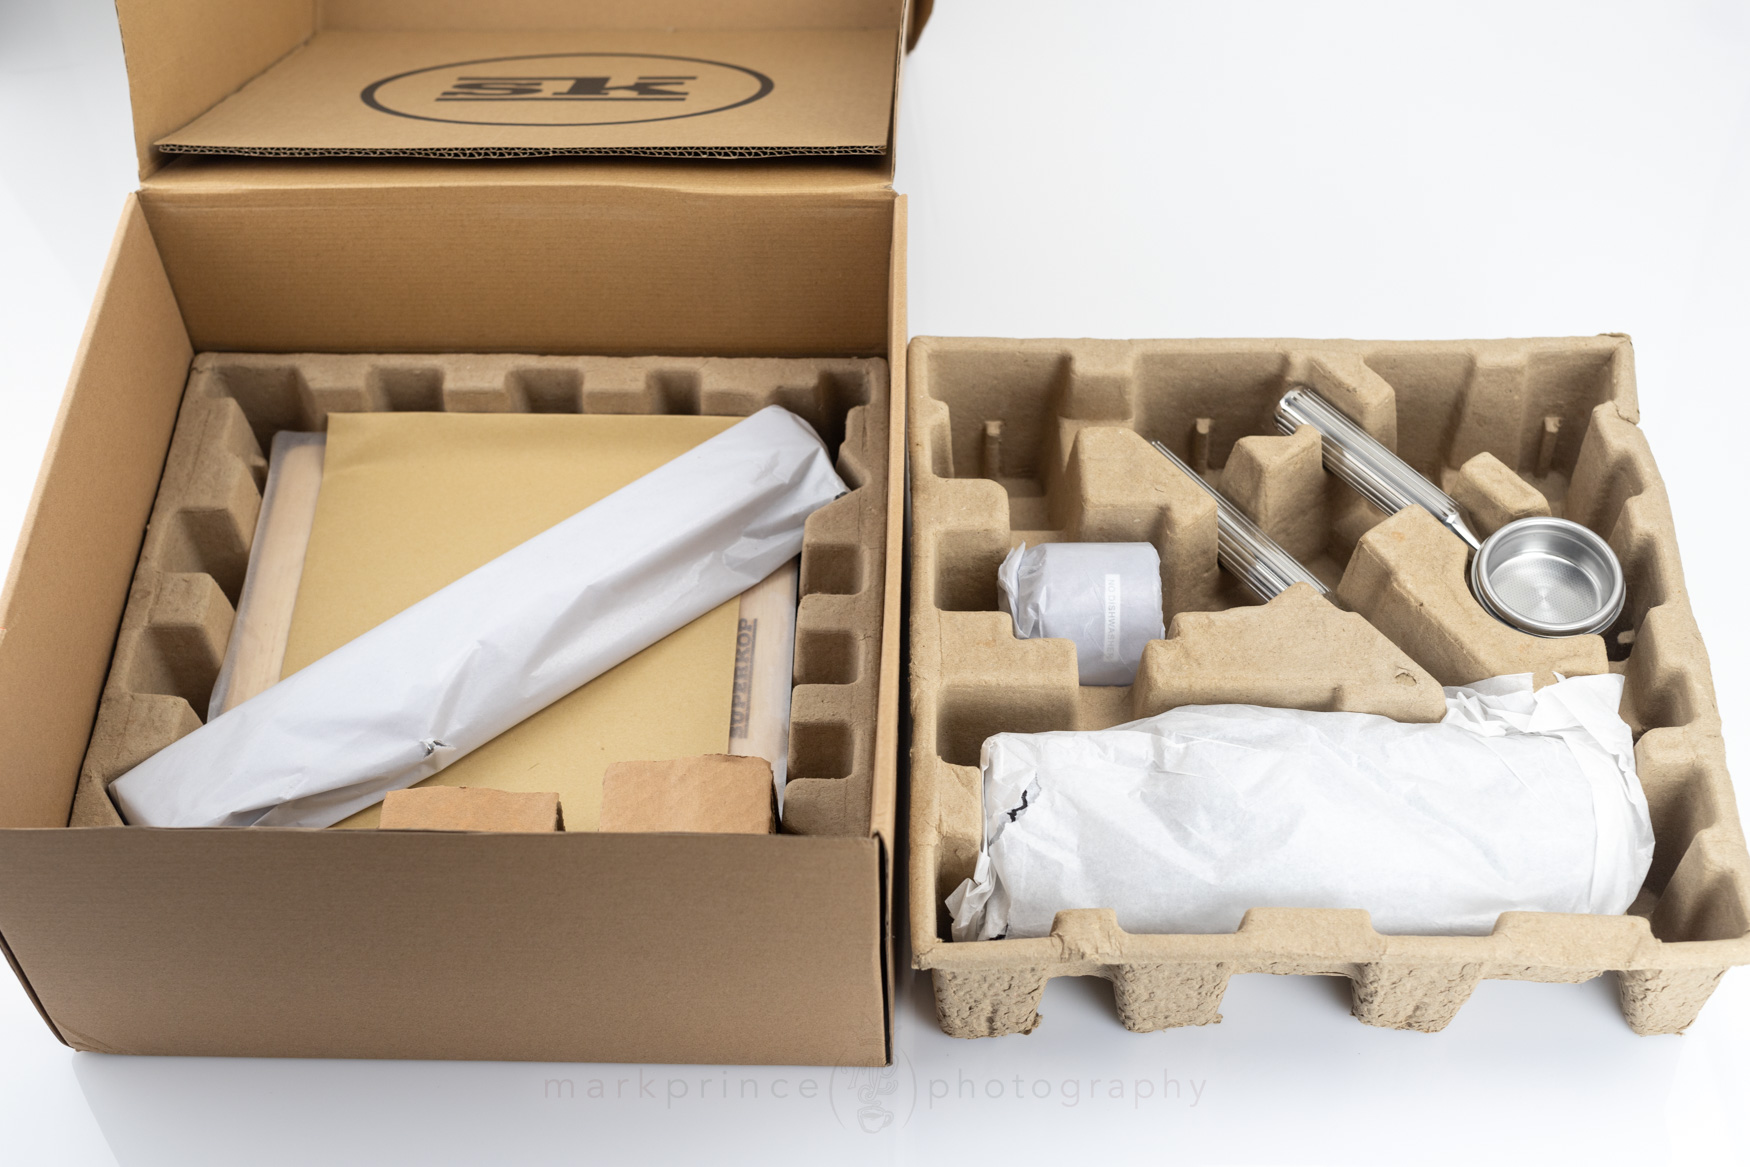
Removing the first cardboard forms with parts reveals a few more parts underneath and the wood base. Note the very environmentally friendly packaging. Kudos!
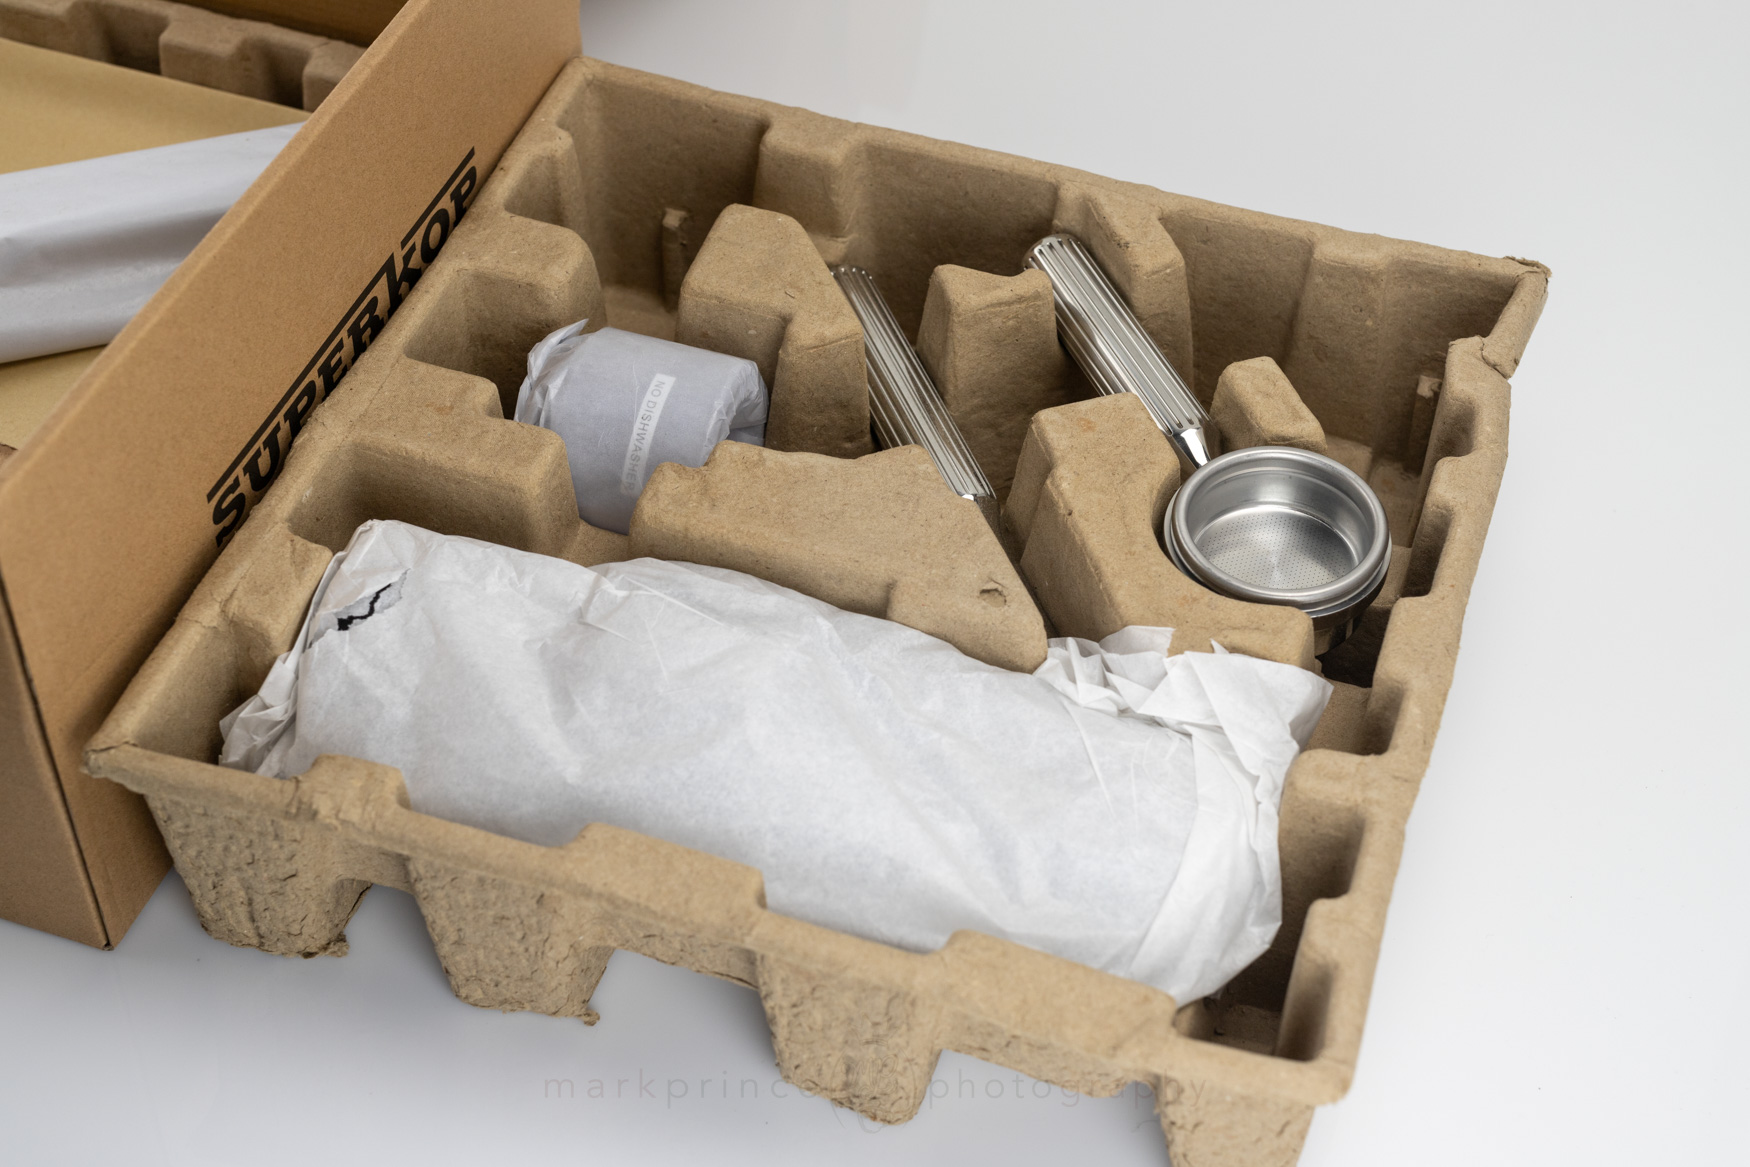
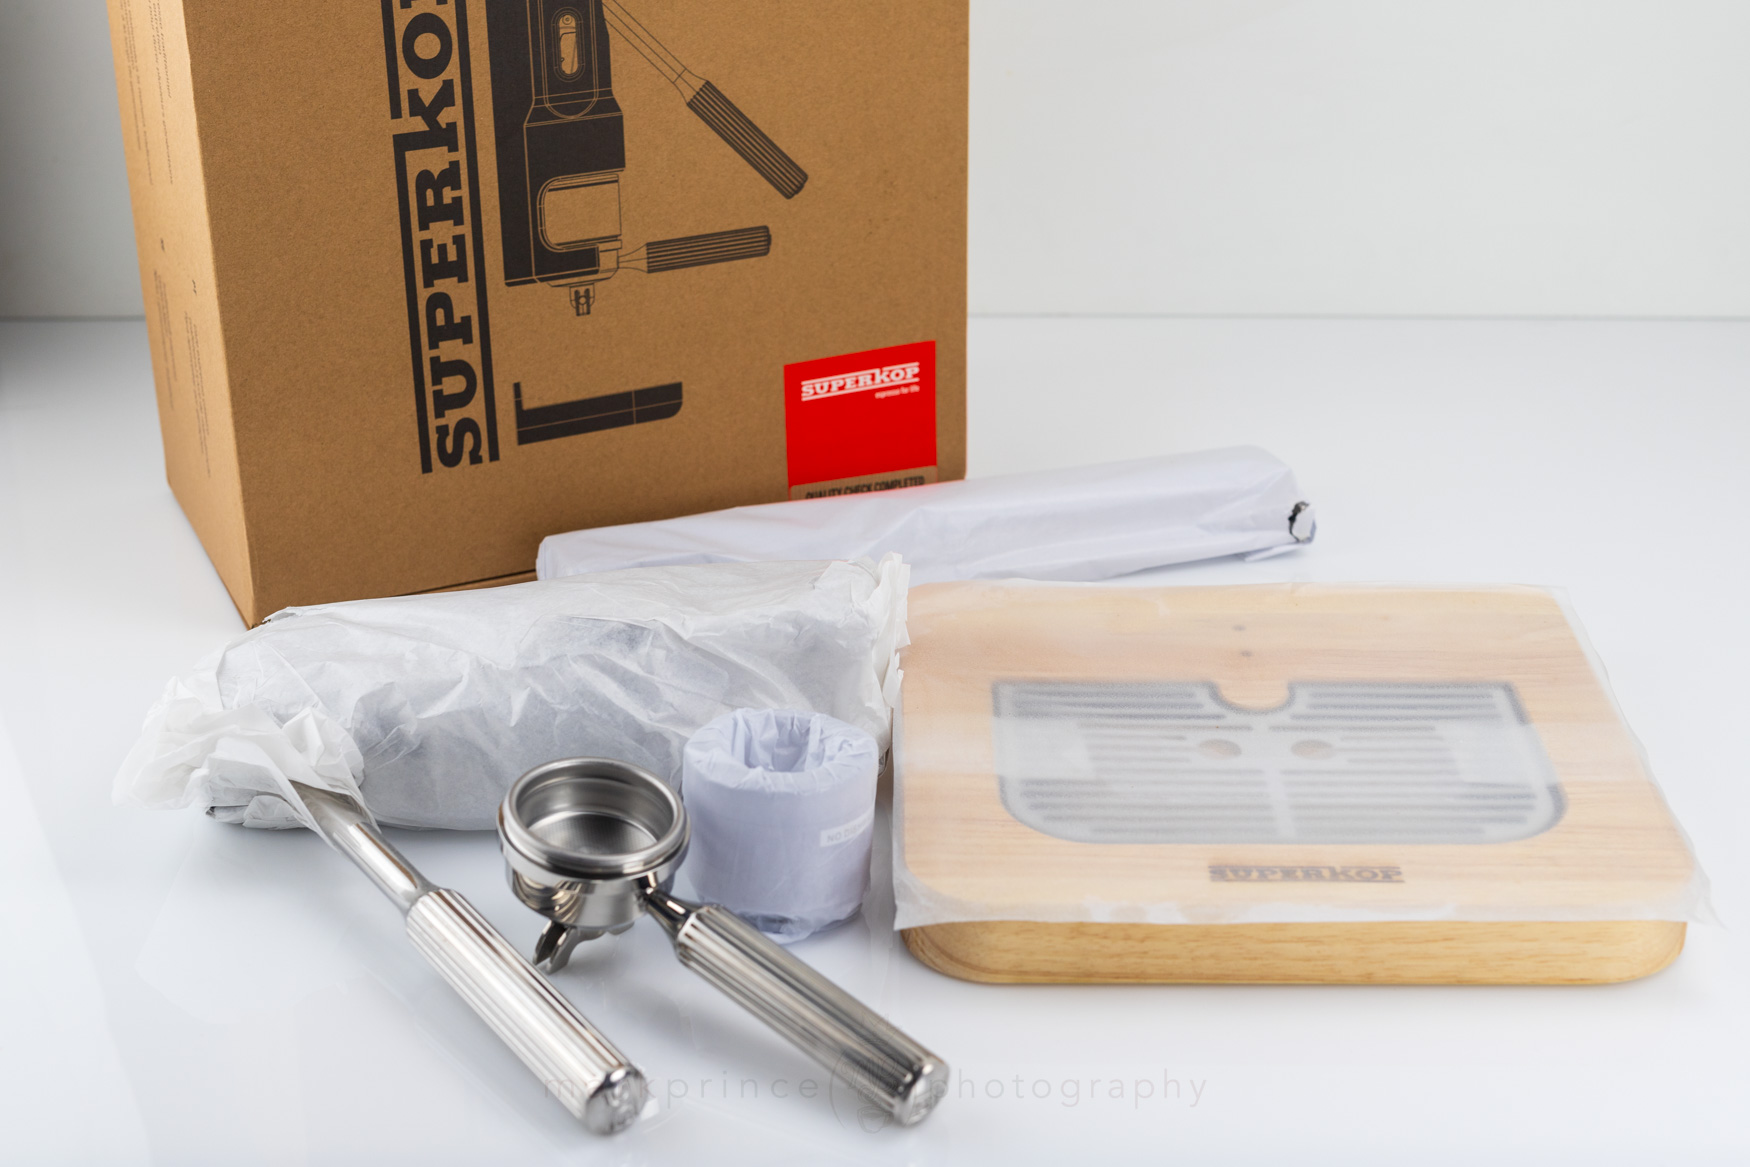
The top holder has the main brewing unit, heavily wrapped in tissue paper, the portafilter with installed double basket, and the water reservoir.
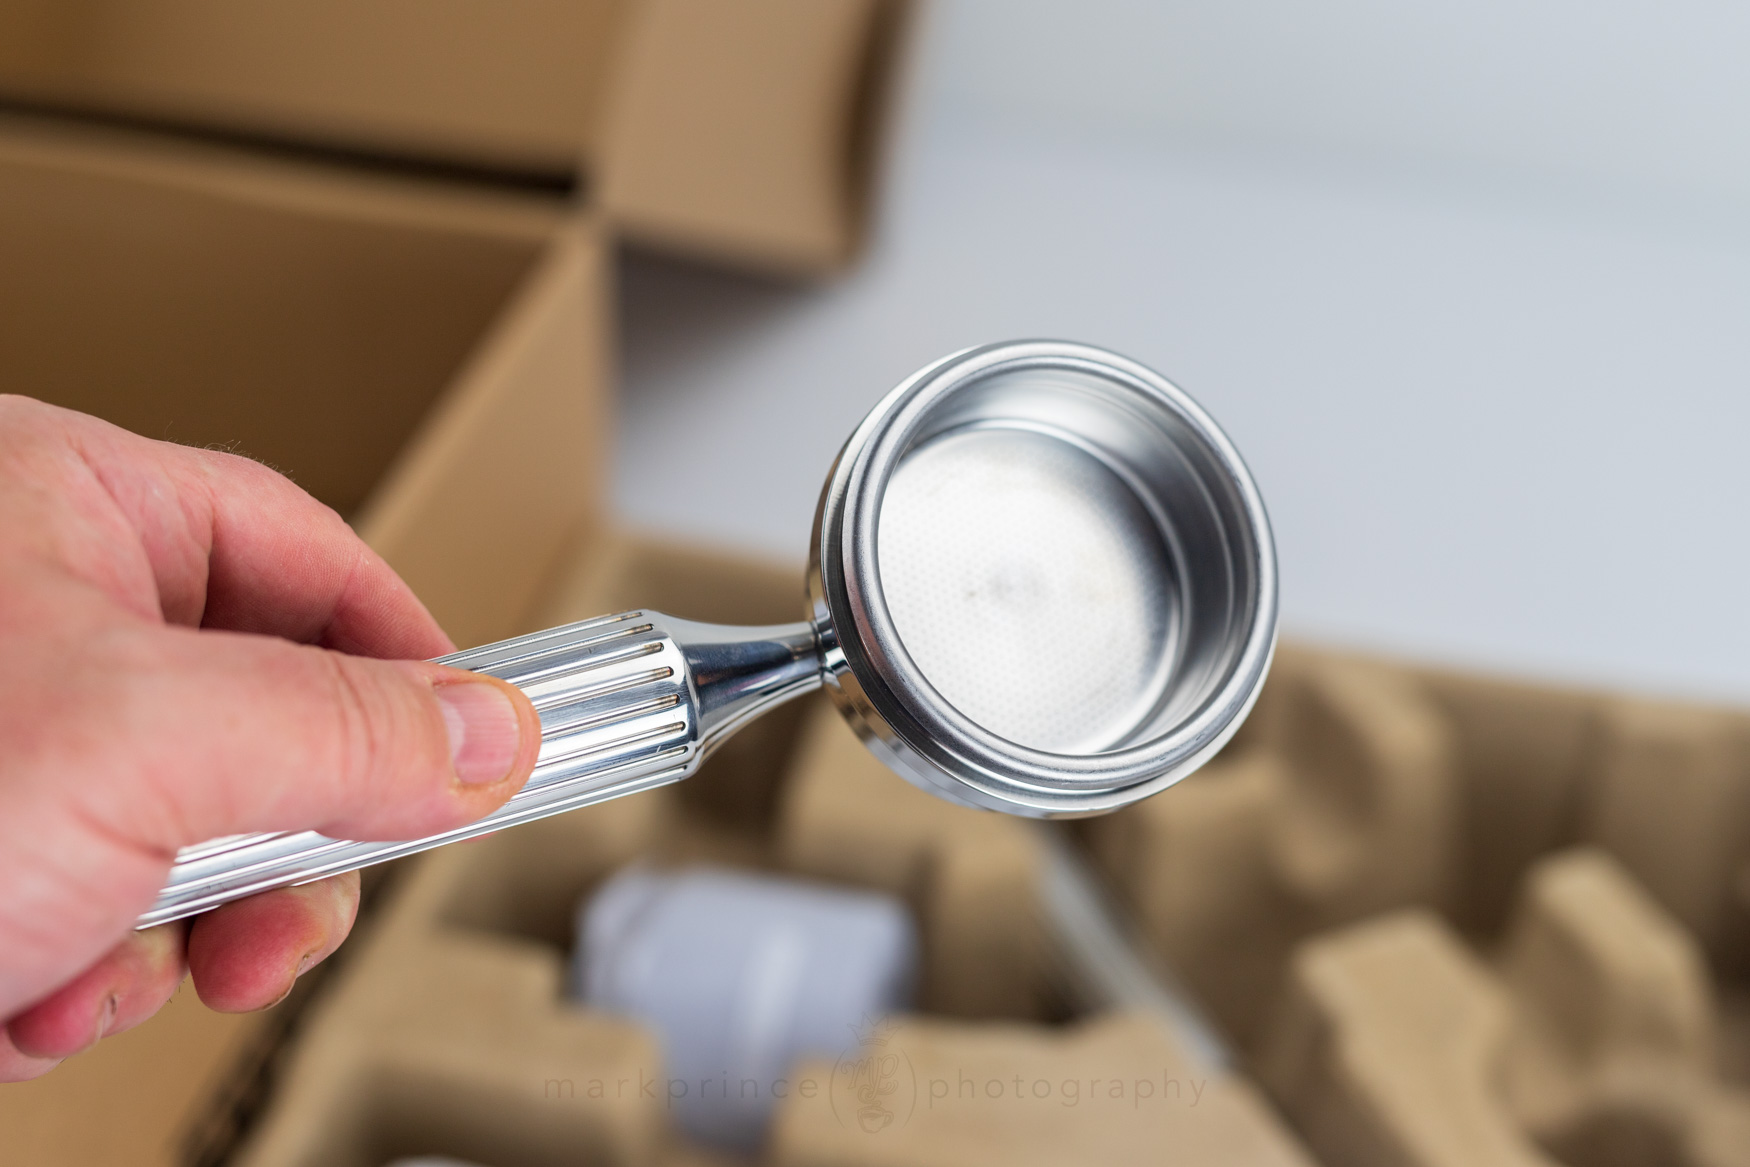
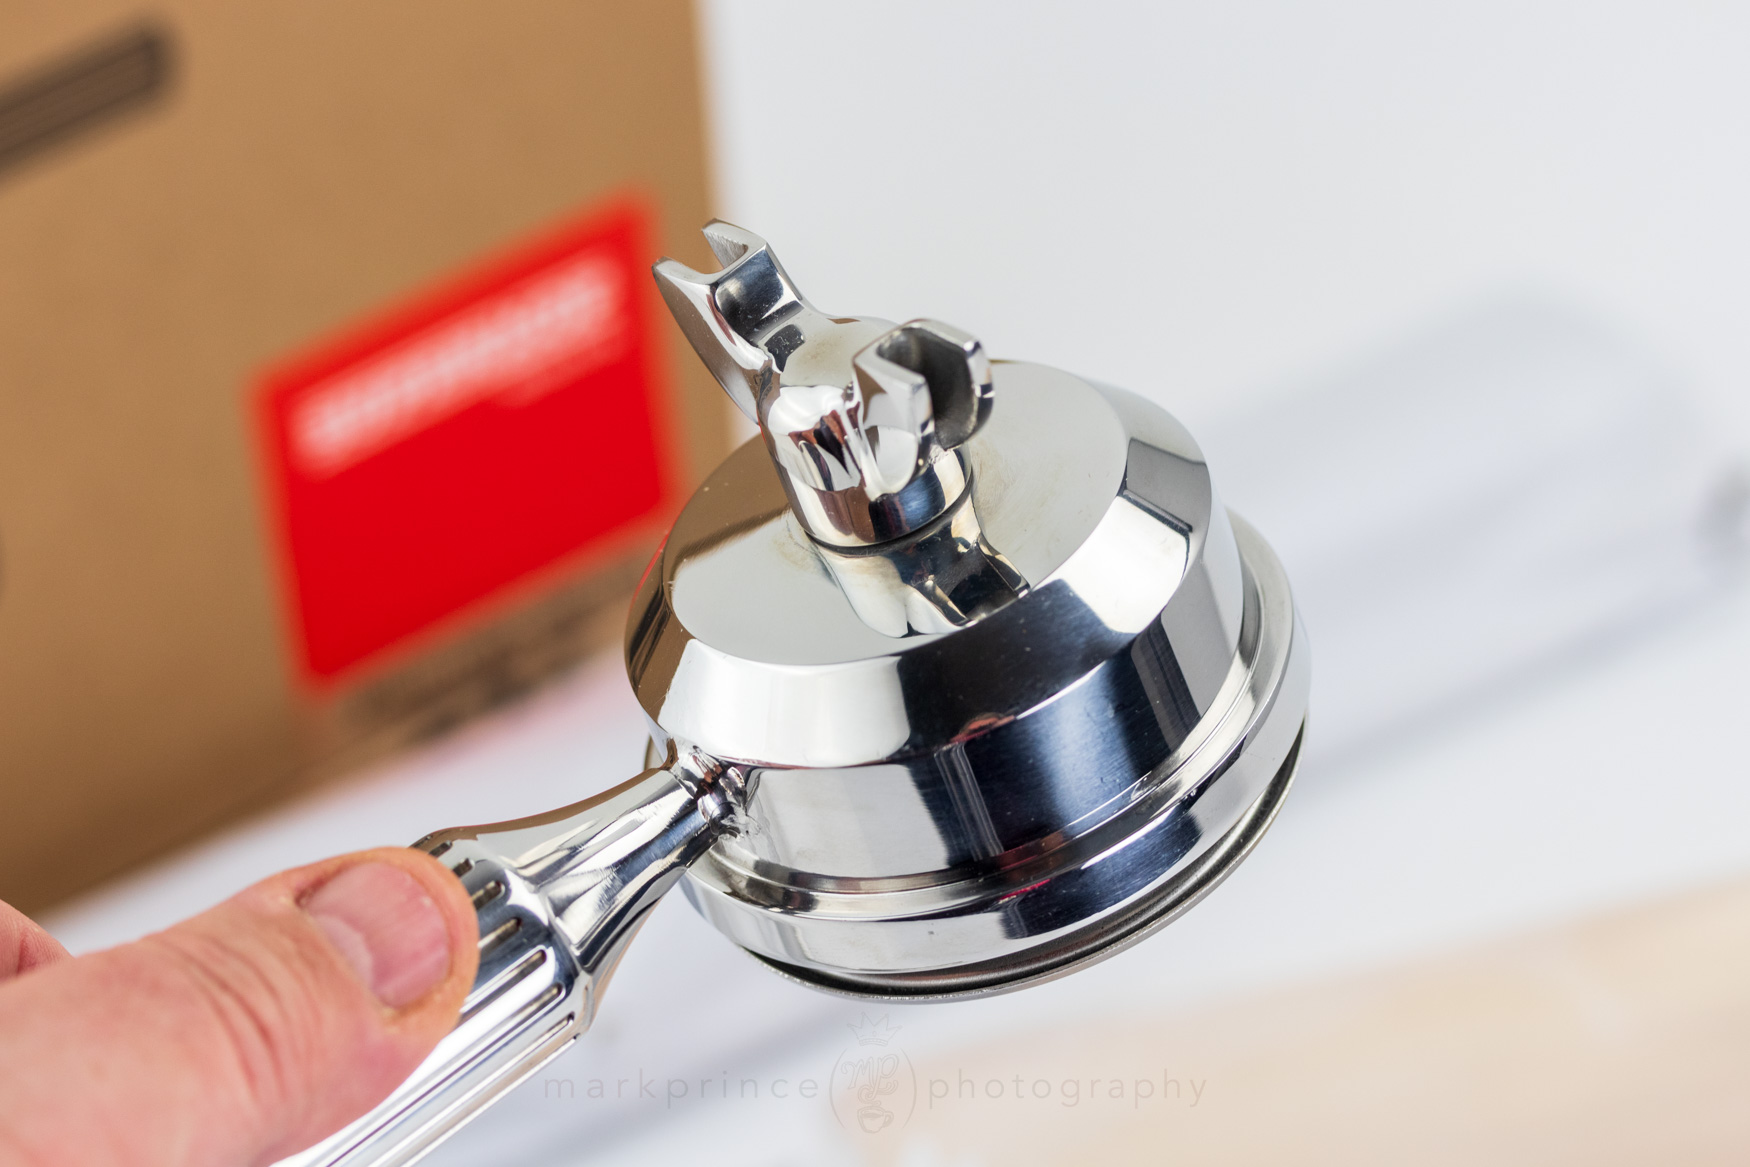
Wait, what, no bayonets on the Portafilter? How's that going to work!

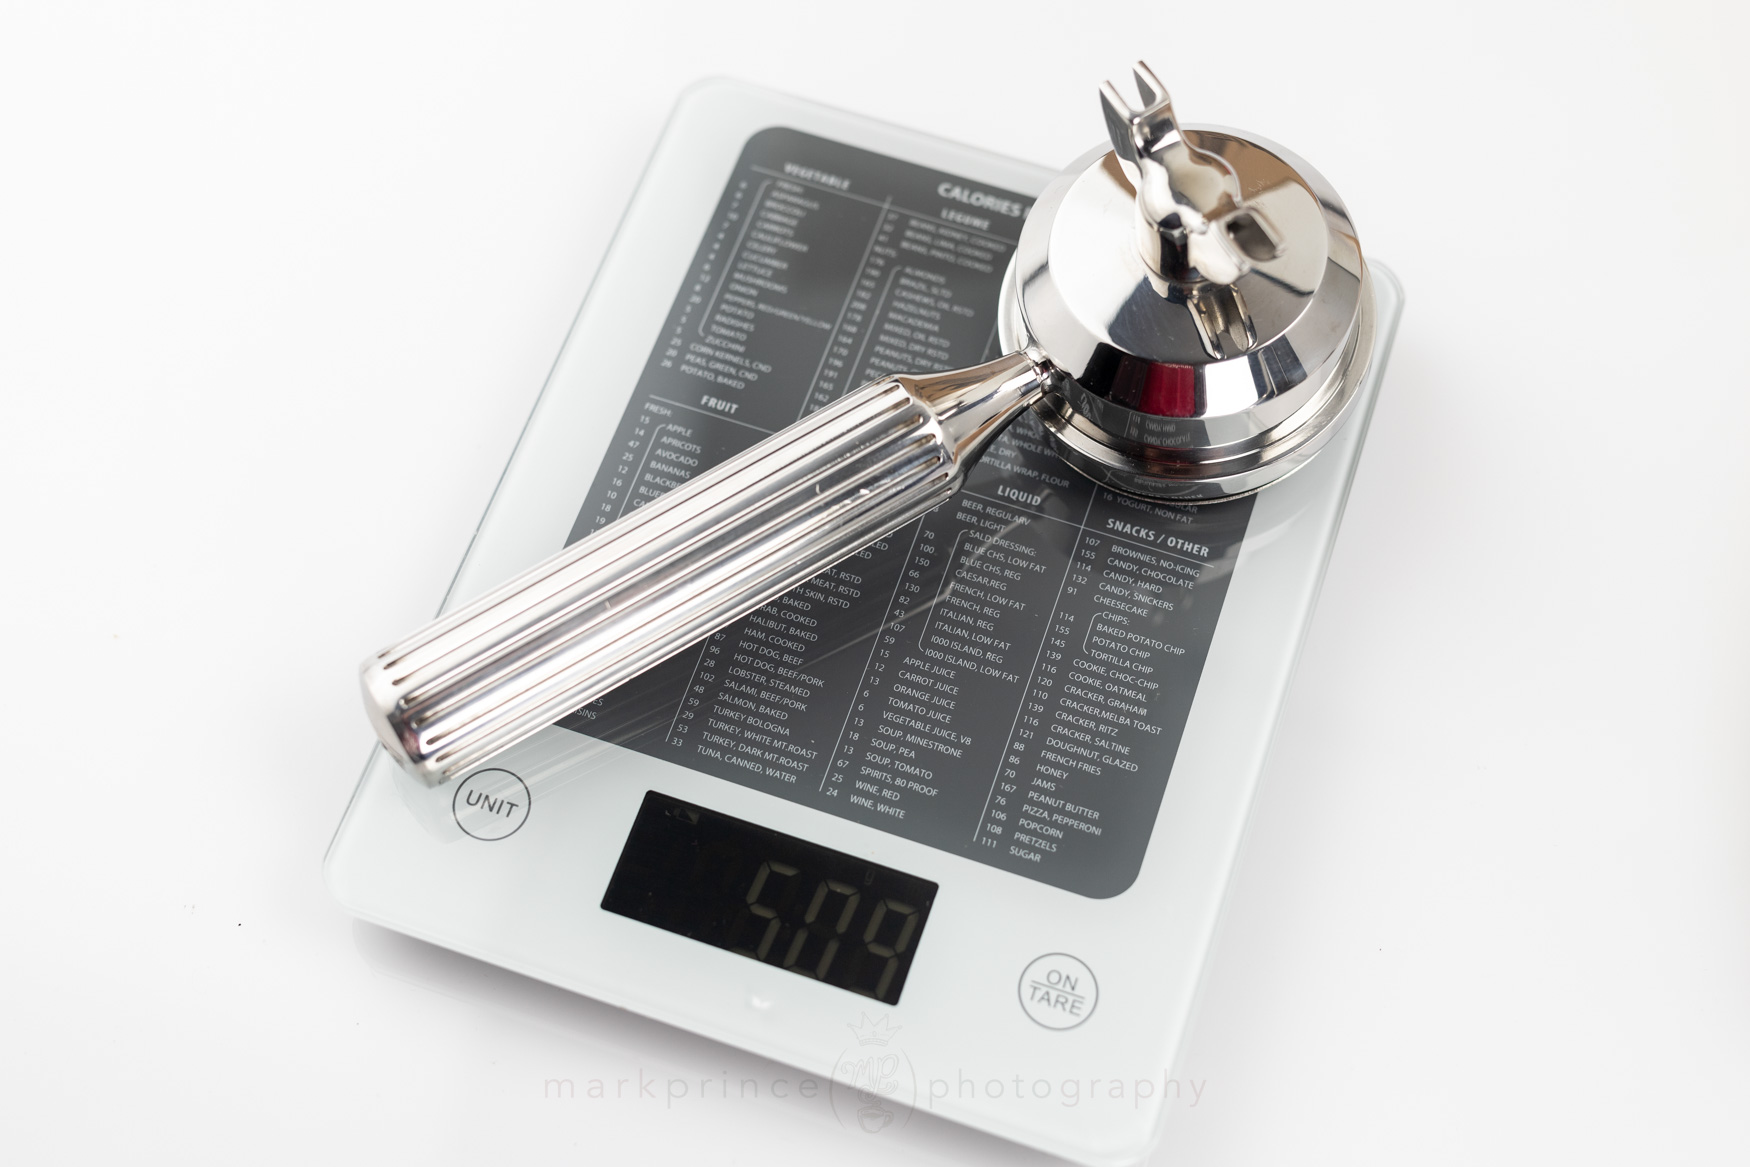
Superkop also sent their chopped portafilter along. The workship on these portafilters is first class all the way.
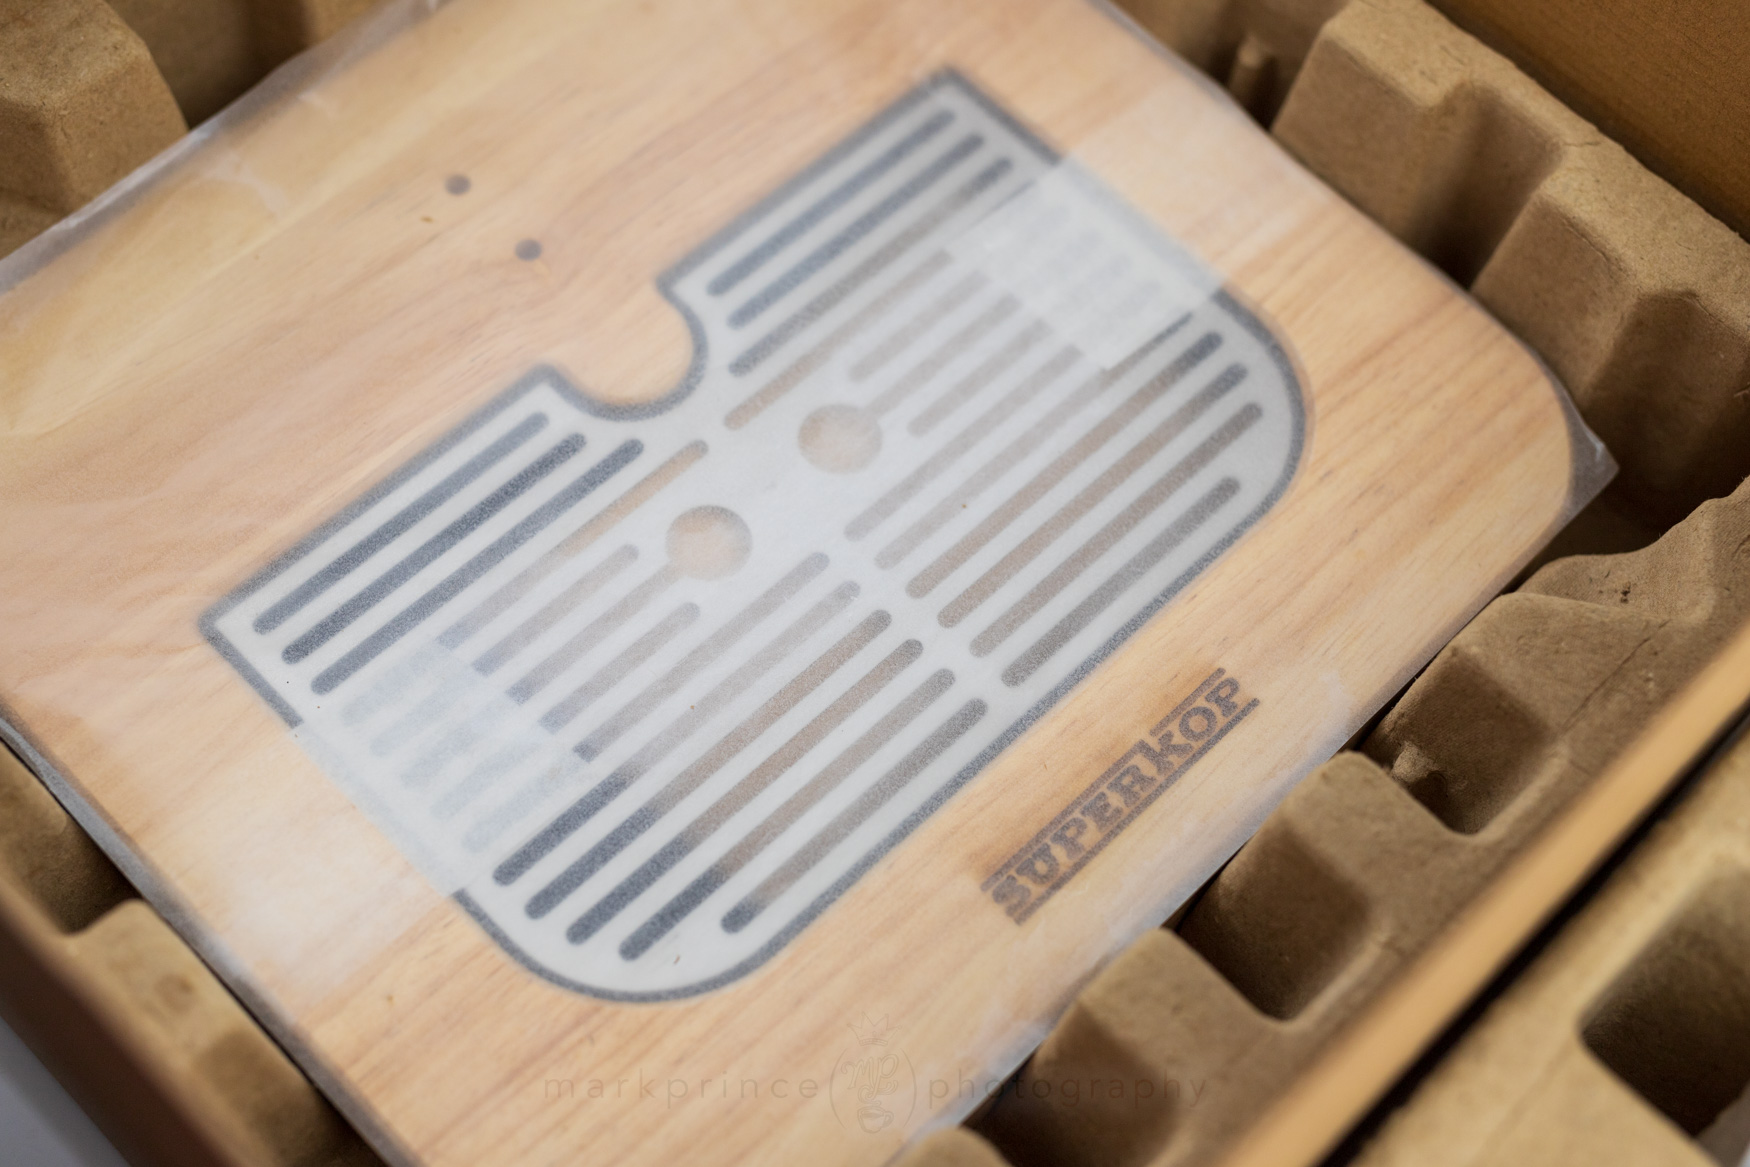
The solid oak wood base and drip tray come packed together.
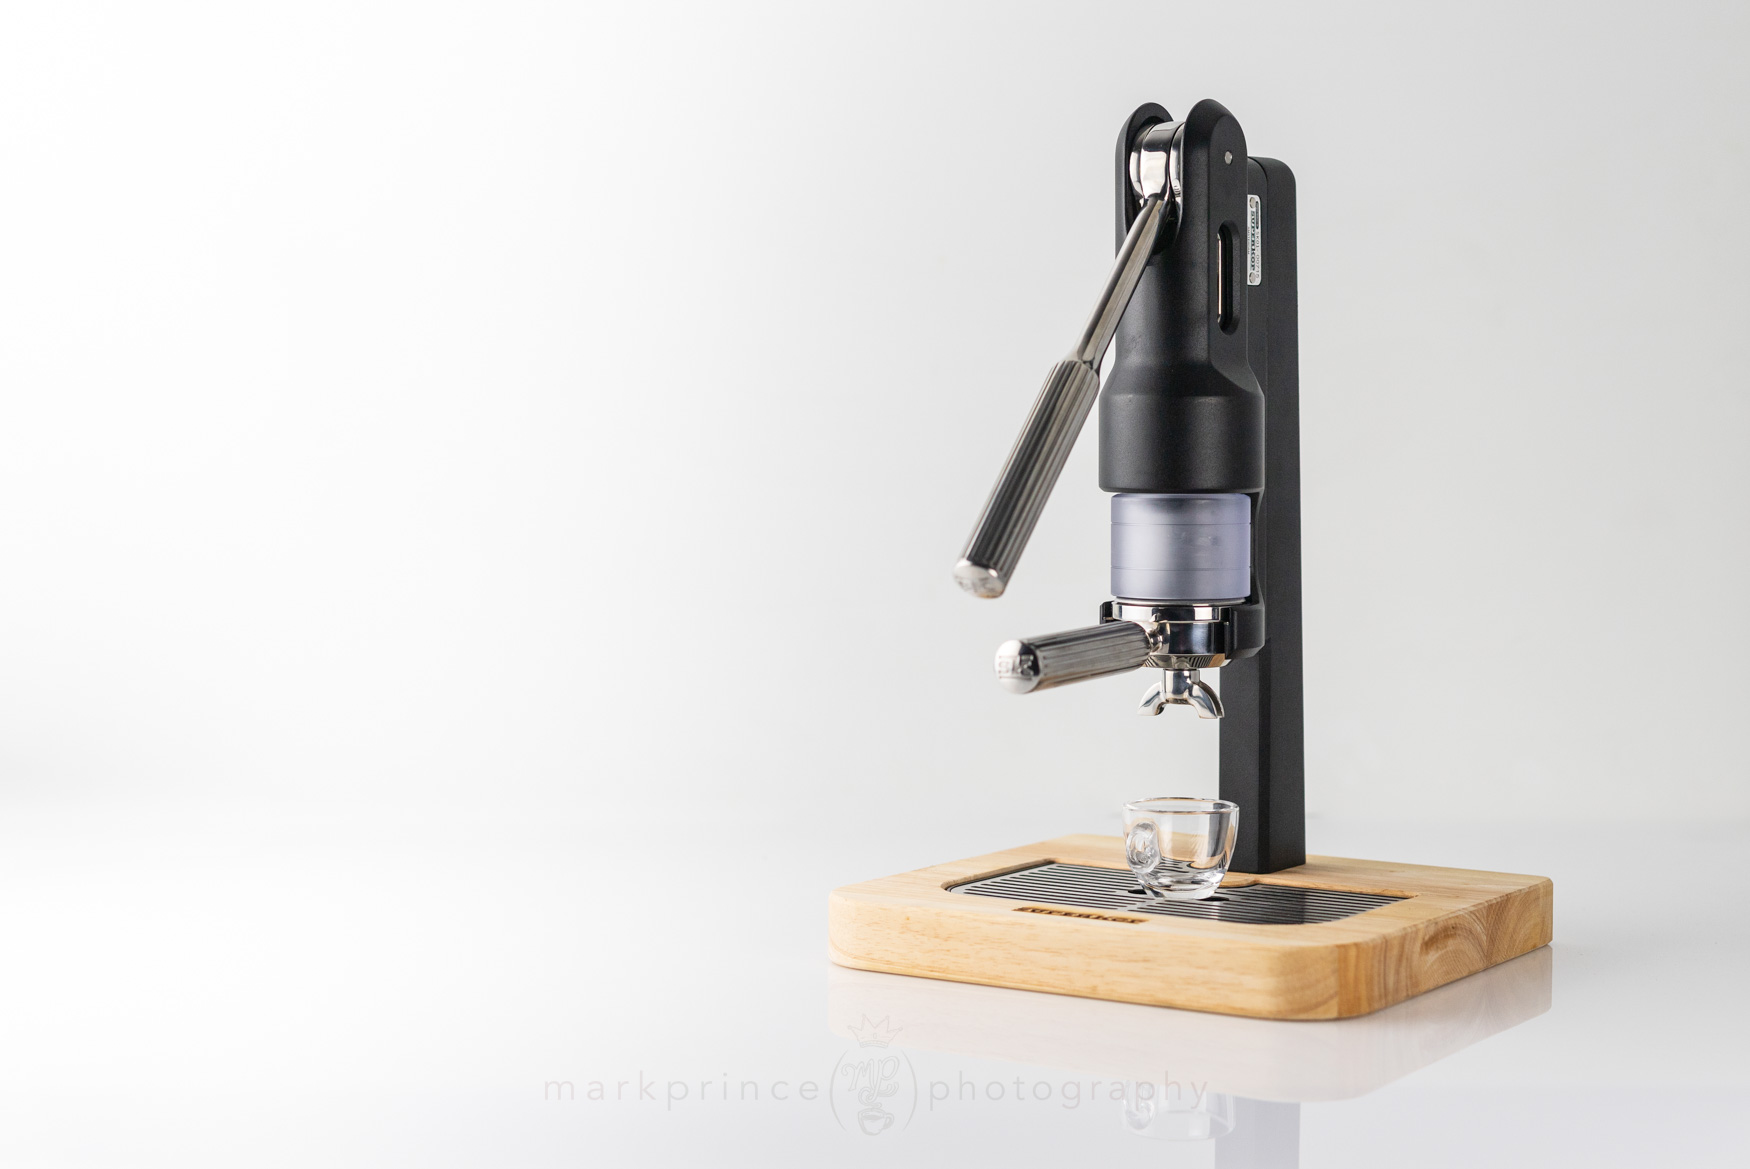
A relatively uncomplicated machine, truth be told.
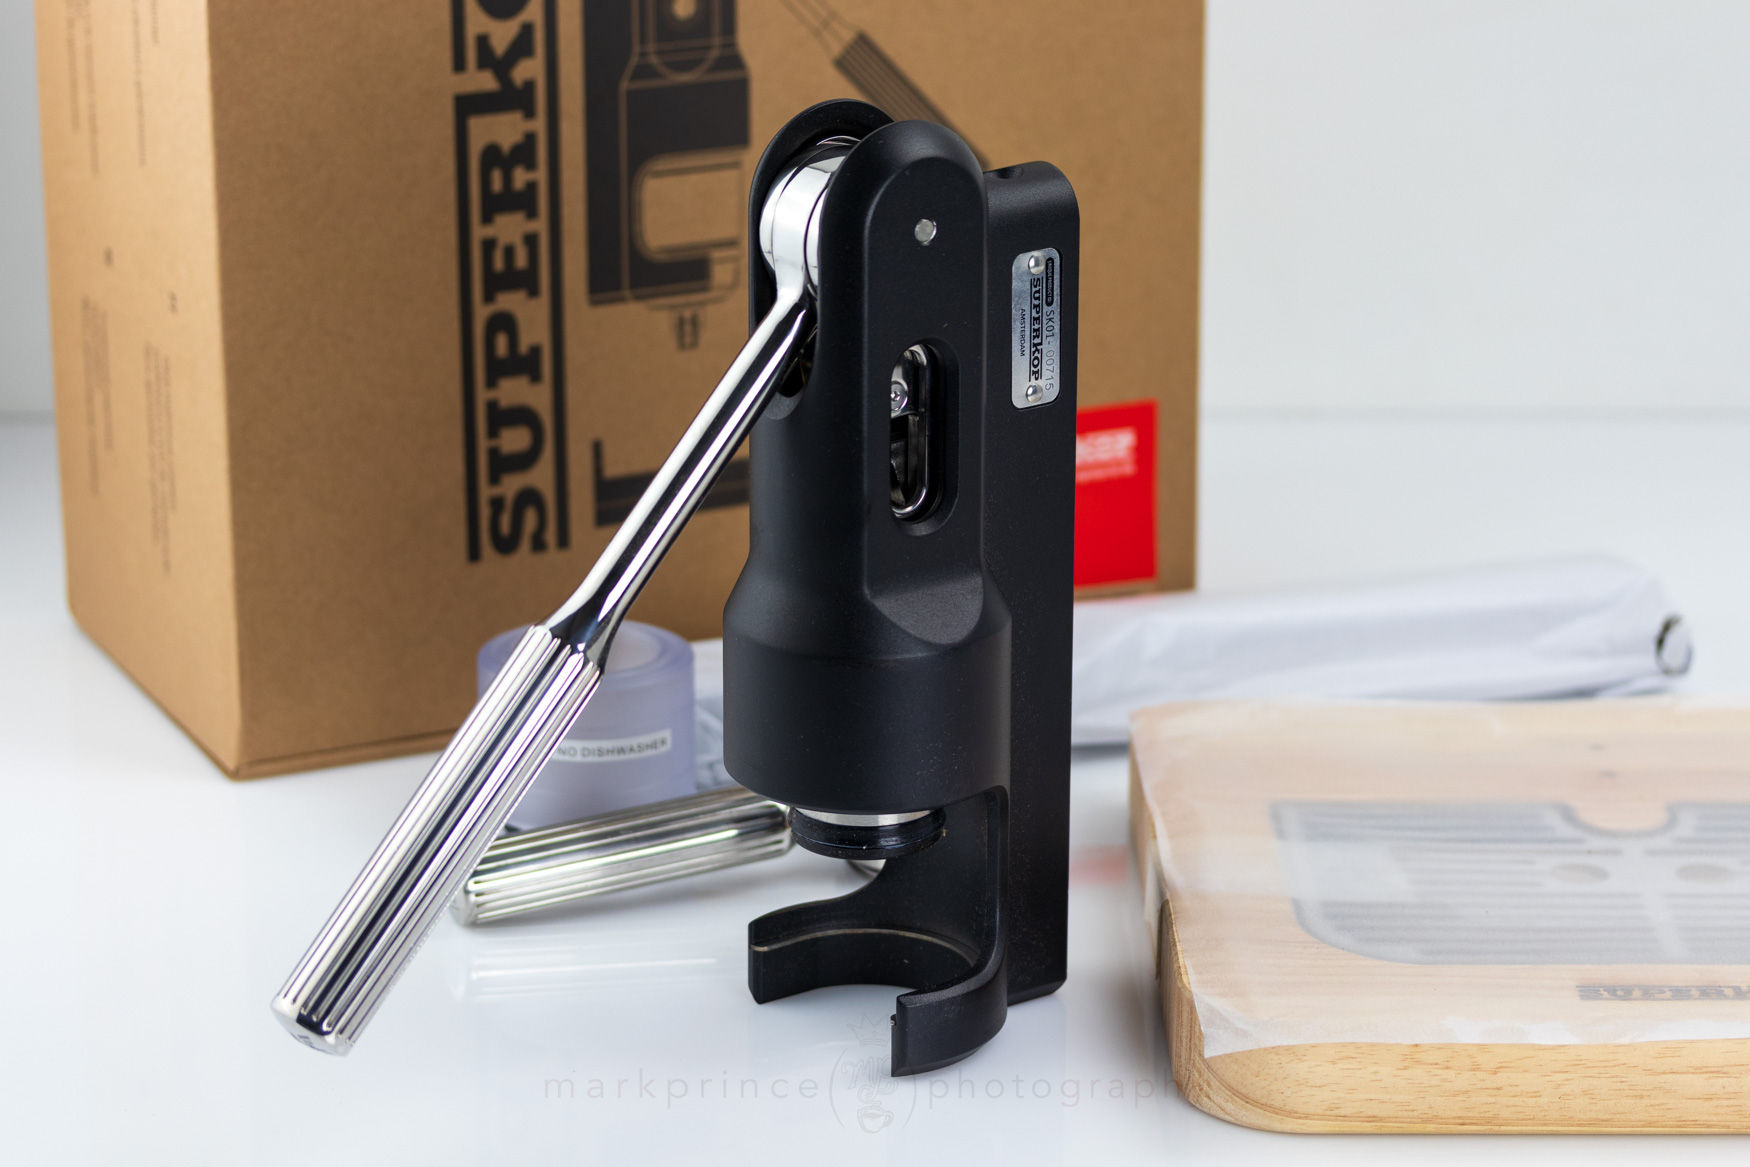
The main body of the Superkop, before assembly.
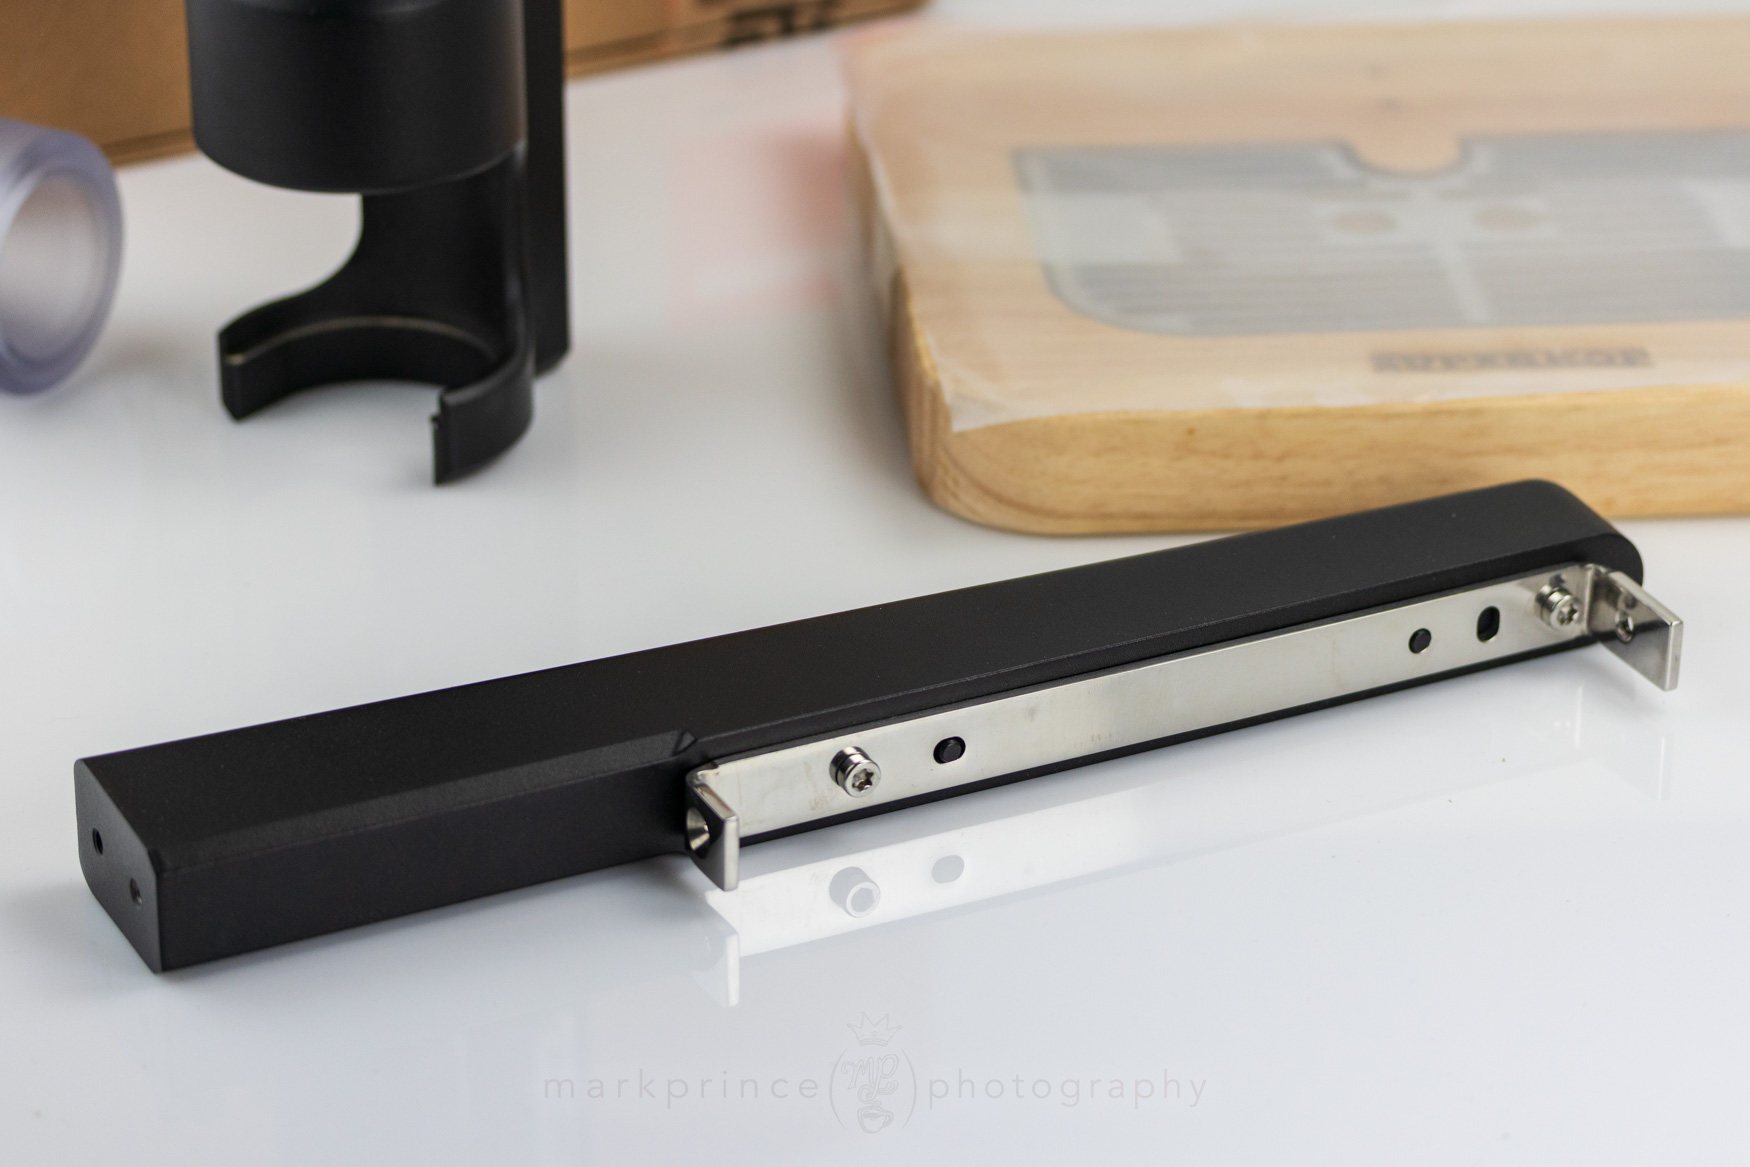
The backbone of the Superkop. Note the "u-frame" bolted to the black metal. This is the part you'd remove from the backbone, and bolt direct to your wall if wall mounting the machine.
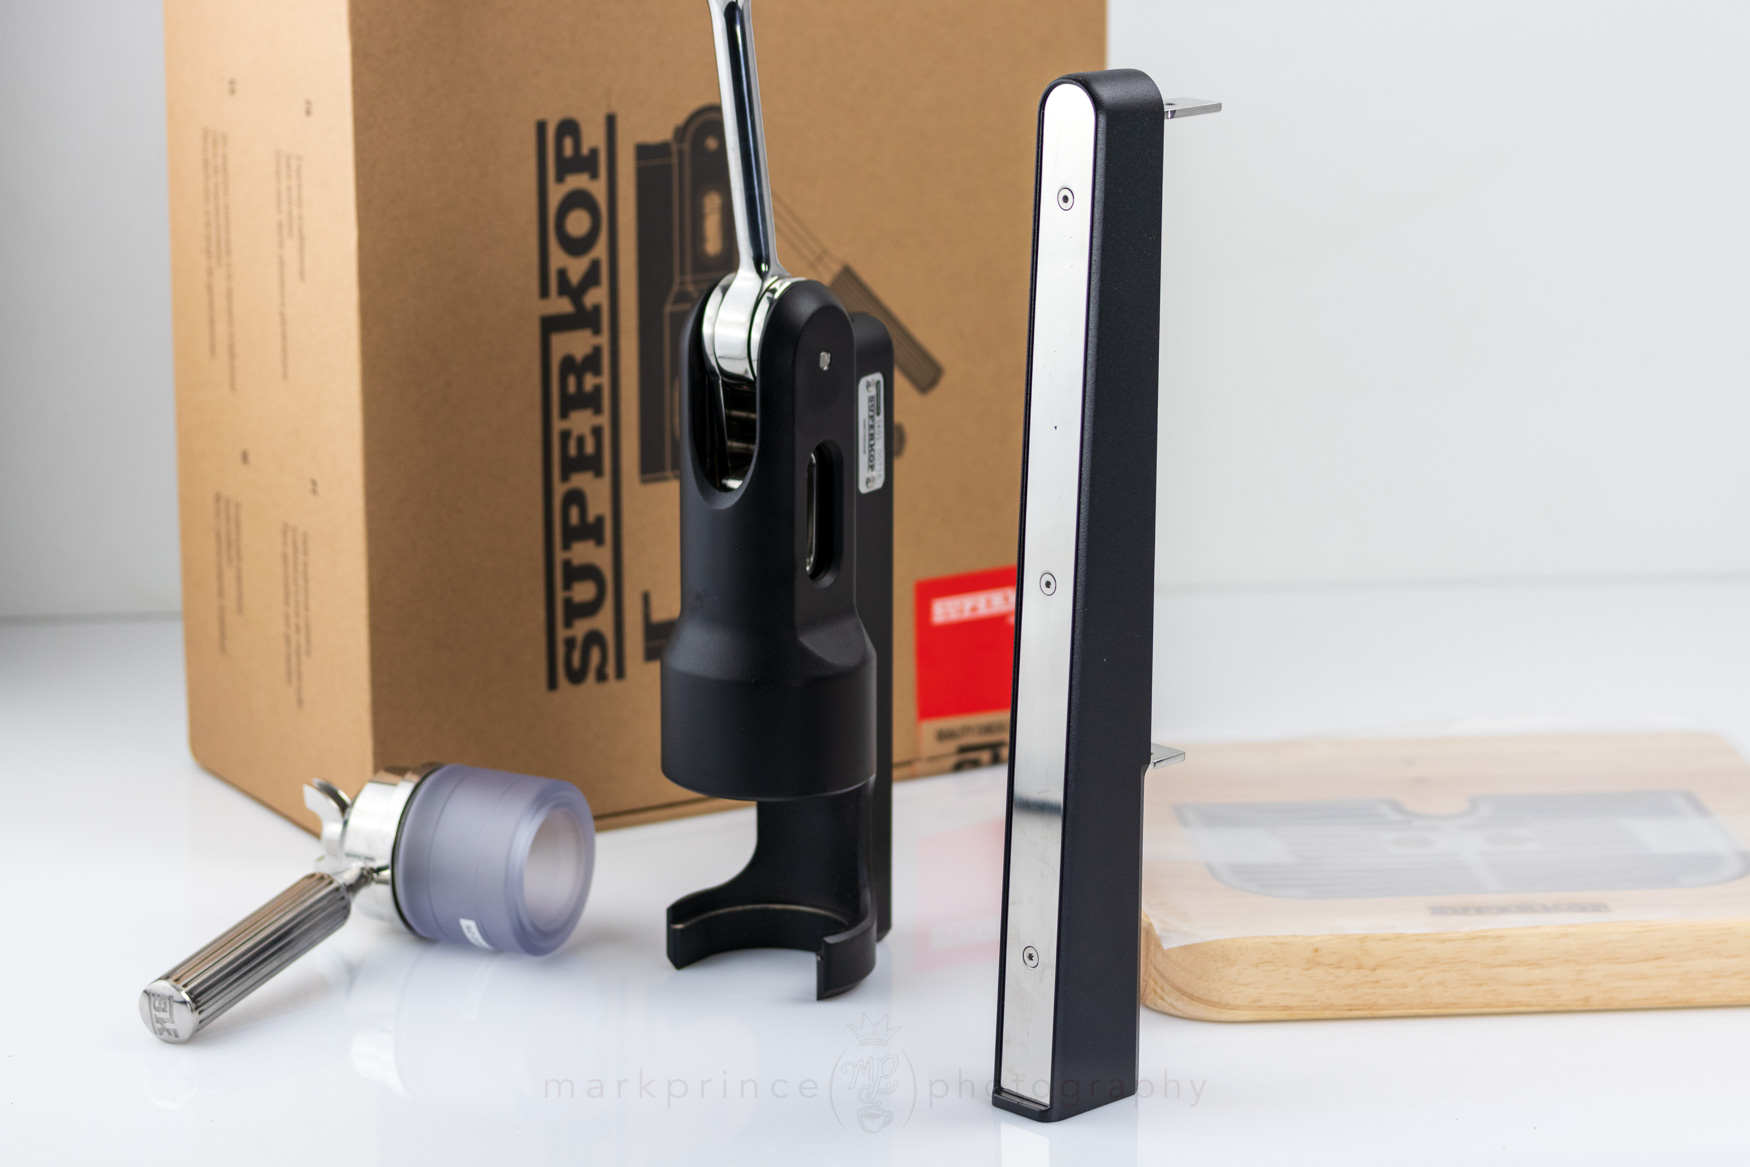
All the parts of the Superkop lever espresso machine, including the wood mount base.
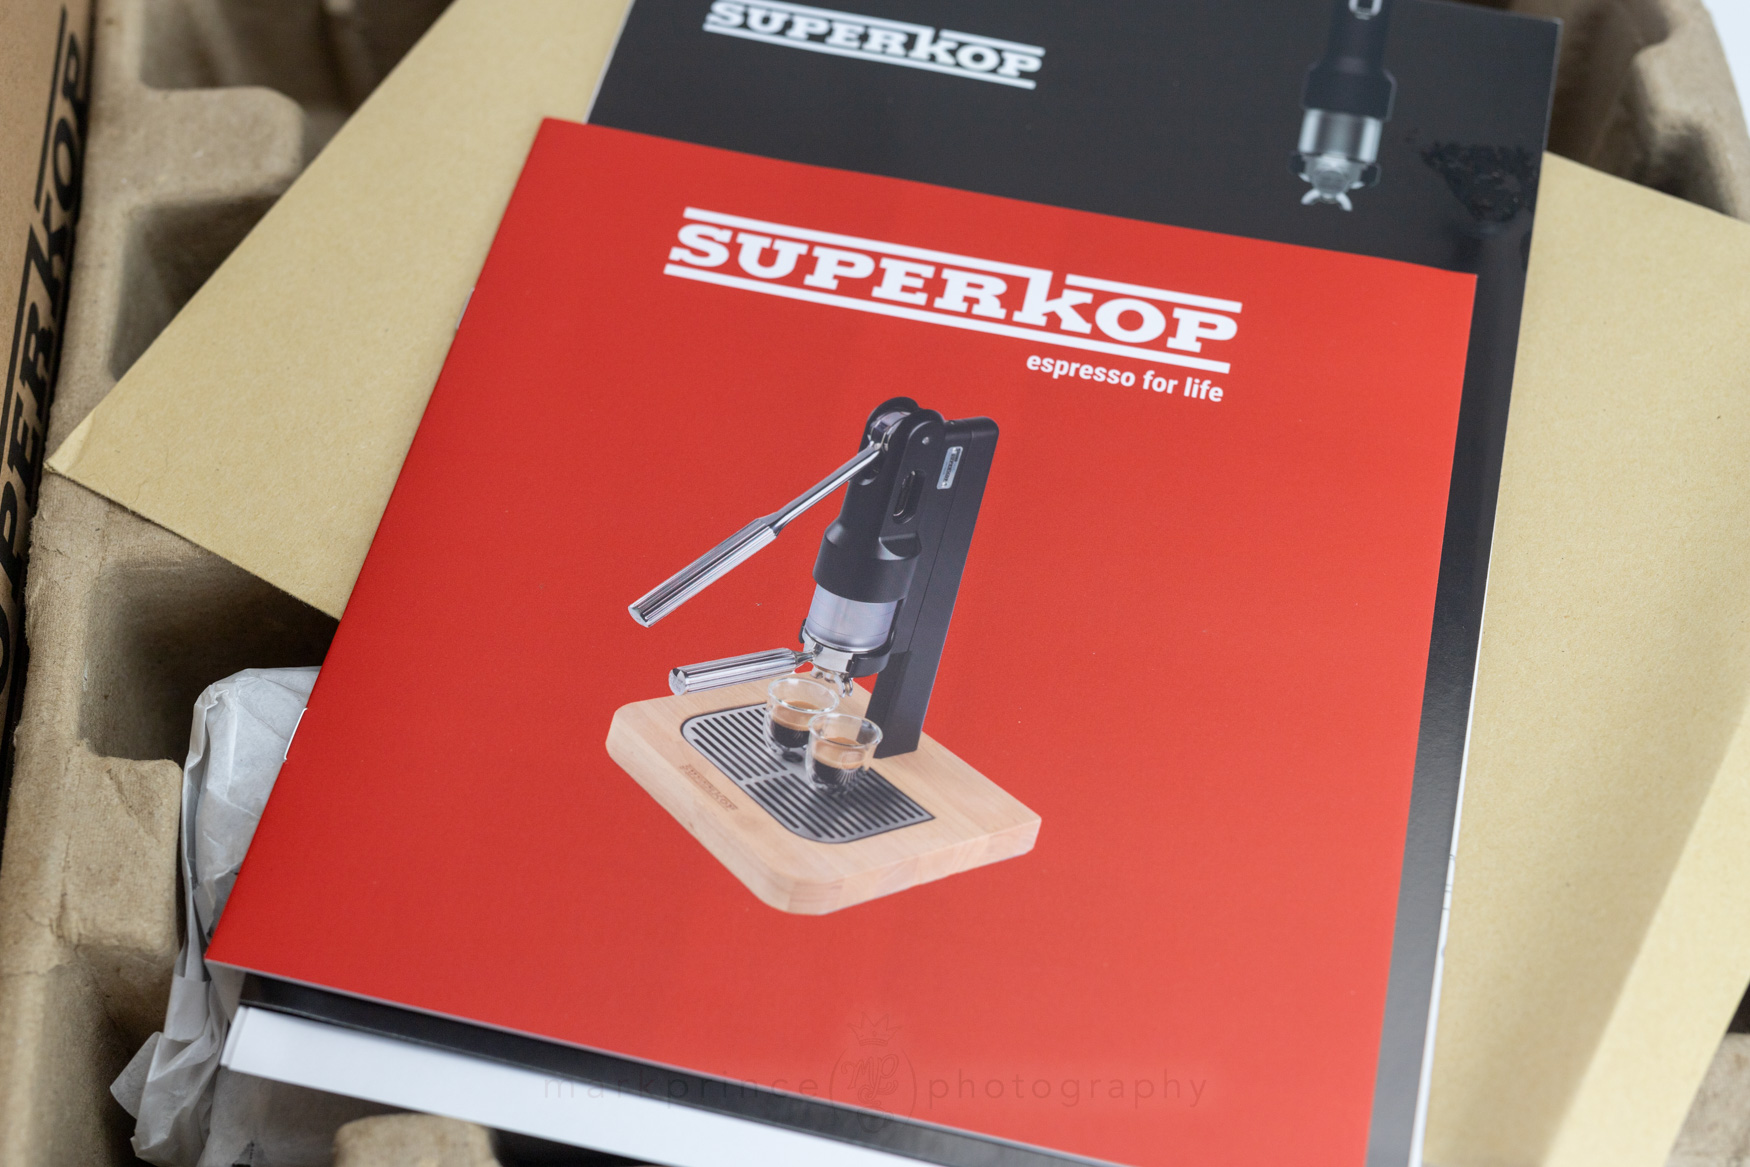
The Superkop comes with several manuals and documentation on the machine
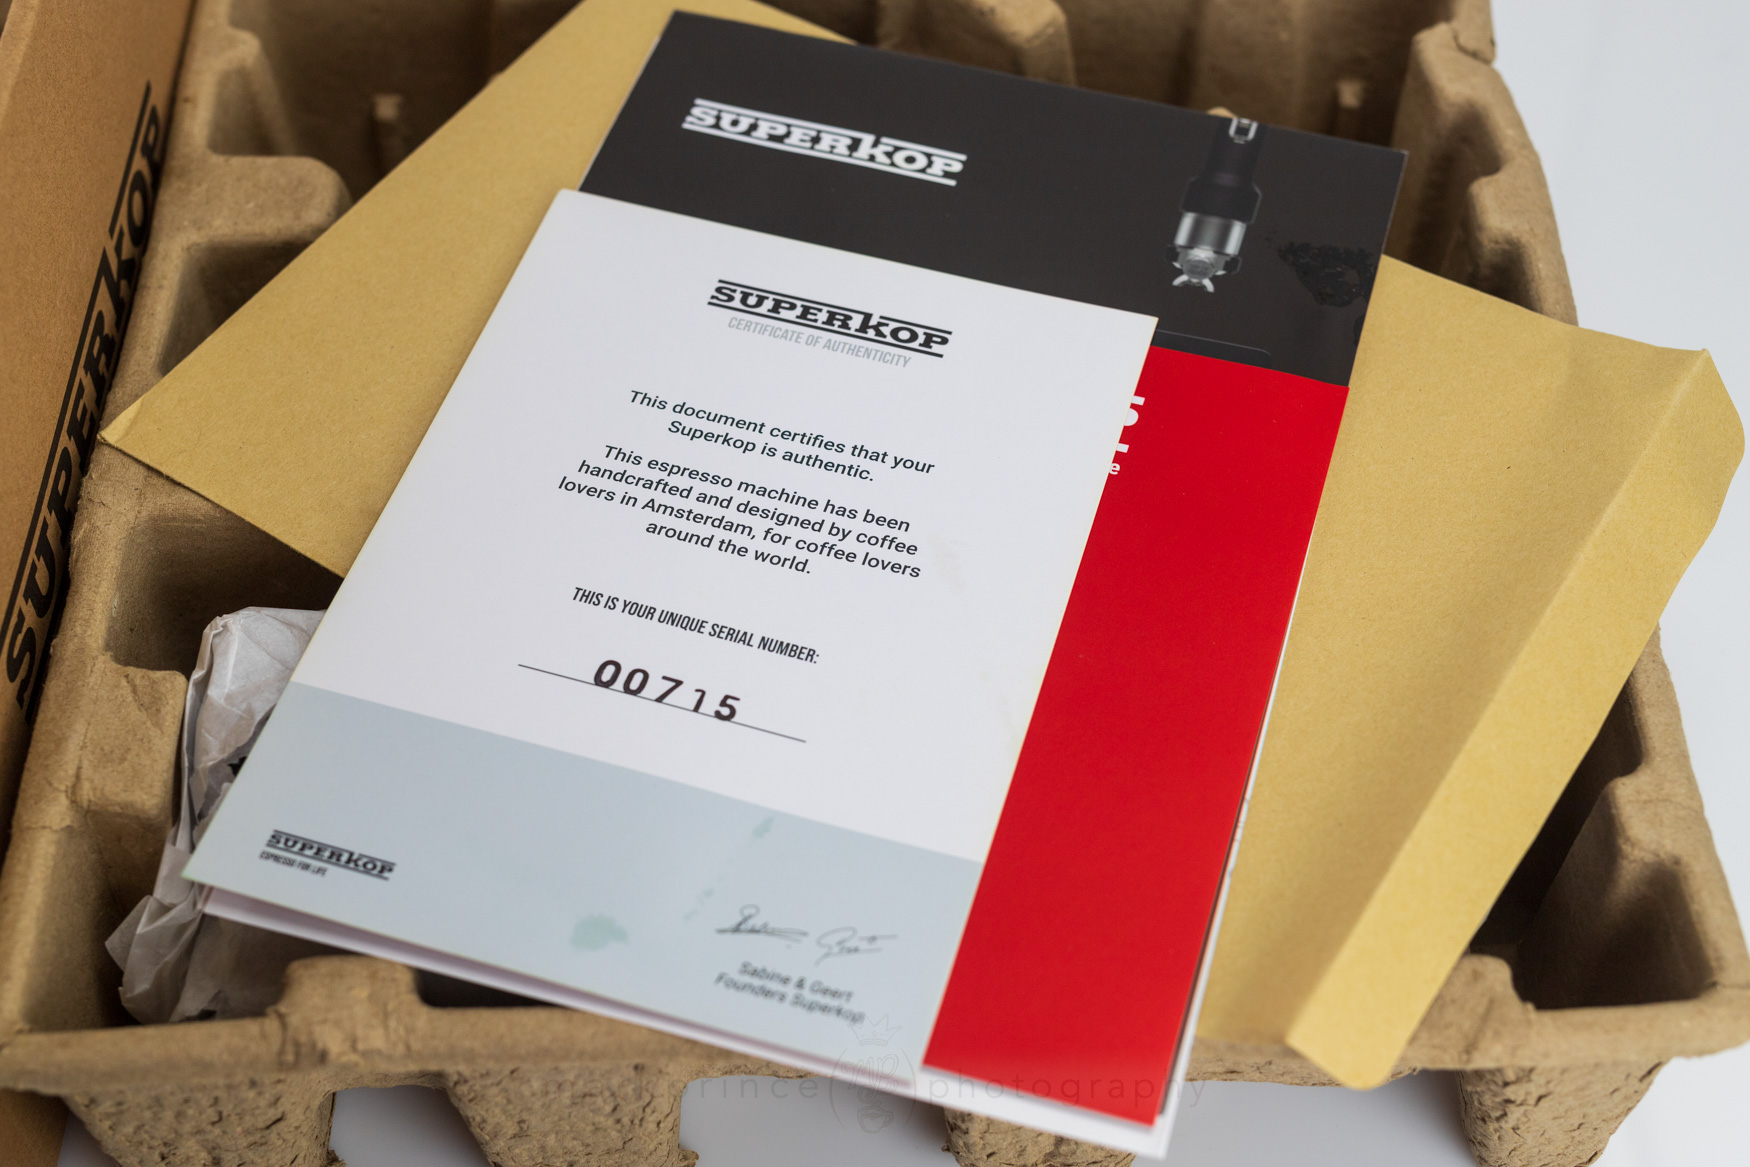
Each Superkop is individually numbered and stamped. The model we have for our test and review is #715.

The assembly instructions are clear and a bit Ikea like.
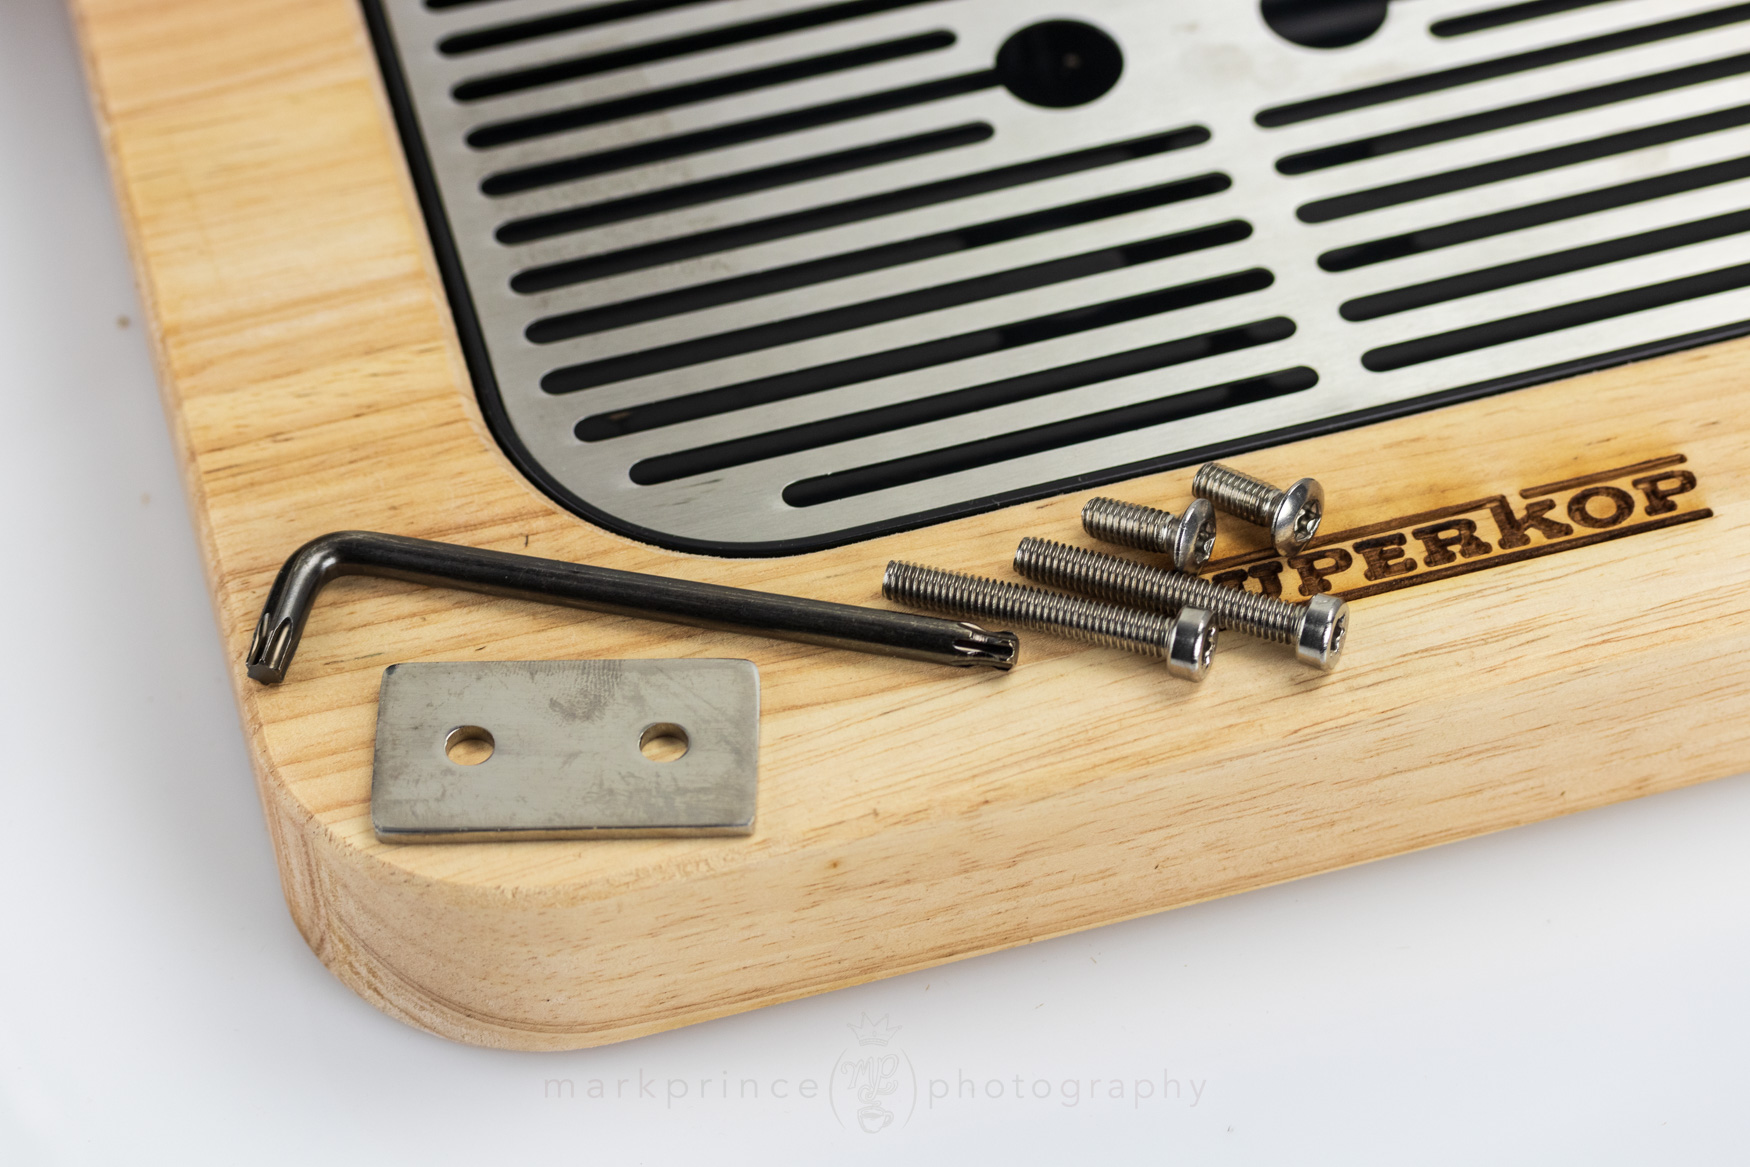
There's not many parts to this machine. Four bolts (all torx keyed), a torx tool, and a steel plate.
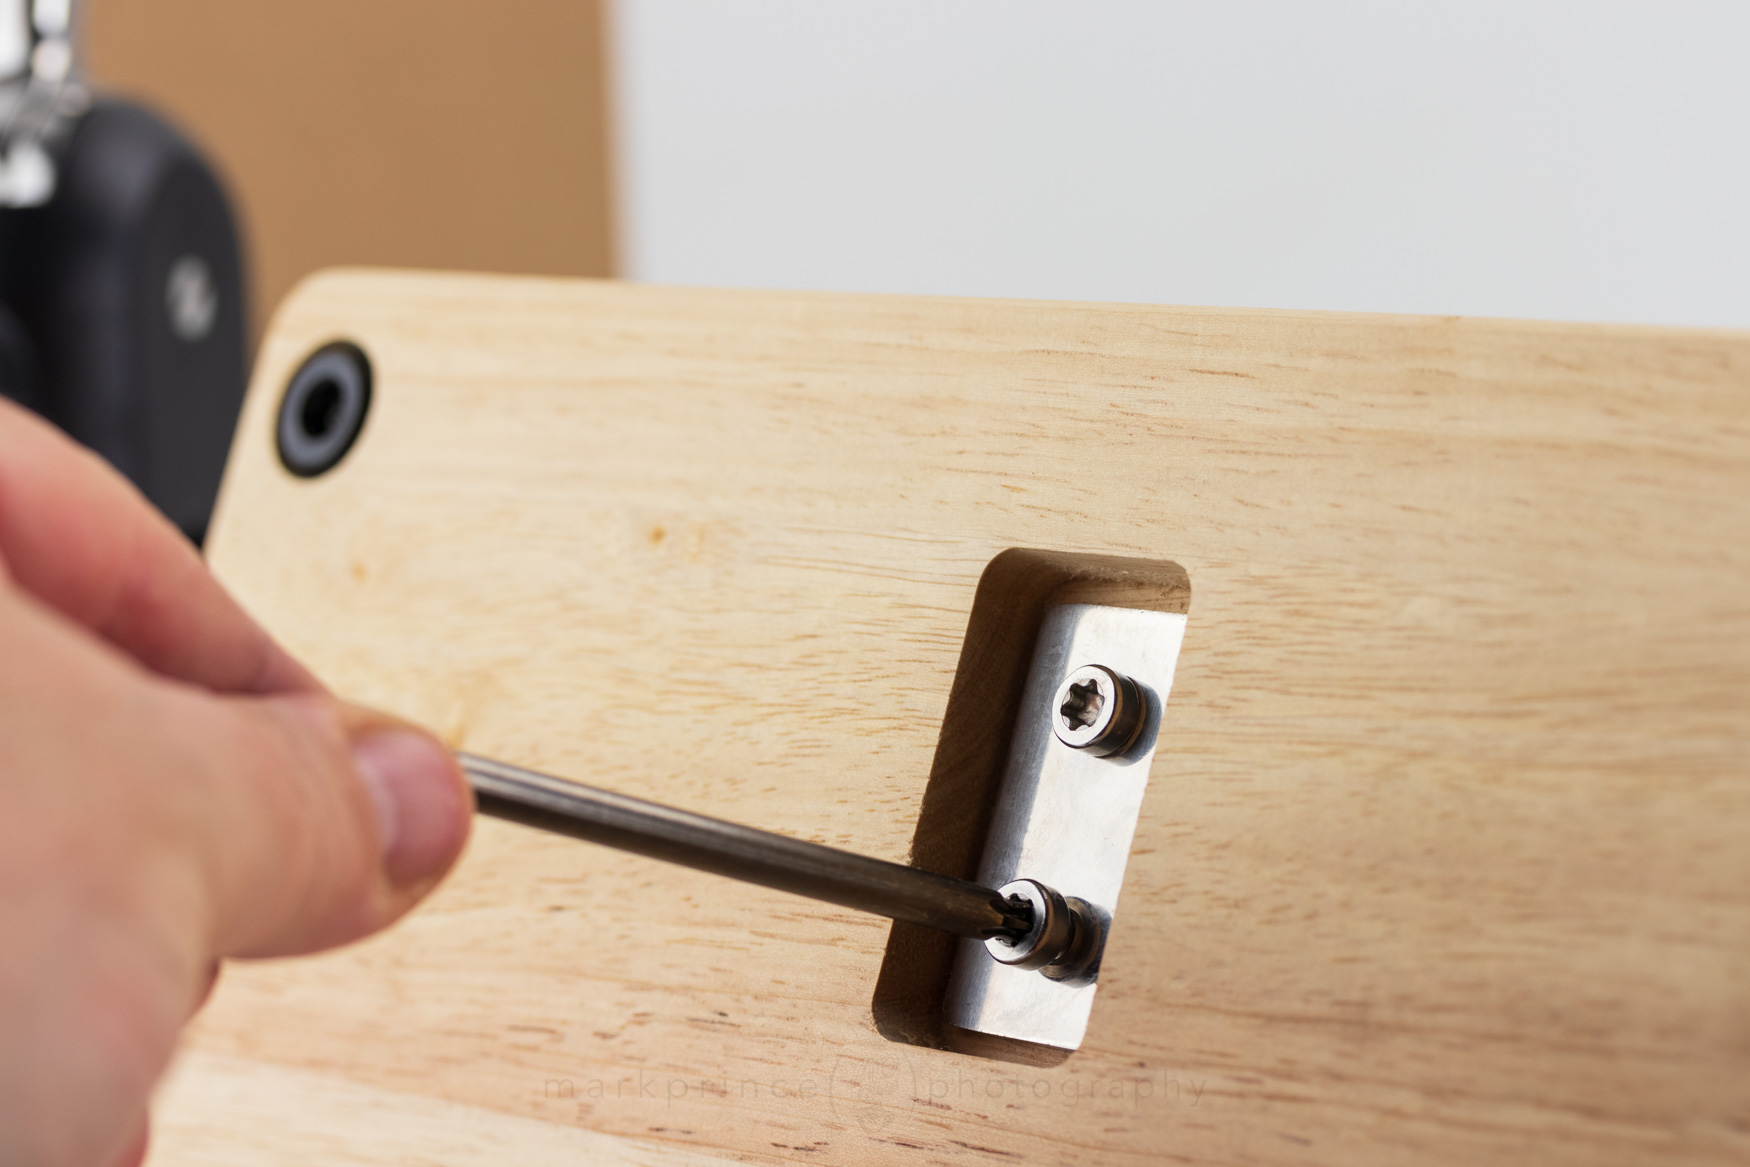
The backbone gets screwed into the wood base, using the metal plate as an anchor (and a way for the metal to not chew into the wood)
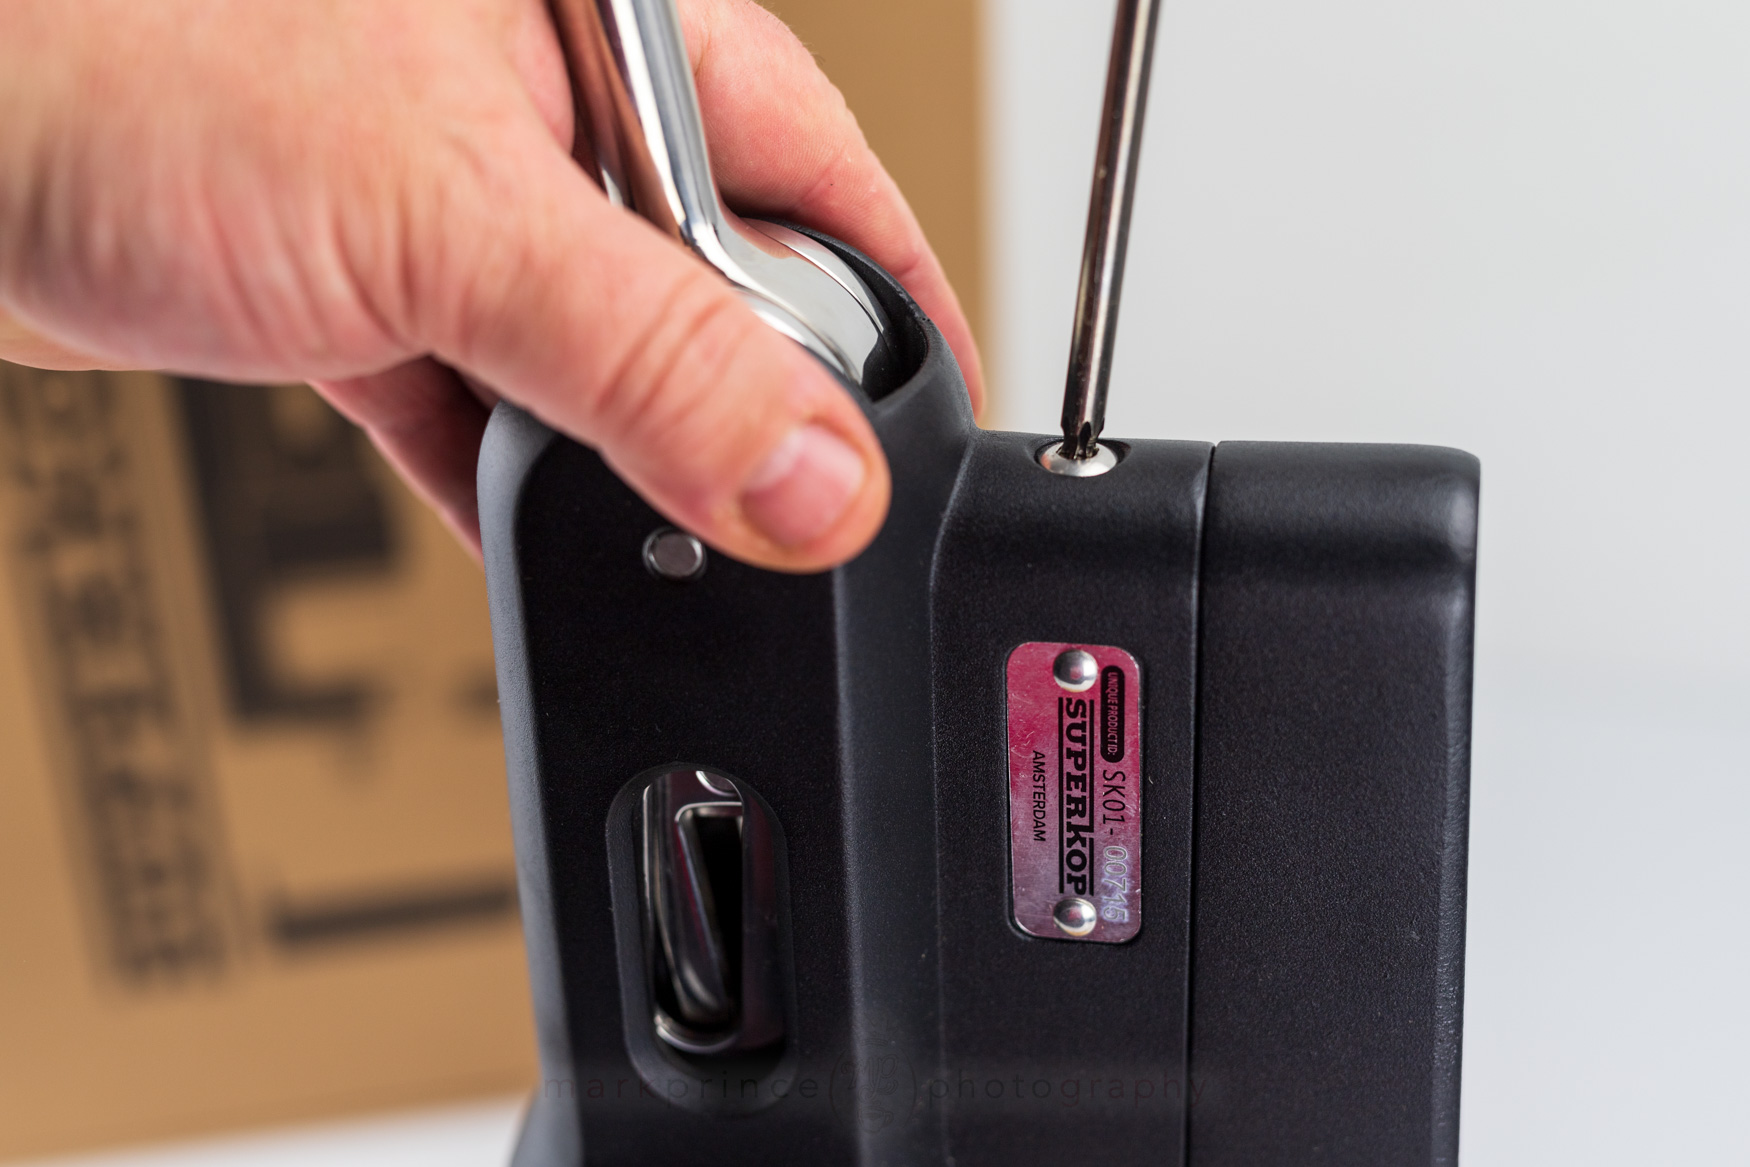
Seat the main brewing assembly onto the backbone's u-frame, and use one of the shorter torx bolts to connect them together securely.
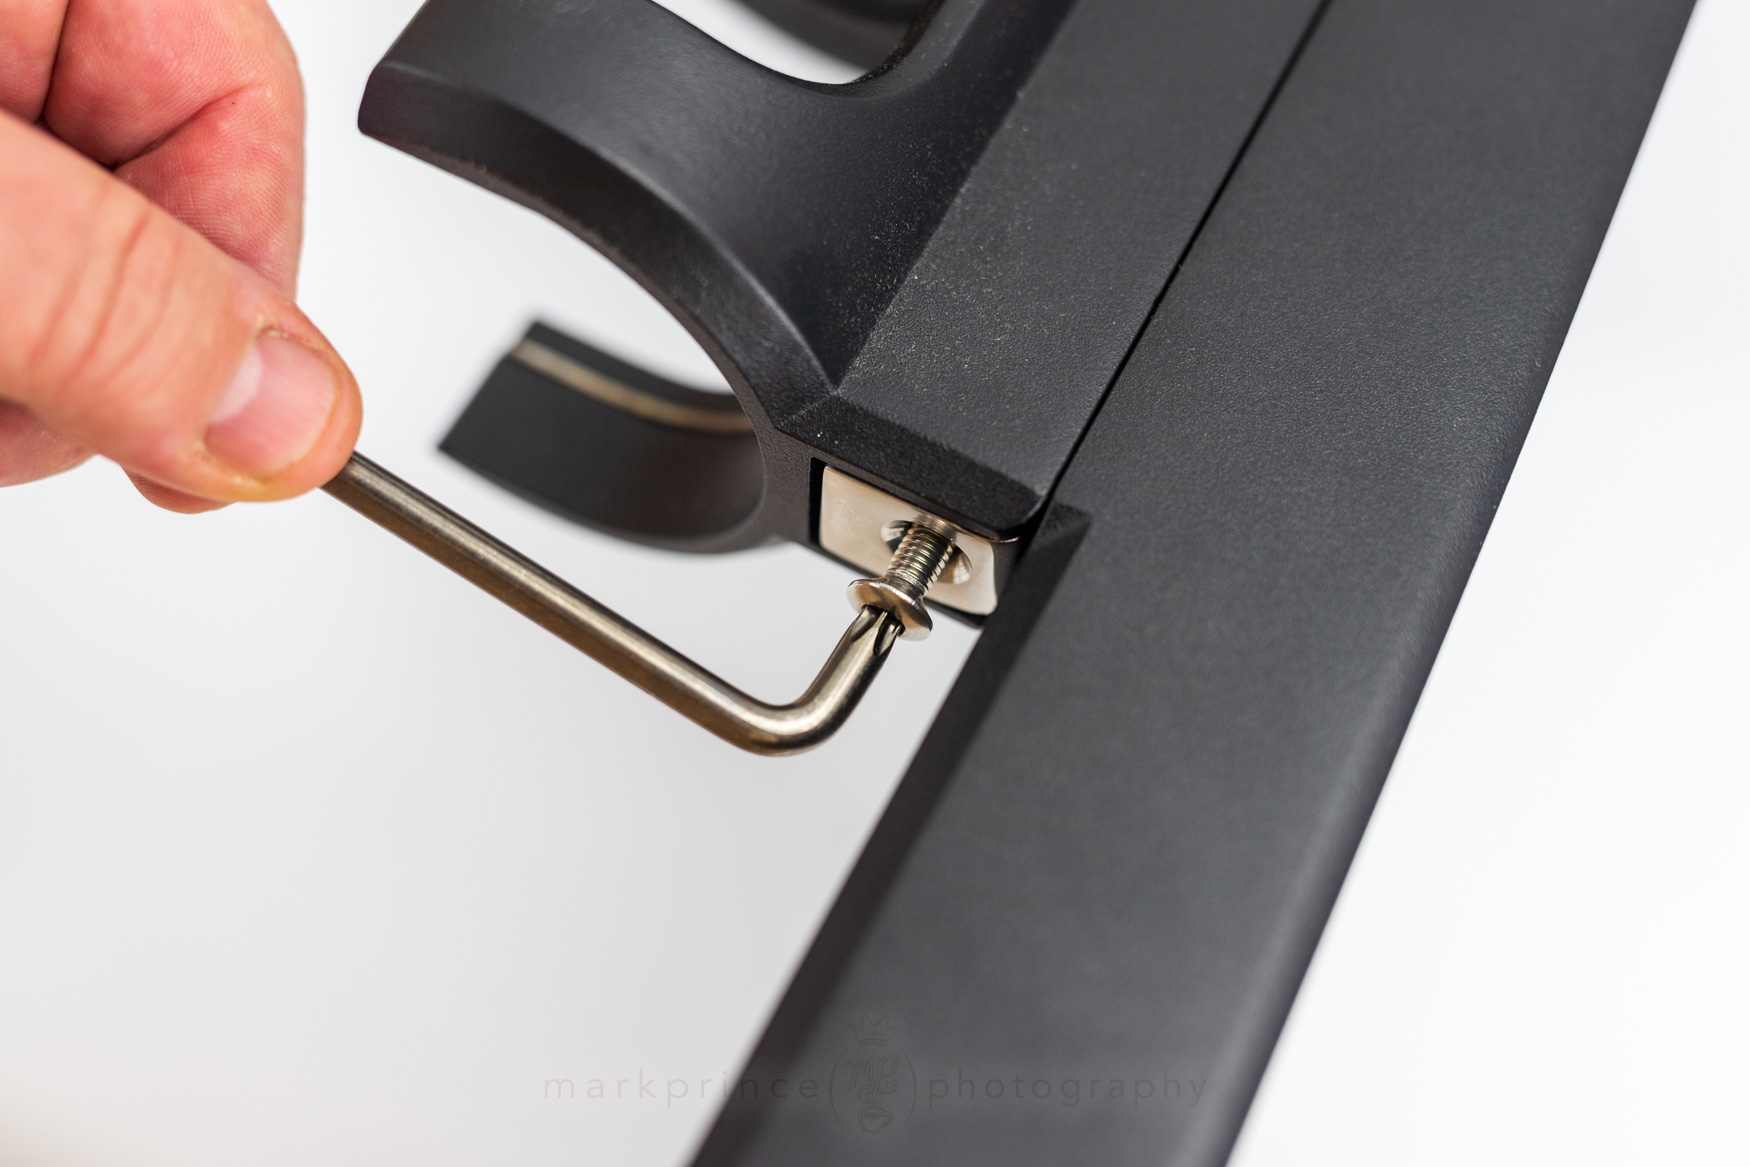
The last torx bolt connects underneath the main brew assembly, again connecting it to the U-Frame. Once done, the machine is fully assembled.
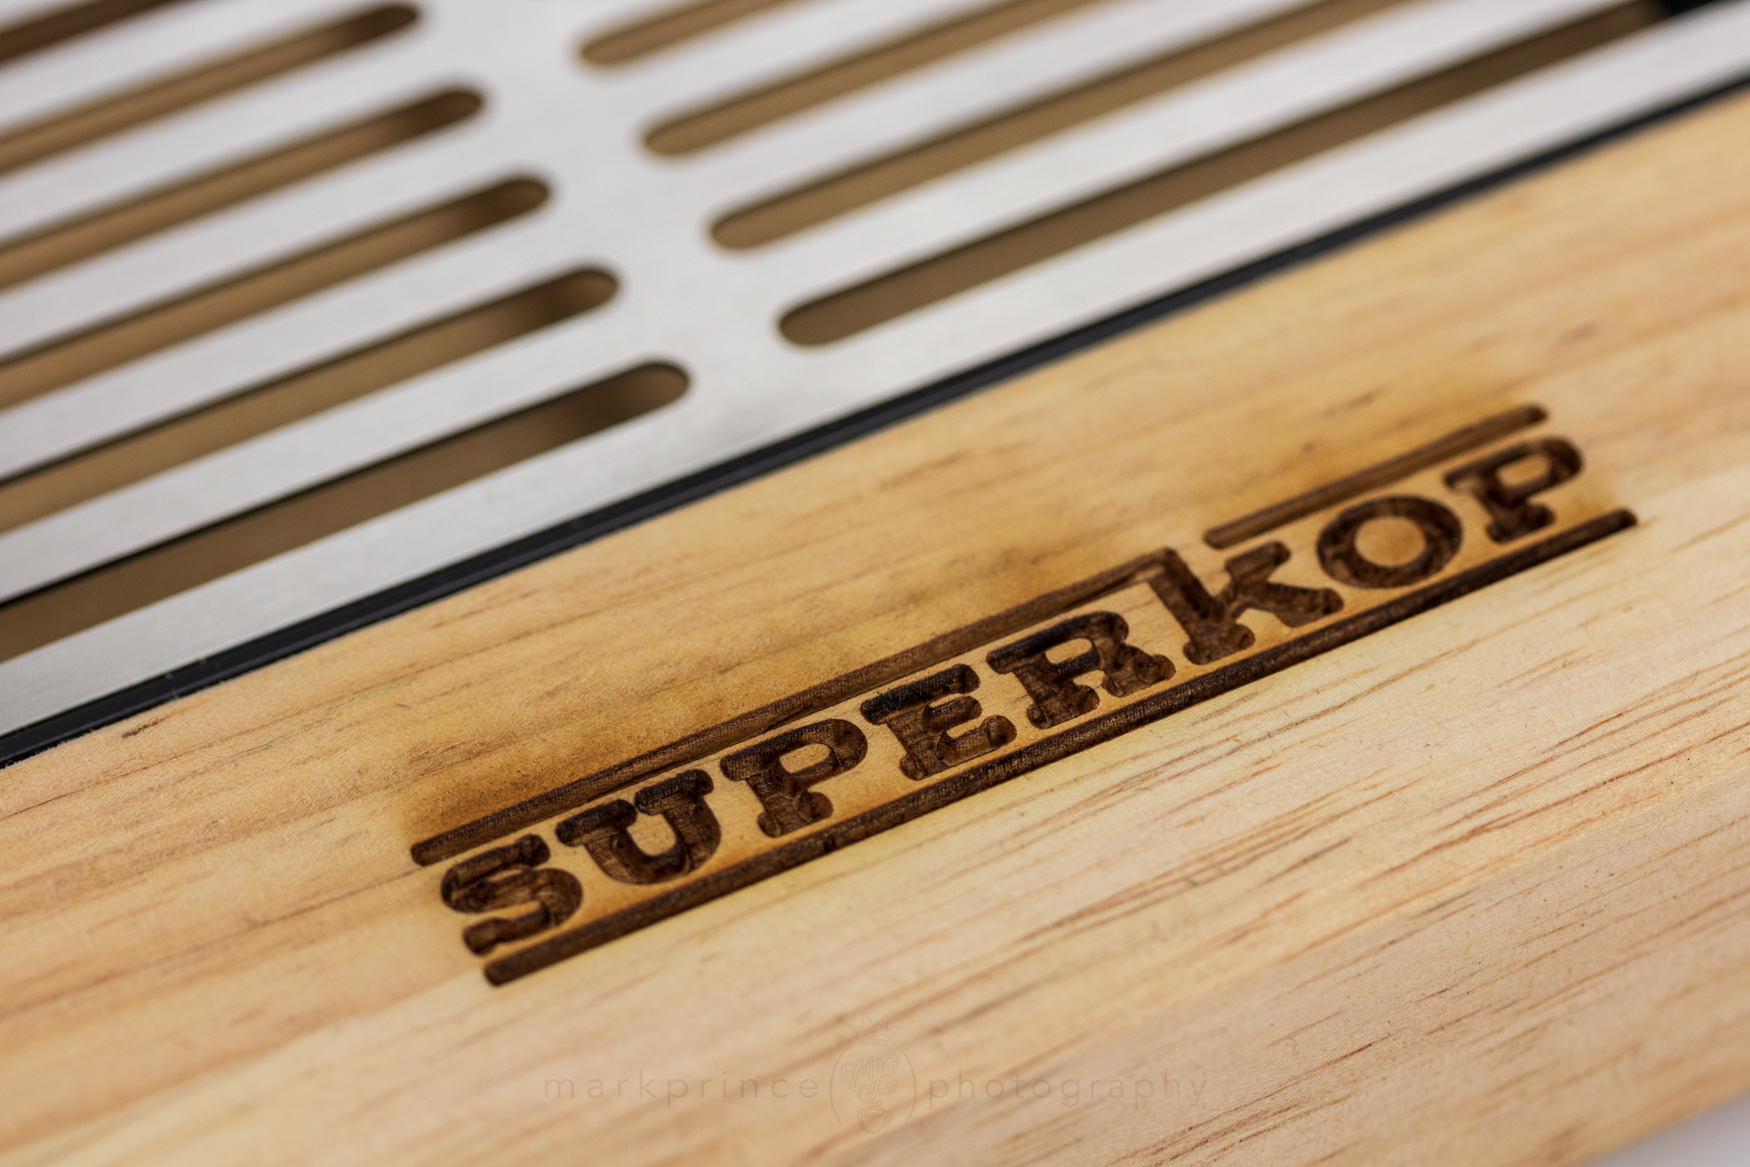
Superkop logo burned into the main oak base, which otherwise is unprotected wood.
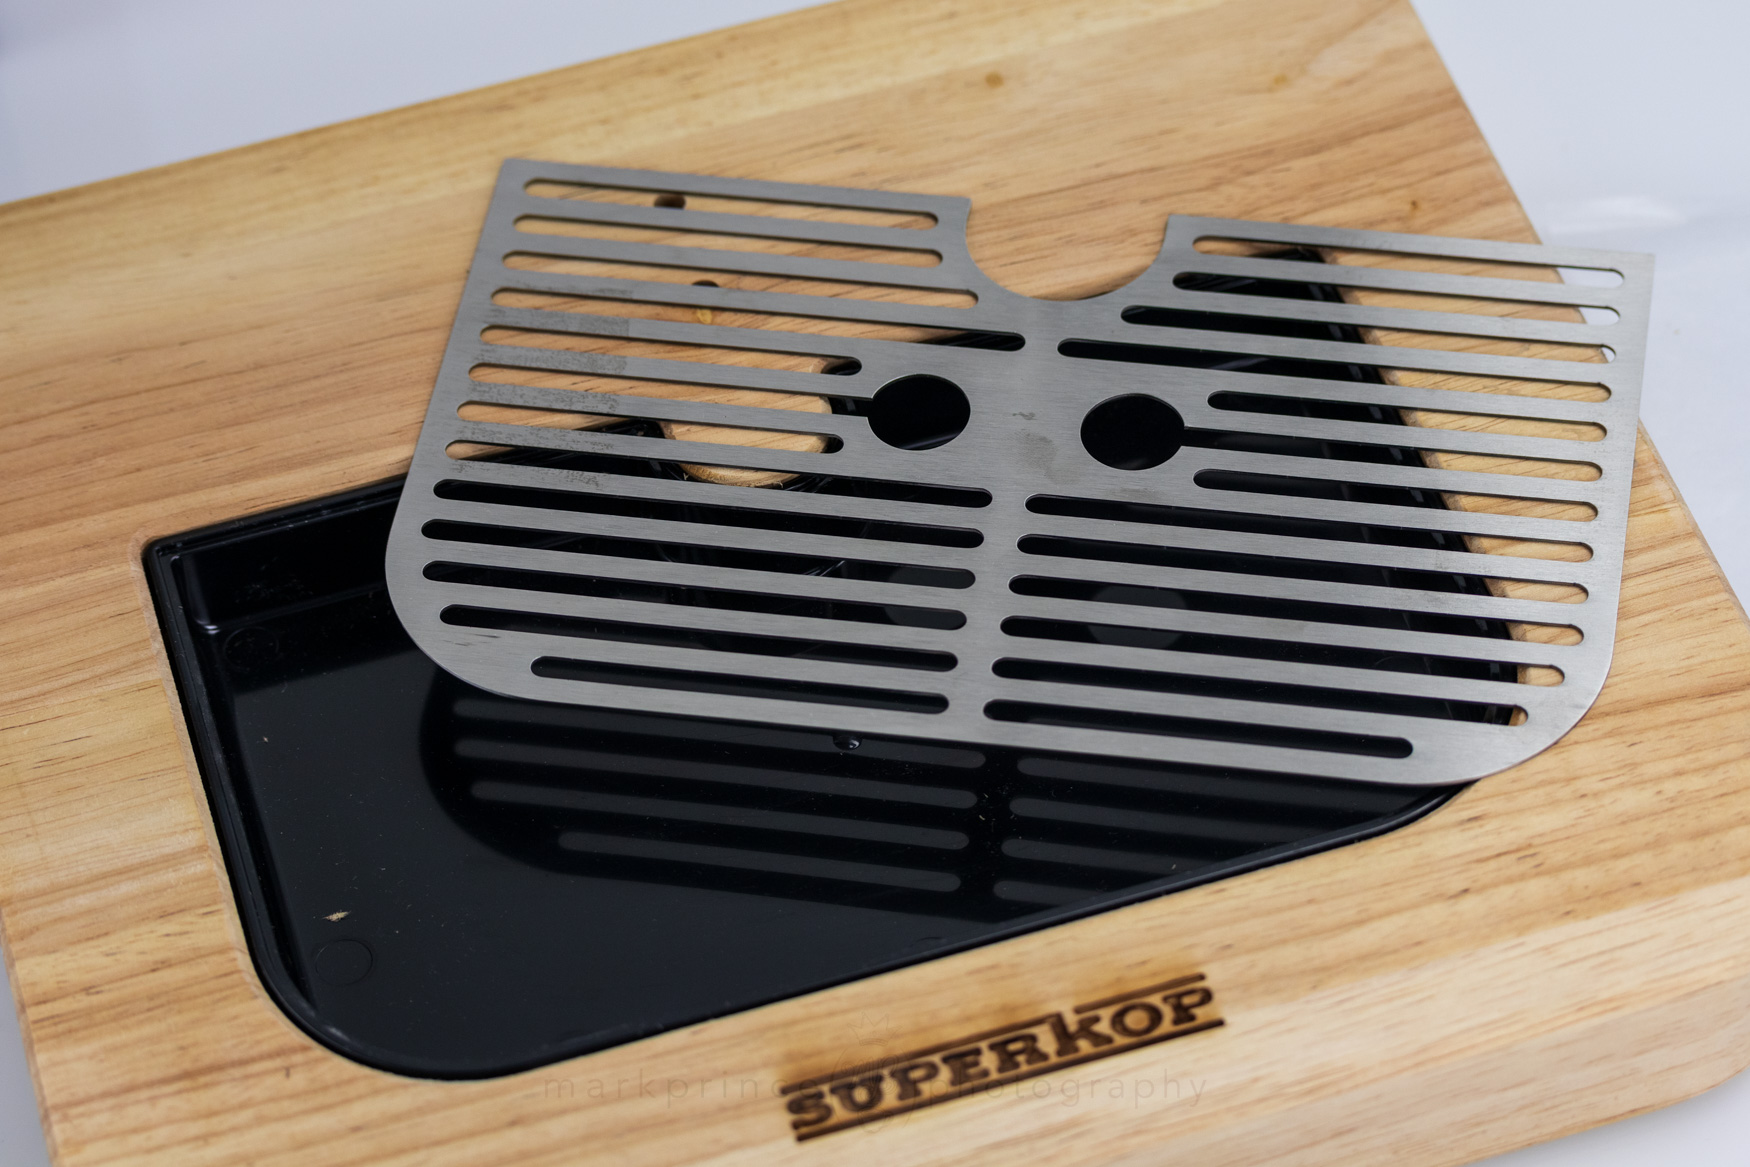
The drip tray itself is basic black plastic (removable) with a well engineered drip tray cover above.
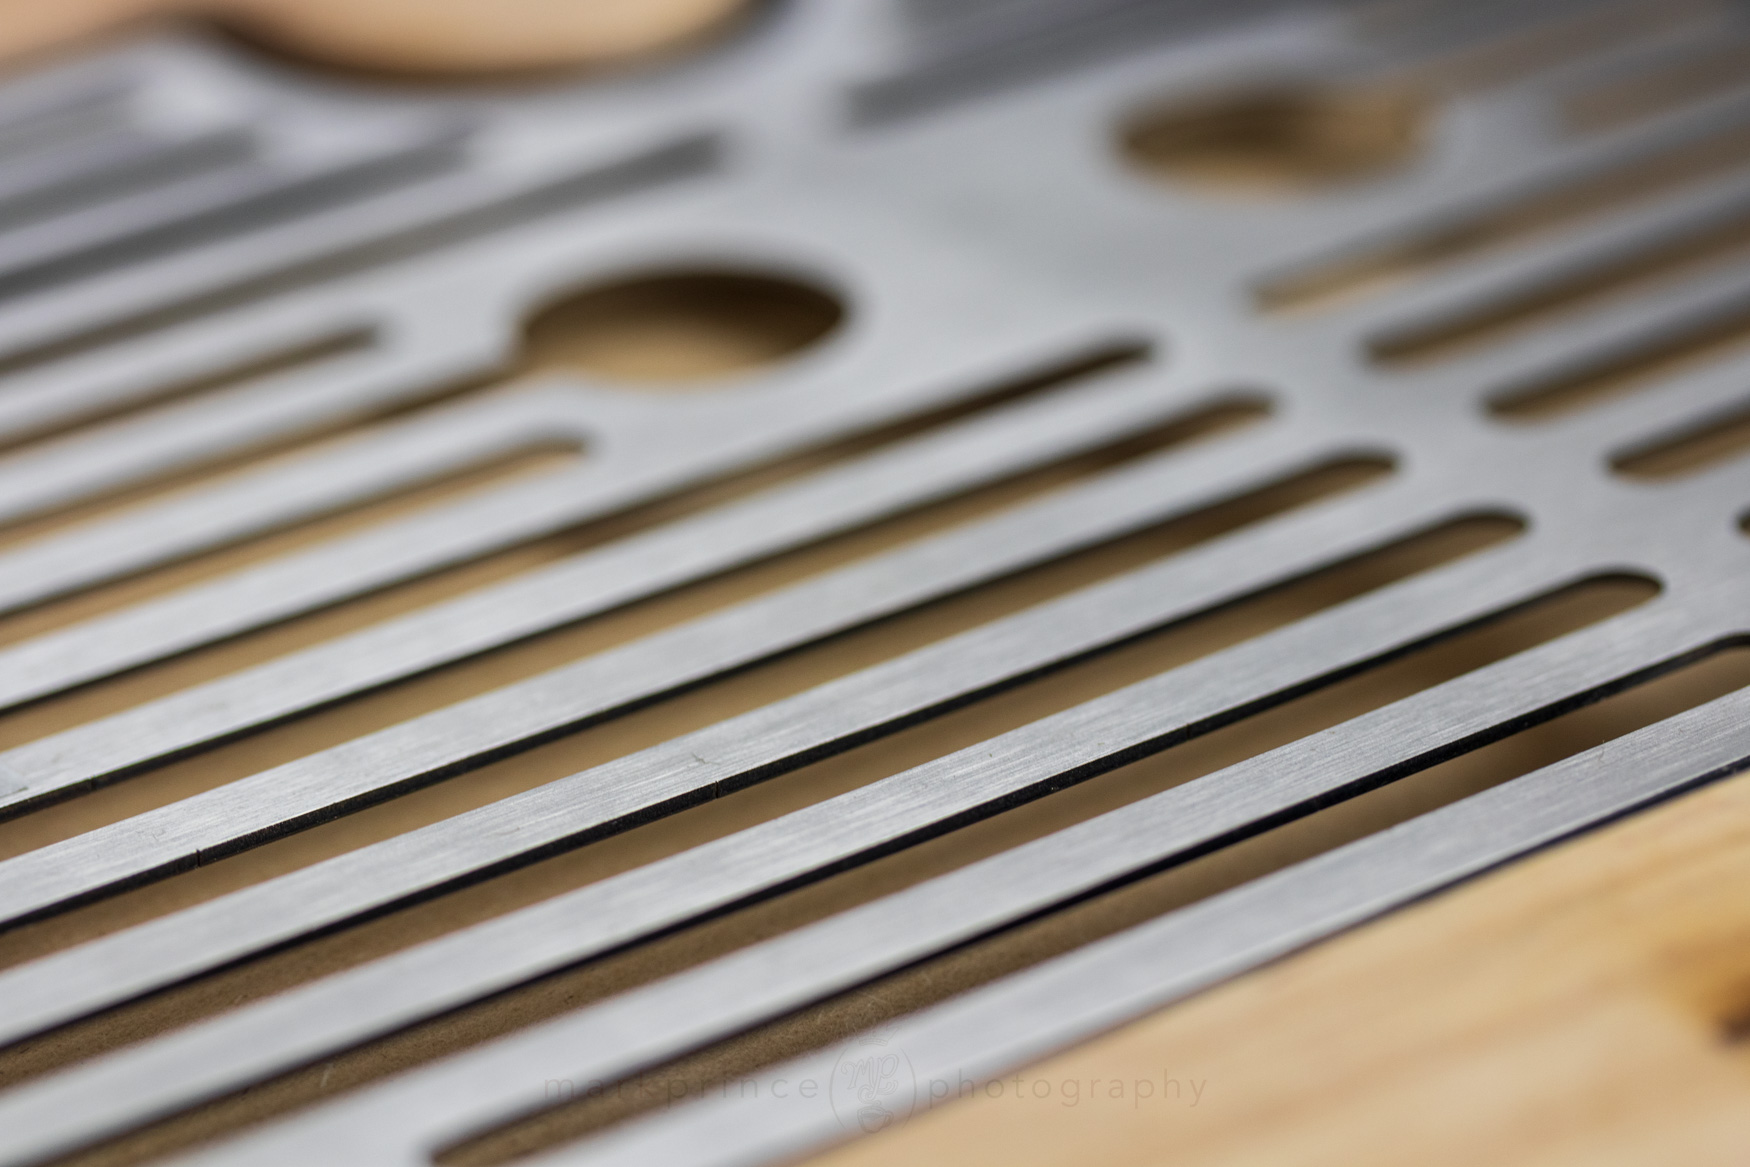
The drip tray cover is nicely finished. You might want to consider buying one or two spares, because it will scratch up over time.
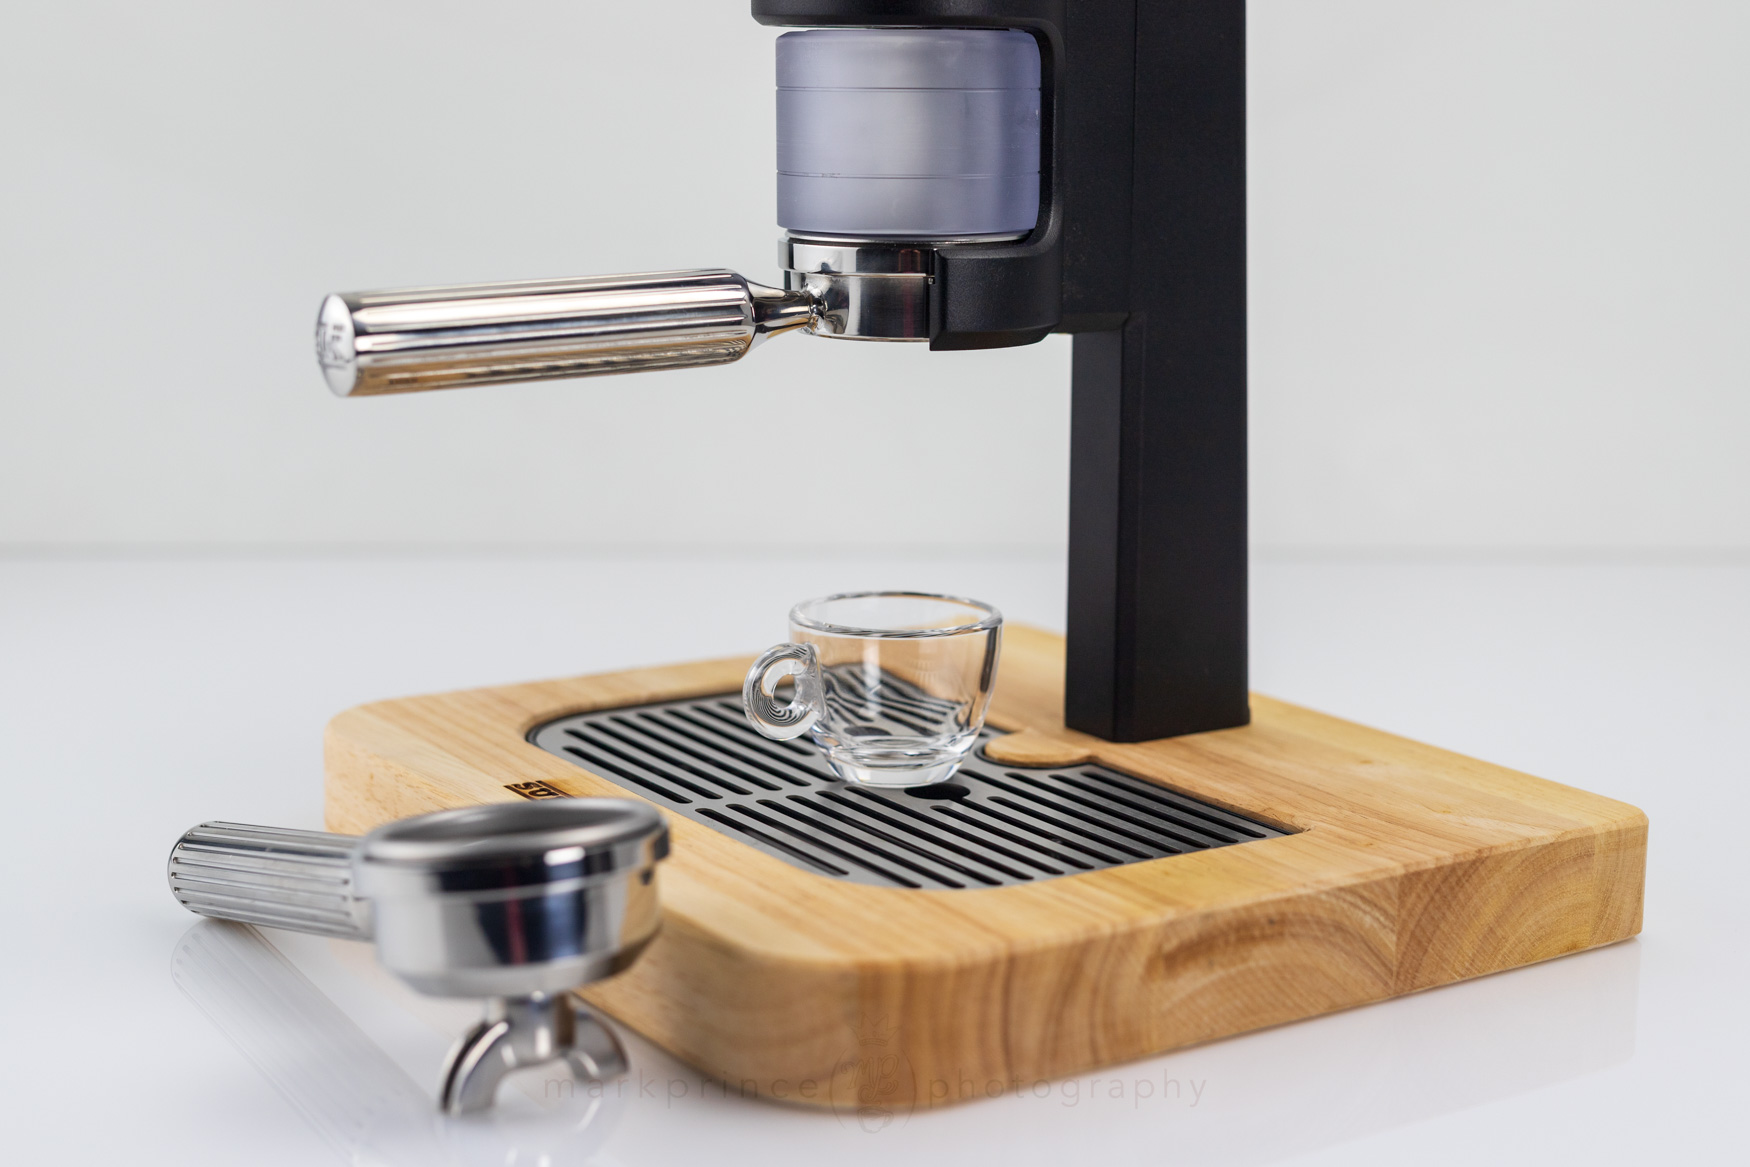
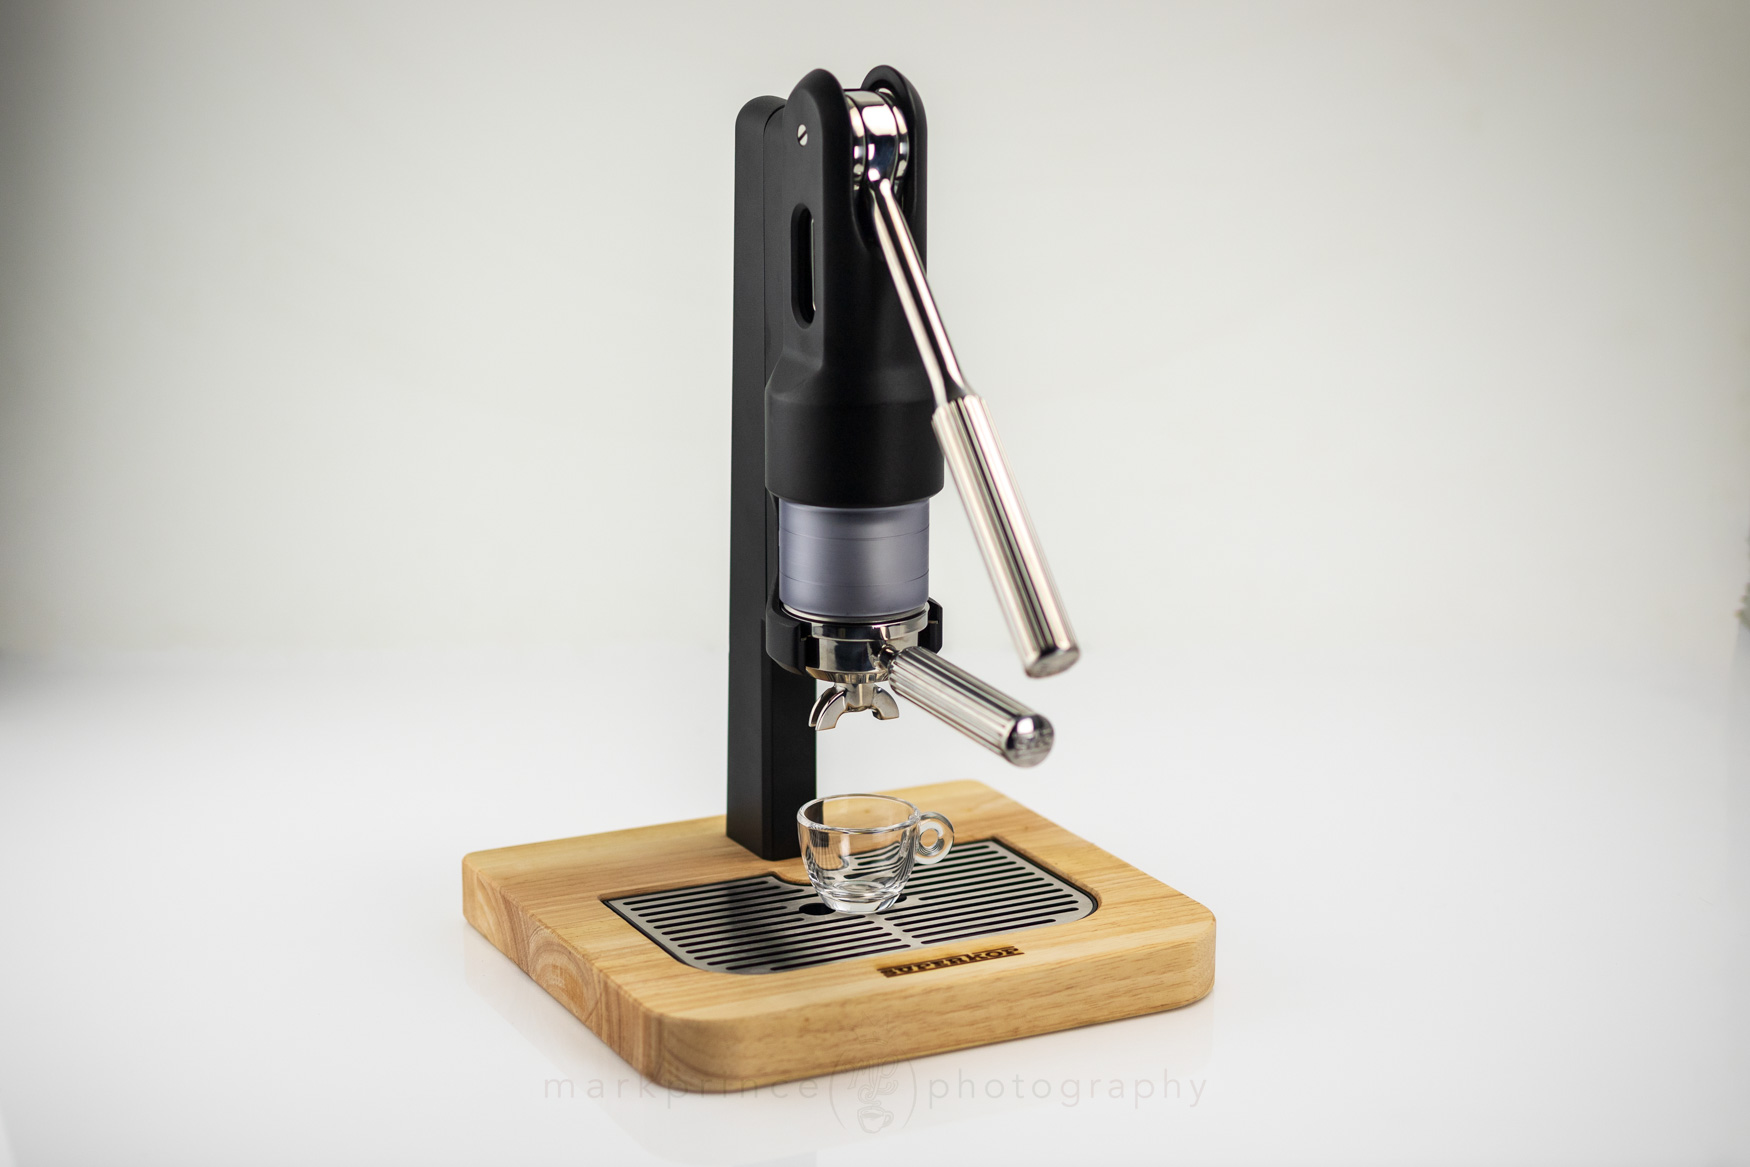
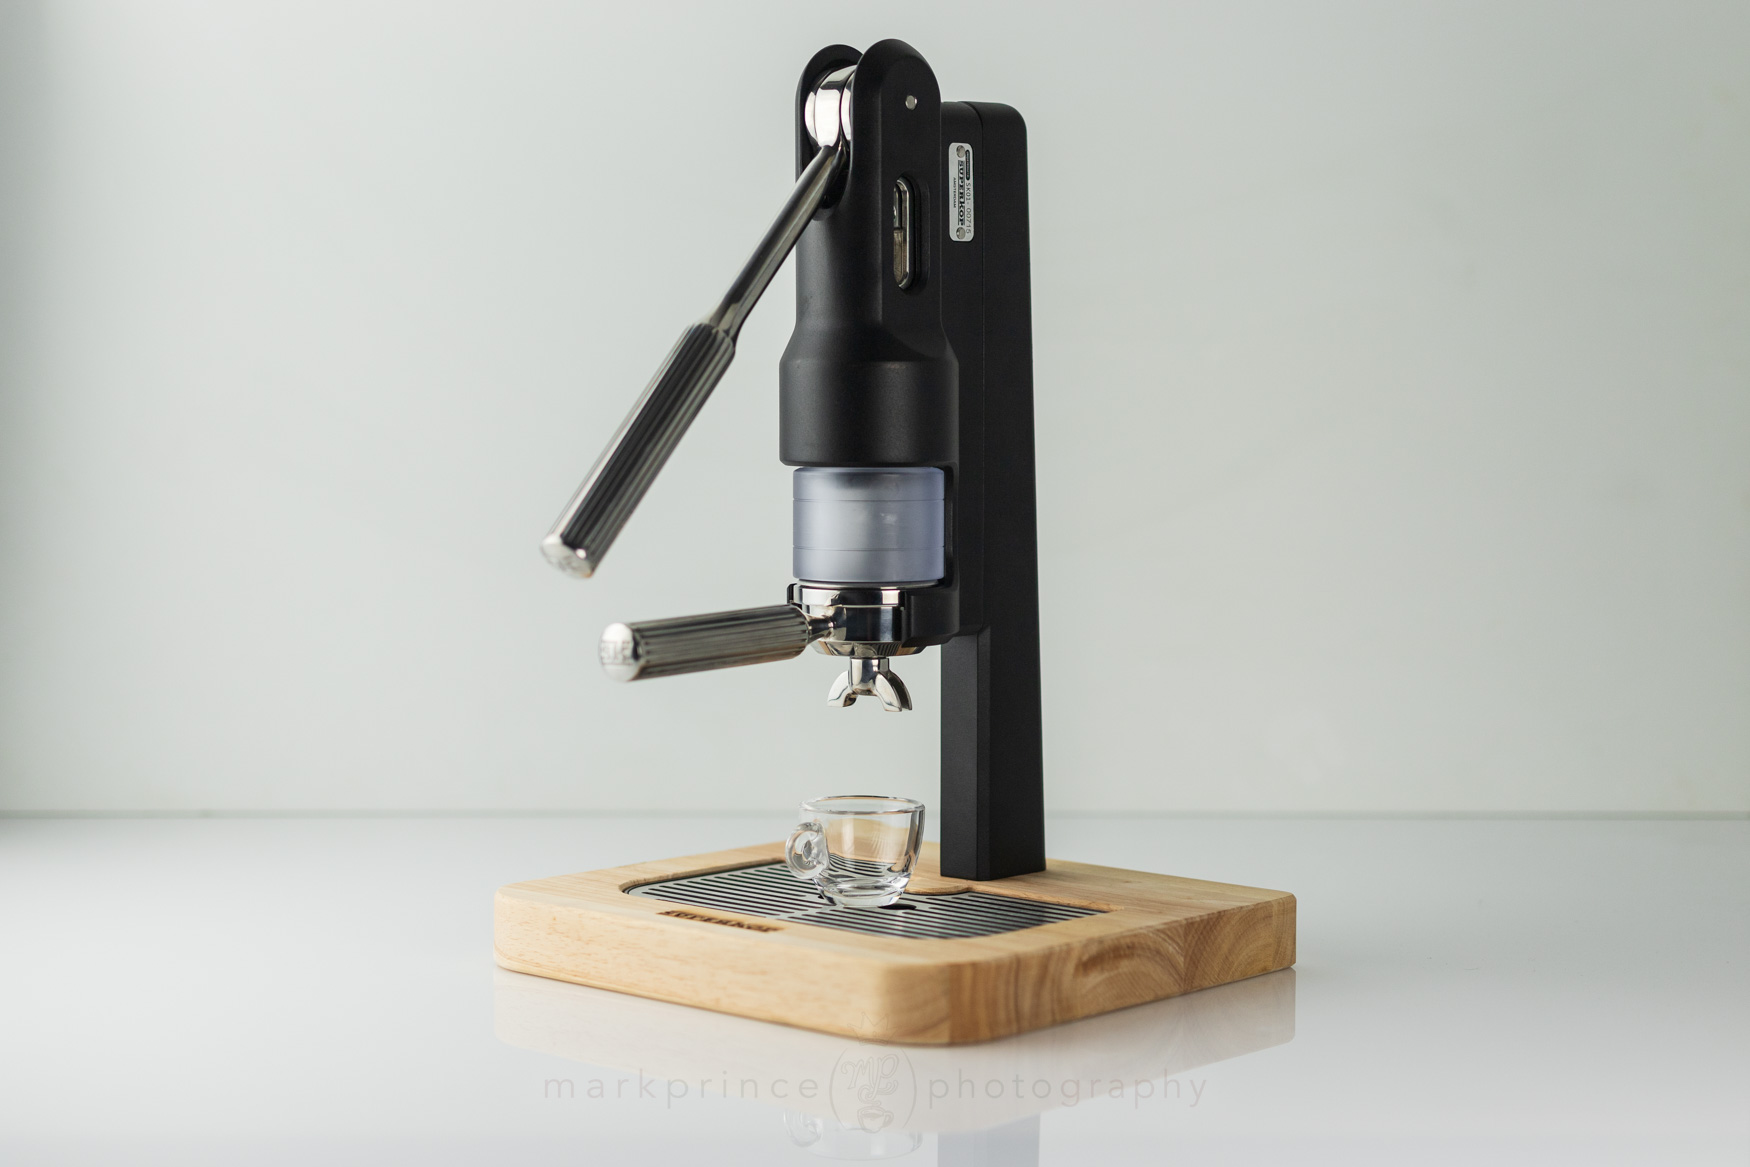
Cup clearance is pretty good with the spouted PFs, and more so with the chopped portafilter. Of course, if you wall mount, you can set whatever height you want.
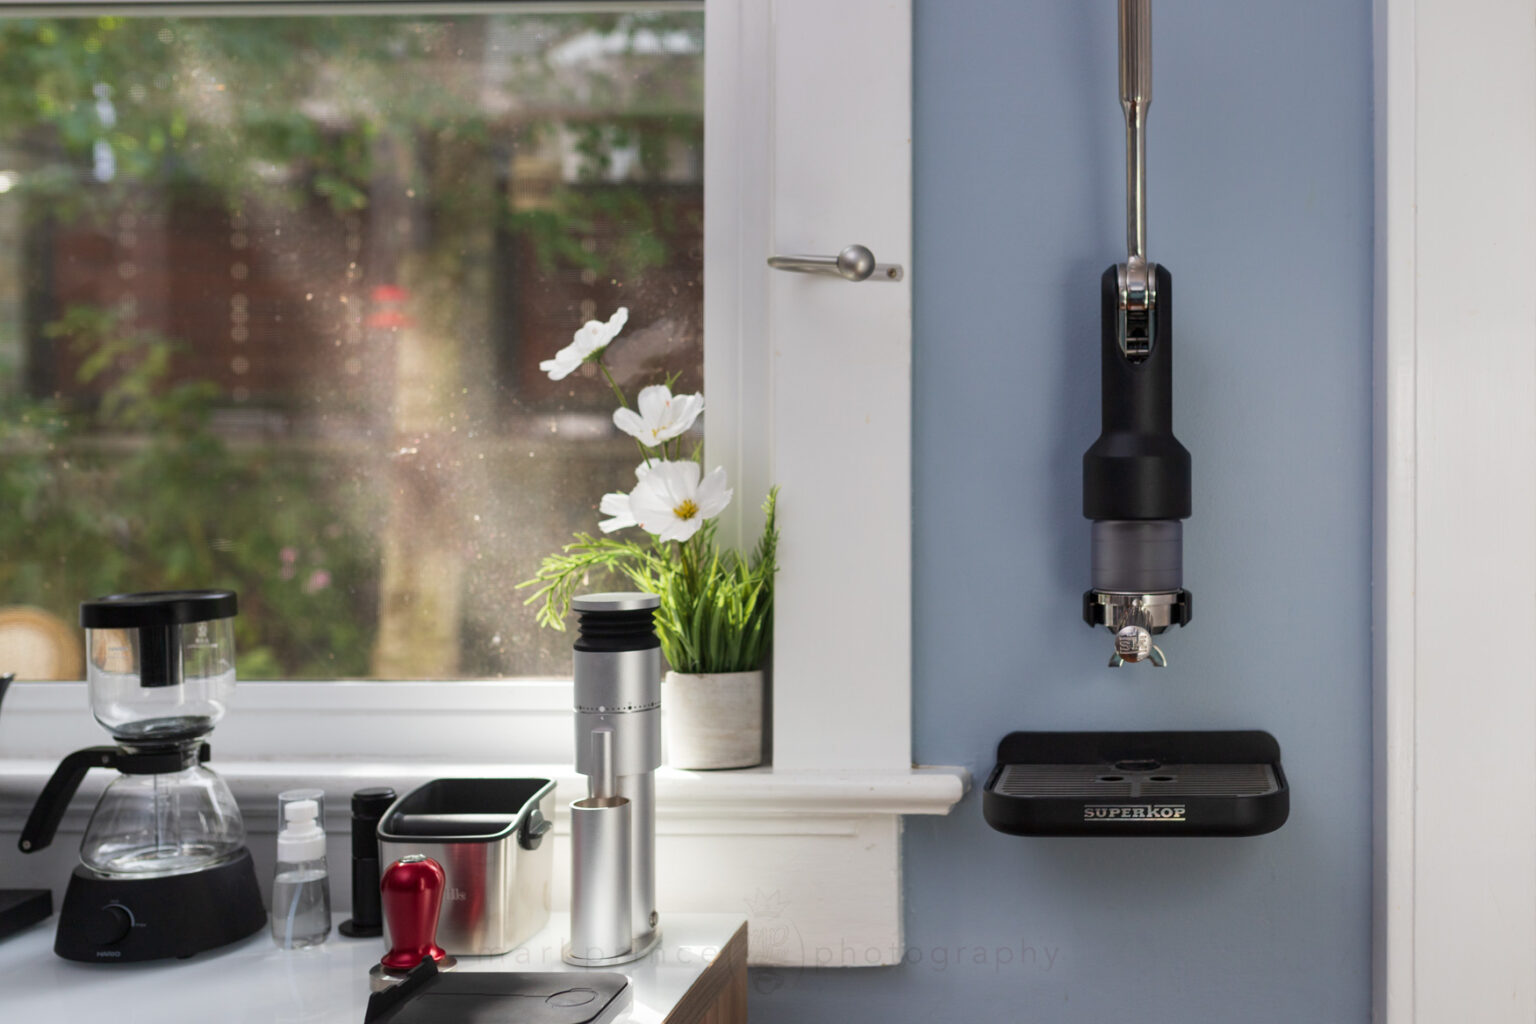
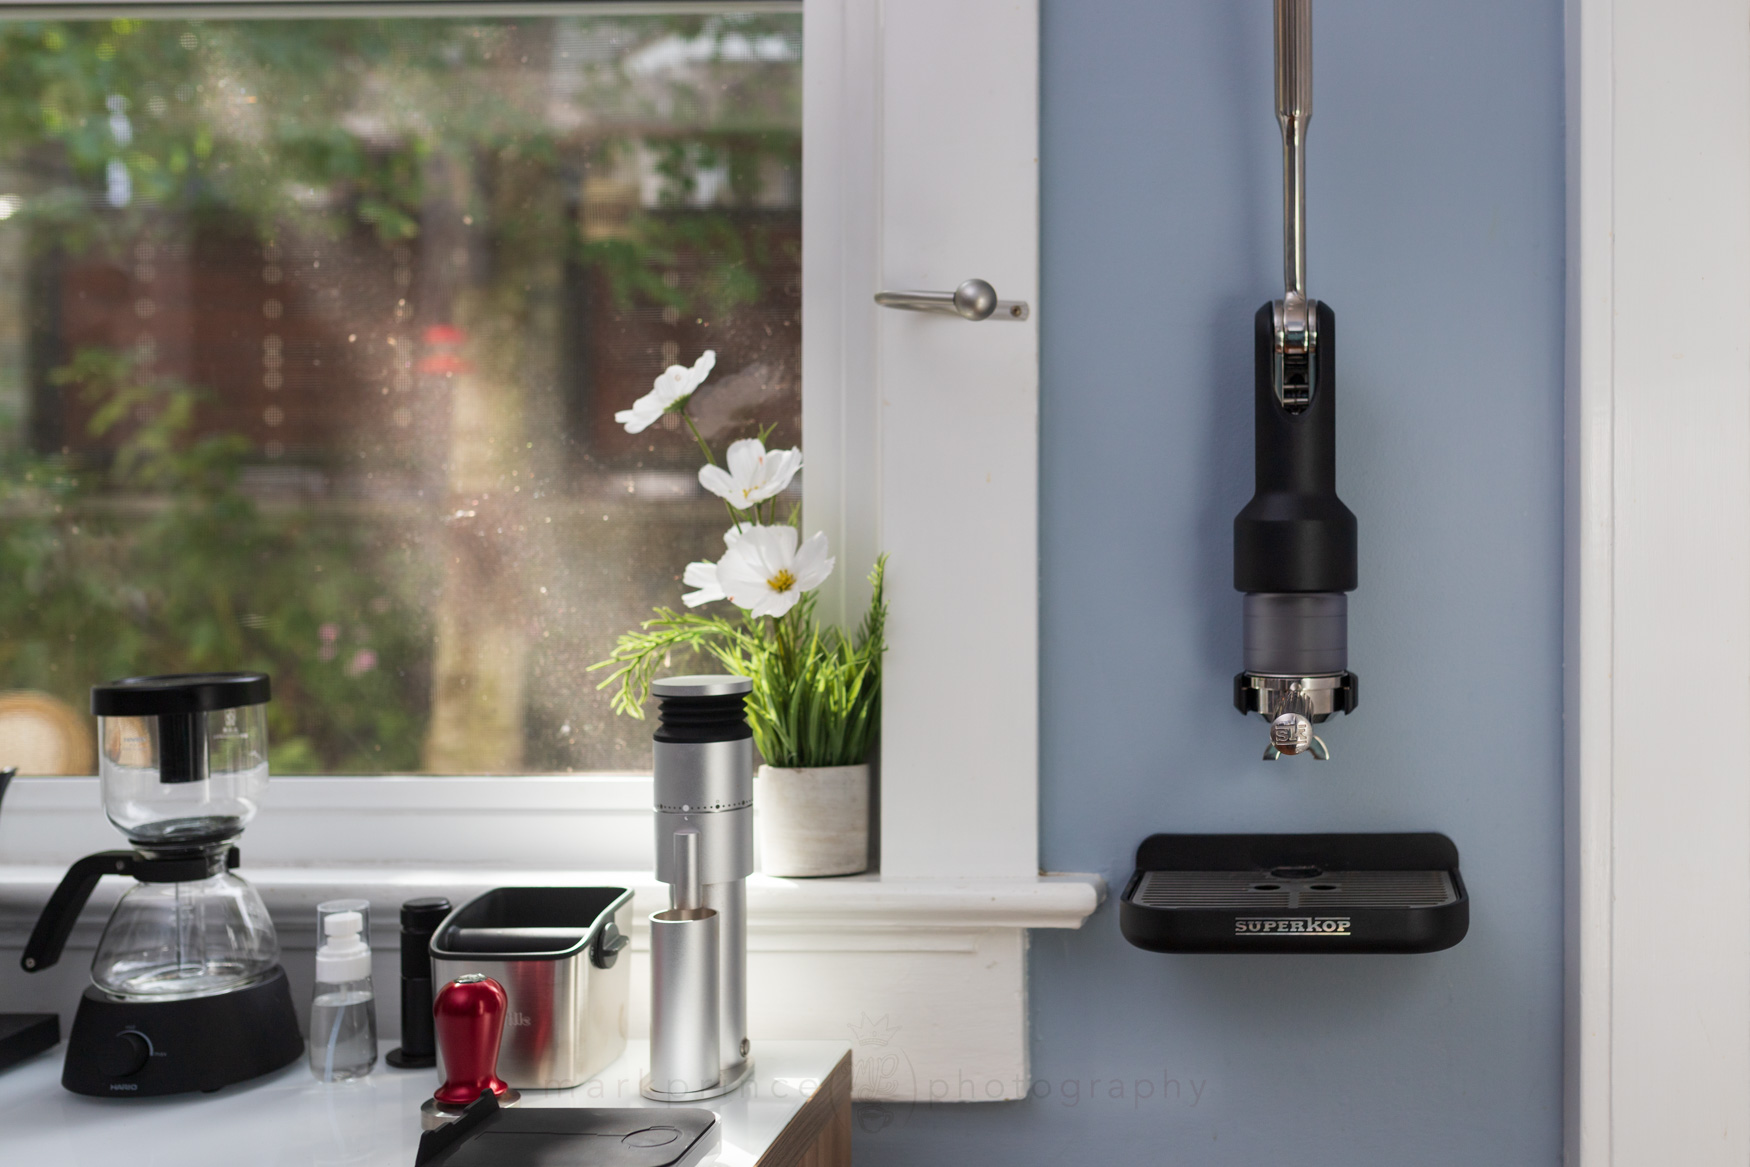
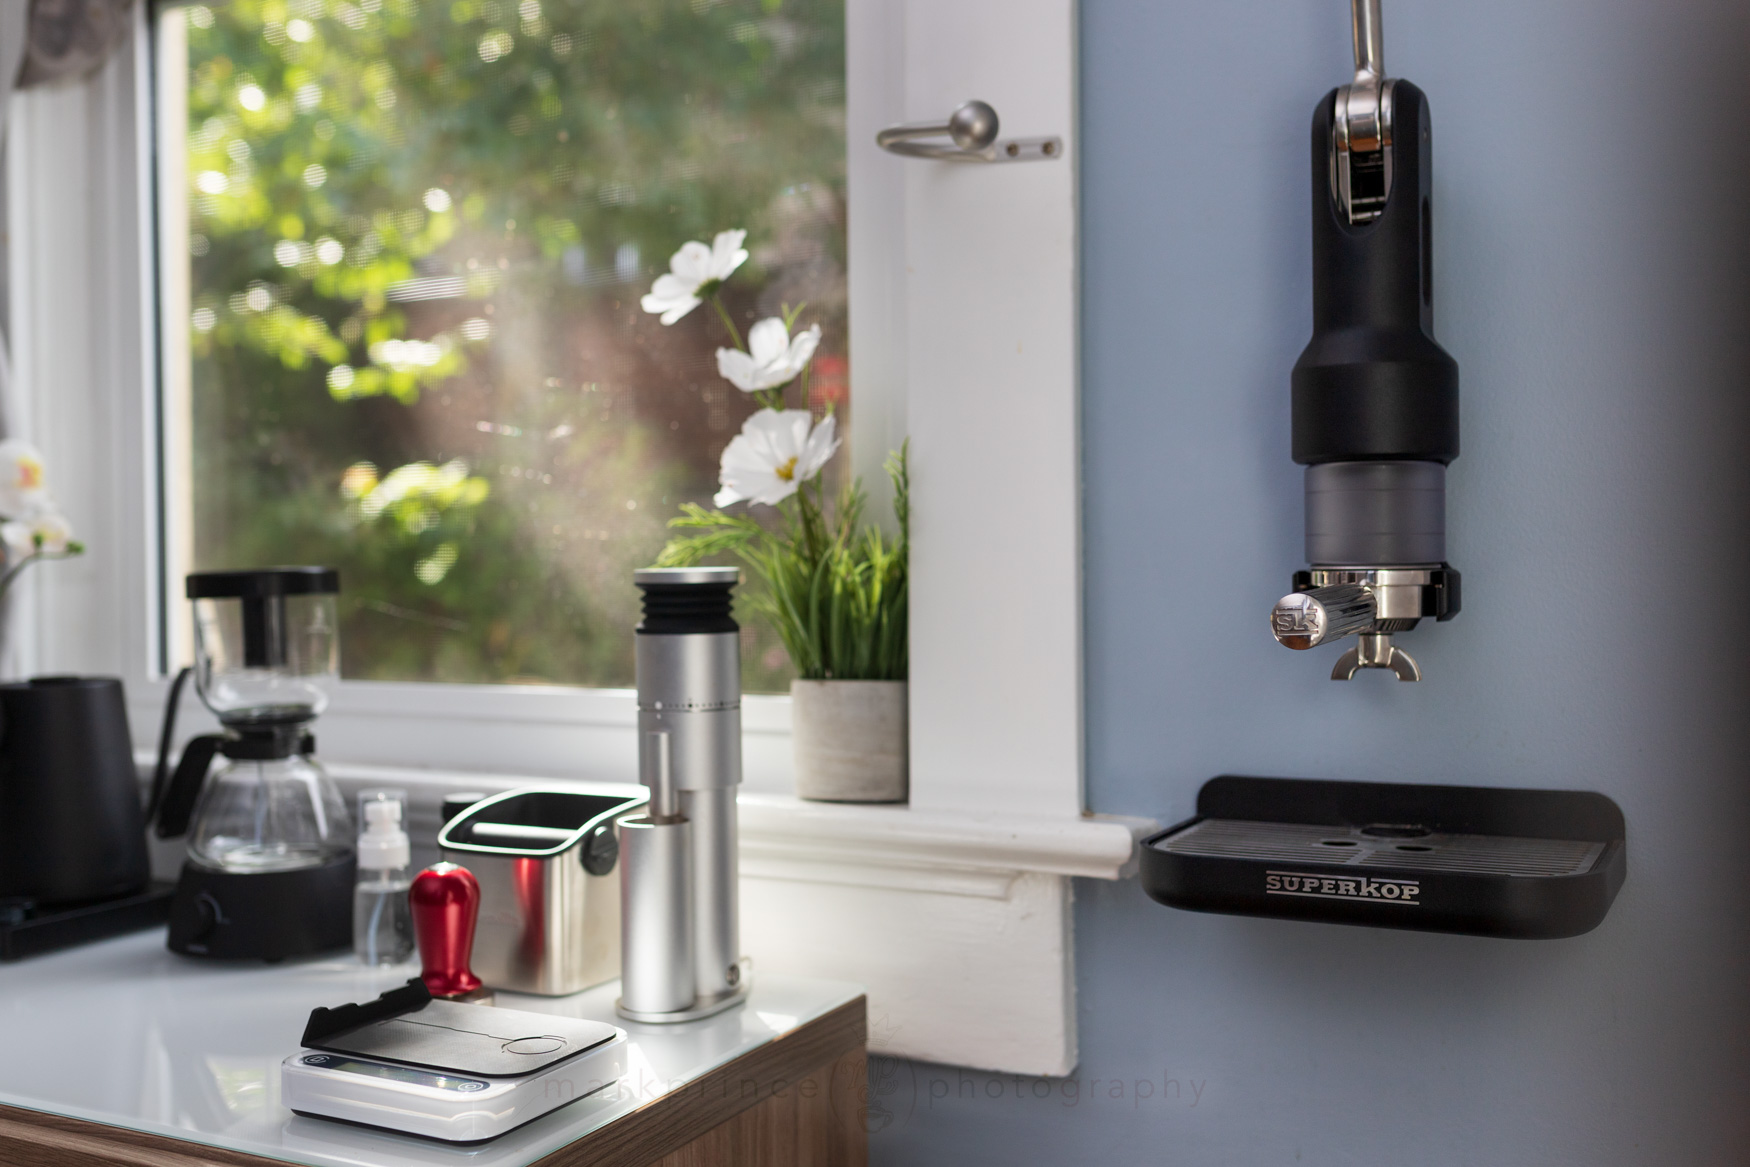
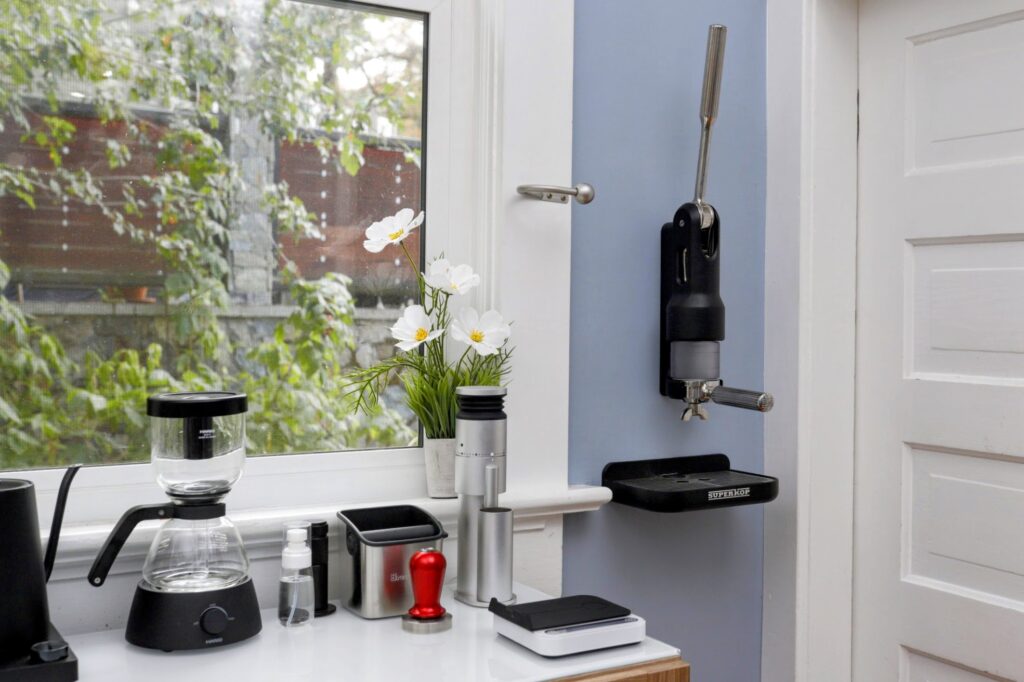
Superkop, Wall Mounted
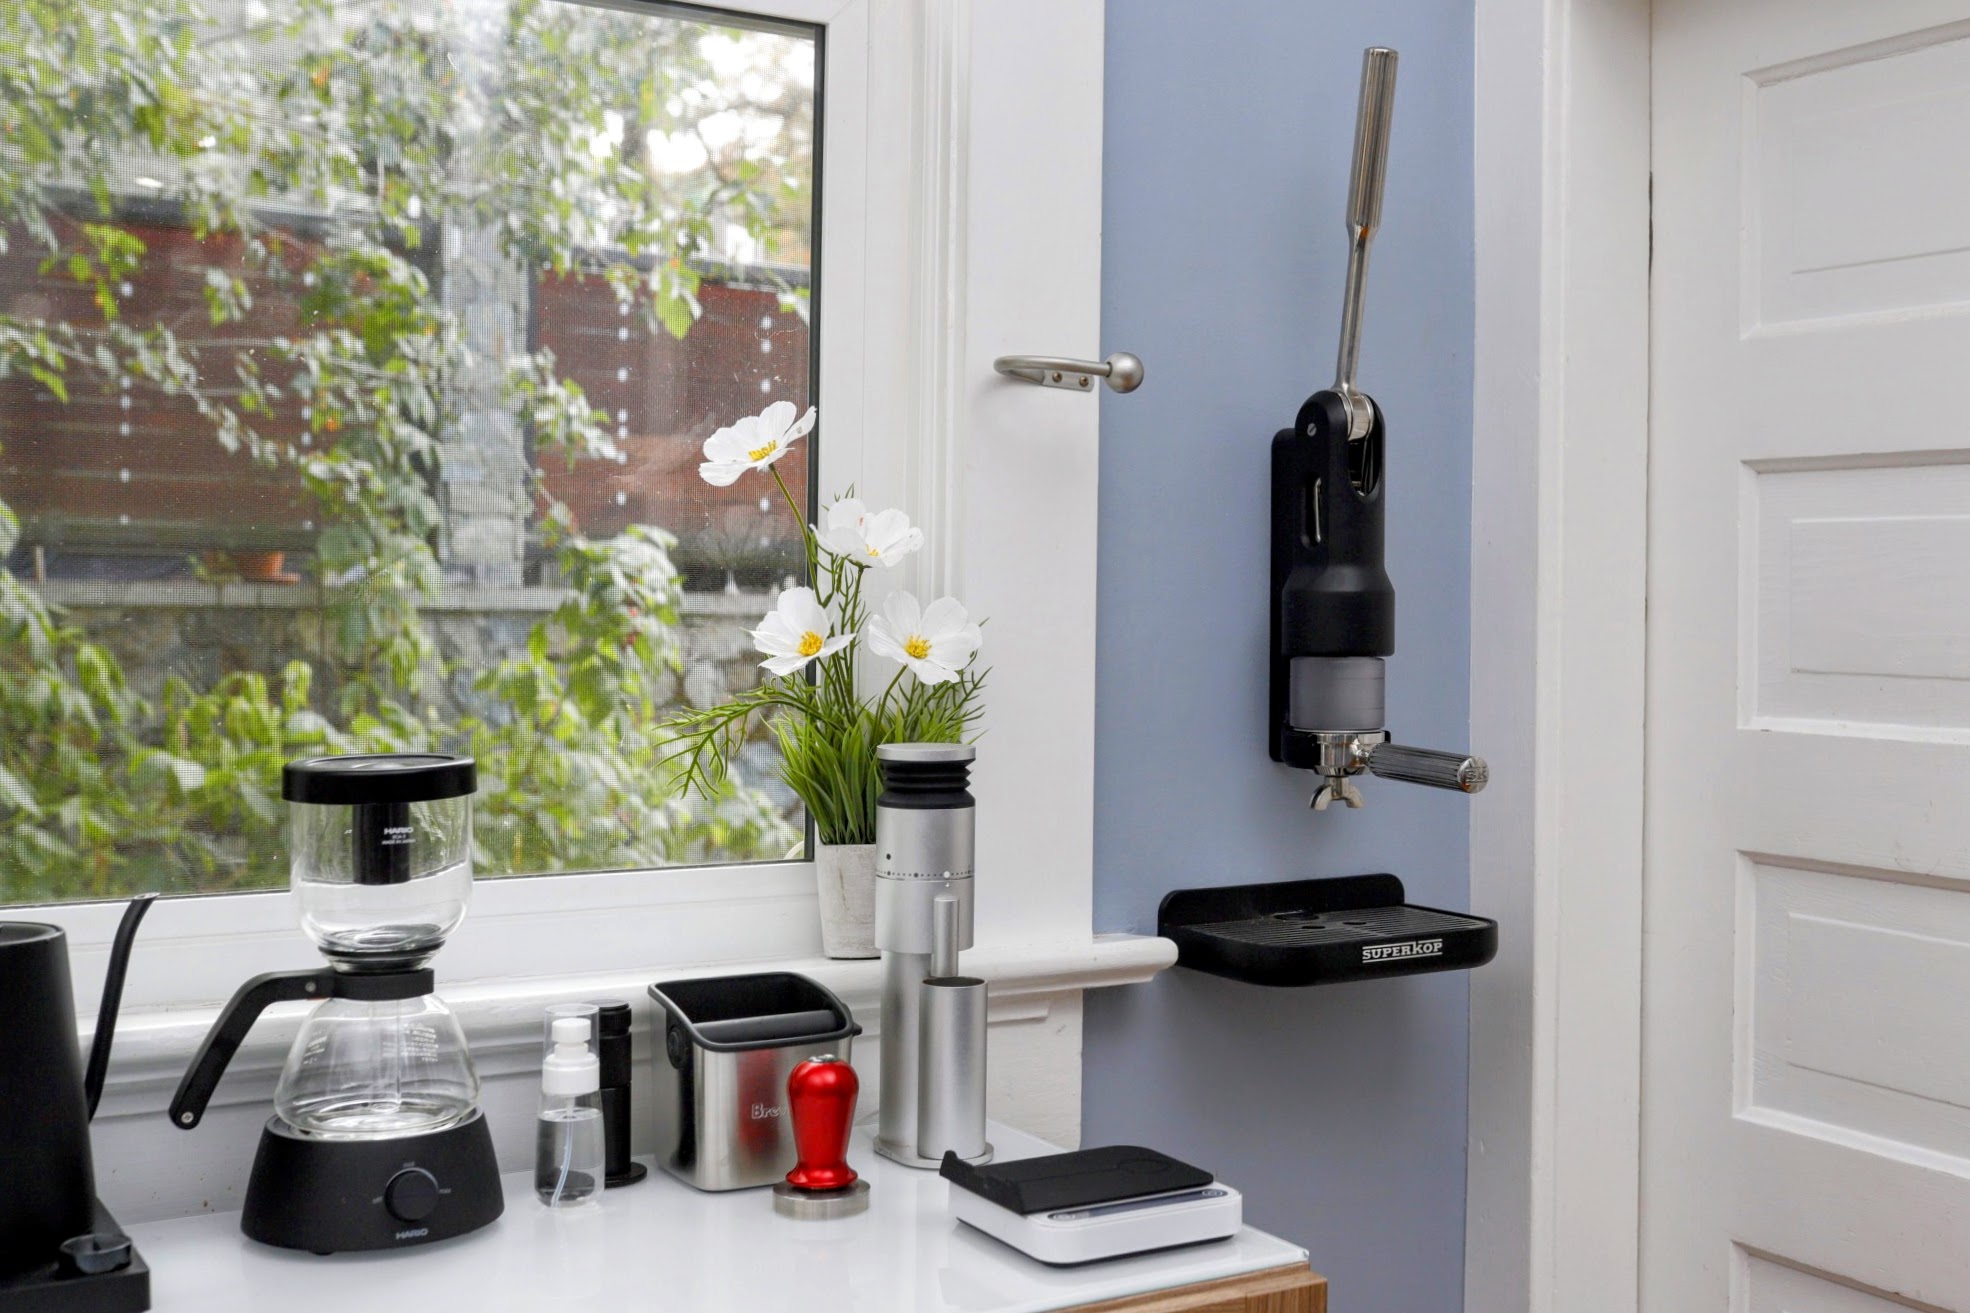
Off in the corner, near our basement access door, it's easy to get to, easy to brew with, but out of the way.

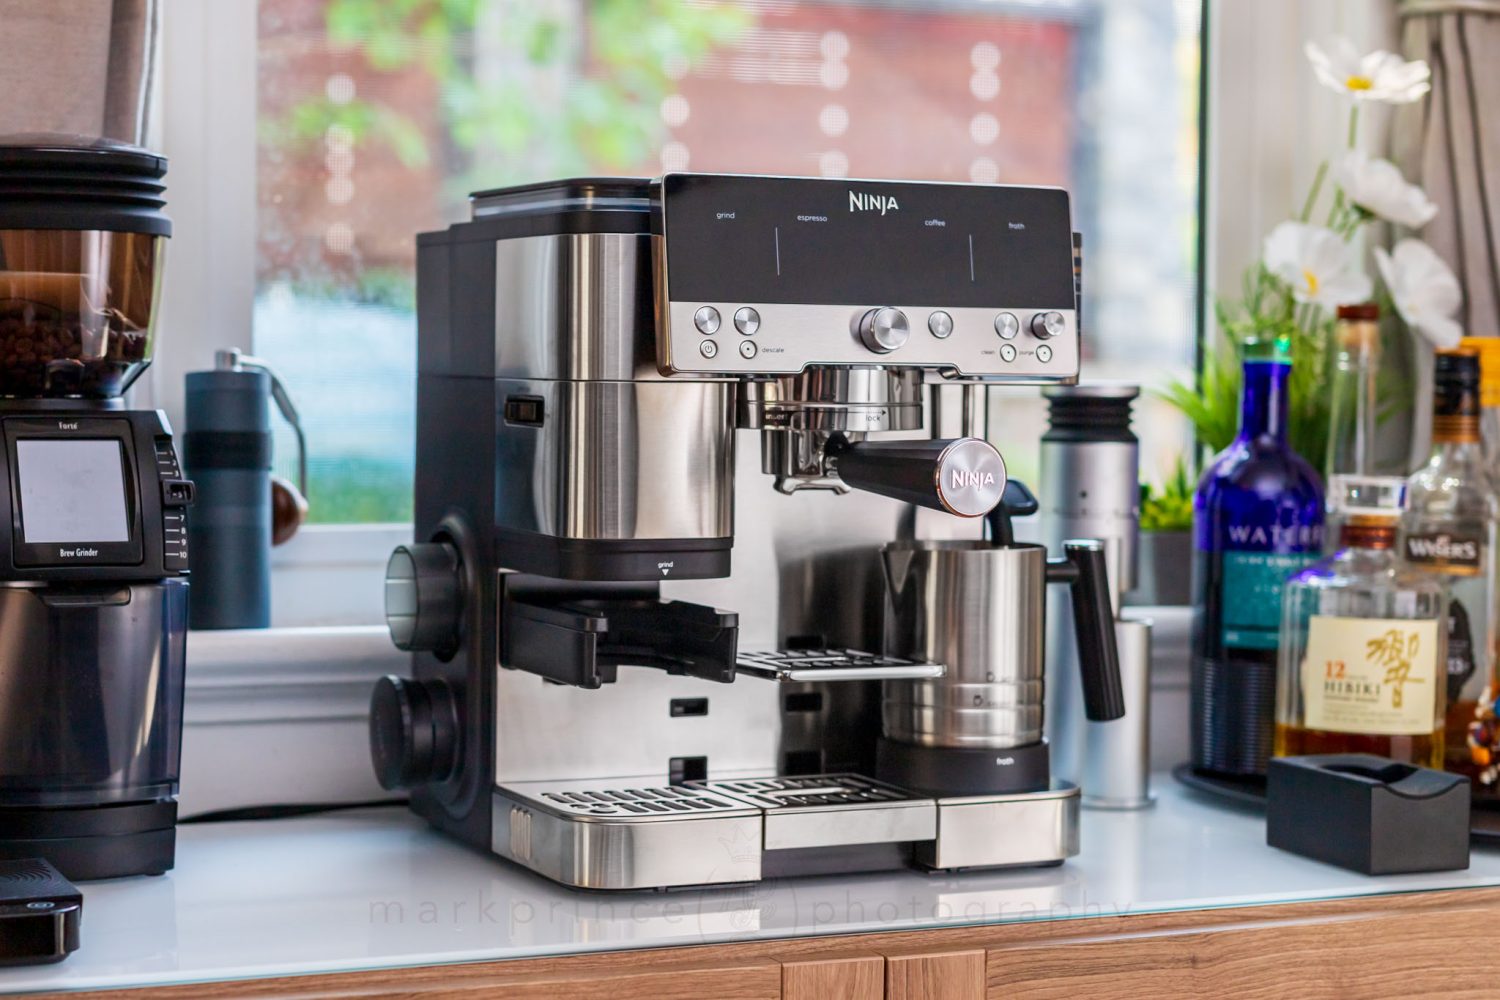
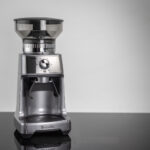
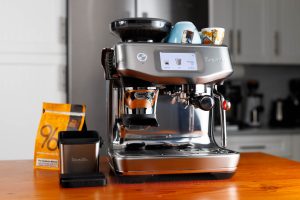
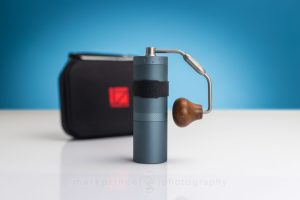
The Lagom Mini has proved to be an excellent grinder paired up with the Superkop.
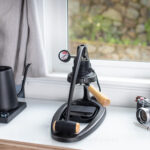
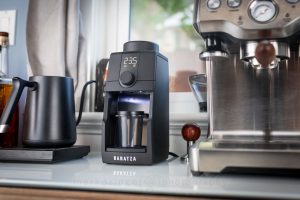
A little side table brewing station with grinder, scale, siphon brewer, kettle, and knockbox.
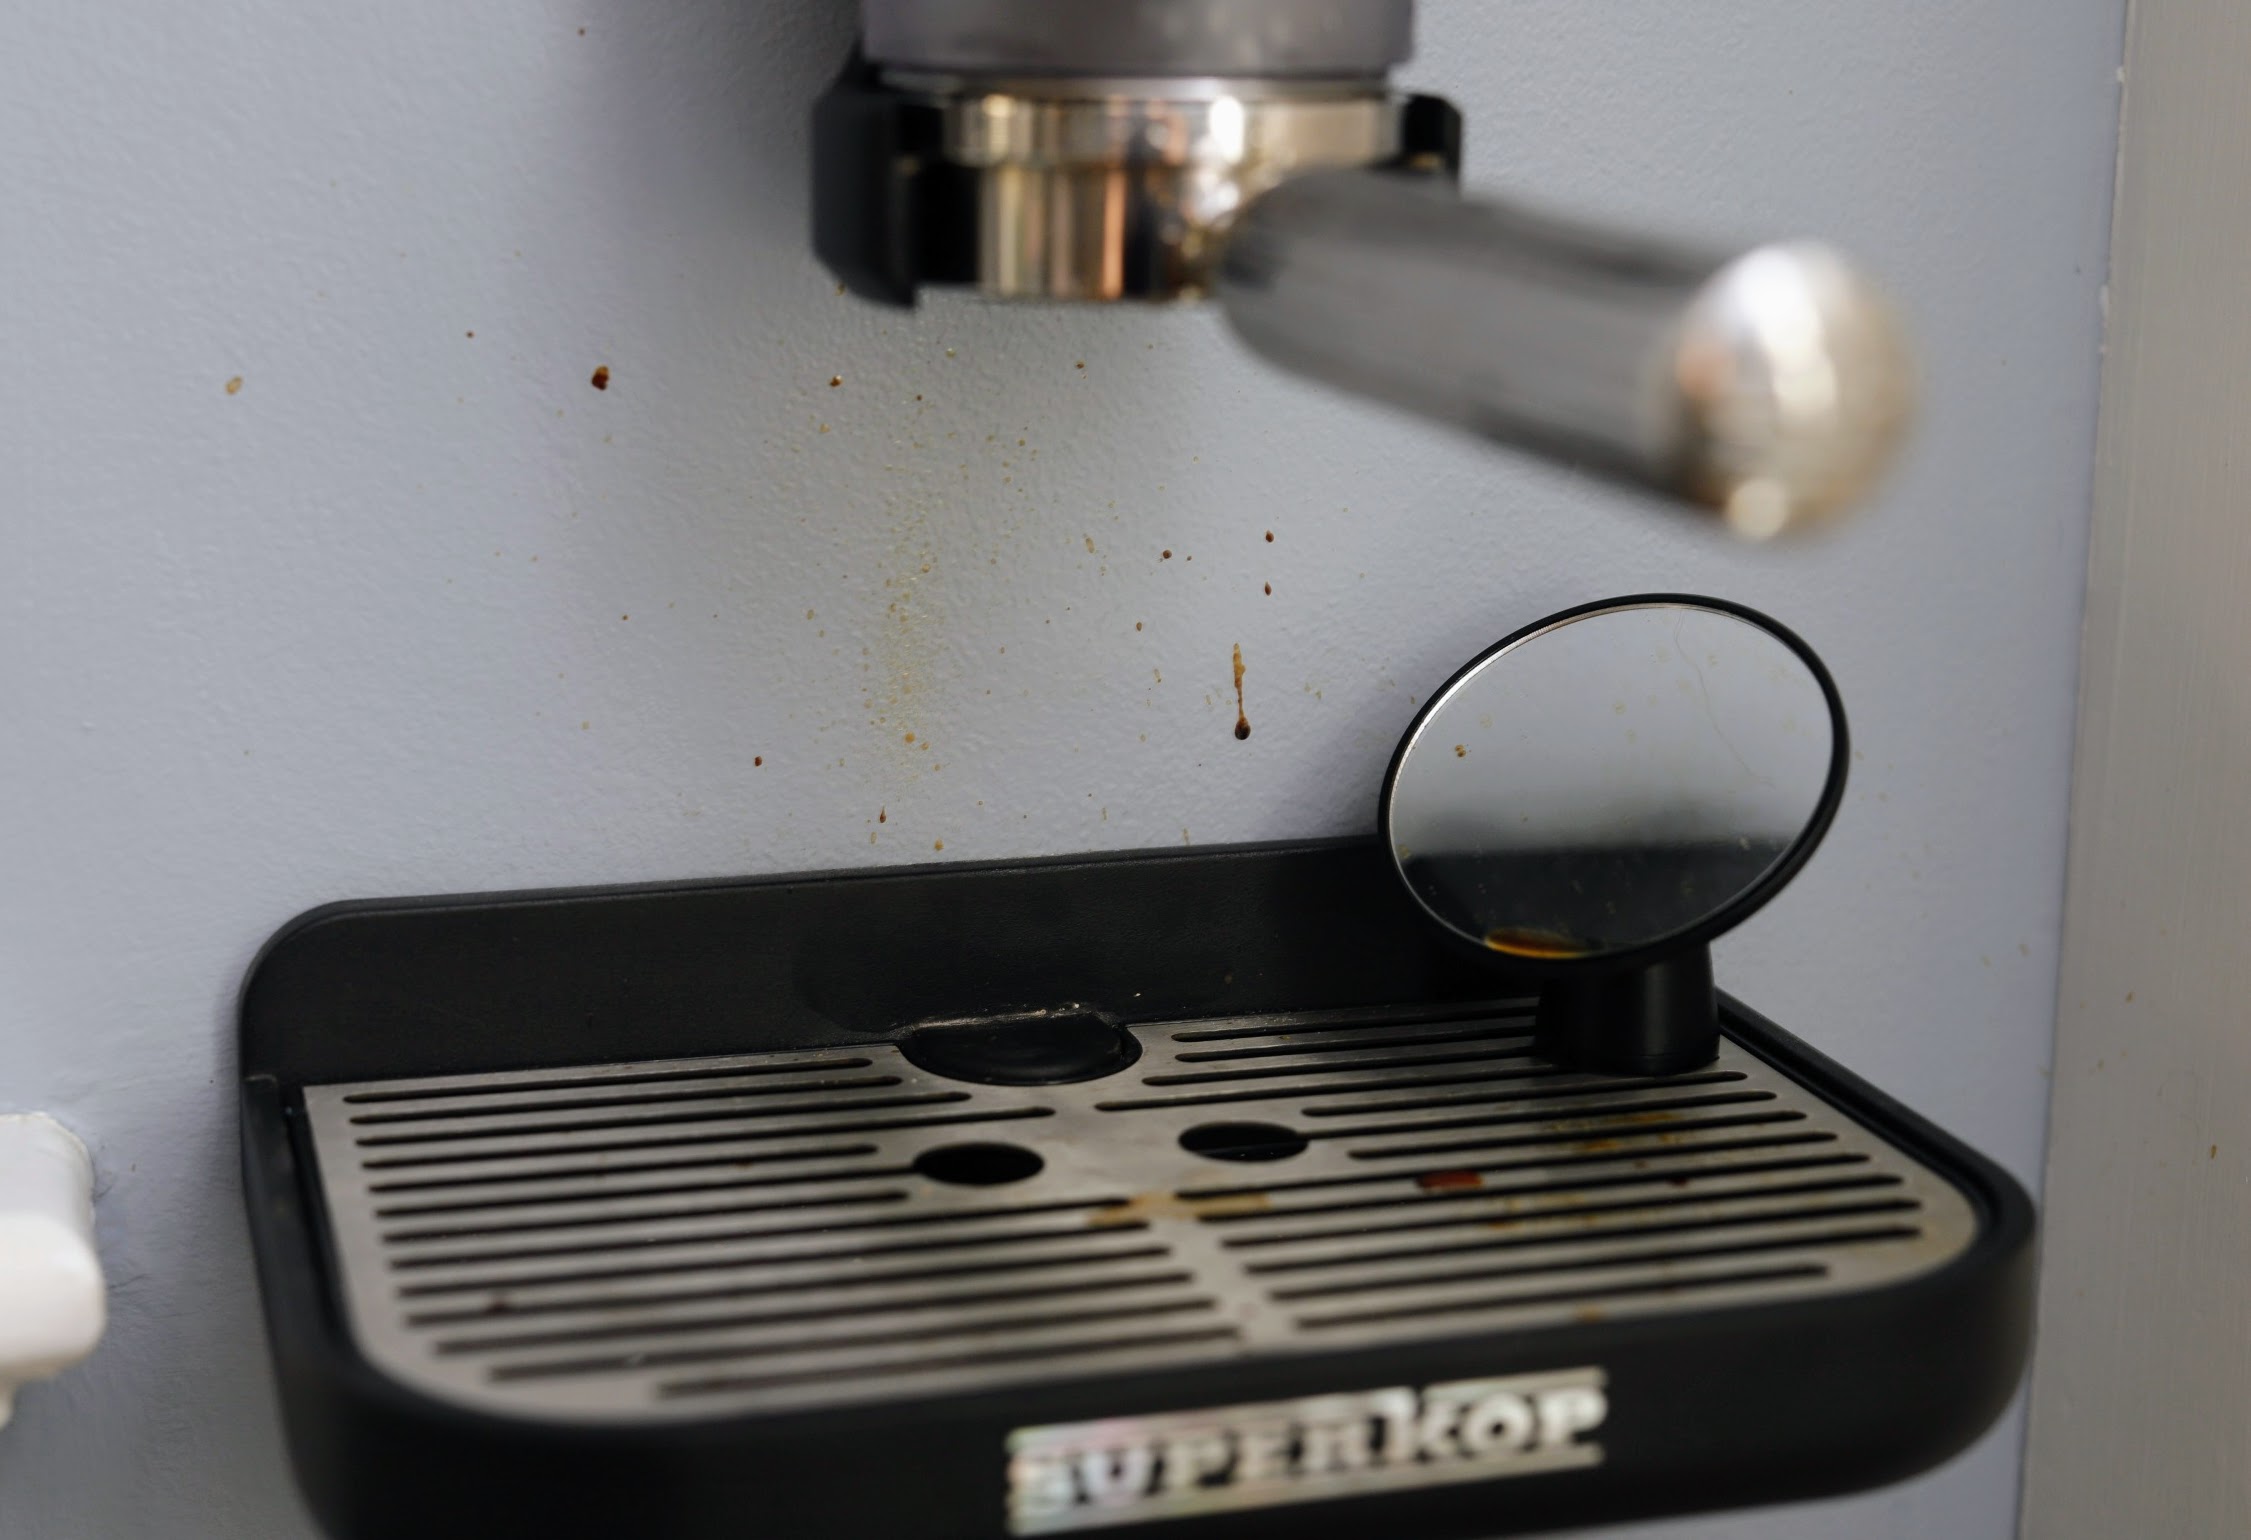
One minor problem with wall mounting: splatter. It might be good source a small mirror or some kind of backsplash to protect the wall.
Superkop also sent their chopped portafilter along. The workship on these portafilters is first class all the way.

The chopped portafilter, sitting on top of a tamping stand. Workship is excellent
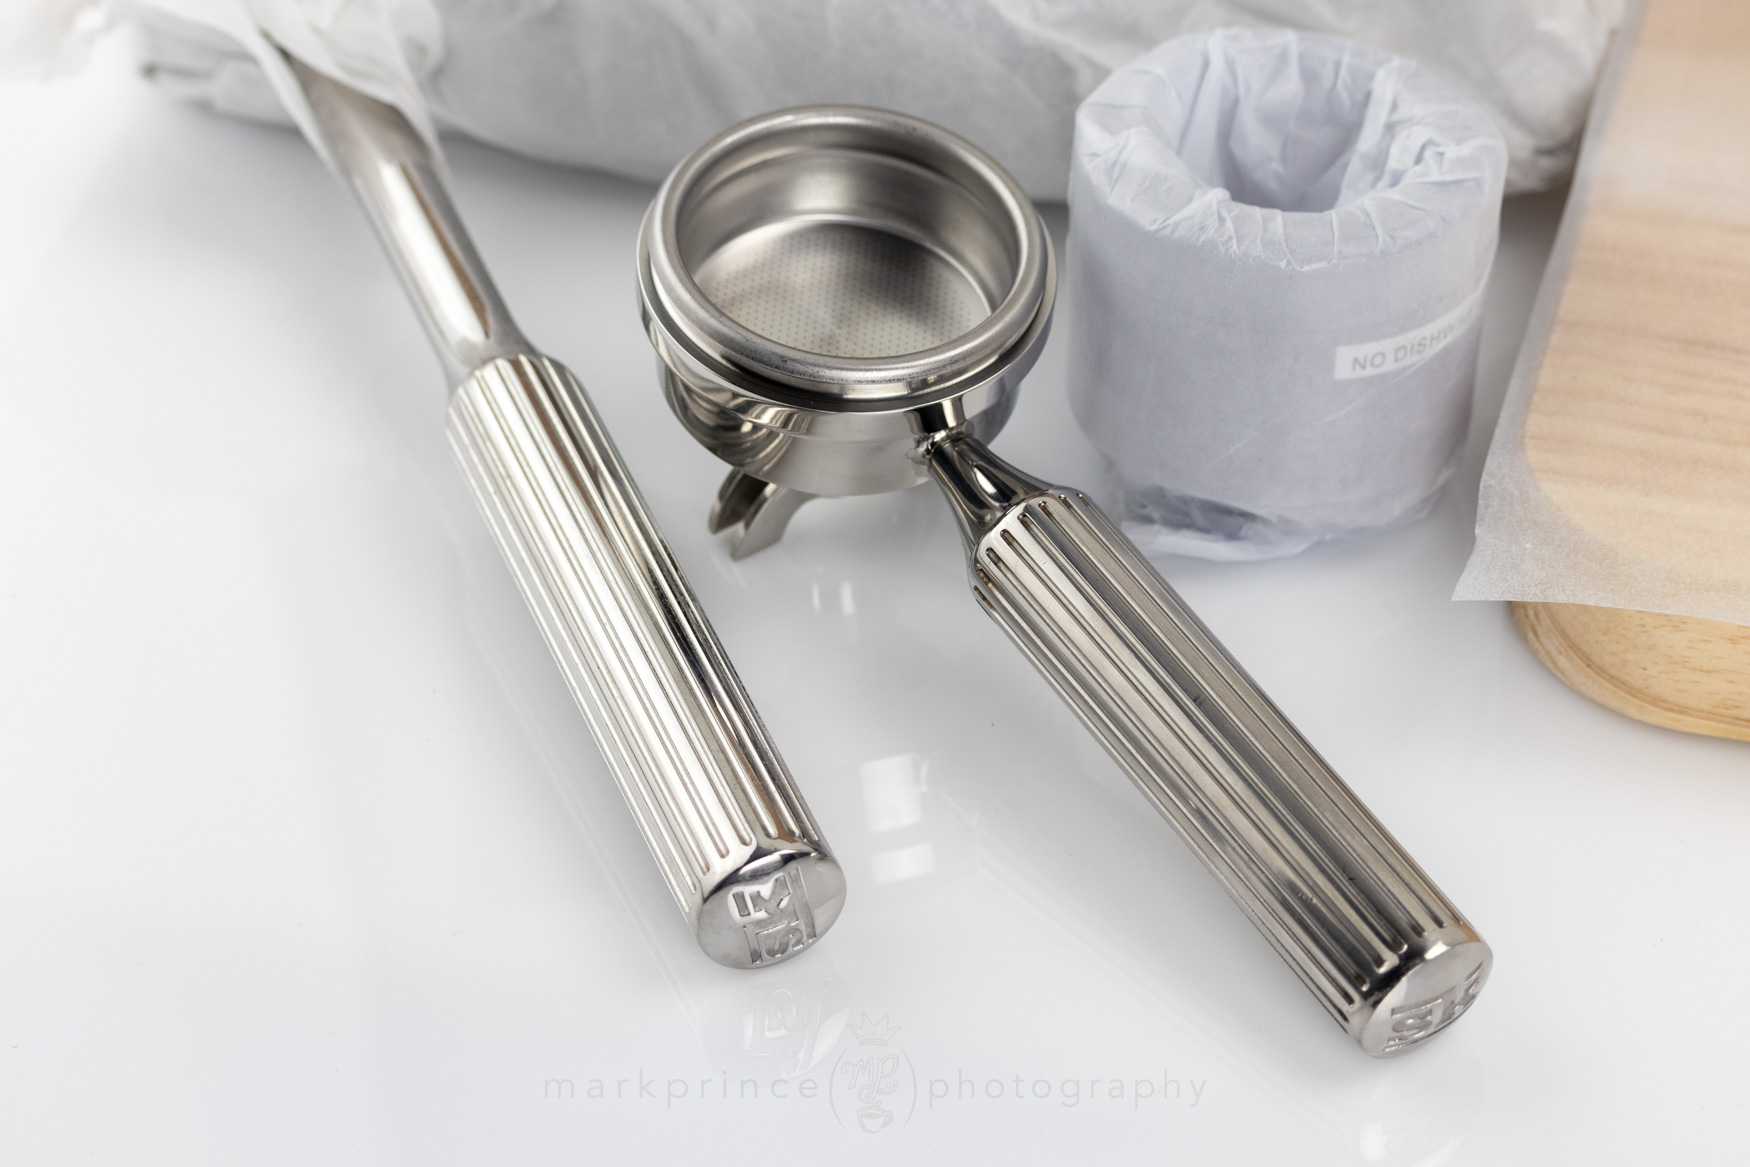
The workship in this machine is evident, right down to the matching portafilter and lever handles.
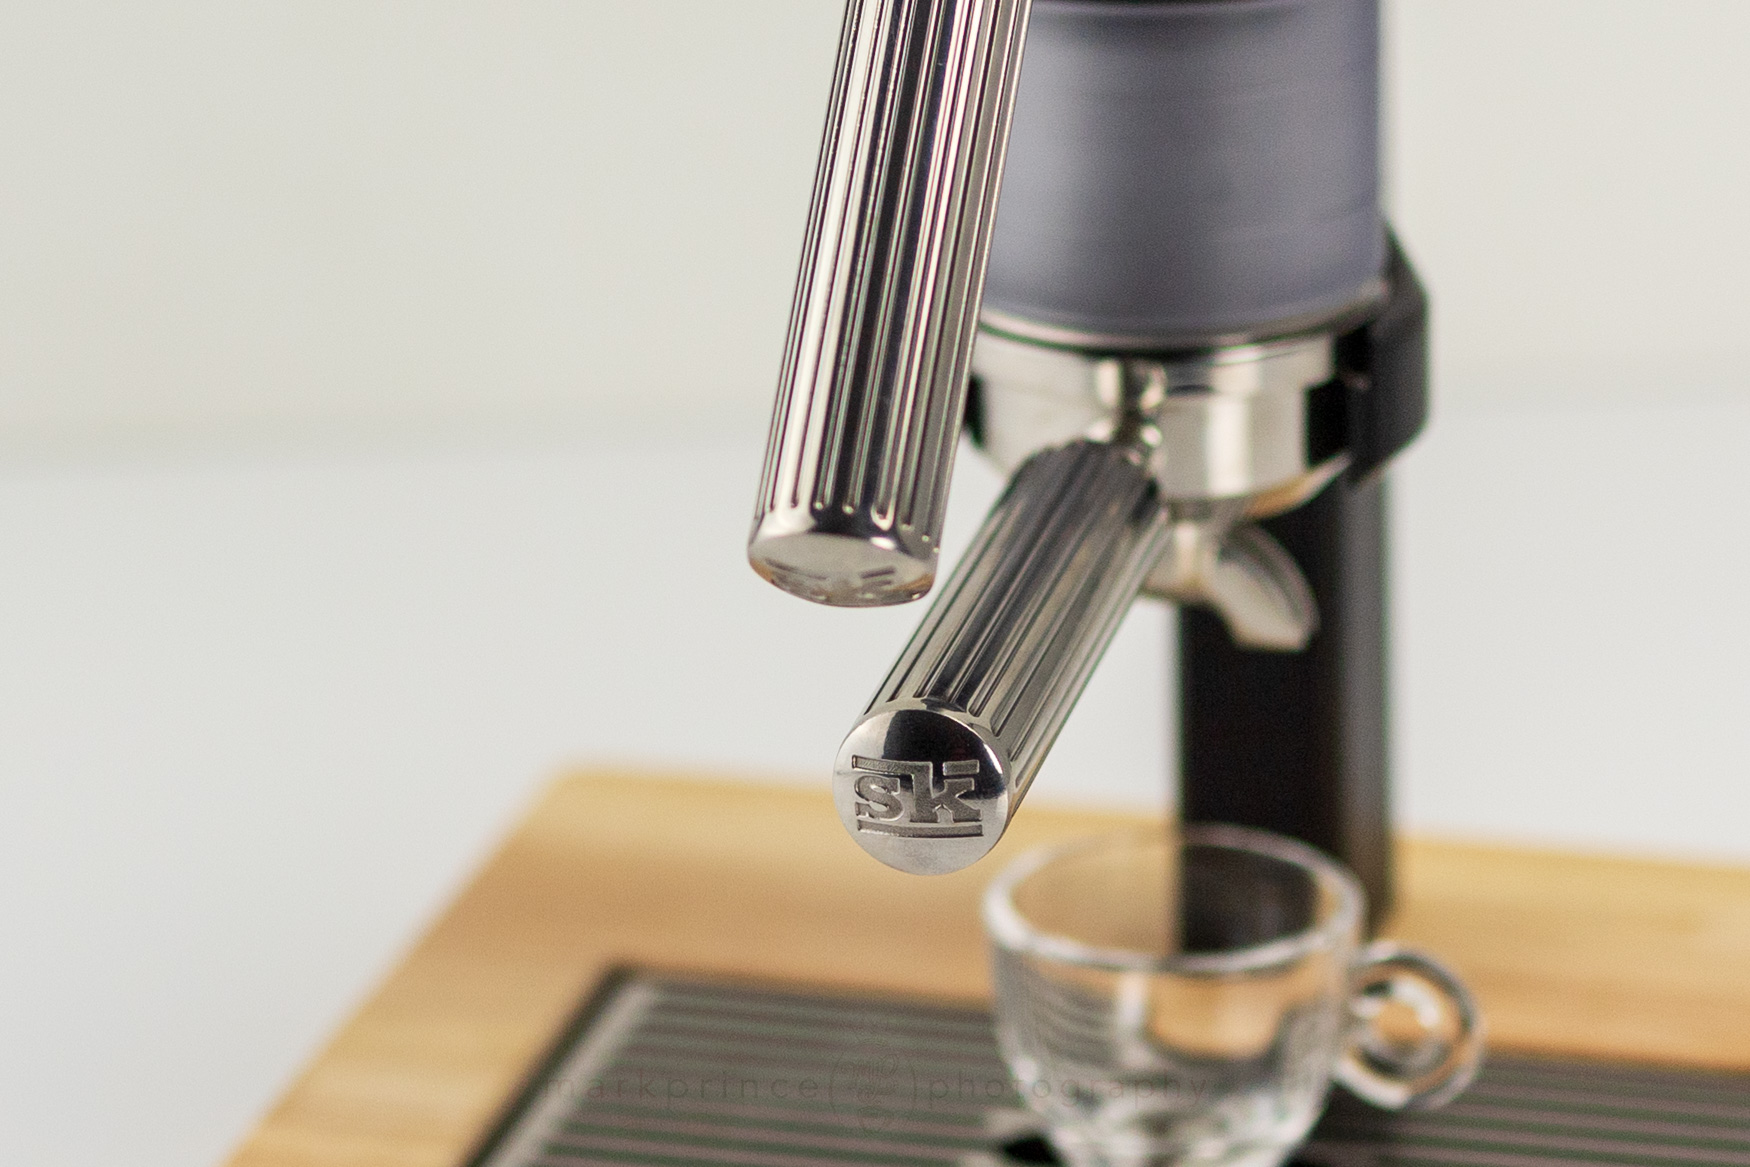
the lever arm and portafilter handle are the same design and feature the SK branding at their ends.
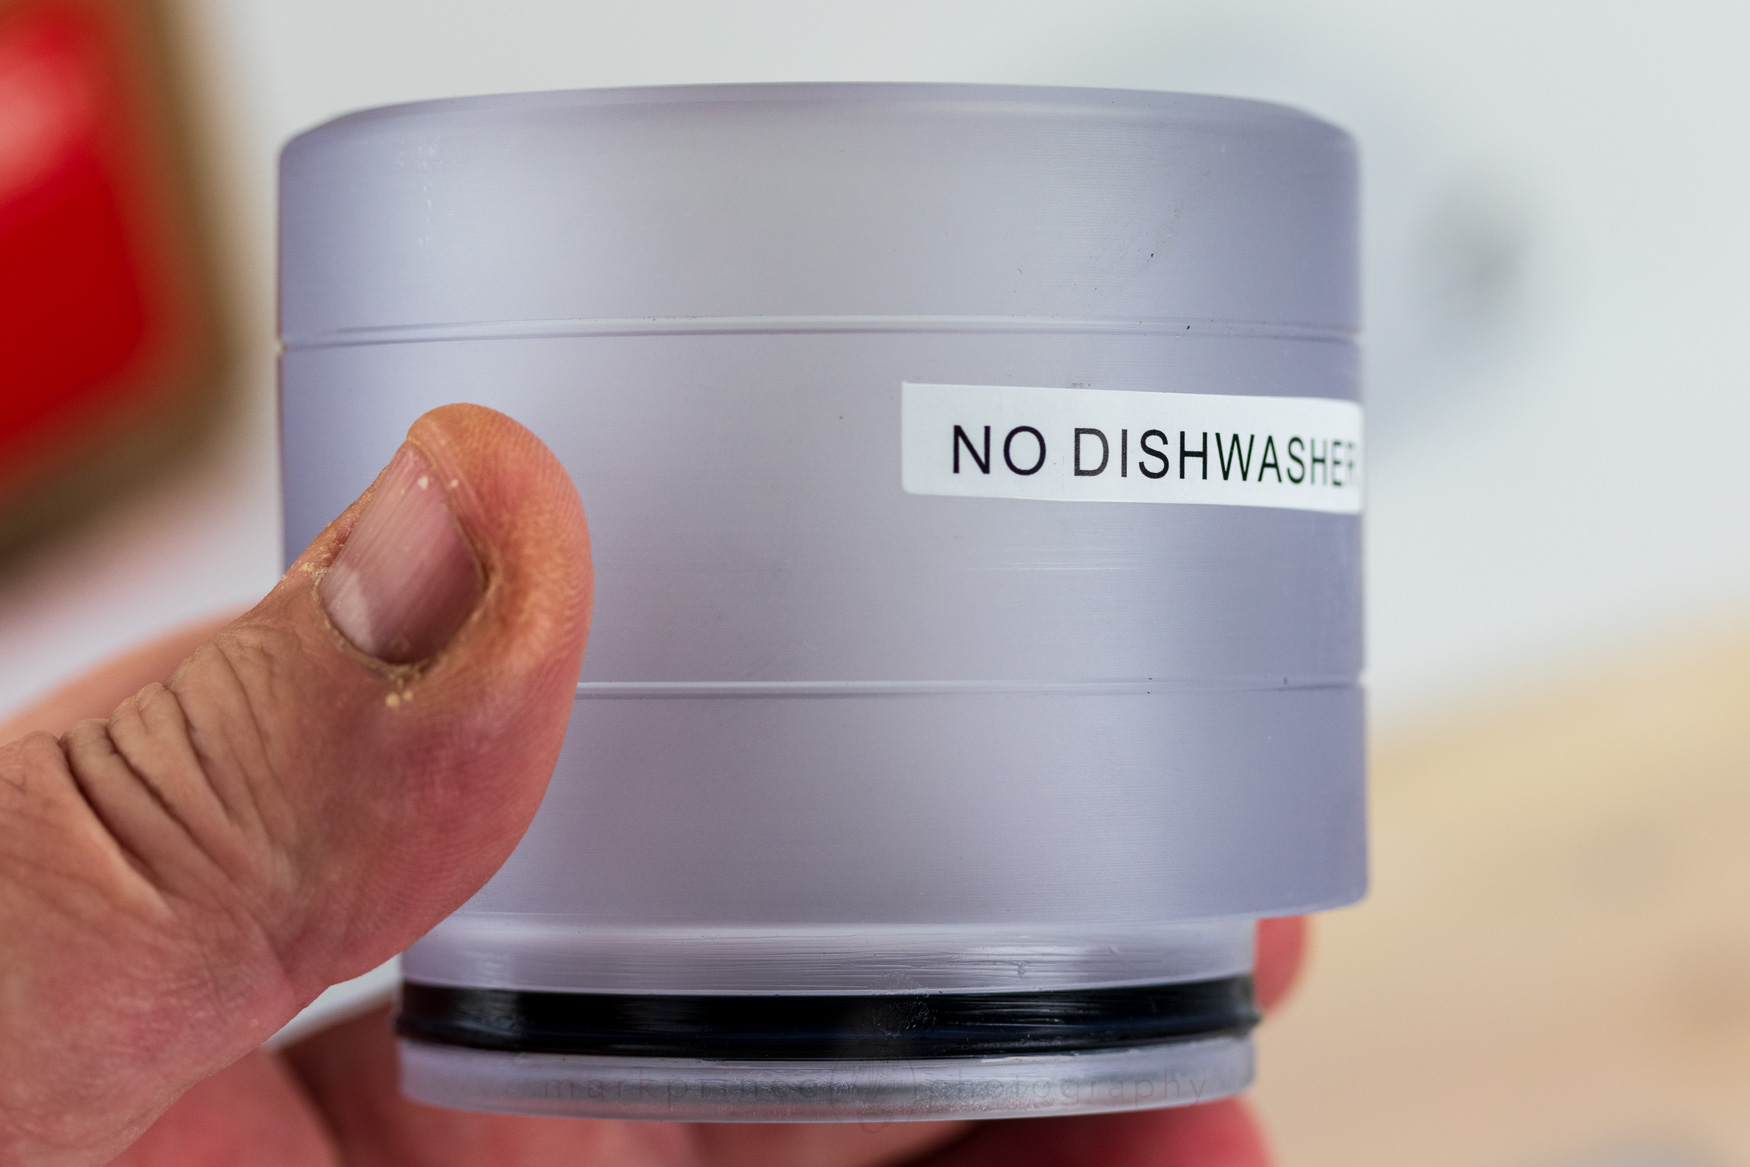
The main water reservoir and dispersion screen system for the Superkop. This sits on top of your filter basket.
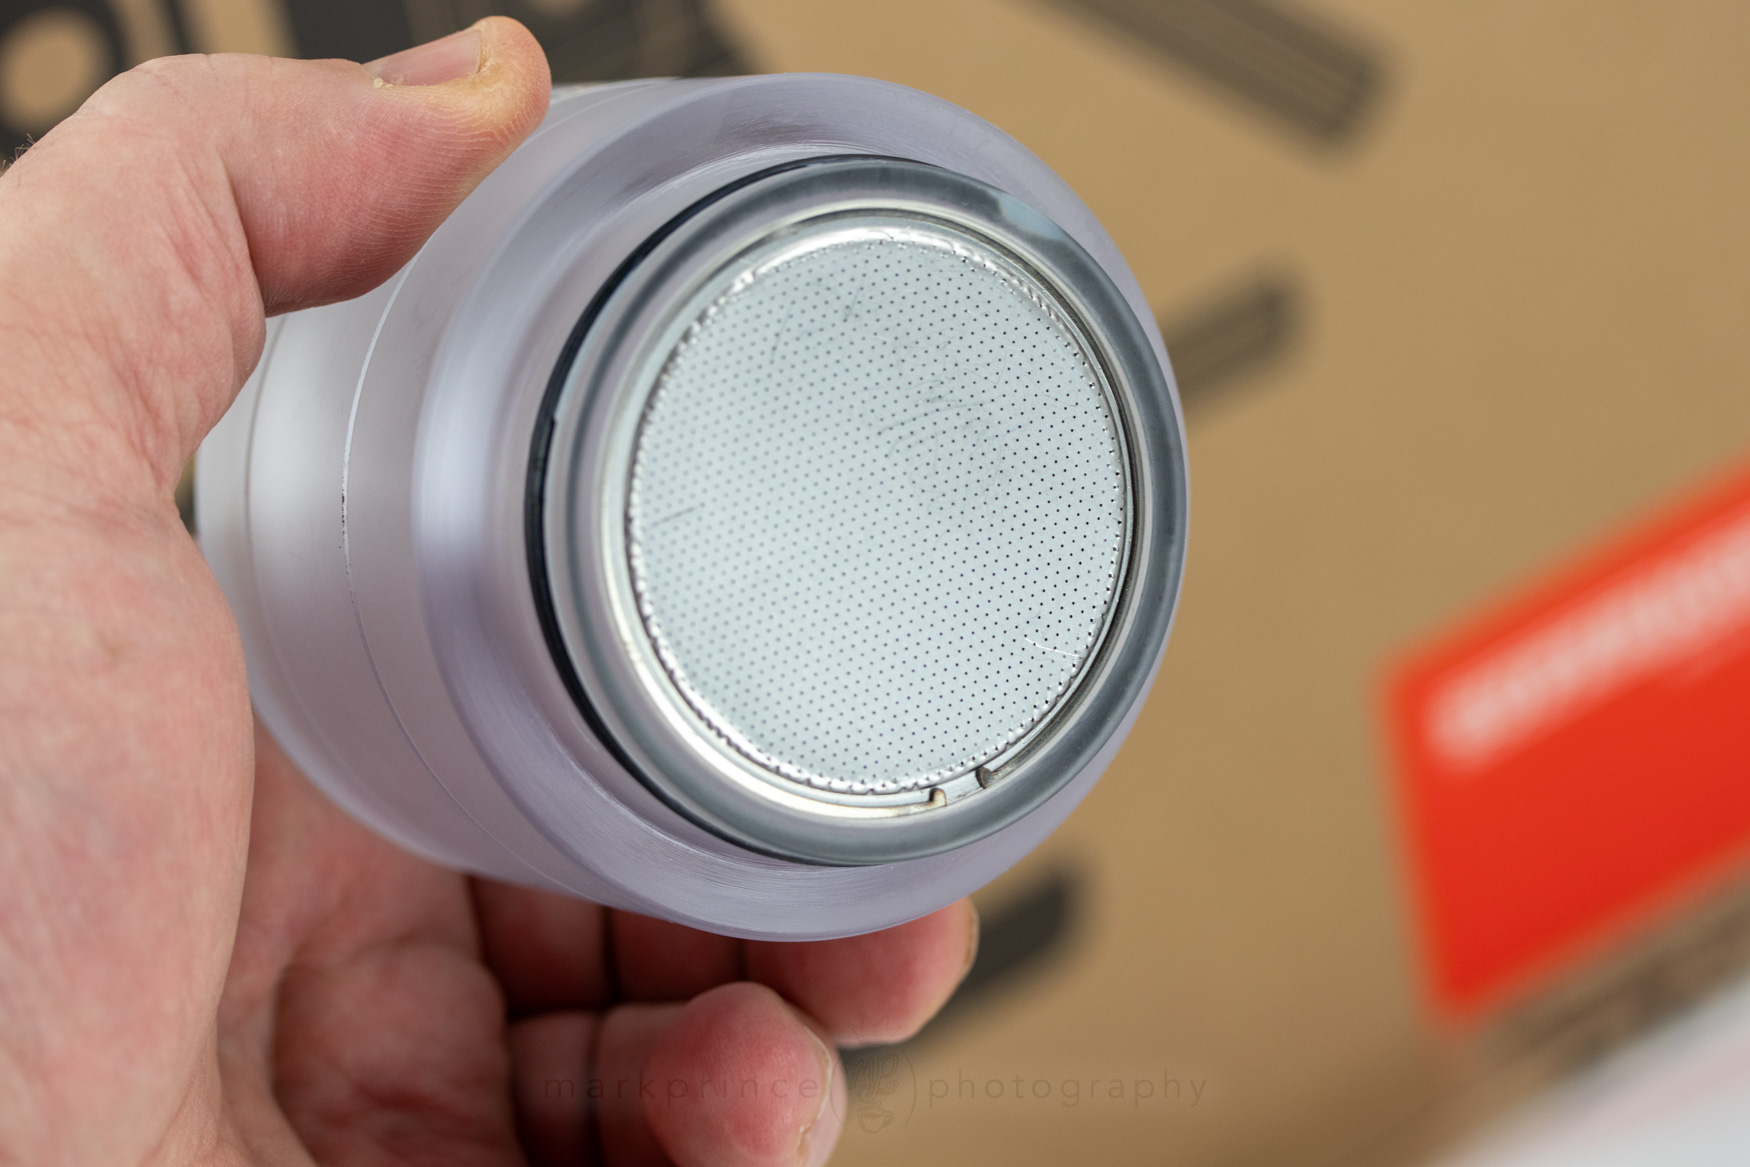
The Dispersion screen at the bottom of the water reservoir.
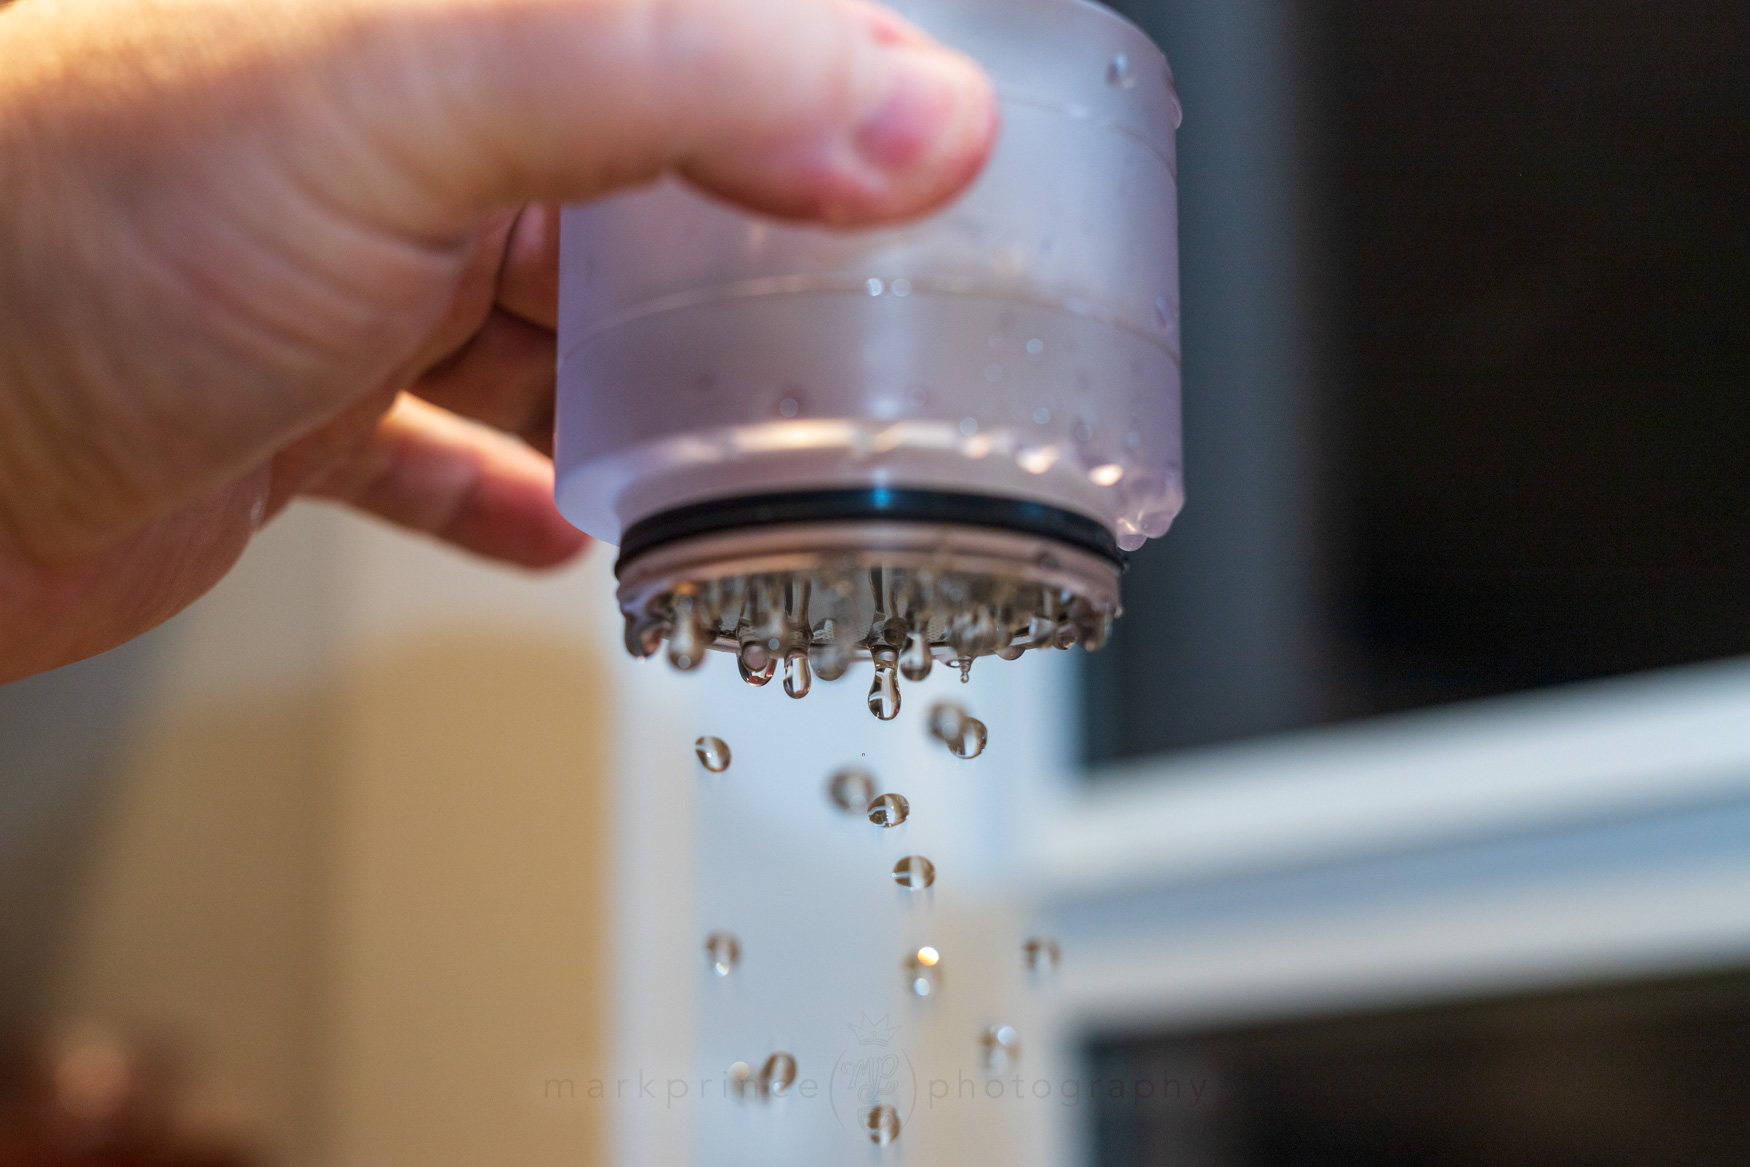
The reservoir has a very even shower effect even without pressure applied.
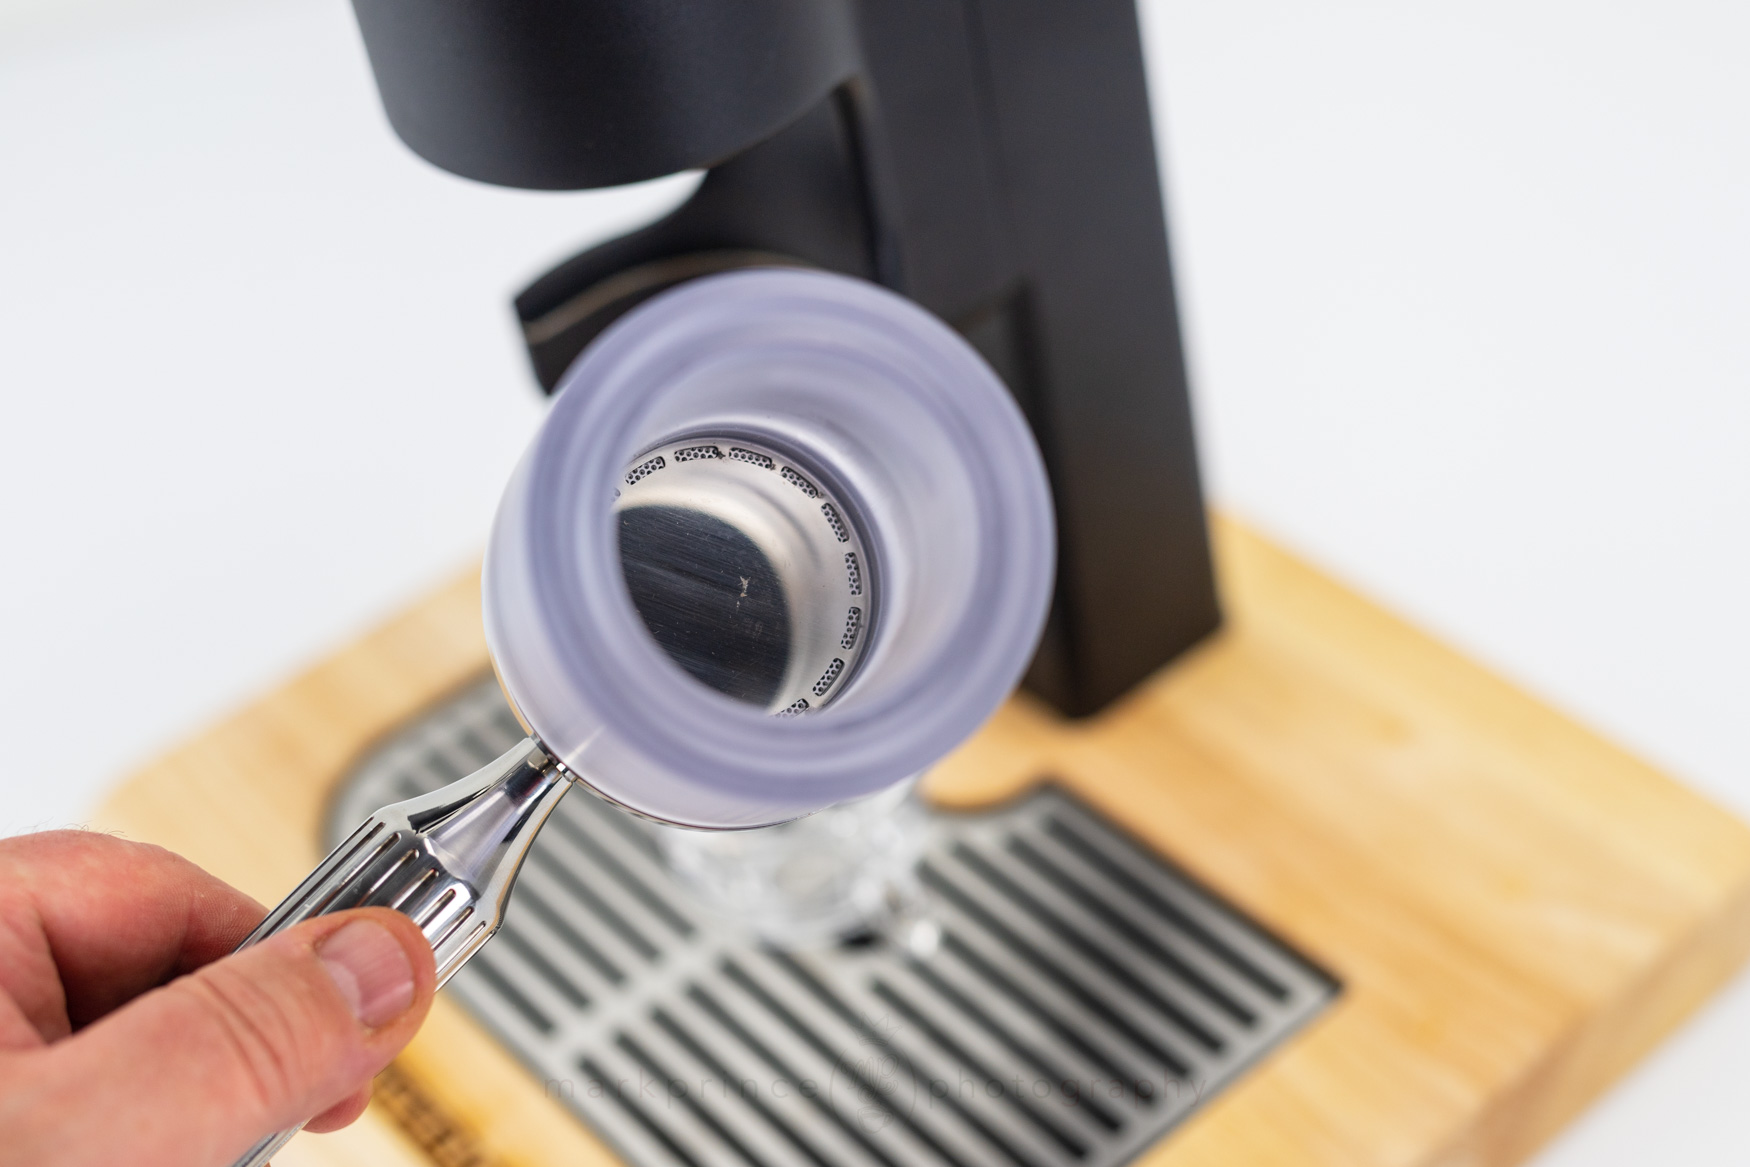
Superkop designed the reservoir so water is forced into an outer donut shape before hitting the shower screen. Result is a very even water distribution across the bed of coffee.
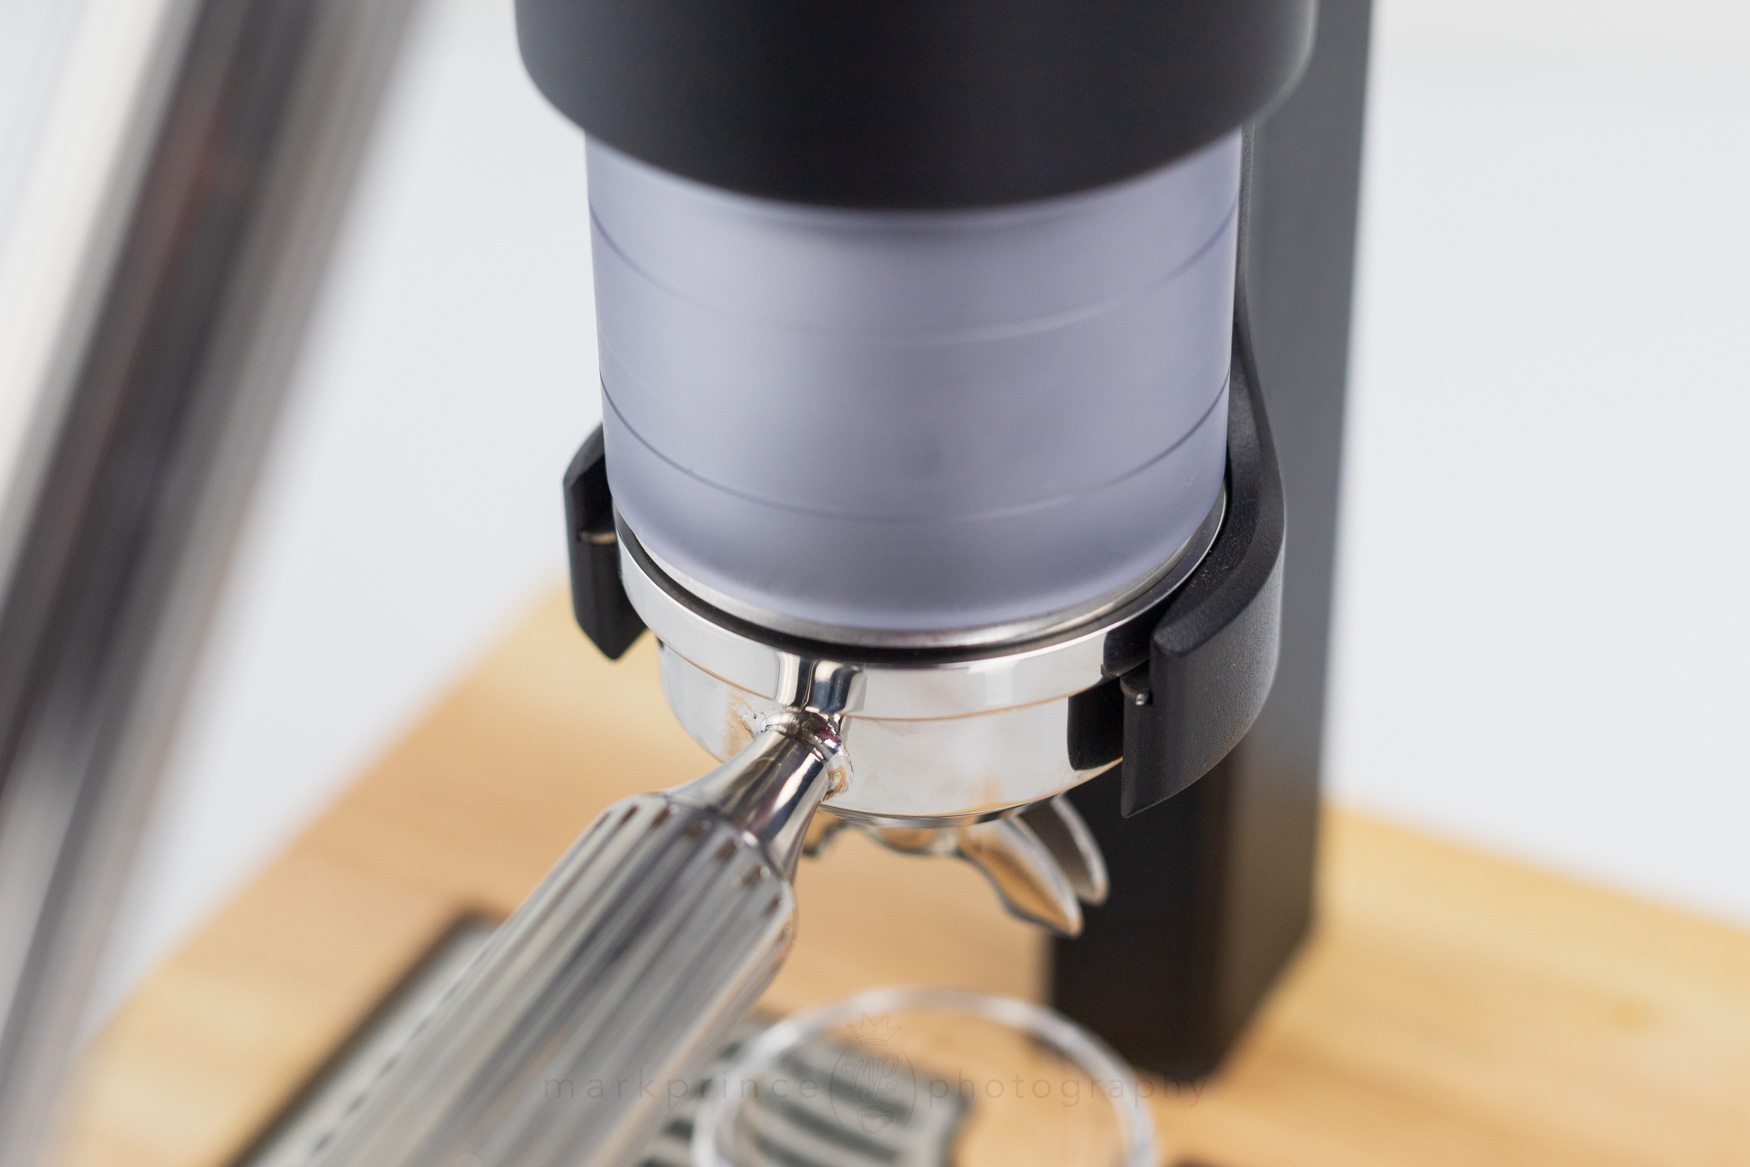
The portafilter doesn't need bayonets because the water resevoir and piston action anchor the portafilter in place when brewing. The PF's ridge rests on a 3/4 ring shelf.
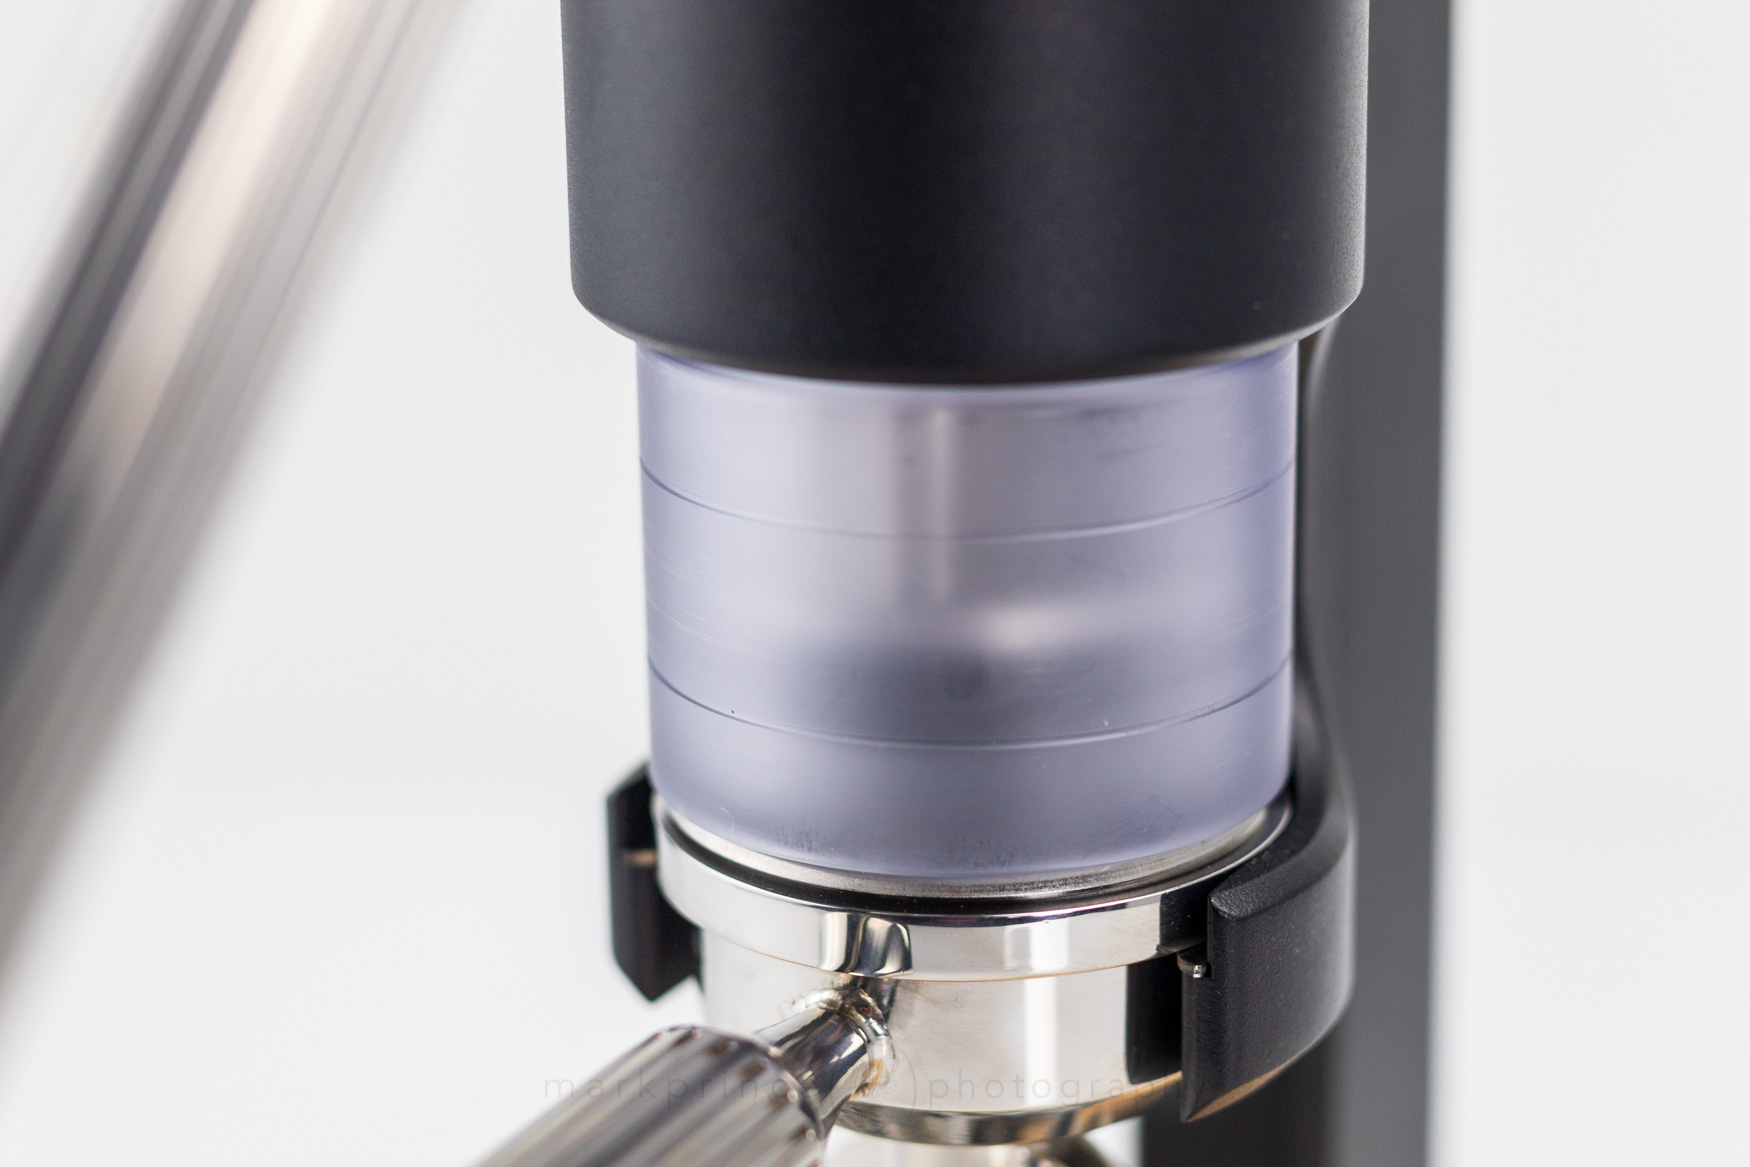
As you ratchet on the lever arm, the machine's piston lowers into the water reservoir; you can see it here after the fourth (of six) pulls.
The machine and backbone of the Superkop, unassembled.
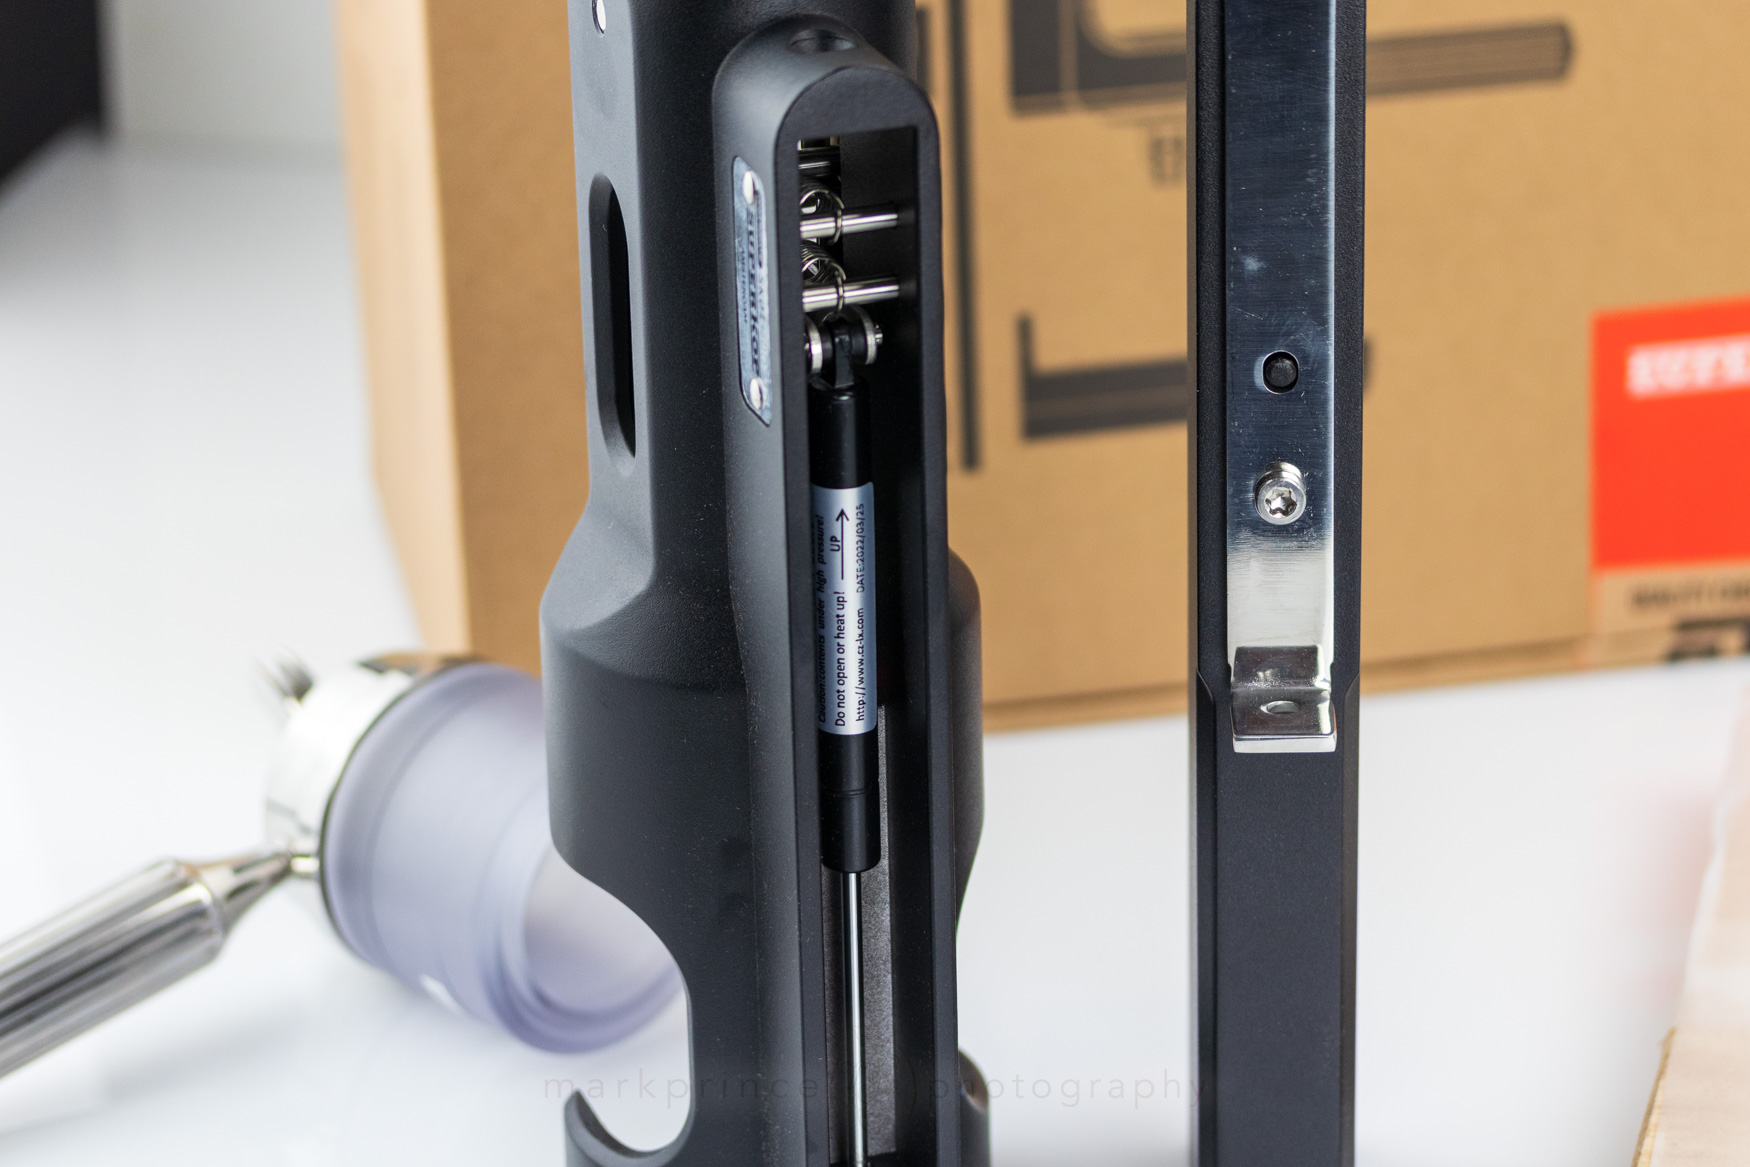
Hidden inside the main machine is a hydraulic piston; this engages when you reset the lever; at that point it will lift the plunger piston out of the water reservoir.
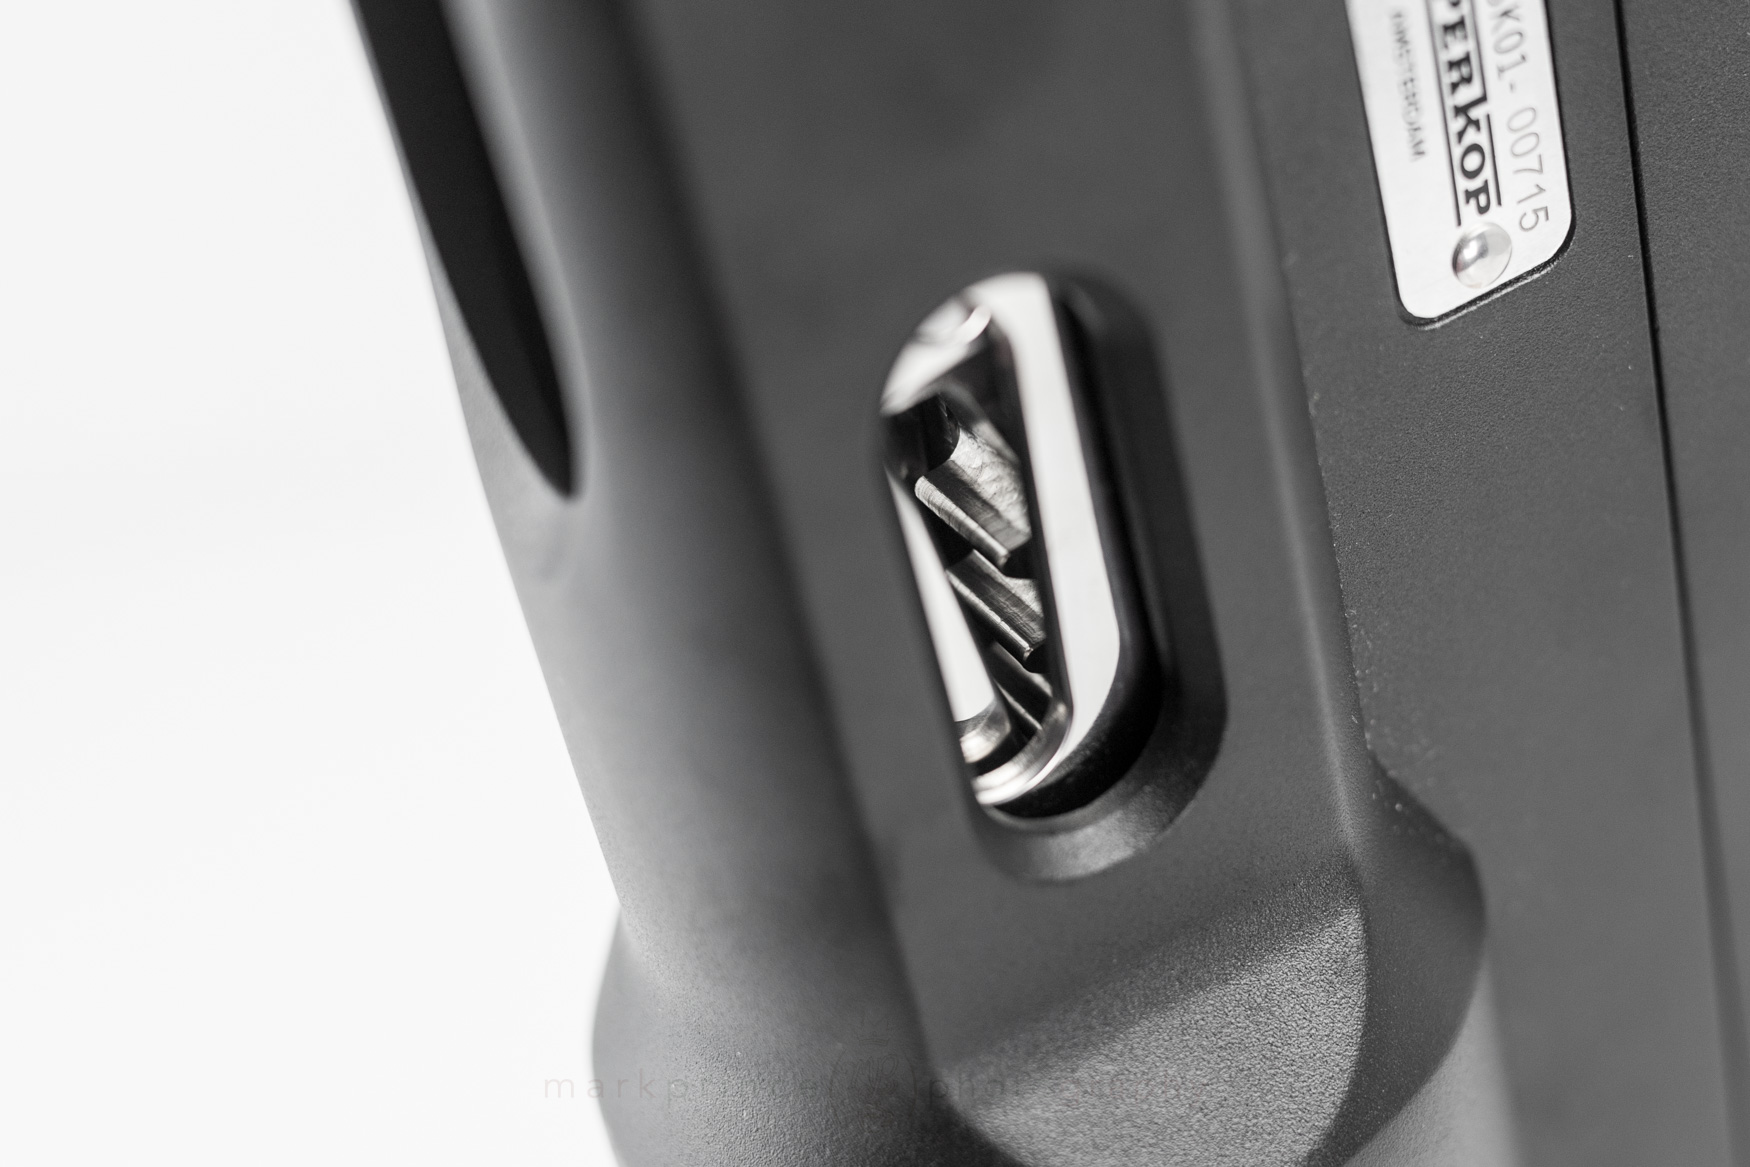
Even the ratchet system is visible and polished, giving your an eye-view of the machine's mechanics.
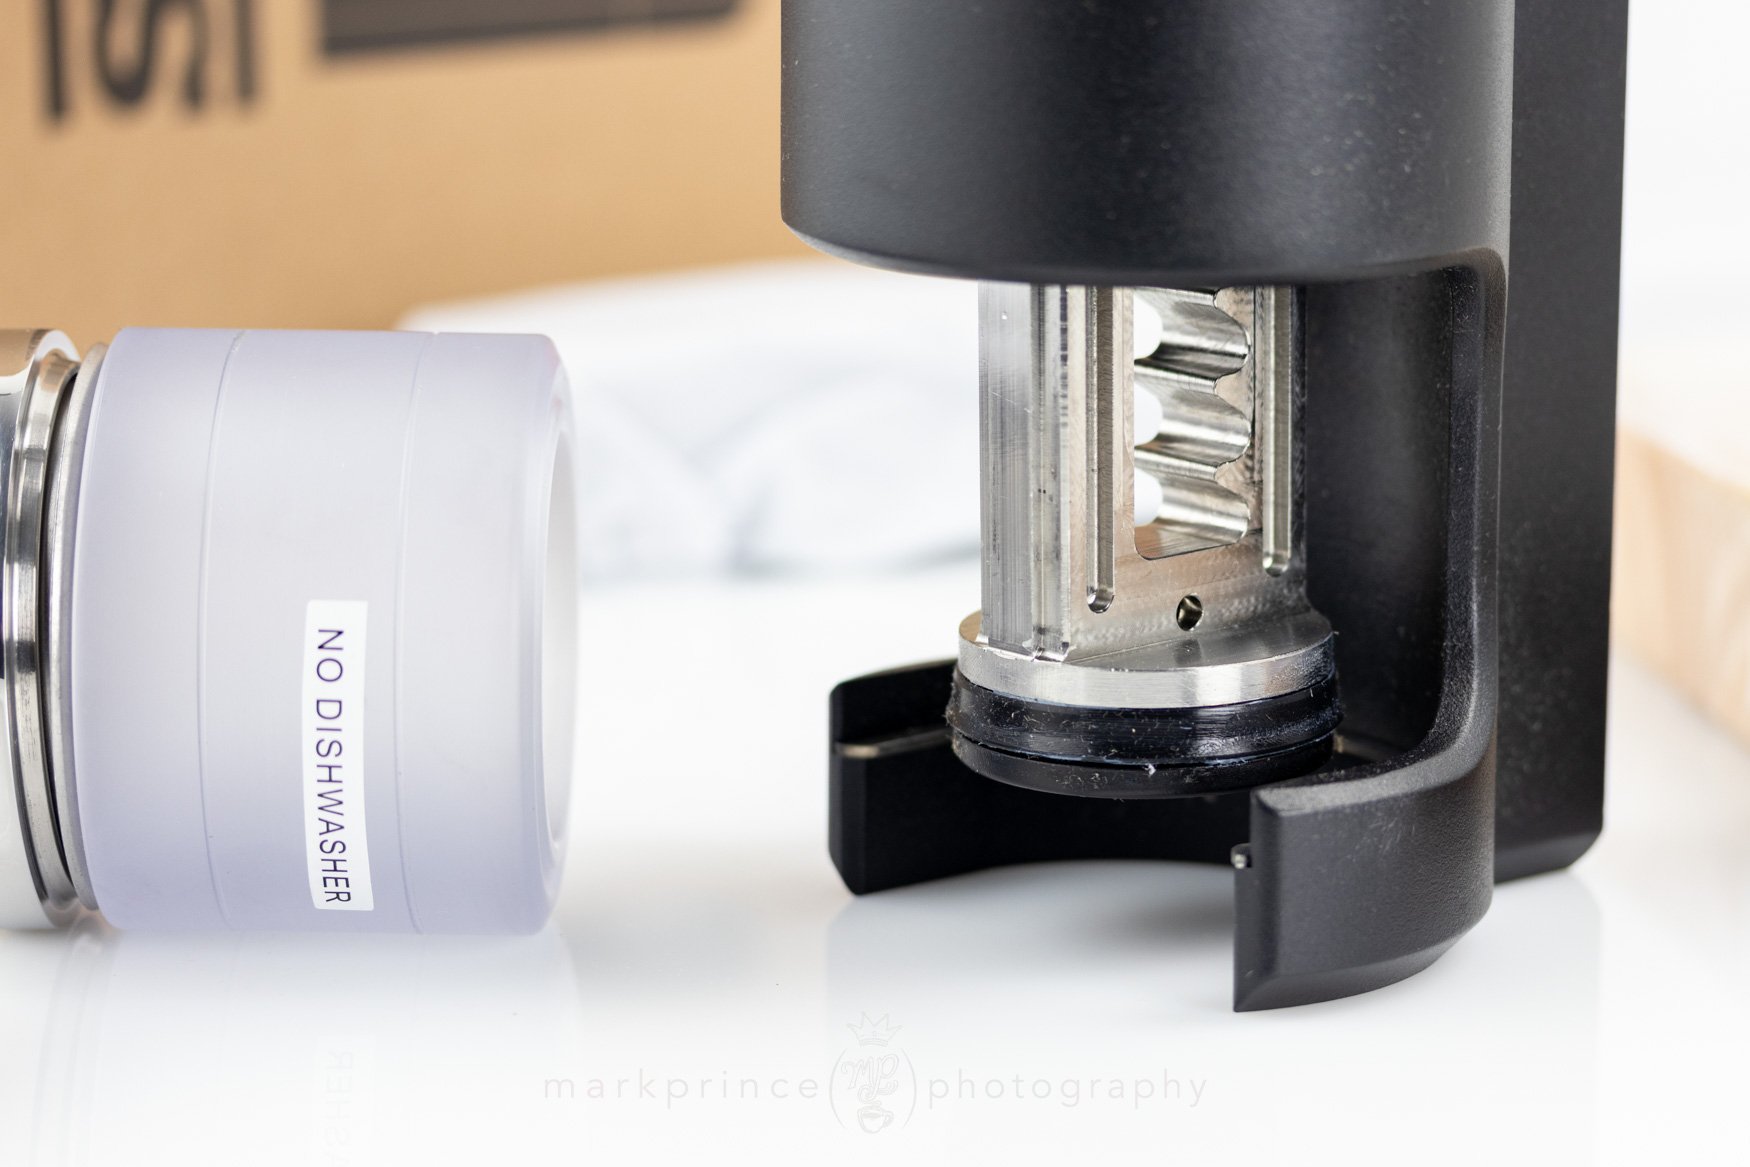
Here's what the plunger piston looks like, fully extended. You can also see the ratchet steps on the piston's arm.


Support CoffeeGeek
If you enjoy and learn from this resource, please consider making a one time or recurring donation to help support our work and fund purchases for future reviews.


Support CoffeeGeek
If you enjoy and learn from this resource, please consider making a one time or recurring donation to help support our work and fund purchases for future reviews.